
To date, I’ve only built substantial furniture pieces for my two sons; part of the reason was necessity. When Bruce moved into an apartment with friends and not a single one of them had anything to eat dinner on, I built him a Trestle Table. In 2020, my son Alan was being shipped by the Army back stateside and if I was going to build anything, it had to be done in time for the movers, so he got a Coffee Table, matching End Tables, and a Blanket Chest. And now……

….My daughter Naomi is moving in together with her boyfriend and neither one of them has a decent bed so she asked me if I would build a bed frame for them (I said yes, it’s a little weird though. 🙂 ). The dimensions may not be final as she currently wants a king size but may decide to step down to a queen. No problem as the length (in Europe) is the same (mattress 200 cm long) so I can do quite a lot before I need the final width dimension. (Update: size will definitely be to accommodate a 180cm by 200cm mattress.)
I won’t go over all the bed styles we looked at but her final choice was a basic style with frame & panel head and footboards.
One major requirement is that the top of the mattress needs to be about 60 cm high and another is that the headboard should angle back so as to be comfortable to lean against while reading in bed. We talked about having some storage drawers underneath and while she likes the idea, she wants to live with it as is for a while before deciding for sure.
As per usual, I start with some graph paper (being no artist, I need the little squares…..) and sketch up the design so I can make at least a rough cutting list.


I actually didn’t have to make a cutting list because there aren’t many parts to this bed and I can just refer directly to the drawing. The cutting list was mainly to save time when traveling to my other garage in the next town where I used to store wood. My Christmas present this past December was a second garage by our apartment. That’s a whole other story but suffice to say that I am very lucky, it is not common in Switzerland to be afforded such a luxury! As a result, I don’t have to drive up the road to gain access to my lumber stack, a huge convenience.
So with some rough measuring, I break down the large pieces into manageable bits for further processing.
Here is the piece that will become the legs, 60mm thick but with a cup to it so I’ll get stock about 50-55mm thick:
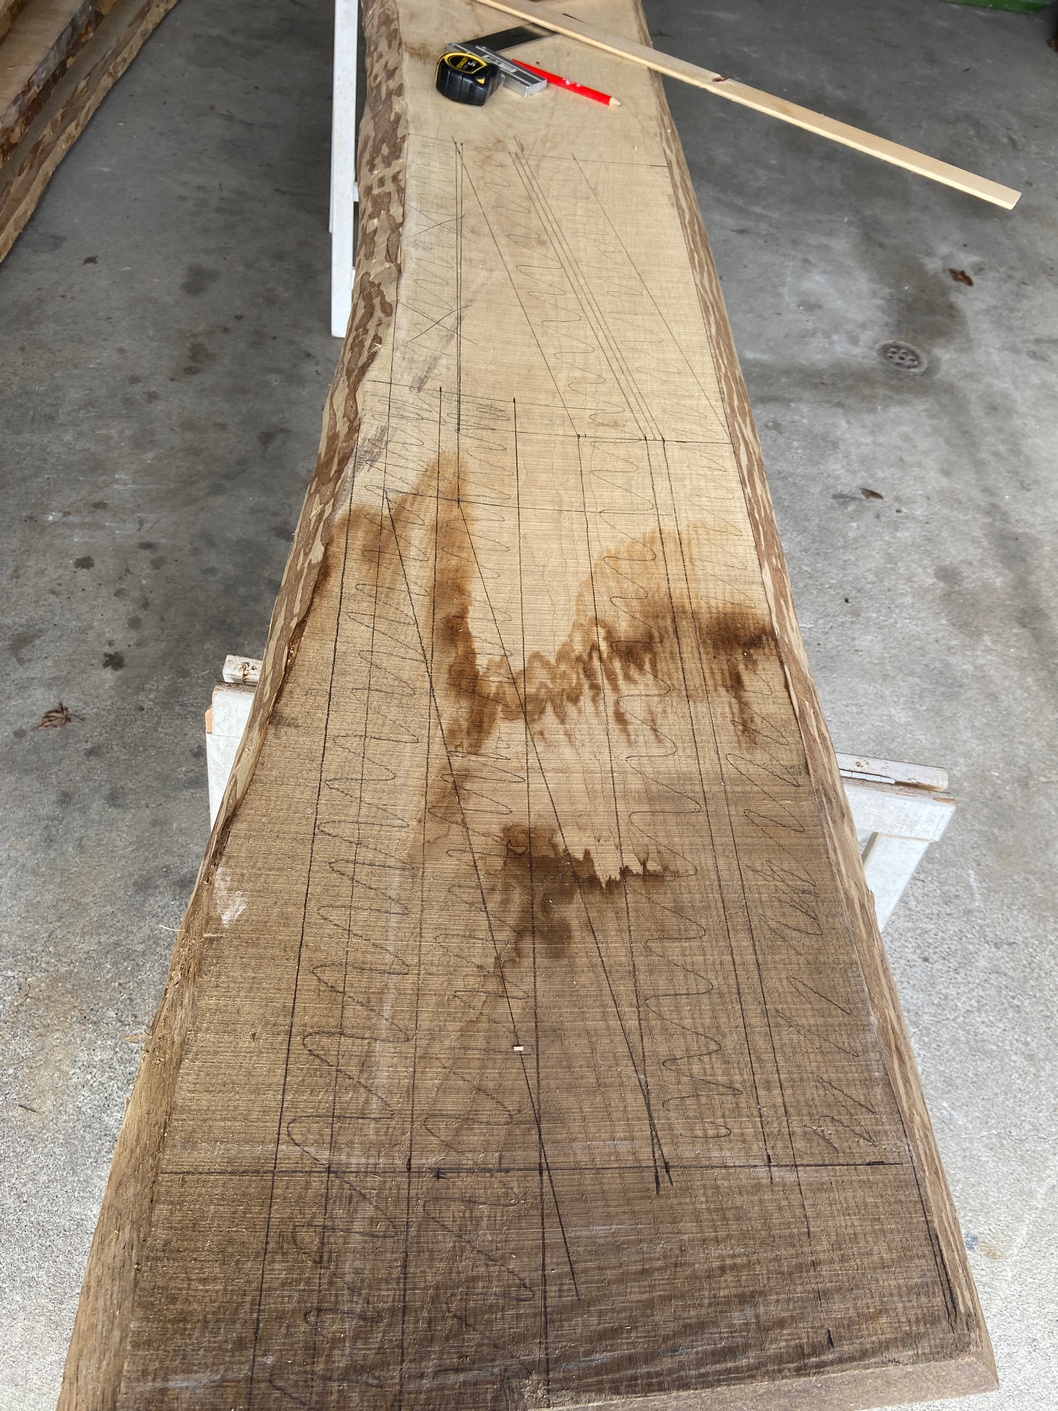 And this piece will become one of the side rails:
 It has a bit of a crook but should accommodate a rough 17cm wide by 220cm long rail no problem. Also, you’ll notice by the end-grain that it’s one of the slabs near the center of the tree and so is very nicely quartersawn (stable and even-grained).
I’ve written in more detail about the process of dimensioning rough lumber and don’t want to repeat myself here but if you are interested, these two posts offer a better description:
- From the Sewing Center Part 2.
- And the Liquor Cabinet Part 1.
A step in the process you won’t find in those articles is hand planing to remove twist because the parts of those cabinets were fairly short (less than 1.5 meters), and so they flattened nicely on the jointer. With longer pieces than that, I find I get better results with a jack plane and winding sticks. Even with the bed-extension attached to my jointer, I rarely seem to get great results with long pieces, and these pieces for the side rails are 220cm (about 7 feet).
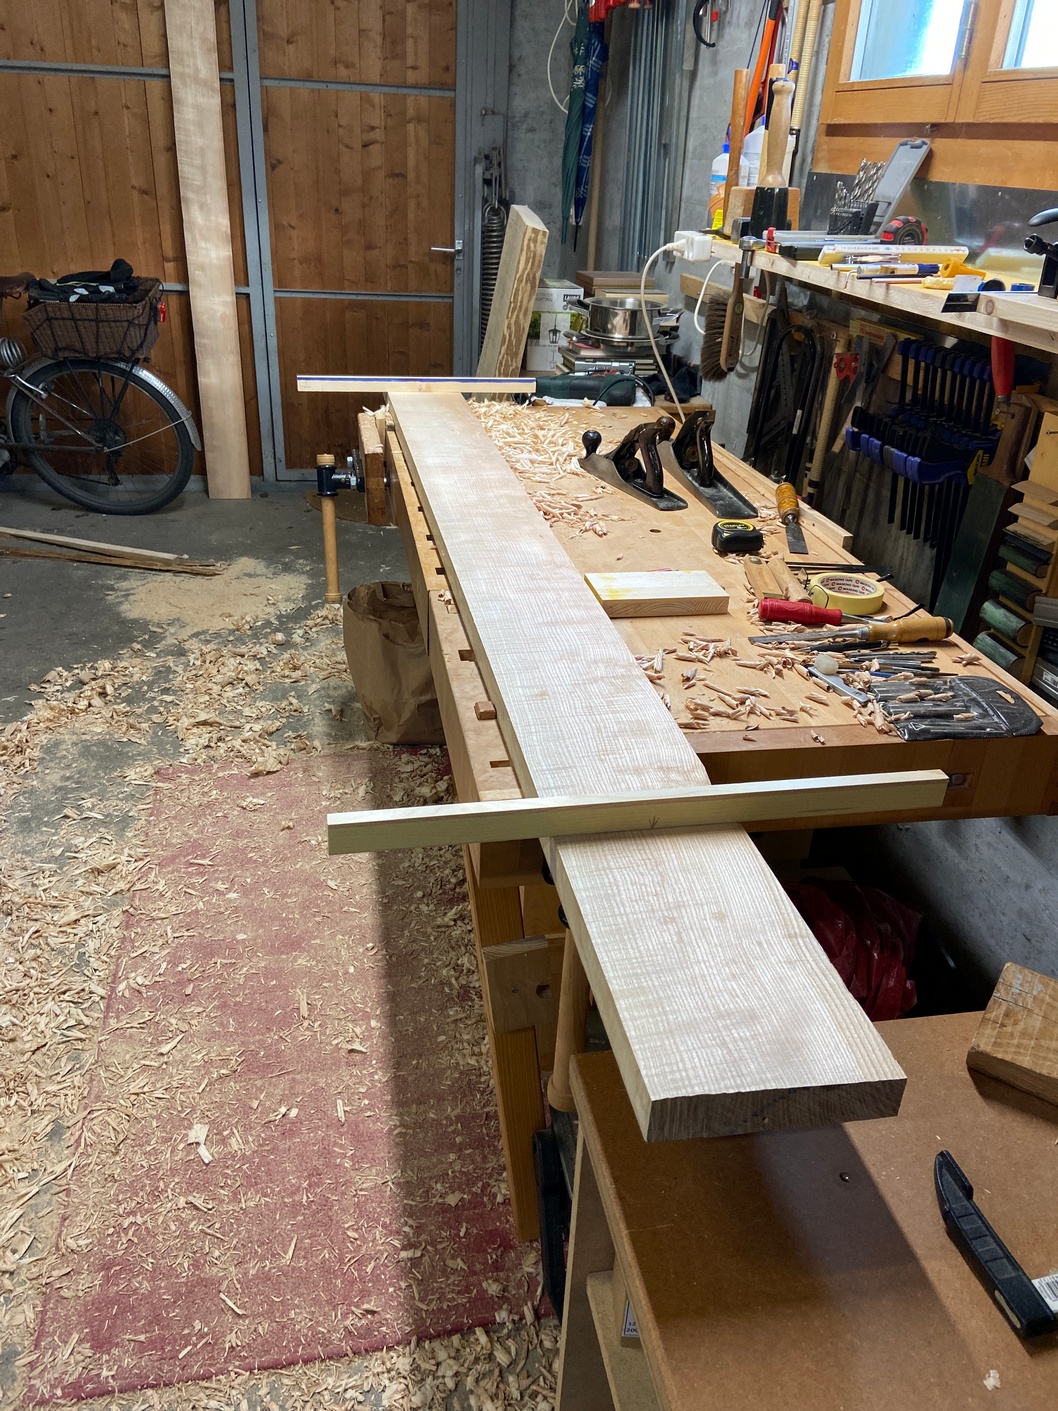
I won’t go into the details but basically, when you sight across the two sticks (as below, I’m crouching at the near end of the plank with one eye squinted) the darker line across the top of the 2nd stick allows you to easily see if the two are lined up. If so, there is no twist; if not, I plane each of the high spots until they are even.
 I start with both sticks about 10cm from the center of the plank and work outwards from there.
 One time I started at one end and worked my way to the other end, and got the same result. The result, especially in a long board like this, may often be a face with no twist, but still a bow. In this case, a little bow is not an issue because there will be a brace attaching the middle of the two side rails. That will compensate for the bow but if the rails were twisted, that would cause me all sorts of grief.
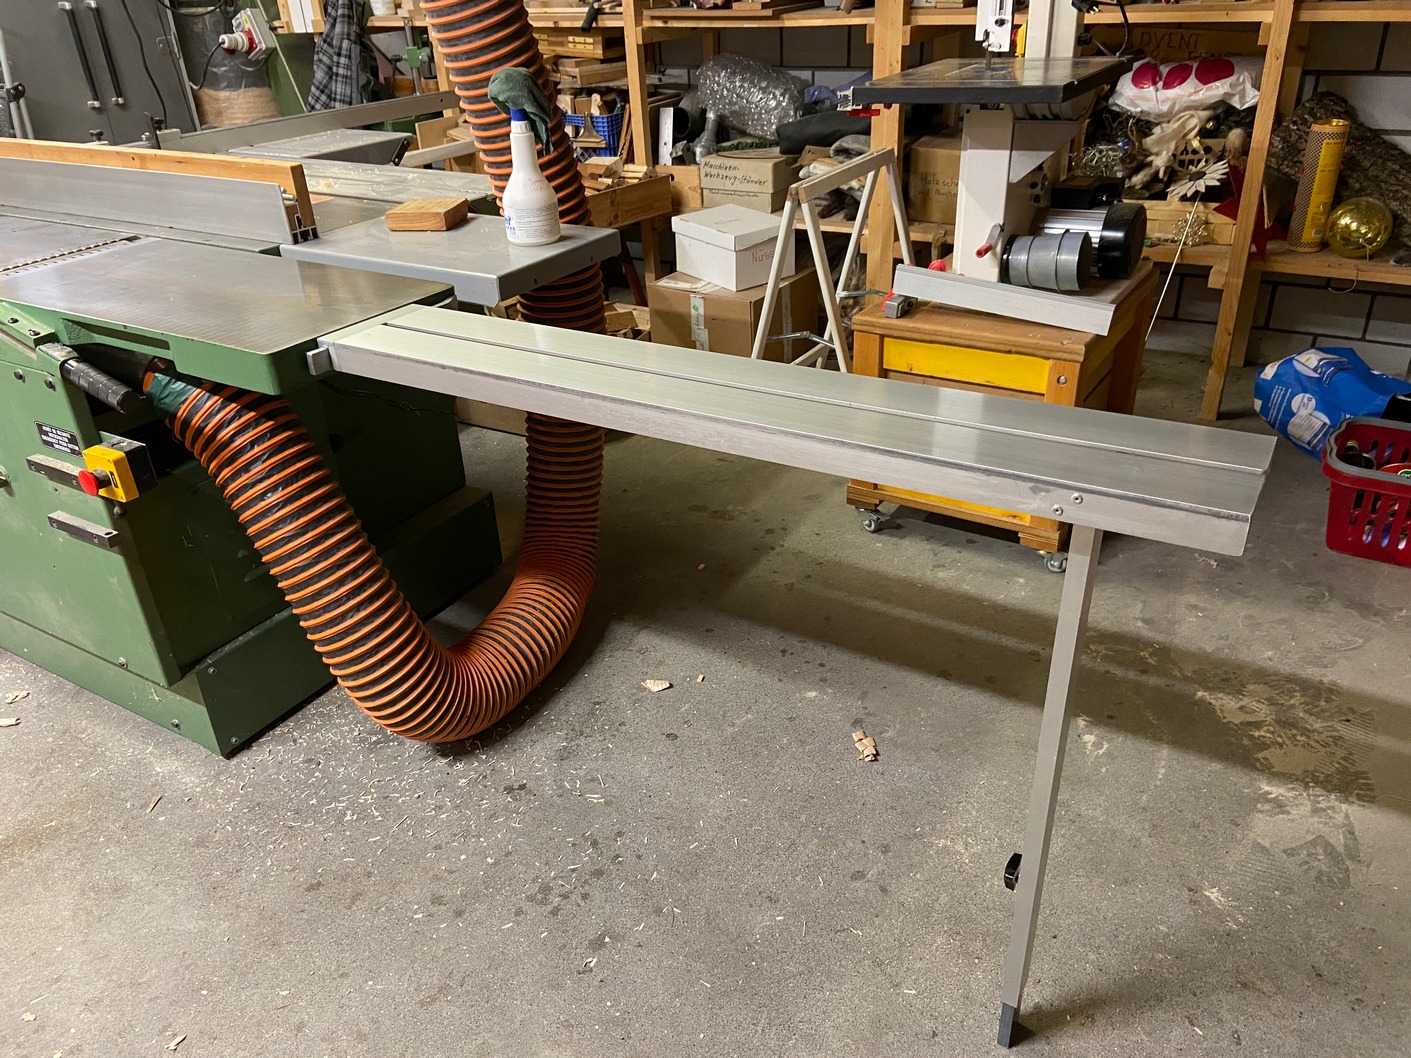
If I took the time to setup an outfeed extension as well as an infeed (I only have one extension), I would probably get a good result on the machine however, the hand plane/winding stick solution is straightforward and works no matter what the length of the board is.
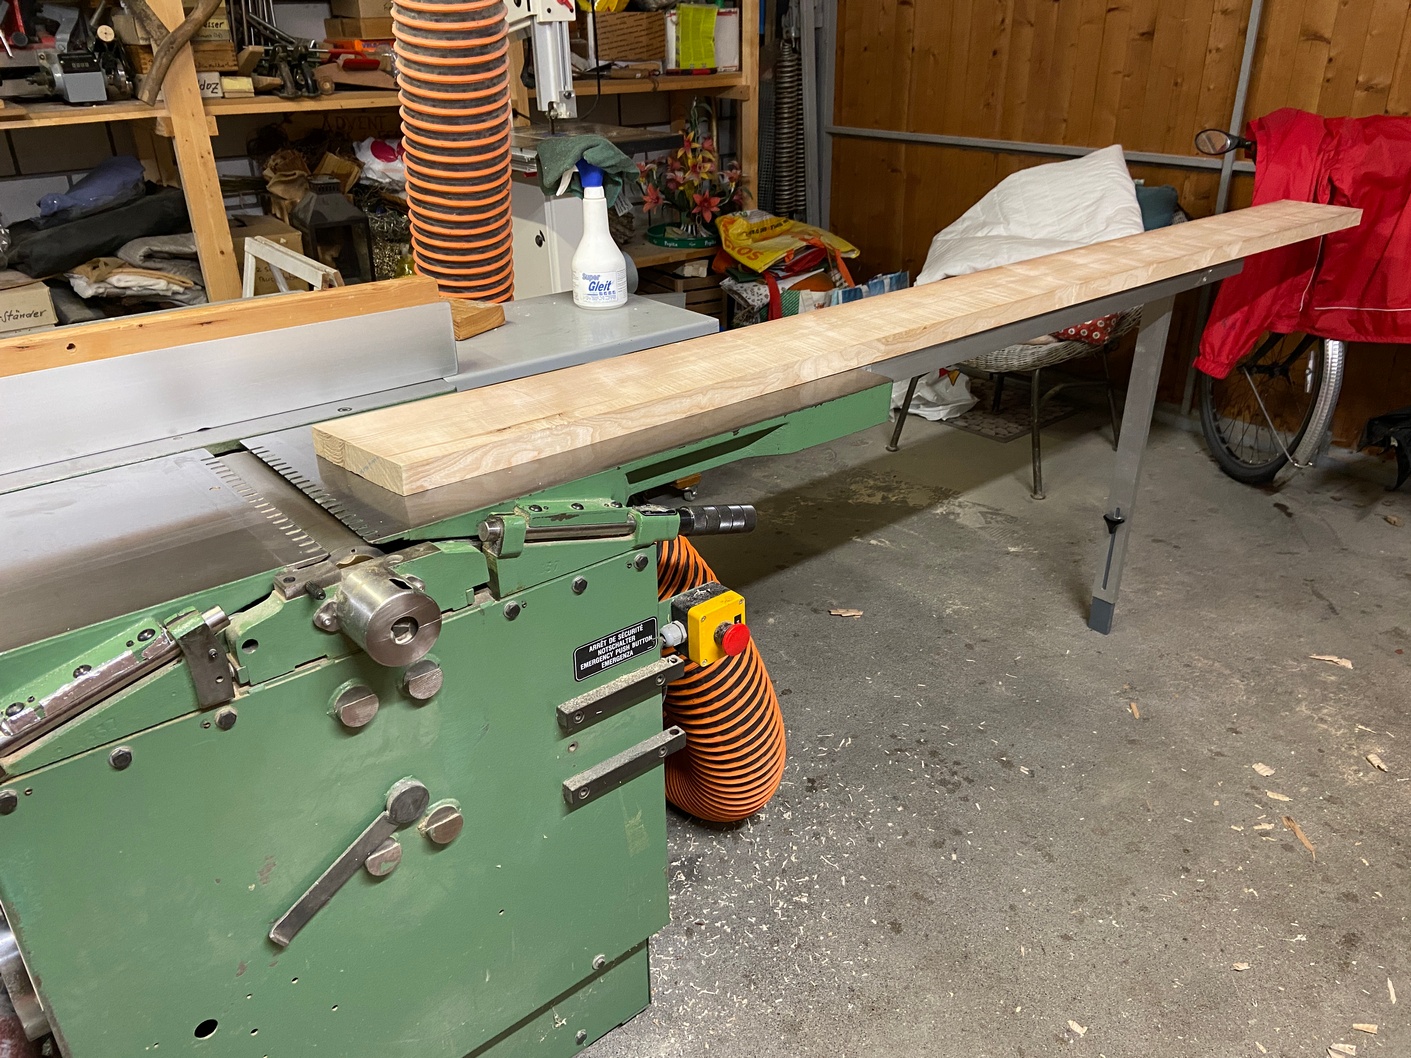
Here is the machine with the extension installed and I am able to get the edge close to straight and square but not as good as I want it to be.
 Using my jointer plane and a long straightedge, I can get this edge pretty darn perfect. This bed rail doesn’t have to be perfect, just very close to straight, and I like to get it as close as possible.
 After I’m happy with the one edge, I use the tablesaw to rip the other edge parallel. I’m not a purist, I don’t want to use a handsaw to cut over 2 meters of plank unless I have to.
In fact, with the footboard and headboard frames, the rails are narrower and shorter than the side rails so I can save some effort and use the machine to joint and thickness plane the 6 frame rails.
 I still use the #7 plane to straighten the edges….
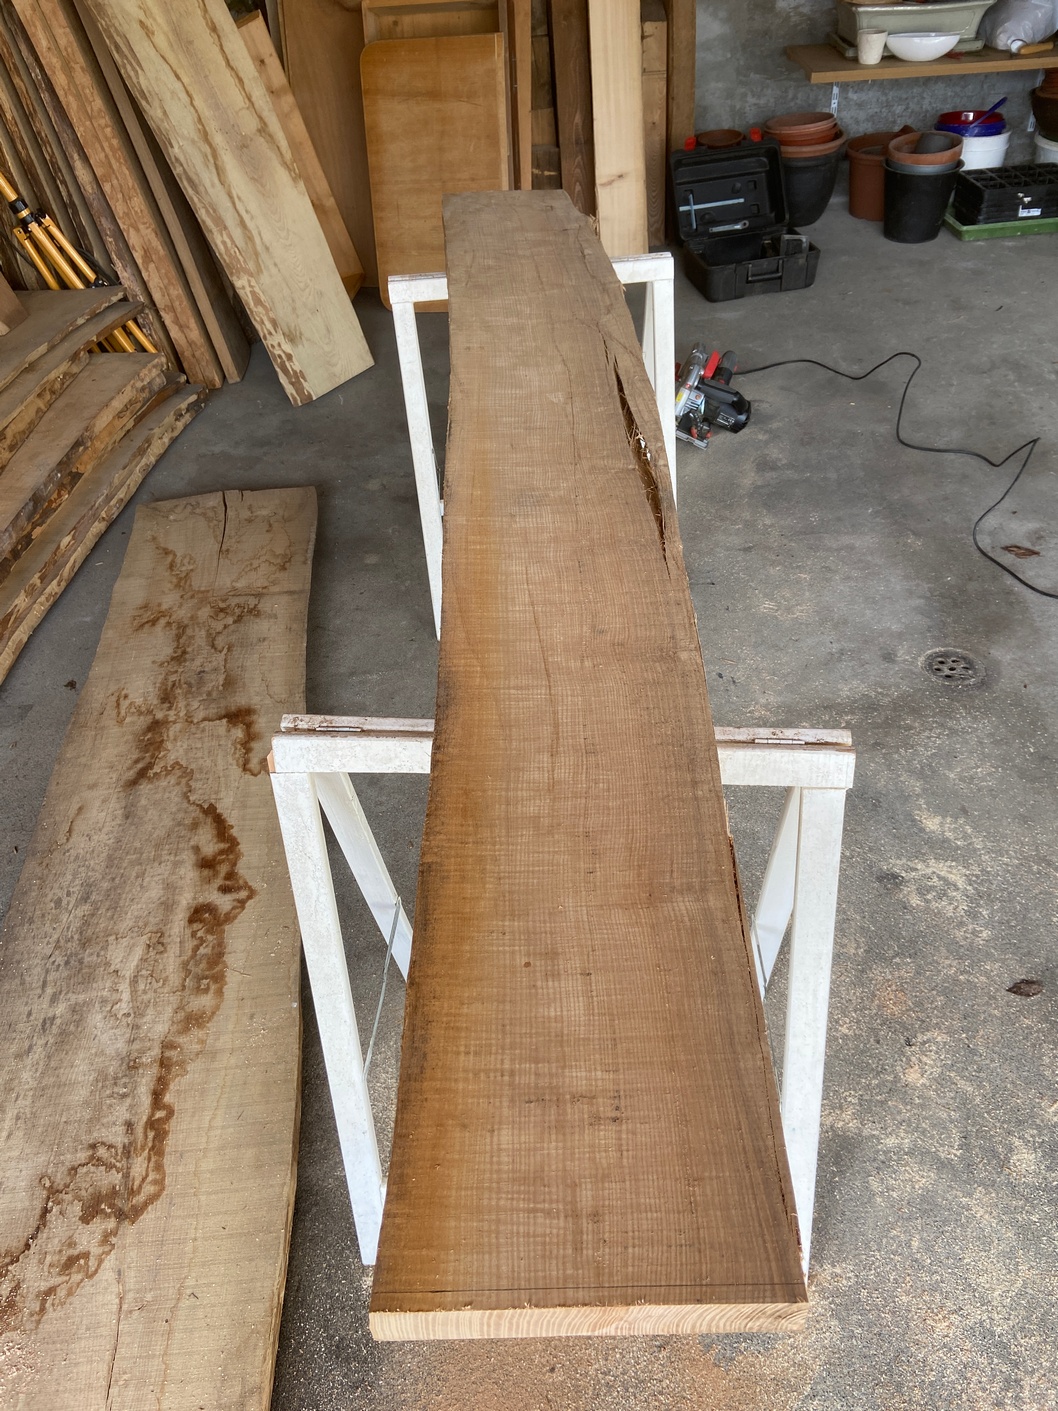
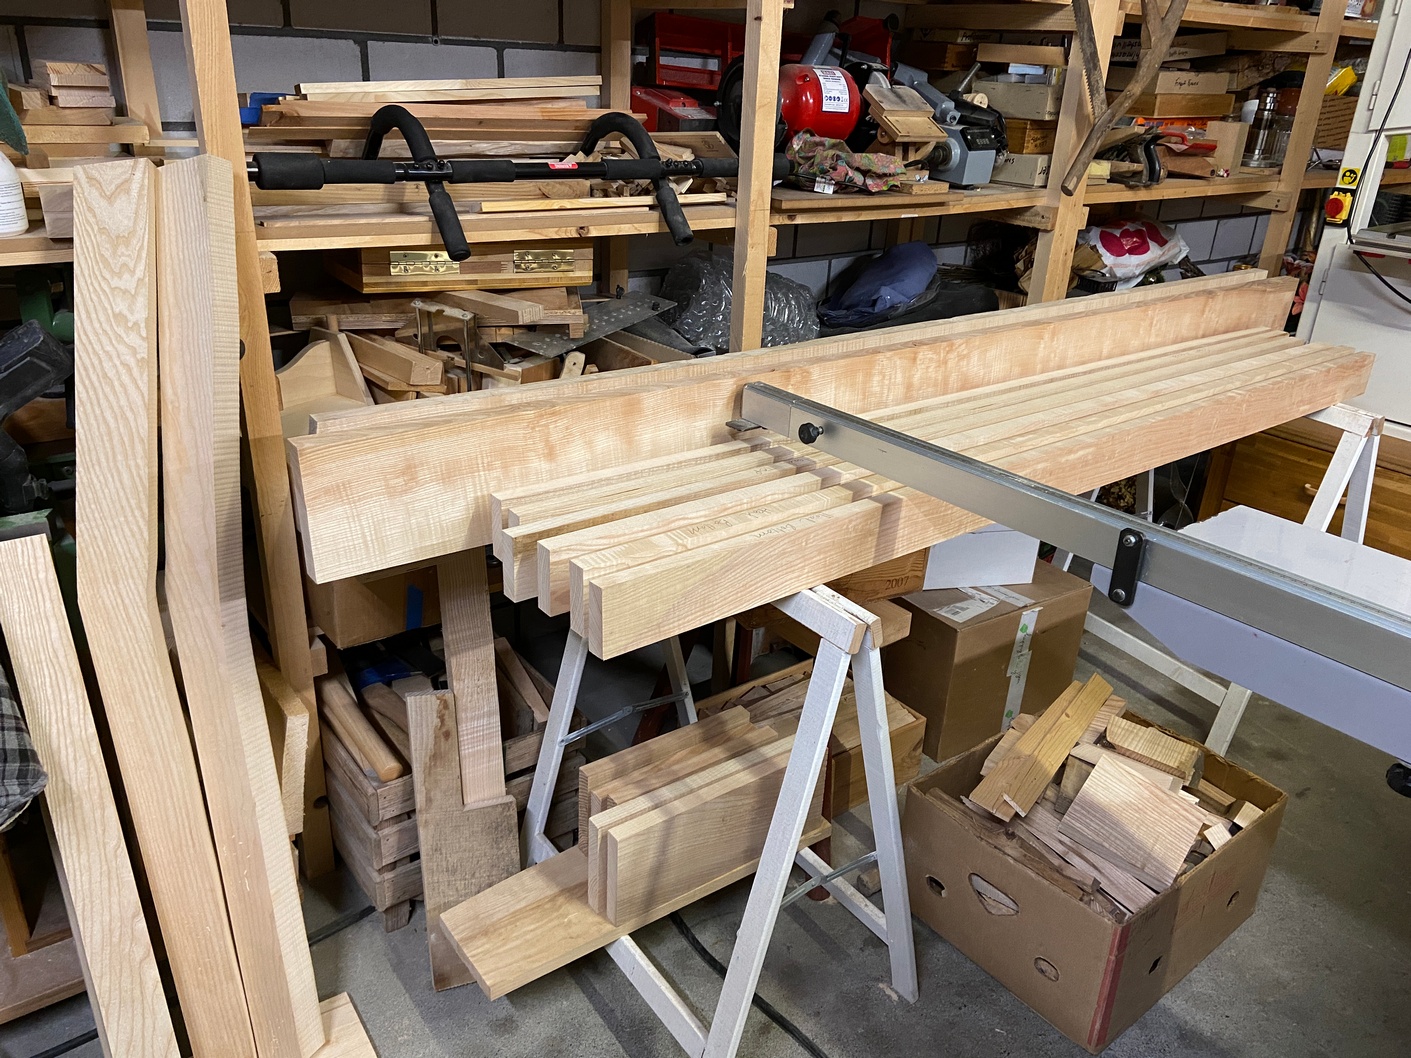
 By this time I’ve taken all the rails to final dimension (below on sawhorses). I feel okay with this because I did a rough dimensioning a week ago. This lumber has been stacked for many years and all I’m concerned with is to give it a chance to acclimate to the garage and to move as a result of the rough cutting. Below left are the rear and front legs. I’ve cut them to within 5mm of width/thickness and will bring them up to the house for a week. The legs will have critical joints and so I’m curious to see how they react in a typical dry environment before I cut the mortises.
 Before deciding on the final width for the stiles (vertical pieces in a frame and panel), I mocked it up together to get an idea of how it’s going to look. If they are at least 10cm wide, I’ll be happy with the strength of the overall frame (no, I have no formula or evidence to base this on, just experience combined with an educated guess).
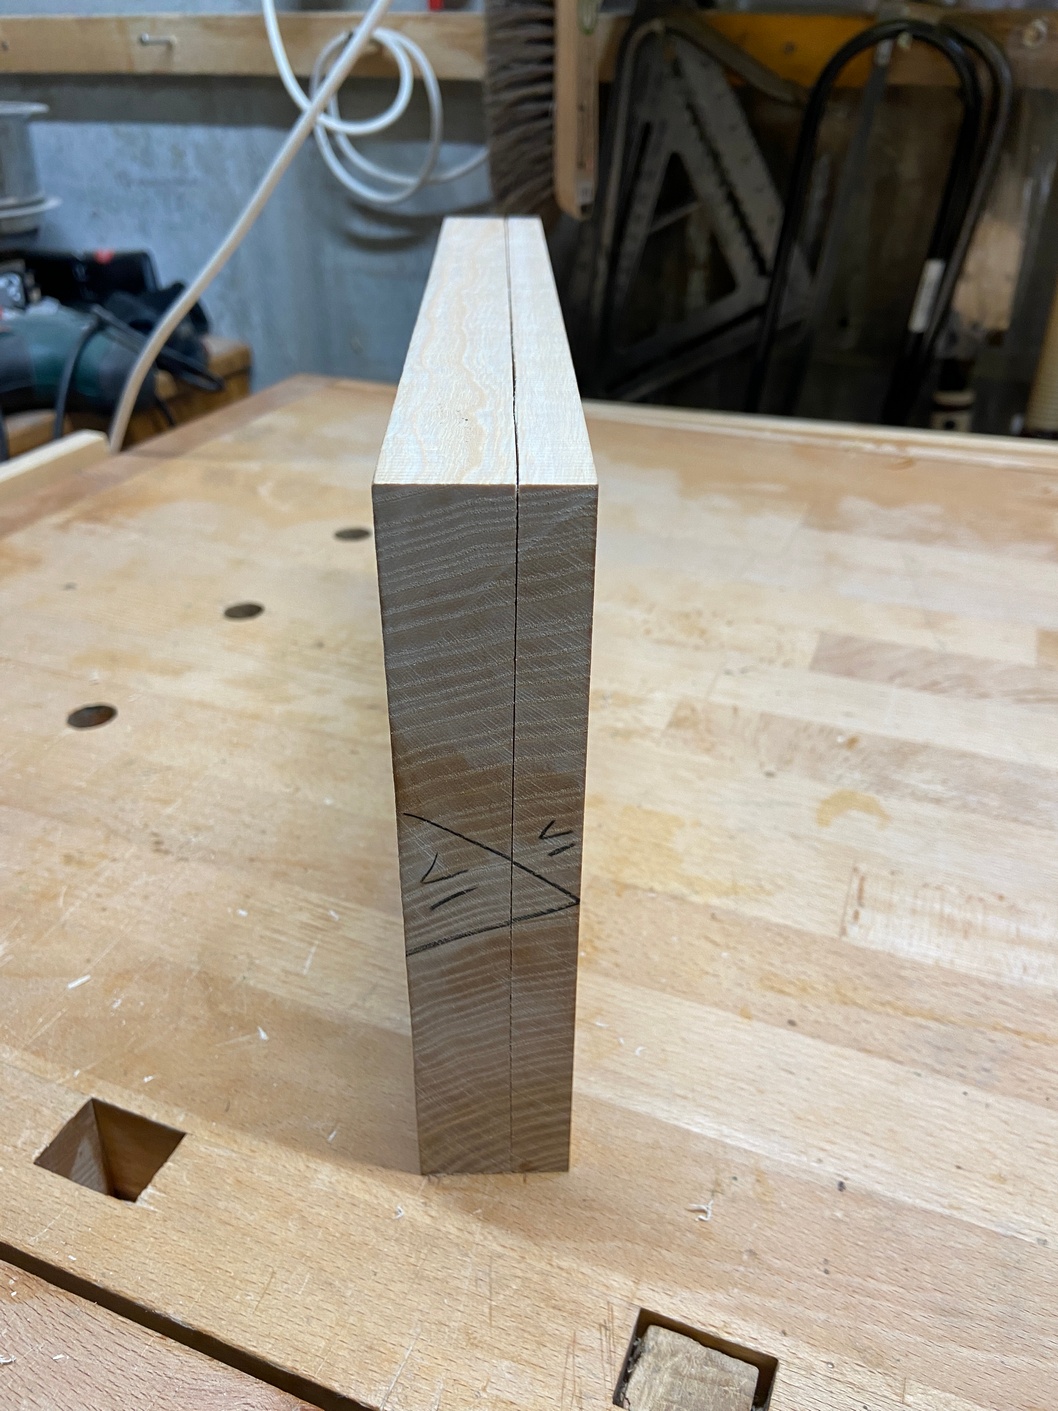
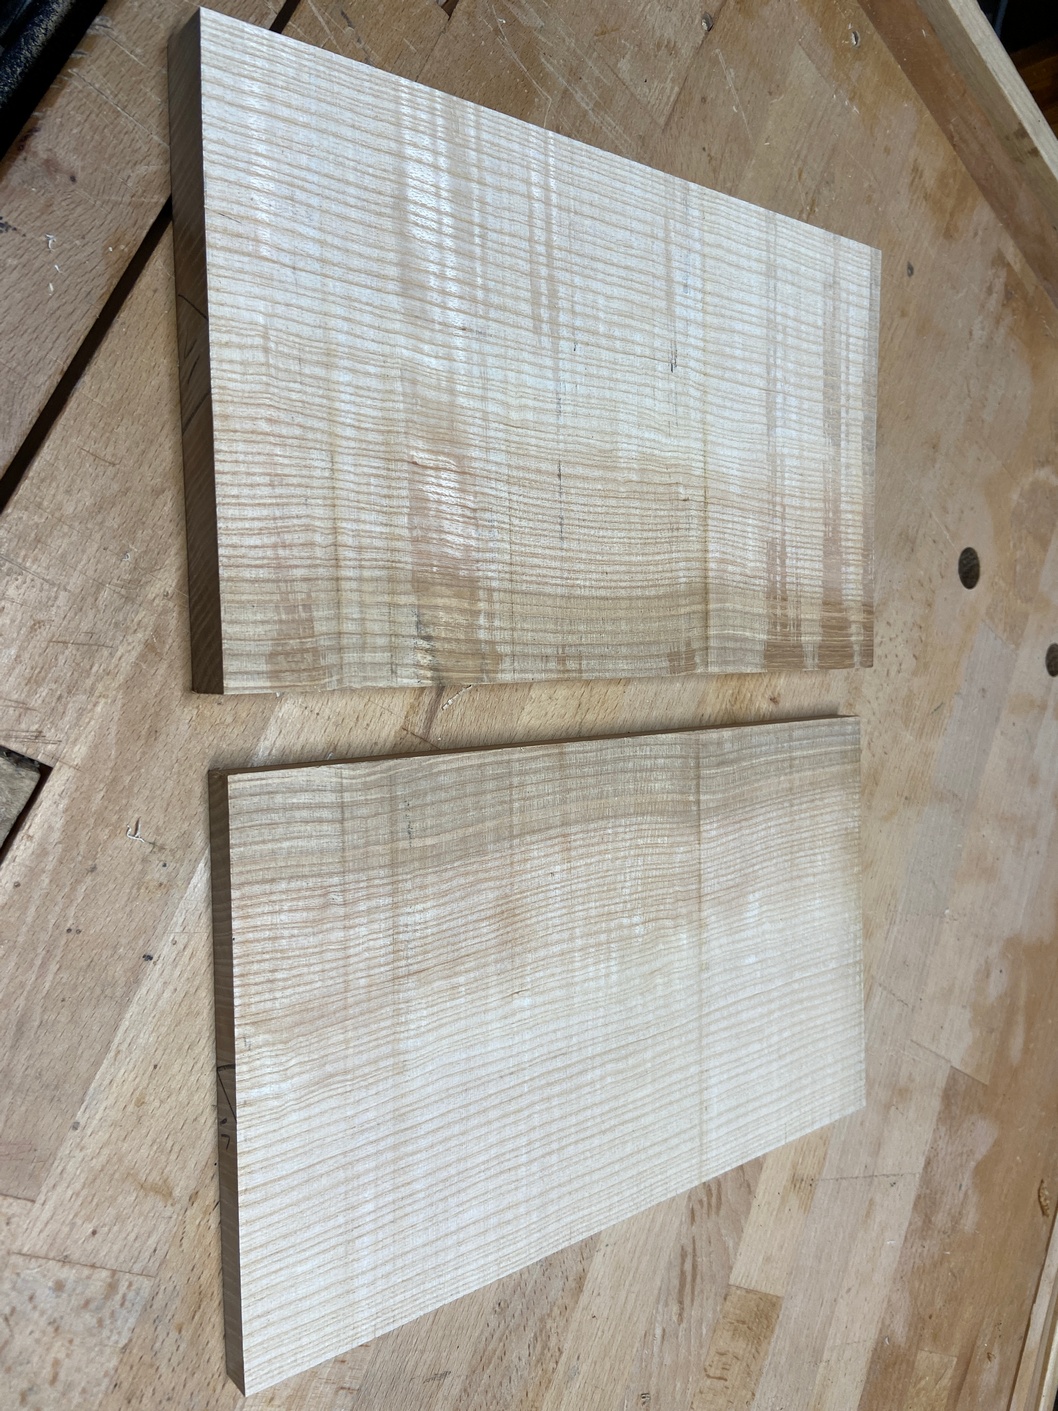
 So that’s all the parts except for the panels. I’ve selected some stock thick enough to re-saw and get two rough 14mm panels. This is mainly because I want book-matched pairs (below right) in order to build up the large panels from. For both the footboard and headboards, I’ll need 5 pairs each.
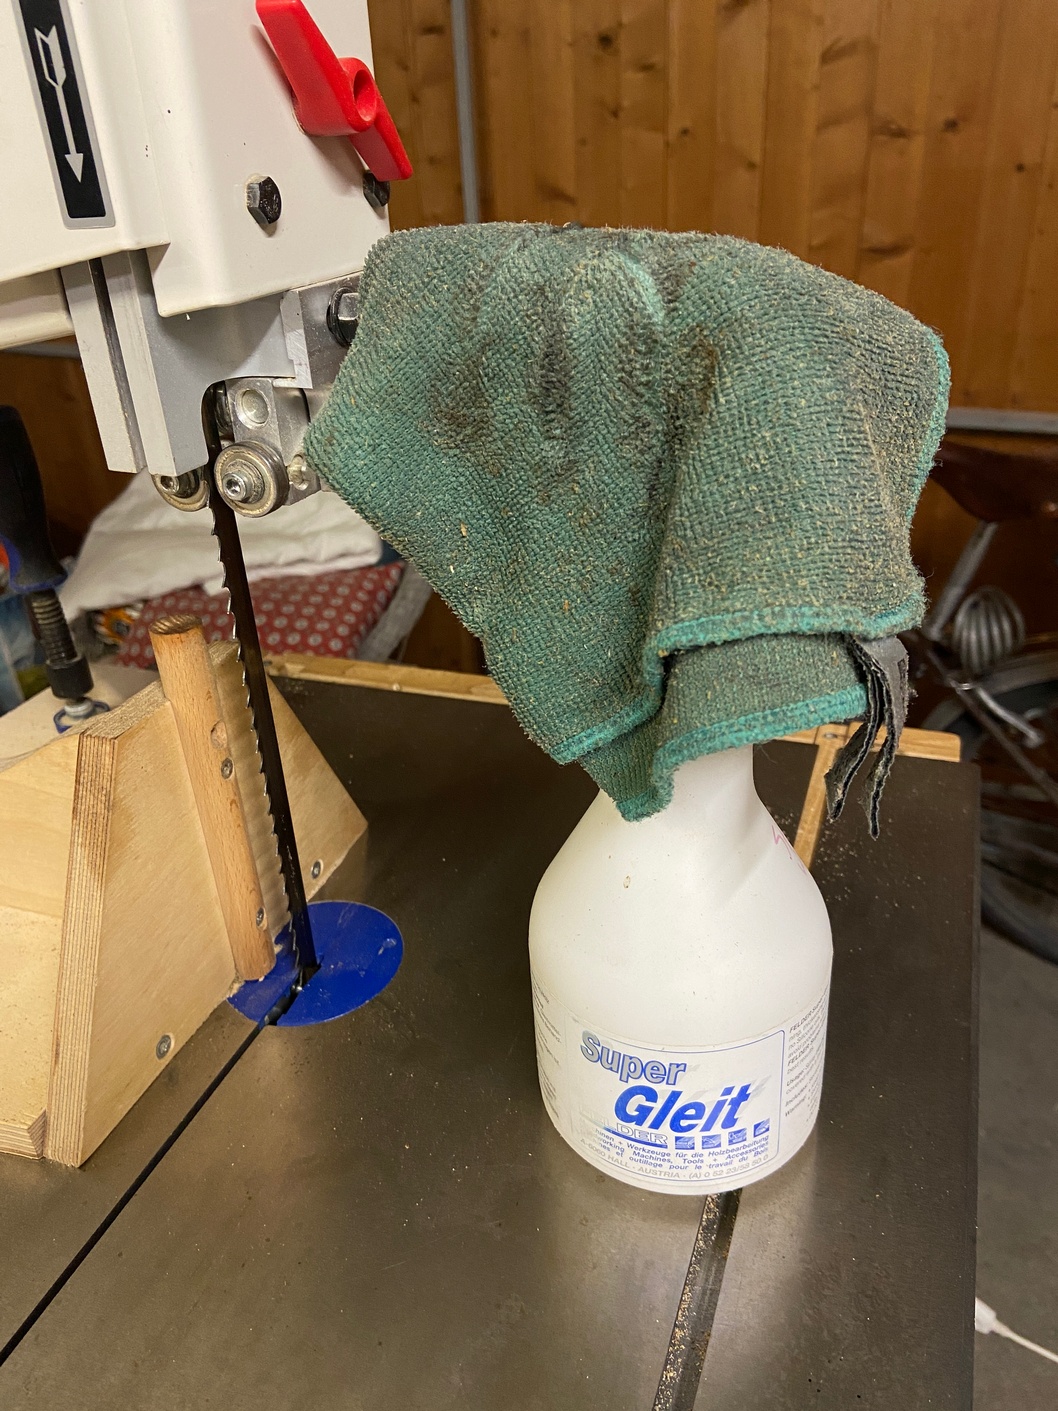
Again, I’ve written details about the re-sawing process in another post (Sewing Center part 3) if you’re after that. Suffice to say here that I set up my re-sawing jig on the bandsaw and lubricated the blade before starting to cut. I usually use Pam cooking spray however, I came into a gallon jug of this lube called Super Gleit which works even better. Re-sawing is tough on blades and since mine is almost in need of sharpening, I clean it and apply the lube after every other re-saw.

The result of a tedious 30 minutes’ work, this stack of panels will come up to the house to acclimate for a while.
 By now, I’m ready to bring down the leg pieces and assess the movement. It’s insignificant so I joint the inside face and square it up with the front face of the leg that extends from the foot up to 60cm (the height of the mattress top and the point I decide to begin the angle leaning back).
 From here till the end, the inside and front face of each rear leg and the inside and rear face of each front leg are the reference faces I’ll use to mark and cut the joinery.
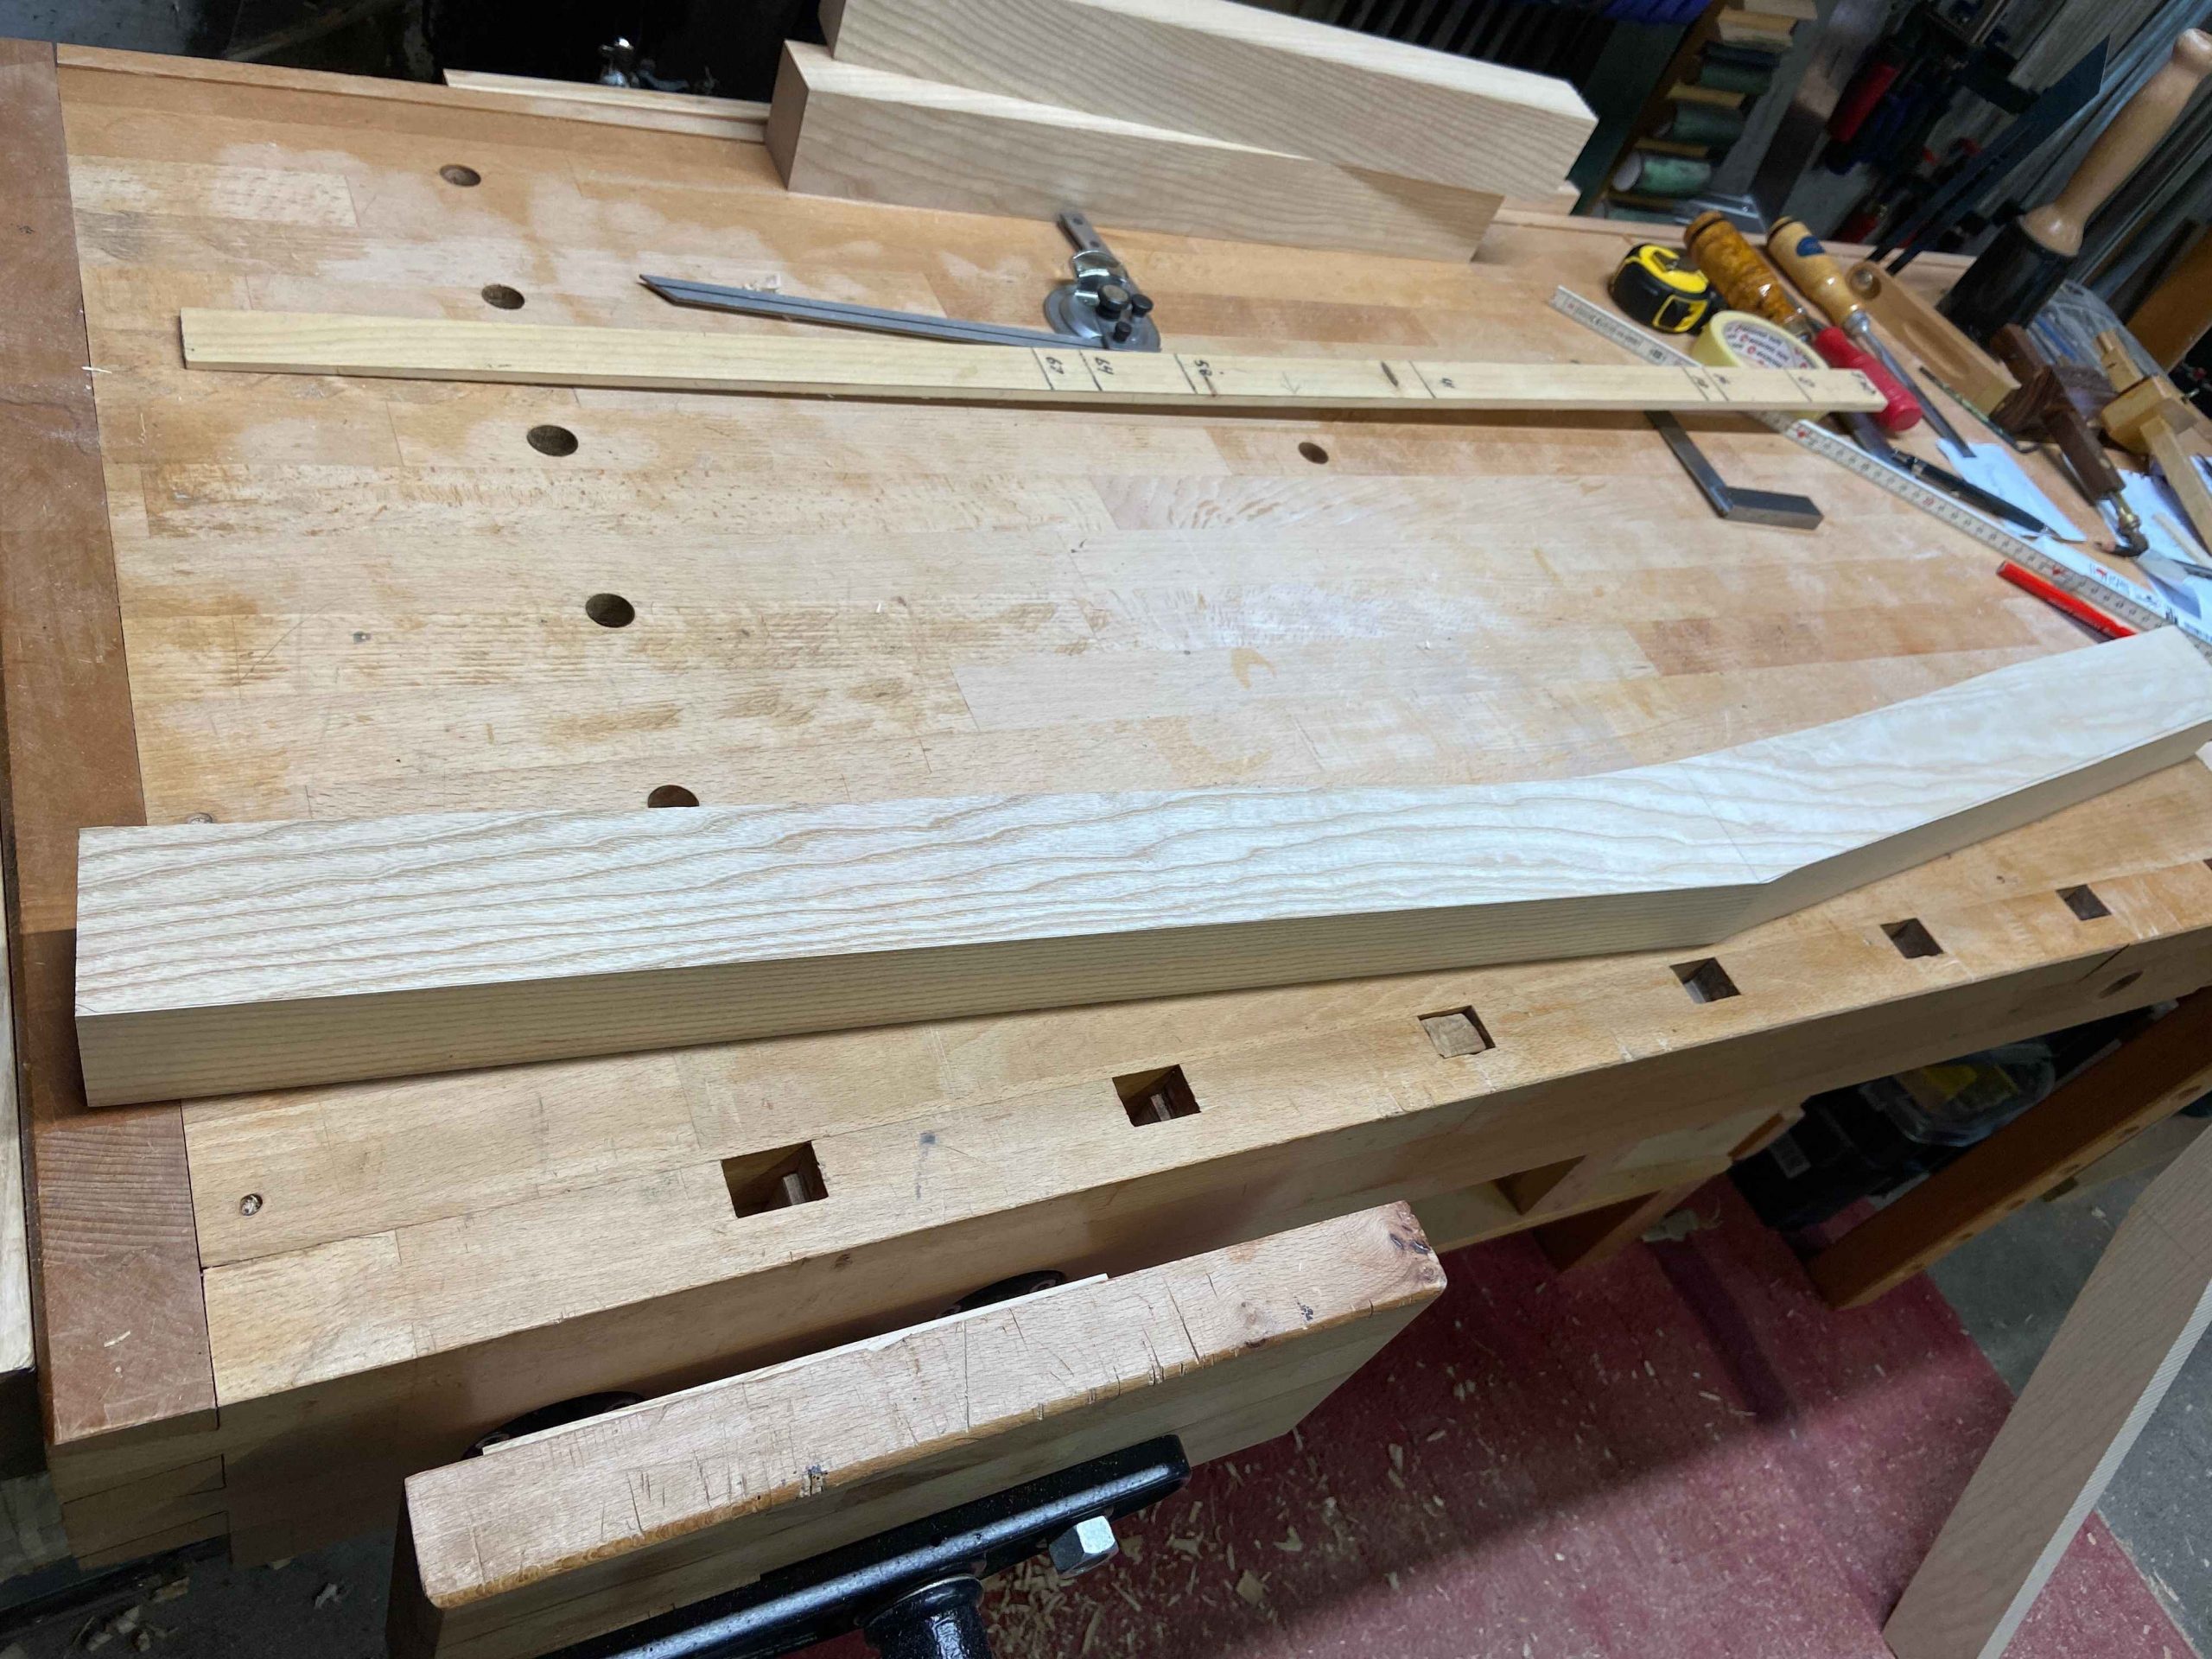
I’m using about a 12 degree angle for the upper part of the rear legs so I mark this using the front face and the 60cm line as the reference (below left). Then to the jointer and with a number of passes, I carefully creep up to the line I’ve drawn. I might have to take a few more light passes on the previously jointed face but by leaving a couple extra centimeters at each end, I take a bit of the stress out of this operation. Once I’ve converged both front faces at the 60cm line, I repeat the operation for the other leg.

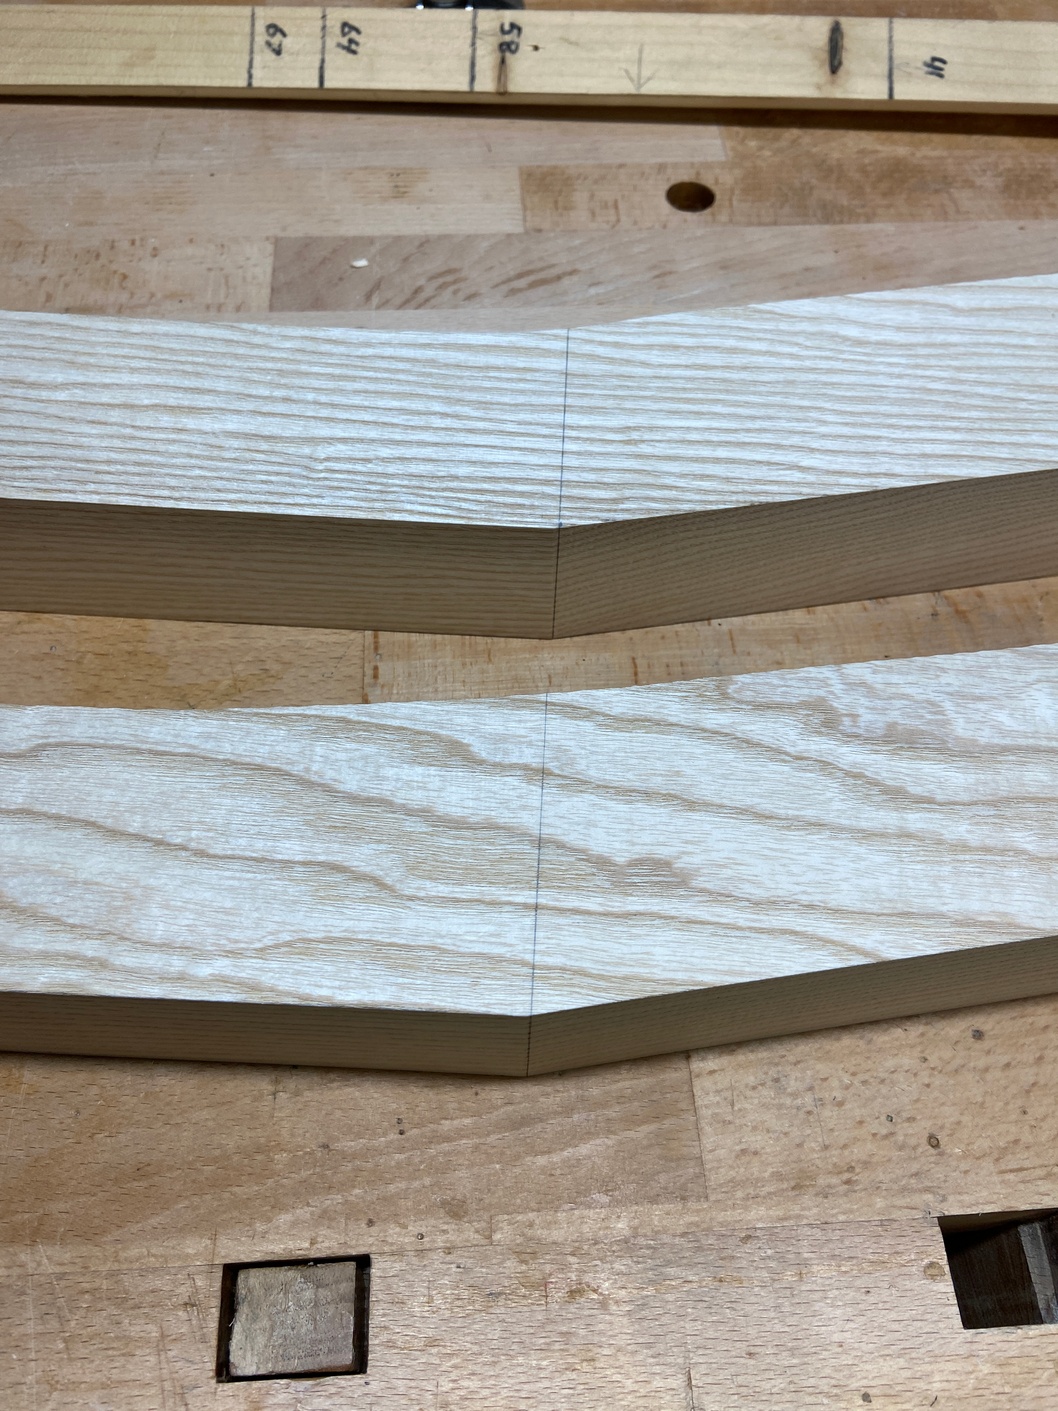
The back face doesn’t have to be perfect however, I do want it to be parallel with the front so I can more accurately mark for the joinery. I do one leg, and then position it on top of the other with the 60cm mark lined up and then pencil the 2nd leg using the first as a reference.

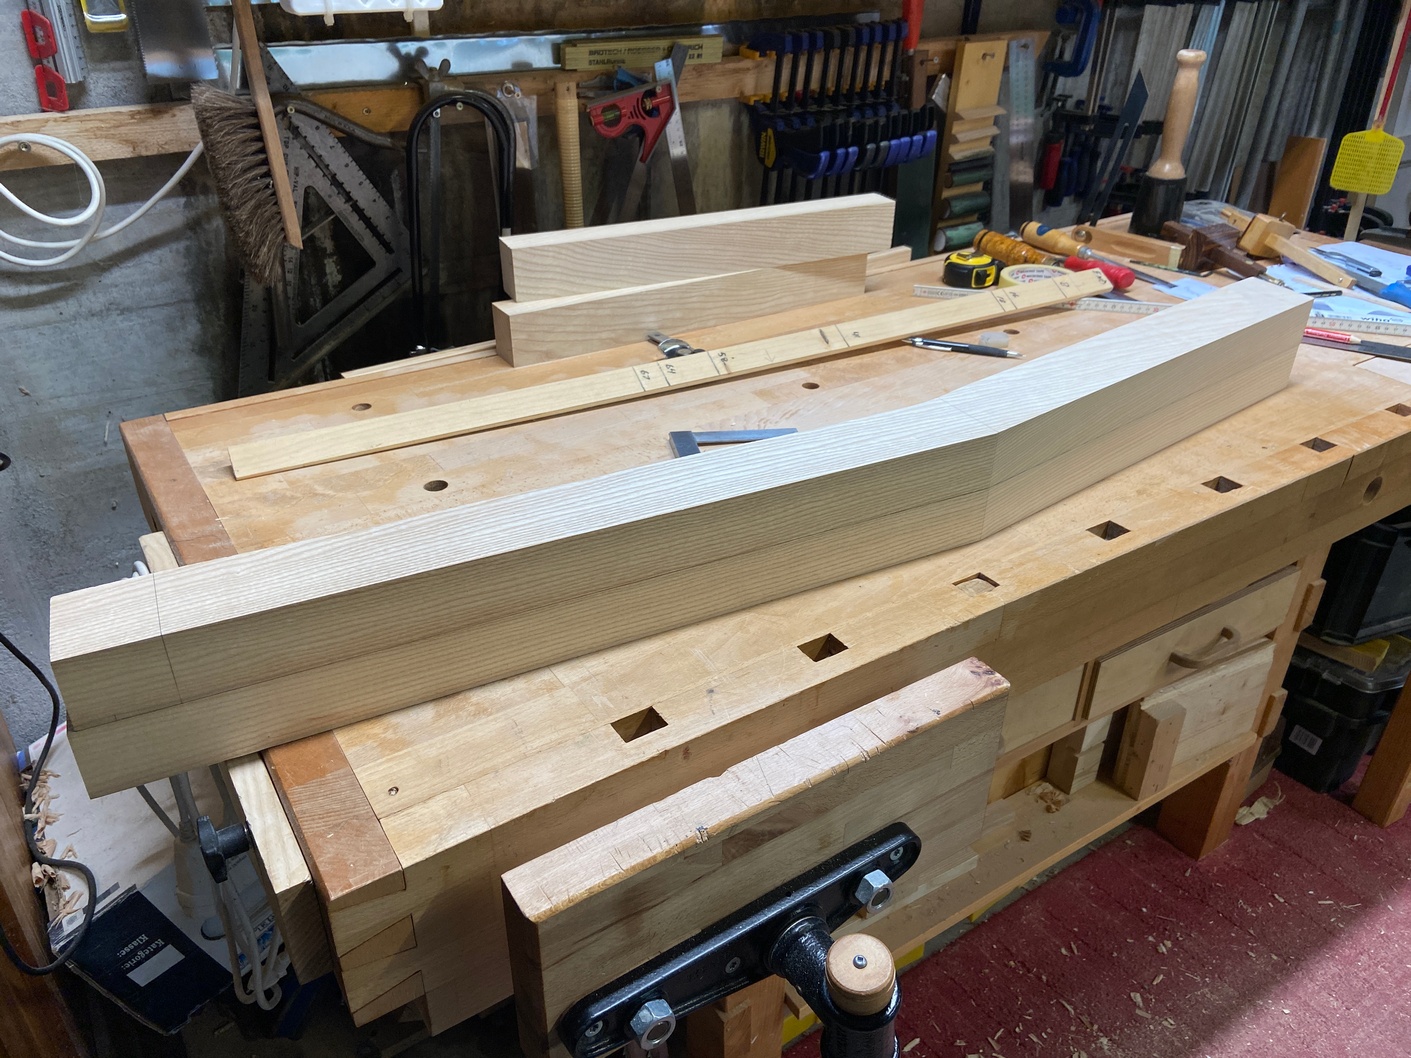
Finally, I mark where to cut both ends and I have a matching set of rear legs. The front legs are straightforward because there is no angle, I just match the width and thickness of the bottom half of the rear legs.
Next post, I’ll start marking and cutting the joinery.
Leave a Reply