
So, sparing you the details, it’s come about that I’ll be building a liquor cabinet for a colleague. Something that will hold 2 shelves of tallish (33-35cm high) bottles of spirits, a row of 8 bottles of wine and still have room for a drawer with about 14.5cm of usable space. Here is the front view sketched on graph paper (the only way I can draw a straight line without a ruler).
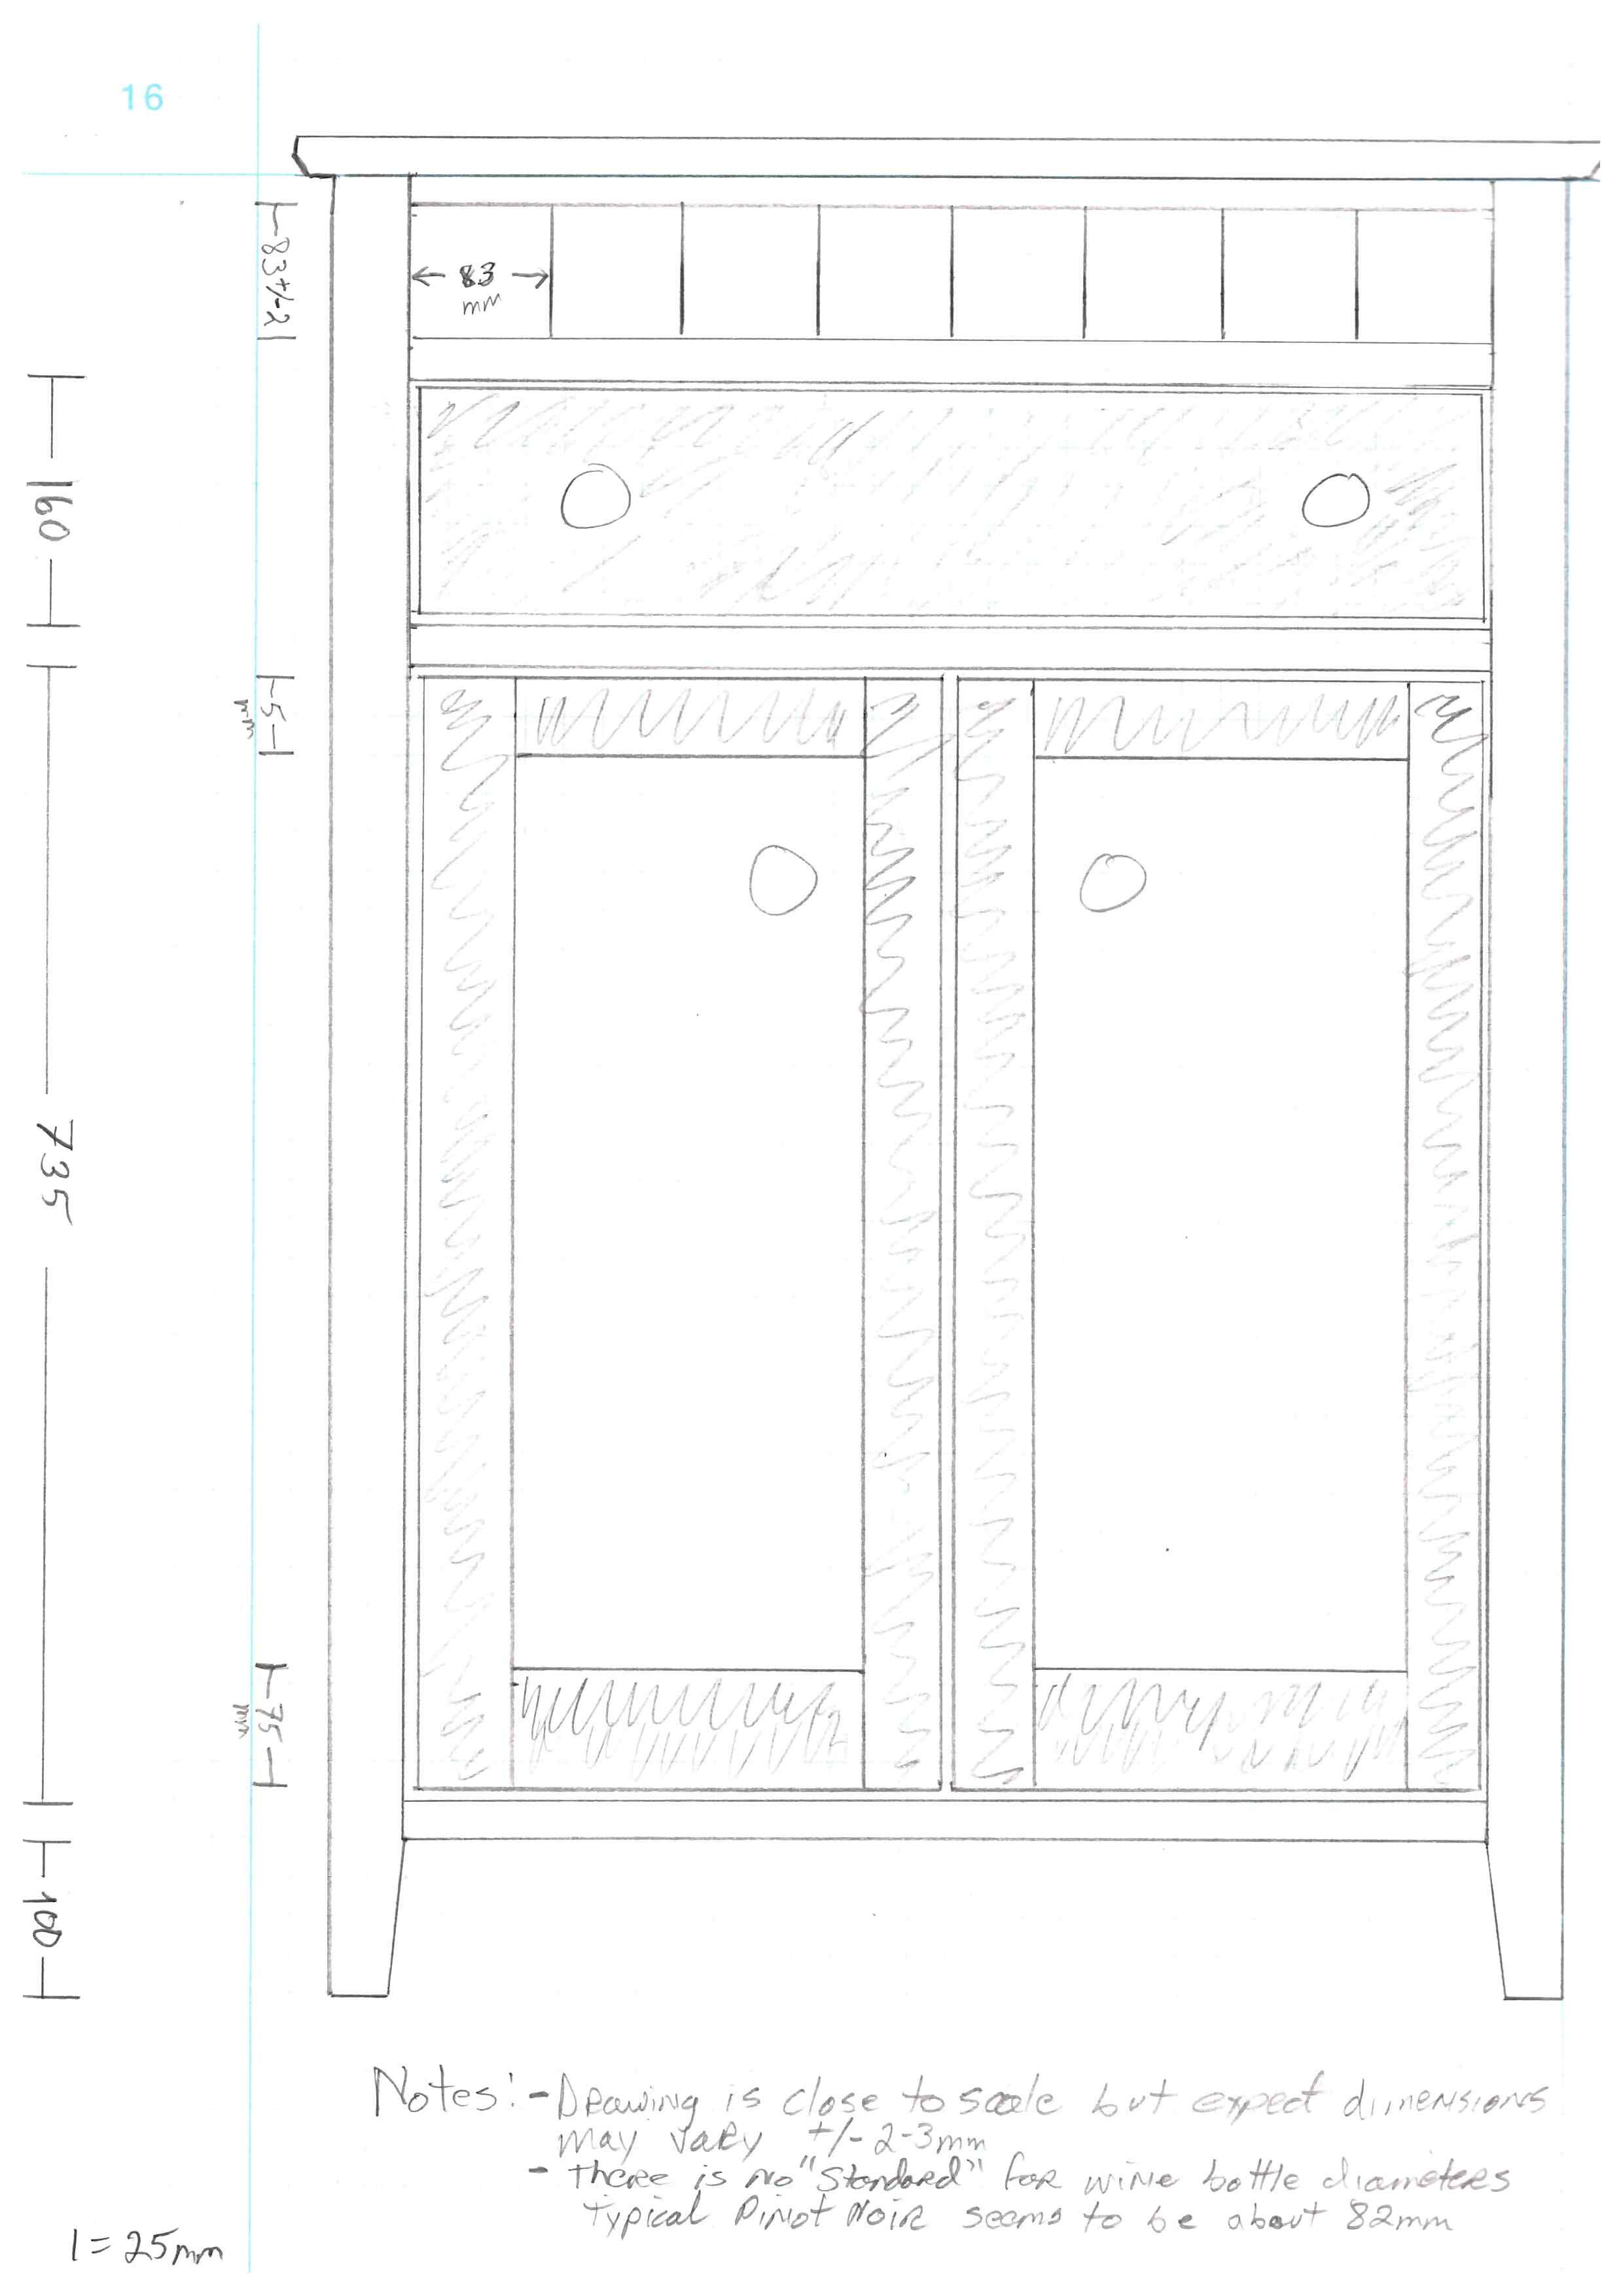
The construction method will be similar to the sewing center in that I’ll be using frame and panel sub-assemblies. I like frame and panels because while light, they can be very strong and negate a lot of extra planning due to wood movement. Different from the sewing center, this will have four square corner pieces that extend down into slightly tapered feet.
Incidentally, while I write these articles hopefully to help other woodworkers teaching themselves the craft, unless I’m using a method I haven’t written about before I’m keeping it a bit general. My series of 15 articles on the sewing center were quite detailed (I thought) and I don’t think I’ll be using any different techniques for this cabinet.
Dimensions will be approximately 120cm high by 80cm wide by 40cm deep. As I’ve made the conversion to metric here in the land of cheese and chocolate, I’ll forego giving dimensions in inches in further posts. We had the chance back in the ’70s to make the change in America but declined. I still tend to think in inches and feet but I’ve definitely been convinced of how easy it is to use the metric system while building.
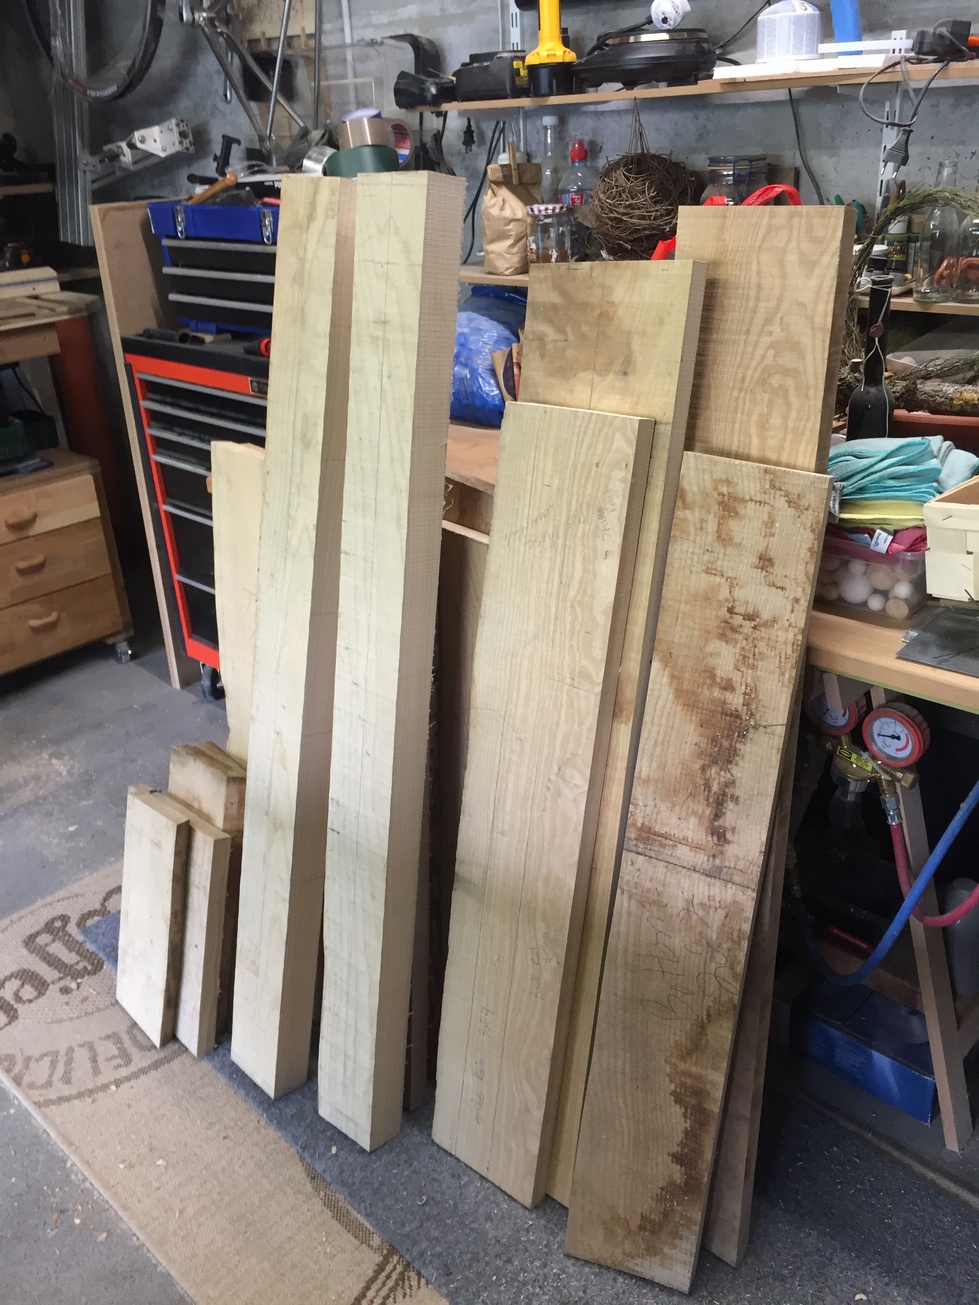
The first step as always is a trip to my “wood storage facility” (2nd garage in the neighboring town) to pick out the slabs I’ll need and then crosscut them to length plus about 15%. Even though the wood is still coarse from the sawmill and has some weathering, I can usually see the grain well enough to make these rough-cut decisions.
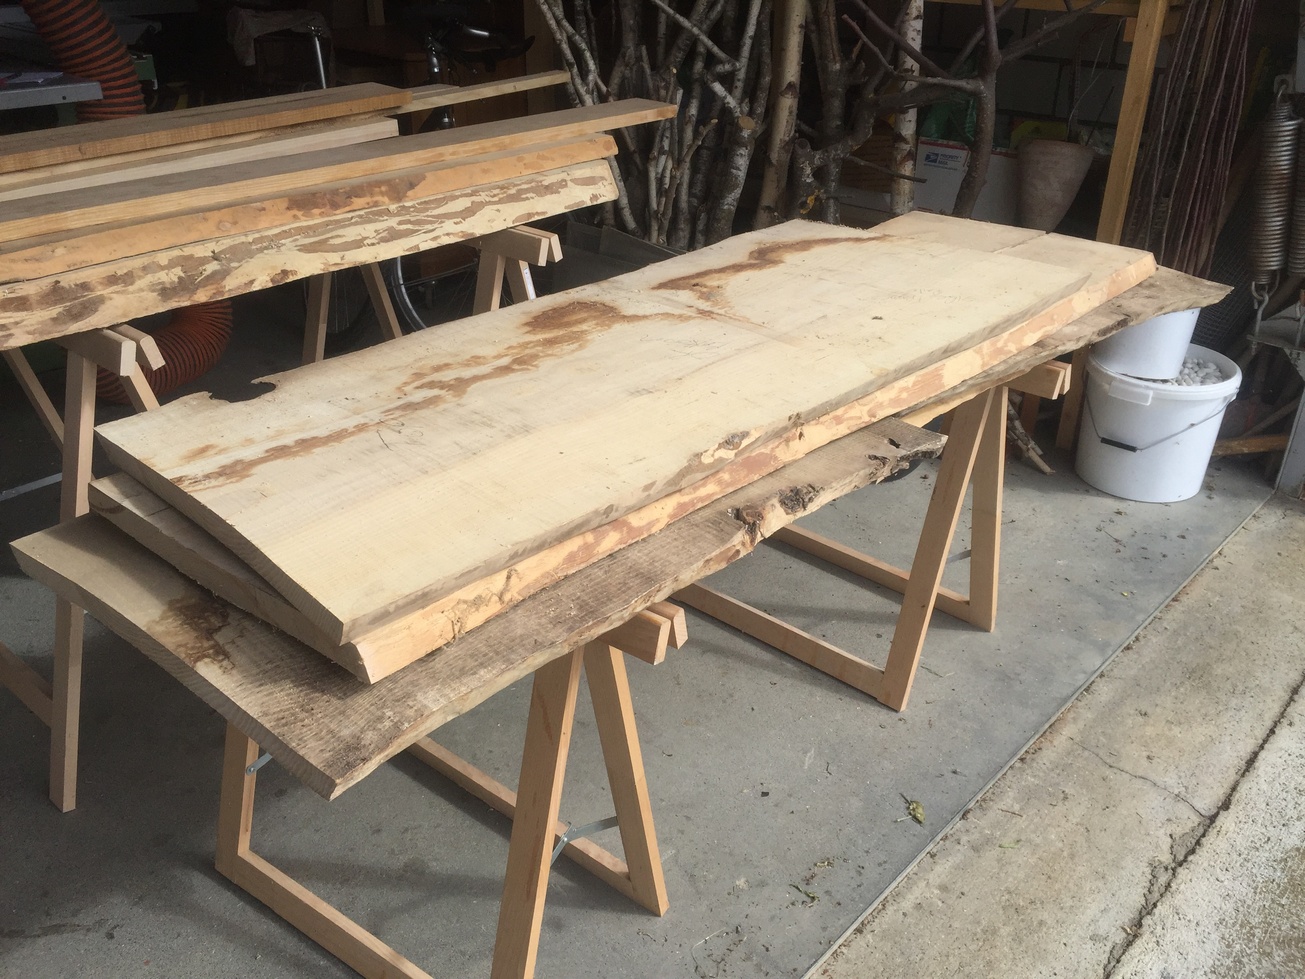
This piece below left looks like a good candidate for the top of the cabinet, with some nice heartwood figure.

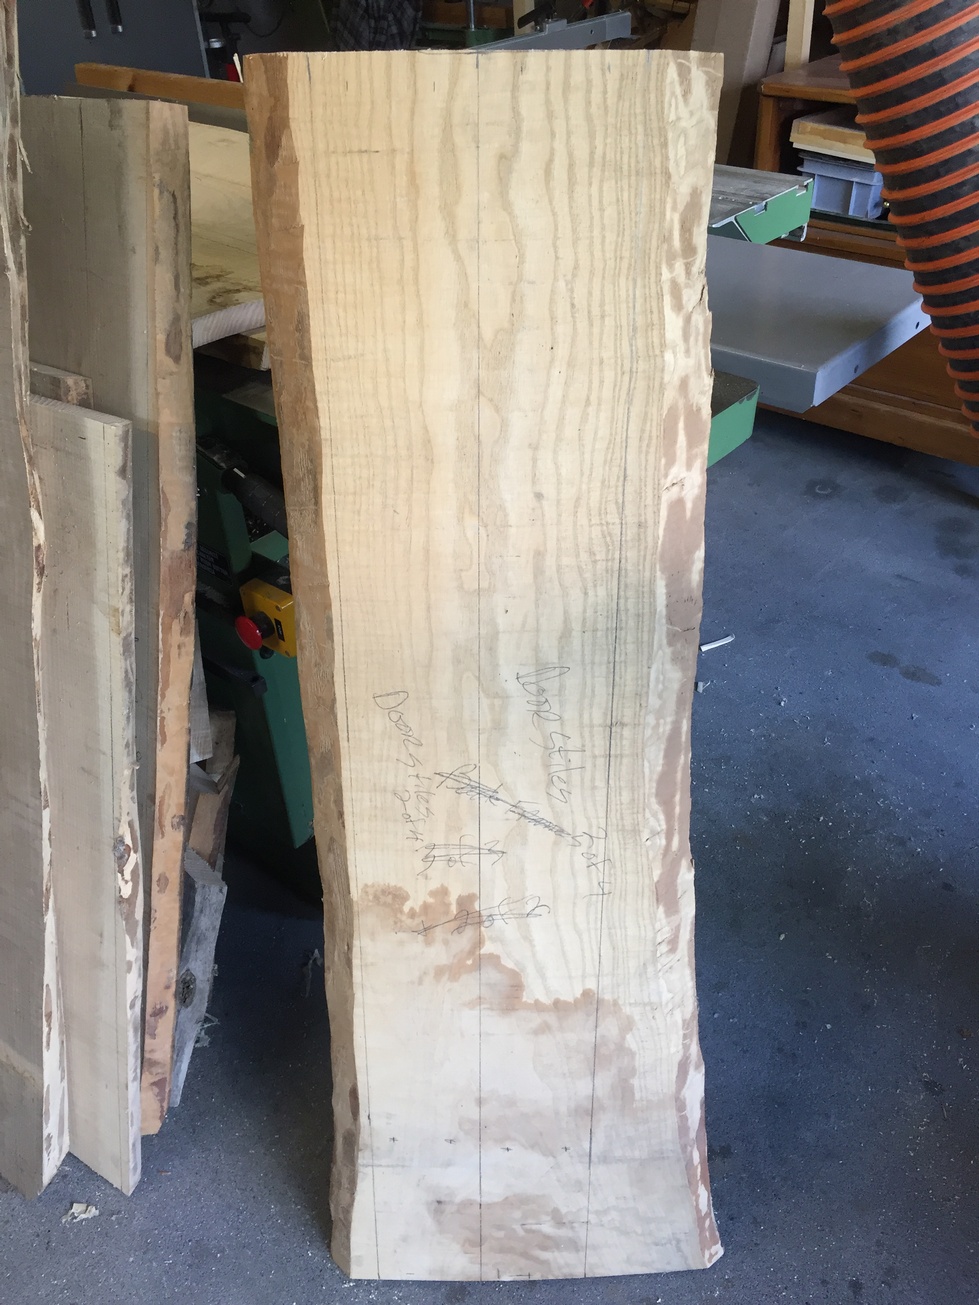
With a long straight-edge and square I can begin planning which slabs will produce the individual parts of the cabinet and mark to rough widths for ripping on the bandsaw.
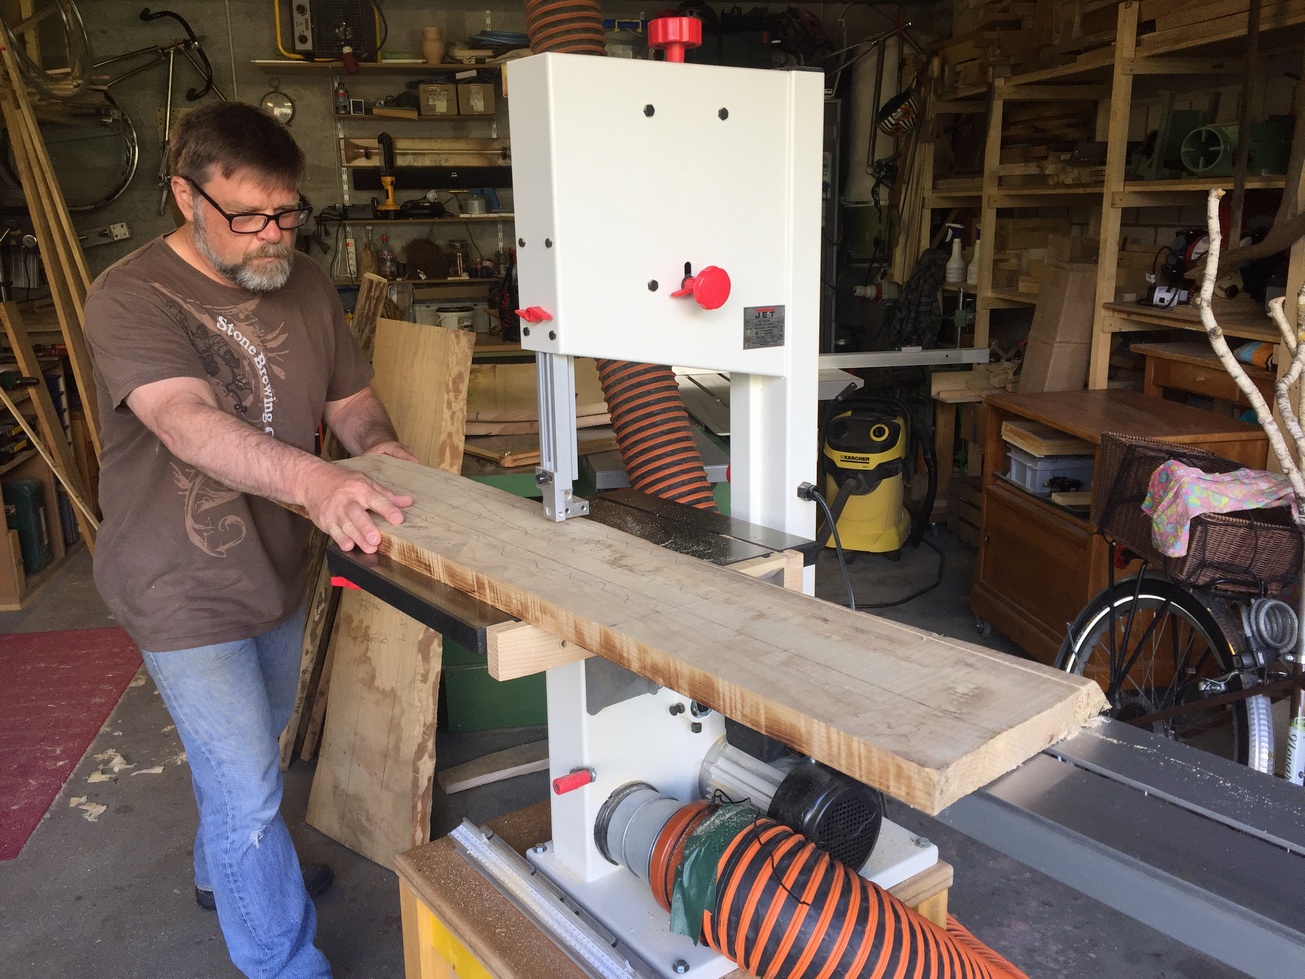

I’m pretty confident with the bandsaw however, sometimes with a very thick slab I’ll like to make sure I’ve got at least a somewhat flat surface for stability while cutting. This piece below will produce four, 5cm square legs and is currently 6cm thick (9/4 in English parlance). With a jack-plane, I flatten an area down the center of the piece so it won’t move on me while on the bandsaw.


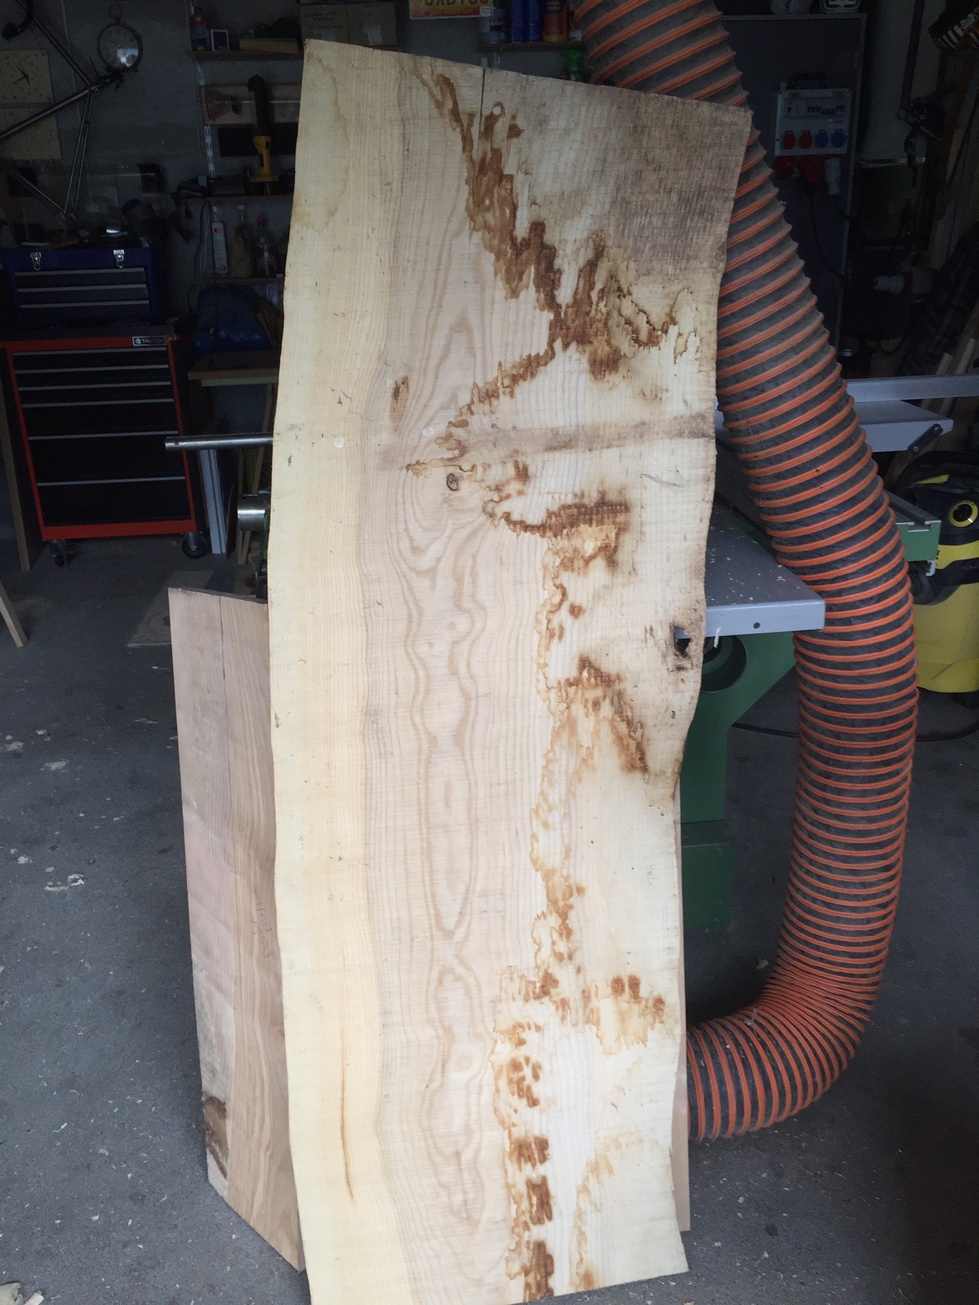
All the major pieces are rough dimensioned now and I can take a closer look at cups, bends, crooks, or twists prior to the first planing. For wide parts like the top, bottom and shelf, it’s not feasible to expect to plane these without ripping. A slab with a pronounced cup might lose up to 12mm in thickness before it’s flat on both faces so I have to make decisions on where to rip these pieces so that they can be planed and then later glued-up again to form a nice panel at least 20-23mm thick (most of these slabs are about 30mm thick in the rough). Some pieces, like the pic below right, might have a significant bow. Pieces like this will get crosscut into shorter lengths for rails or frame parts.
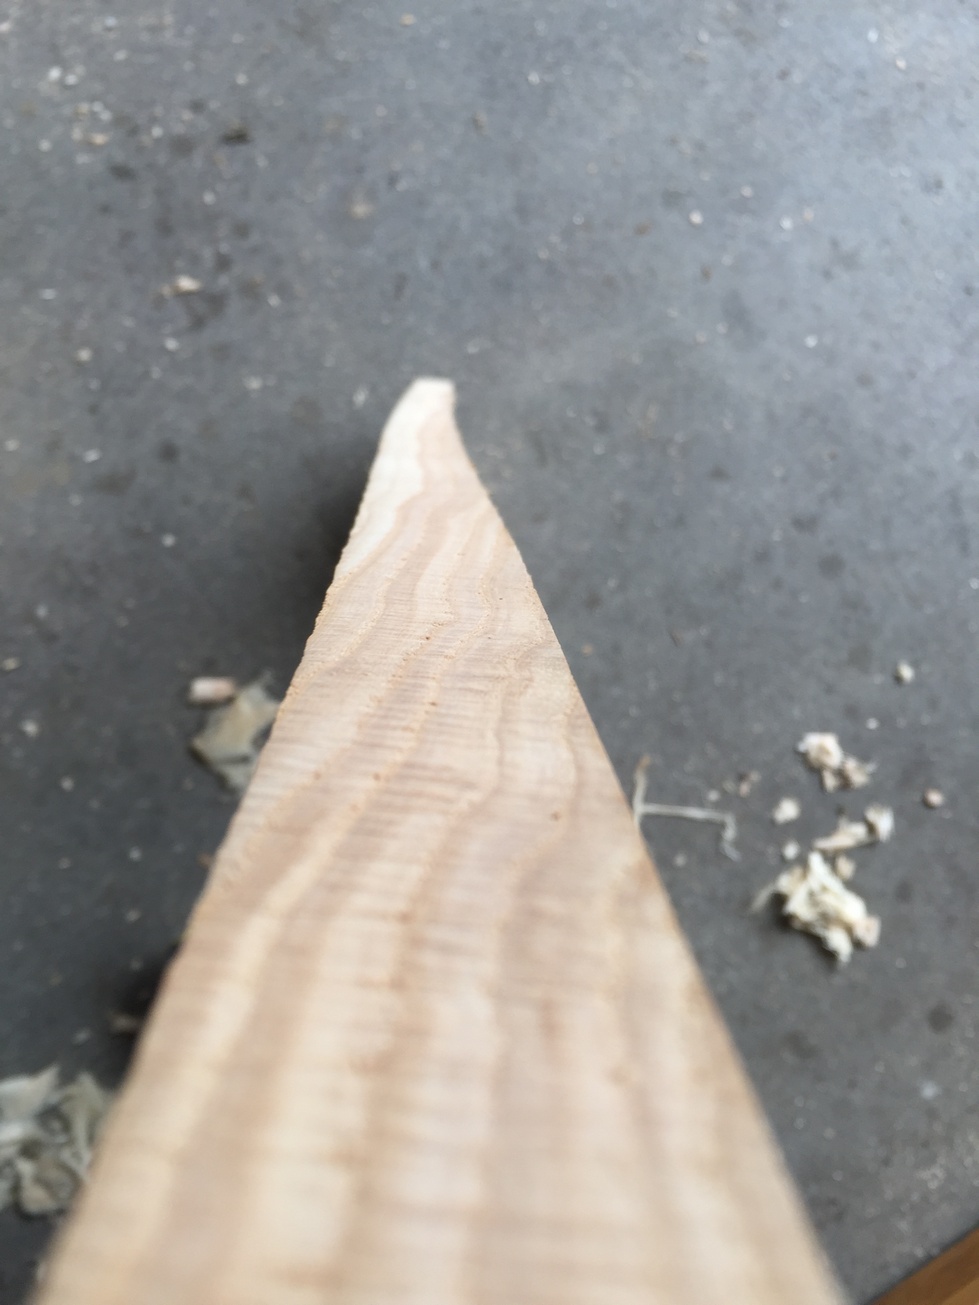
Now I plane all the pieces just enough to remove the sawmill marks and weathered wood so I can really see the grain and figure. Some further parts planning and I do the final ripping on the bandsaw. The piece below right had a corner that tapered quite a bit in thickness and rather than waste a lot of wood to get the whole piece even, I avoided it.


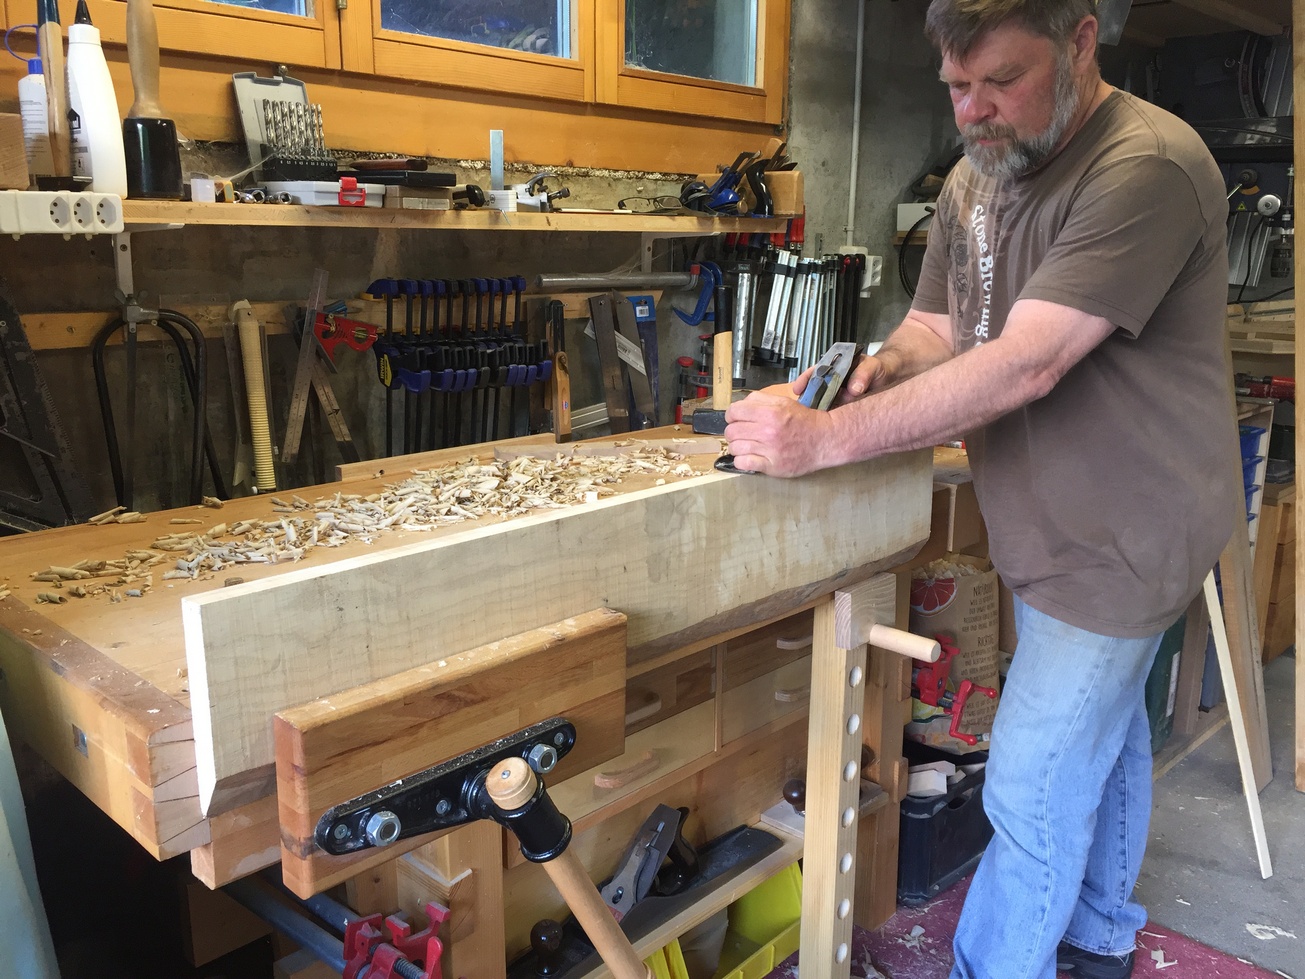
For a few of the larger pieces I go ahead and dress one edge, first with the jack plane to remove saw marks and then with the jointer plane to produce a nice straight edge. If I have a lot of pieces to edge joint I’ll do them on the jointer however, I’ve found that on pieces around 100cm or longer I get a straighter edge with the properly tuned and sharpened hand plane.

Now I can relax because all these pieces will need to acclimate. Over the course of the next few days or week, they may “move” further producing more cups or twists. Afterwards, a second planing will take the parts down to finished thickness with stable, flat faces. For critical parts like stiles and rails, especially for doors, I’ll do the second planing still shy of the actual thickness and let them sit another week before final thicknessing.

While I’m waiting, I start drawing up plans for a recycled-barn-wood coffee table for Alan, but that’s a different post 🙂 .
Leave a Reply