
“Nice Joint Mister……”
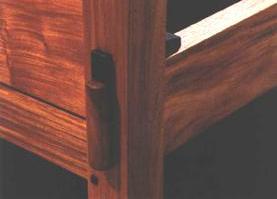 Okay, so it won’t be this pretty (or maybe it will?), but I hope to do a passable job. All the joints of a wooden bed frame are important, but the one that connects the side rails to the front and rear legs must be strong. And in this case strong, simple and reliable.
By the way, credit where it is absolutely due, the above photo is from a bed made by David Fay that I first saw in the July/August 2011 issue of Fine Woodworking magazine.
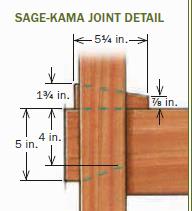
The joint is a variation on a Japanese style called Katasage Ari (half-dovetailed joint), in this case specifically, Sage-Kama. The beauty of joint is that it relies only on a large half-dovetail cut into the end of the rail that mates to an angled mortise in the leg. Weight and gravity do the hard work and a wedge at top adds the rigidity. Below is an example of possible dimensions however, many variations exist.
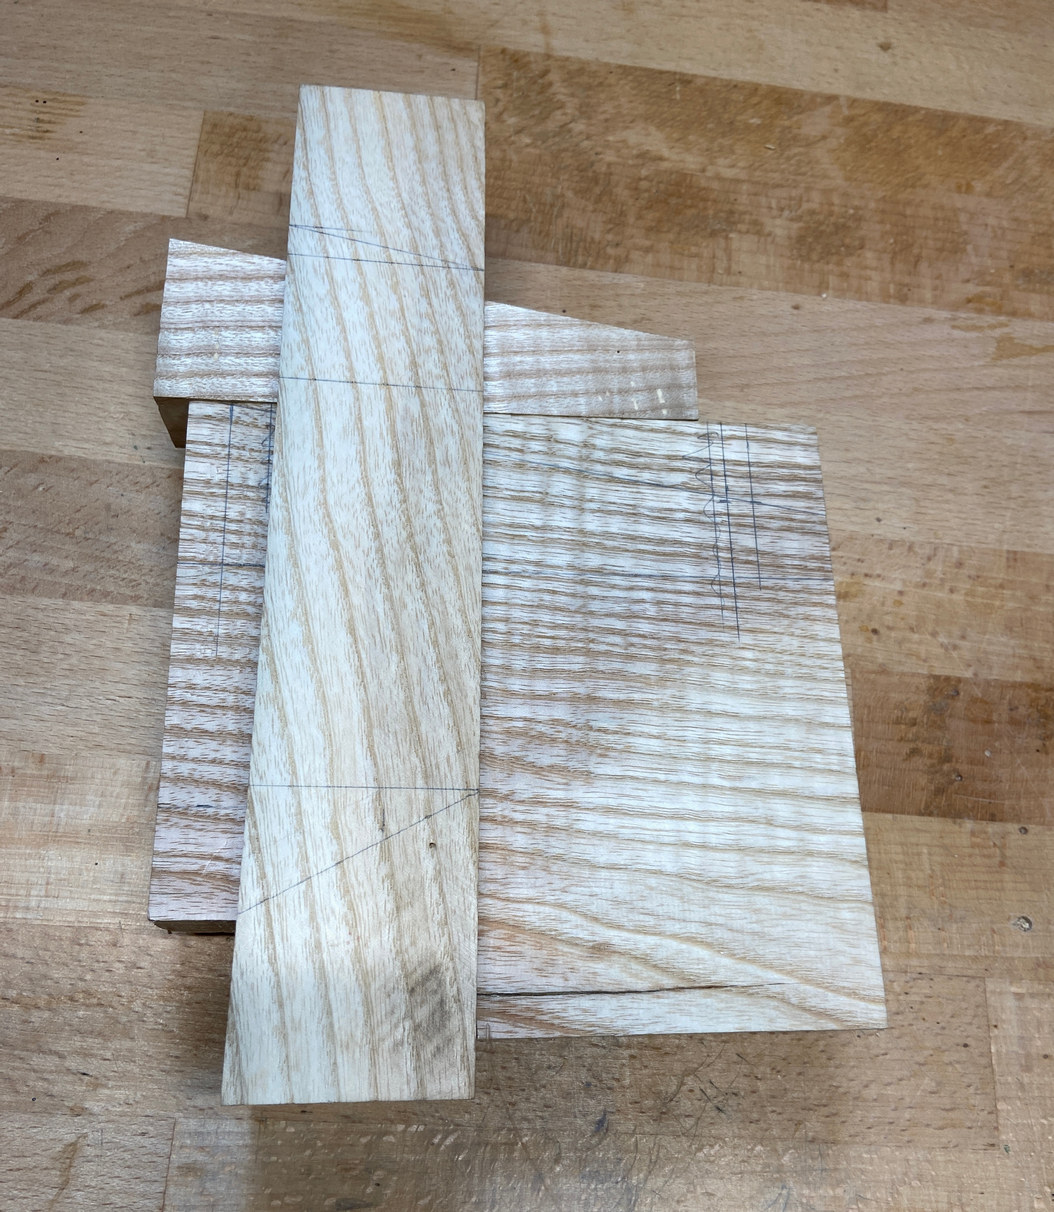
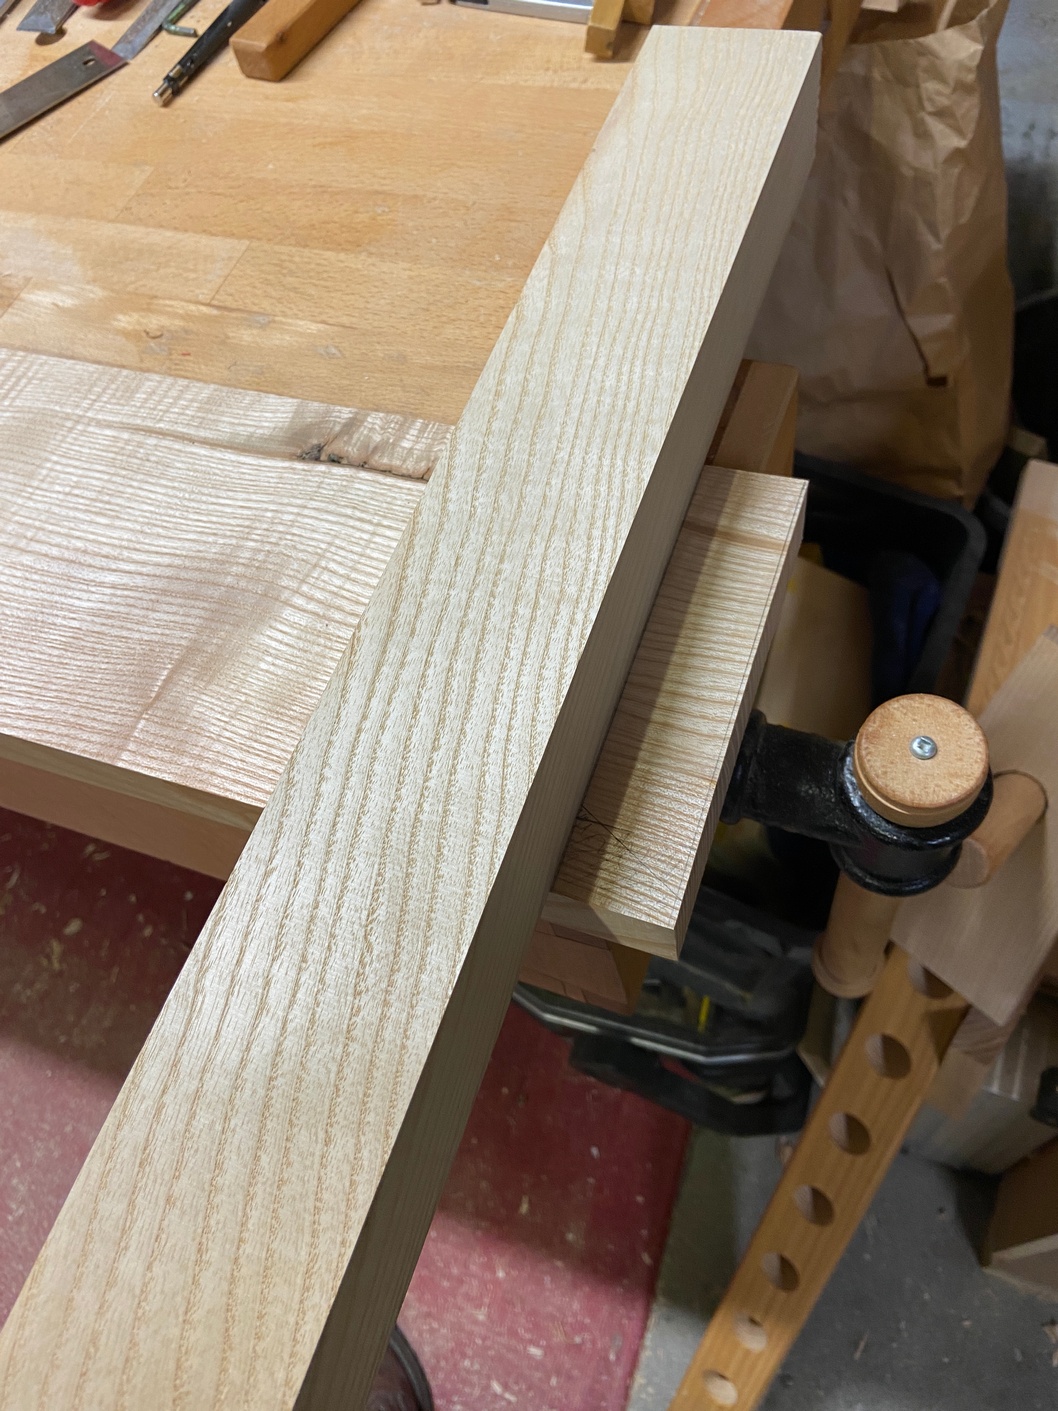
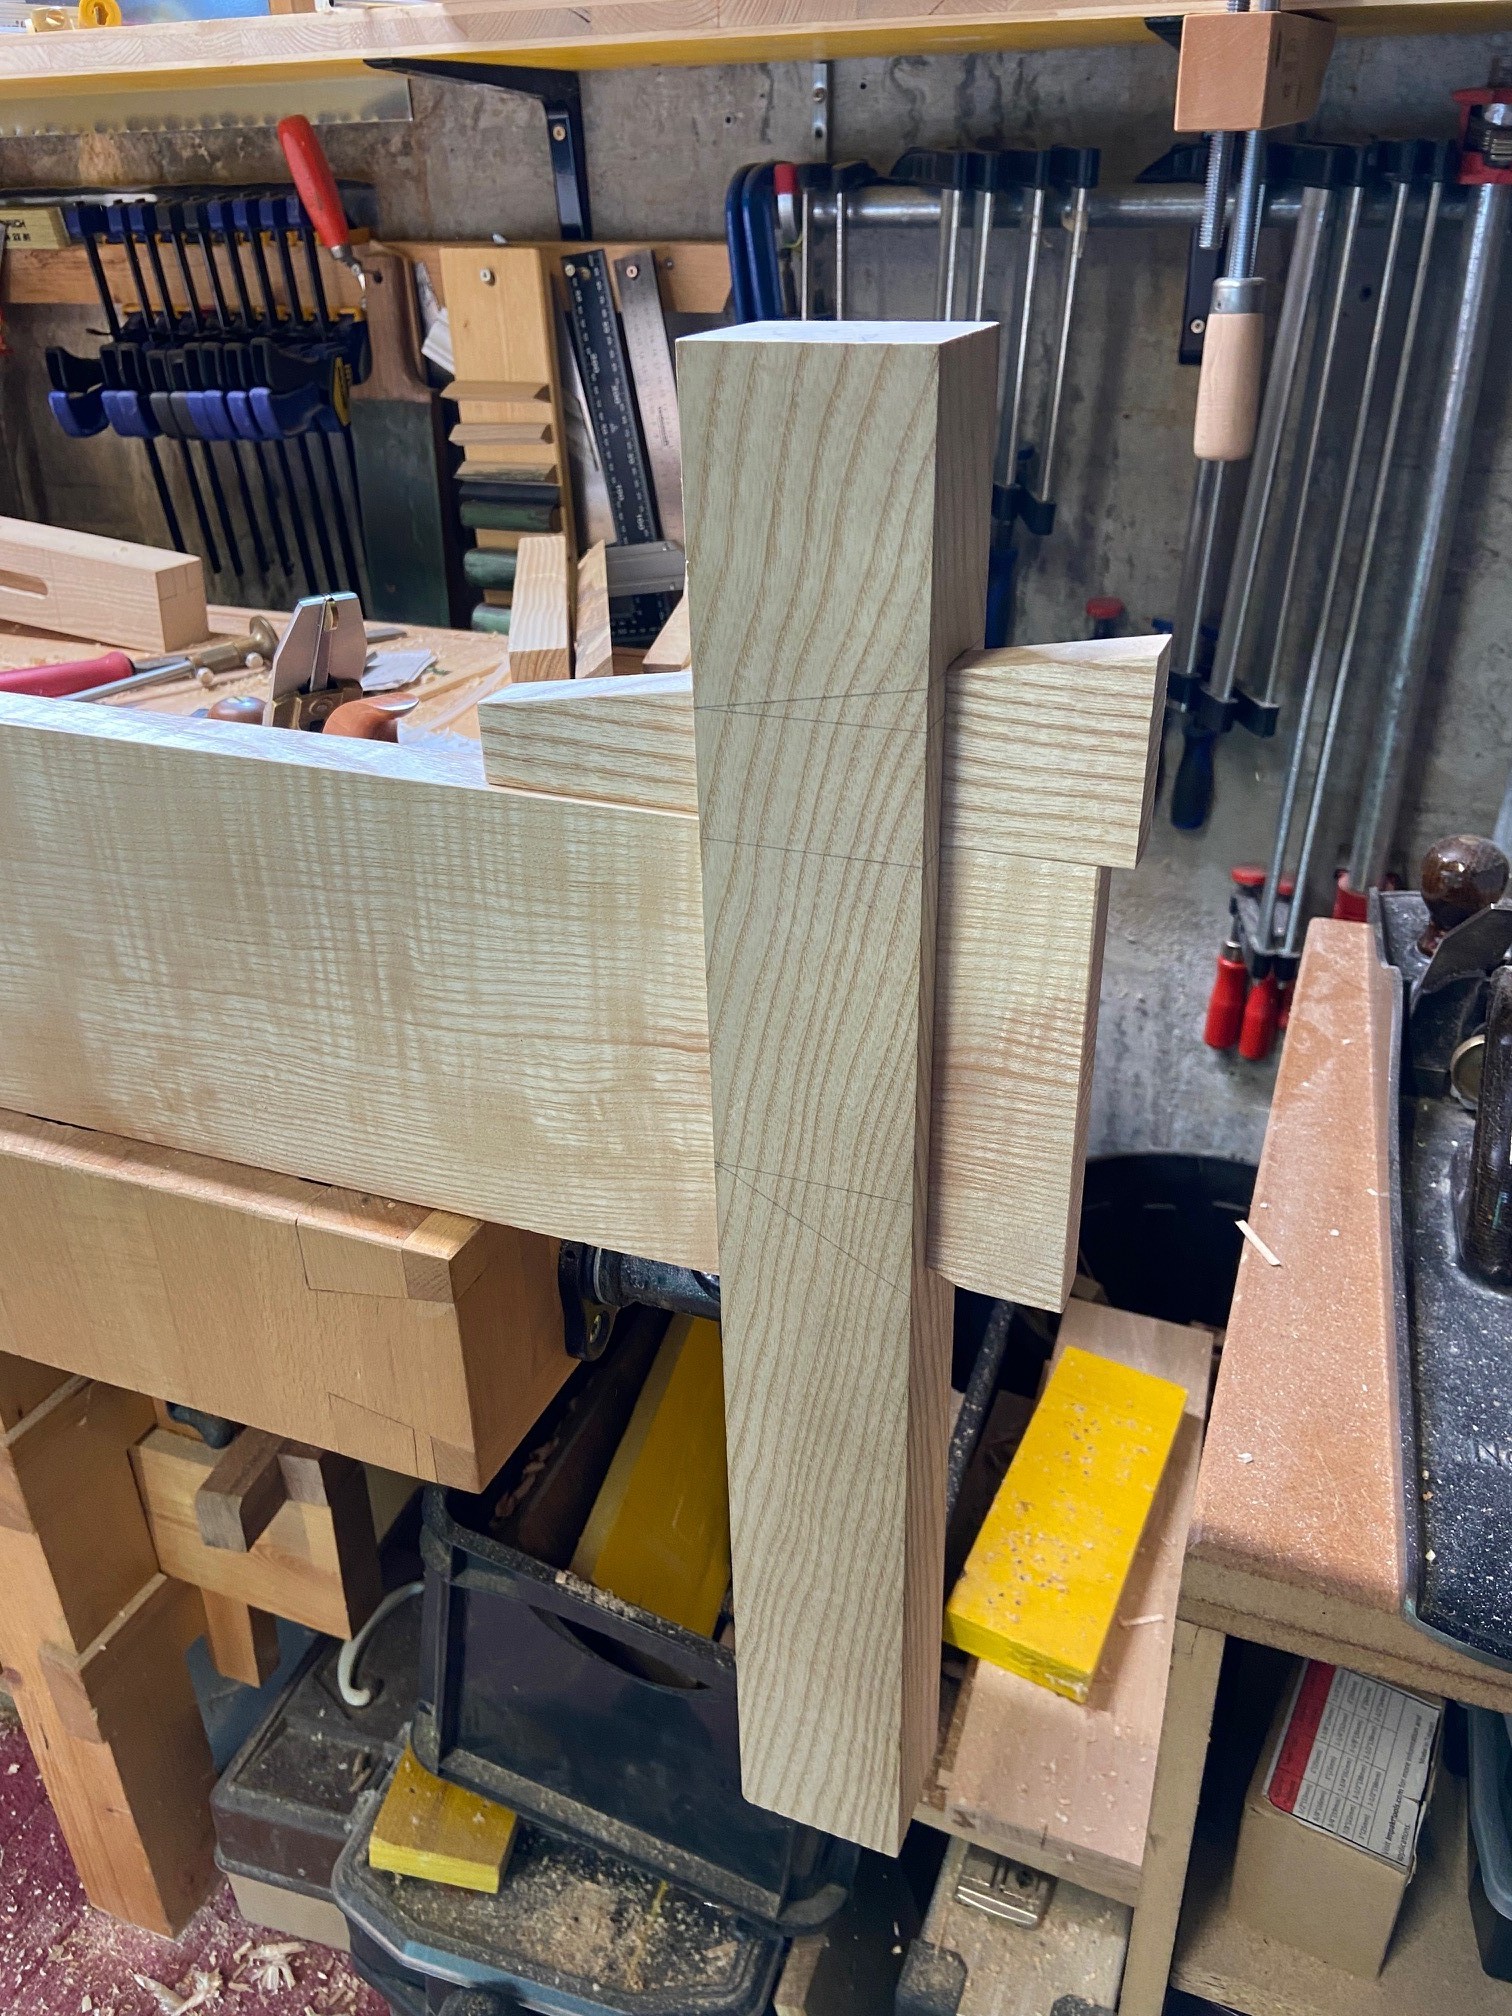
 Since I’m not fond of trying something for the first time on an actual piece of furniture, I used some scraps to mock-up a (very) rough sample.
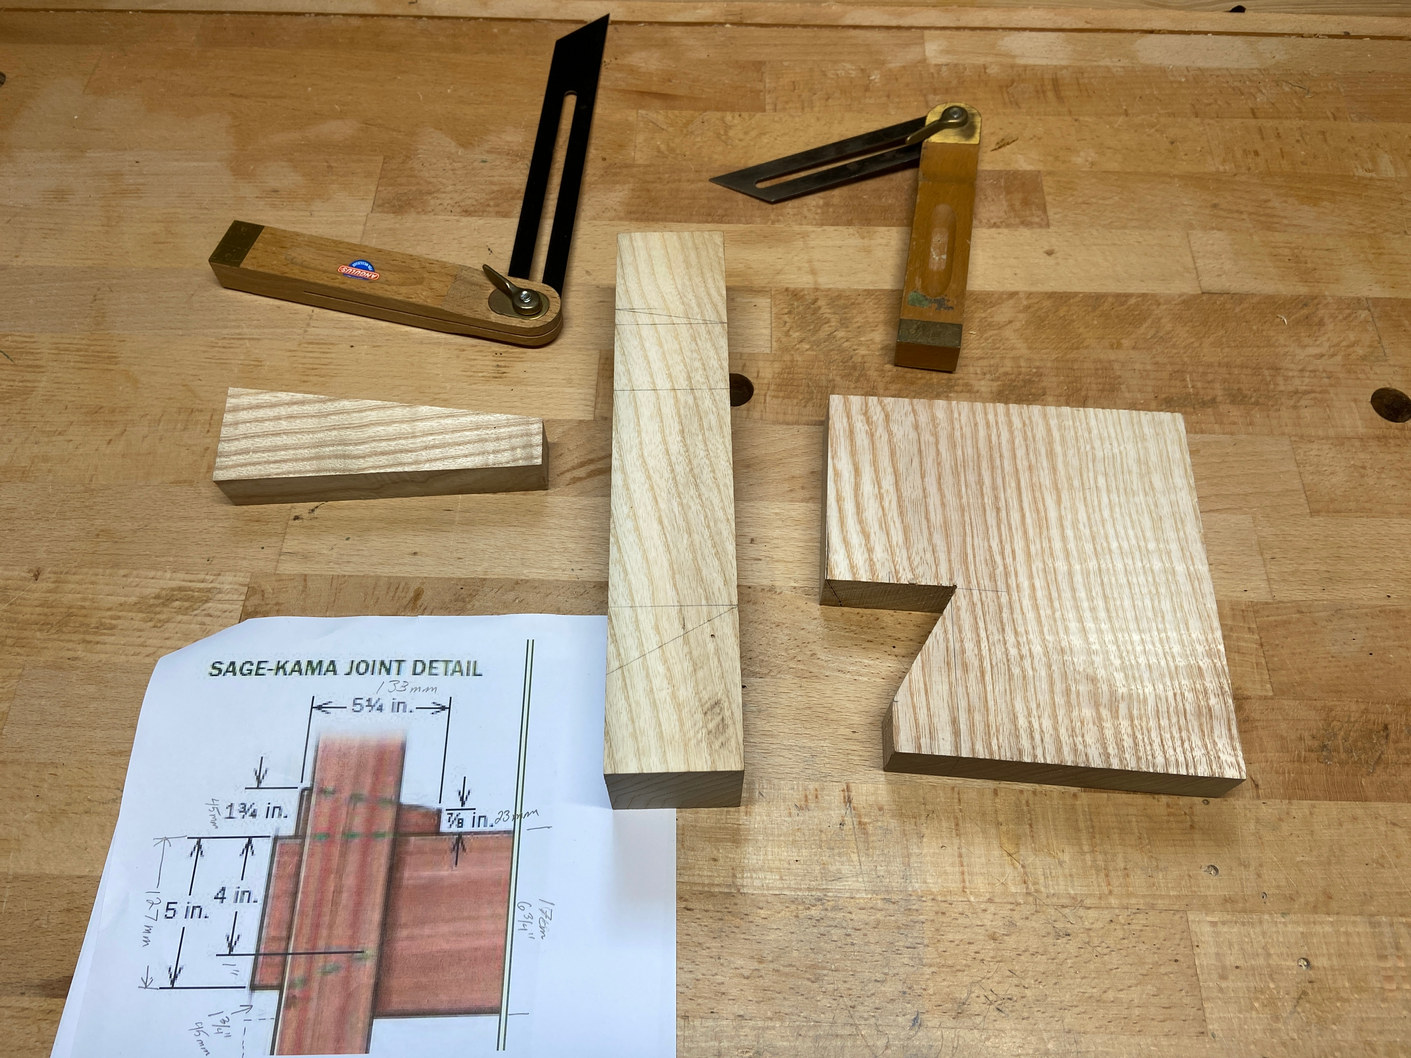 The finished joint was very strong; I put it in the vise and hit the end of the rail piece with a lump-hammer and neither the wedge nor the rail-end even budged. Impressive.
 Endeavouring to keep my reference faces in mind, I measure up from the bottom of a front leg and mark where the bottom of the side rail is located (on the front face). Then mark the top of the rail and a dashed line where the top of the slatted frame (and bottom of mattress) will be. I clamp the other front leg in the proper orientation and carry those marks over.
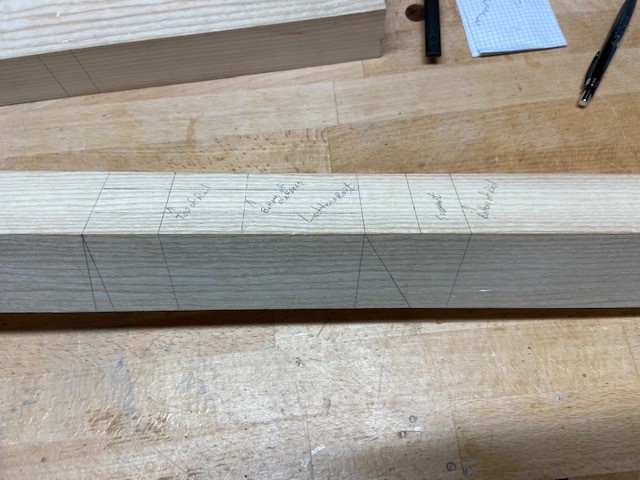
 Then, on the side face, I use the angles determined on the mock-up to pencil in for the half-dovetail and wedge. Using that first front leg as the master, I carry over those marks to the rear legs. Below right are all 4 legs with the joint marked out.

Given about 6 or 8 mortises to chop, I’m happy to extend my hand tool skills however, with the frame and panels, this bed has 26 mortises. It’s time to setup the horizontal borer and drill out most of the waste for each mortise. I’ll get plenty of chisel time squaring up the F&P mortises and chopping the angles for the sage-kama joints.
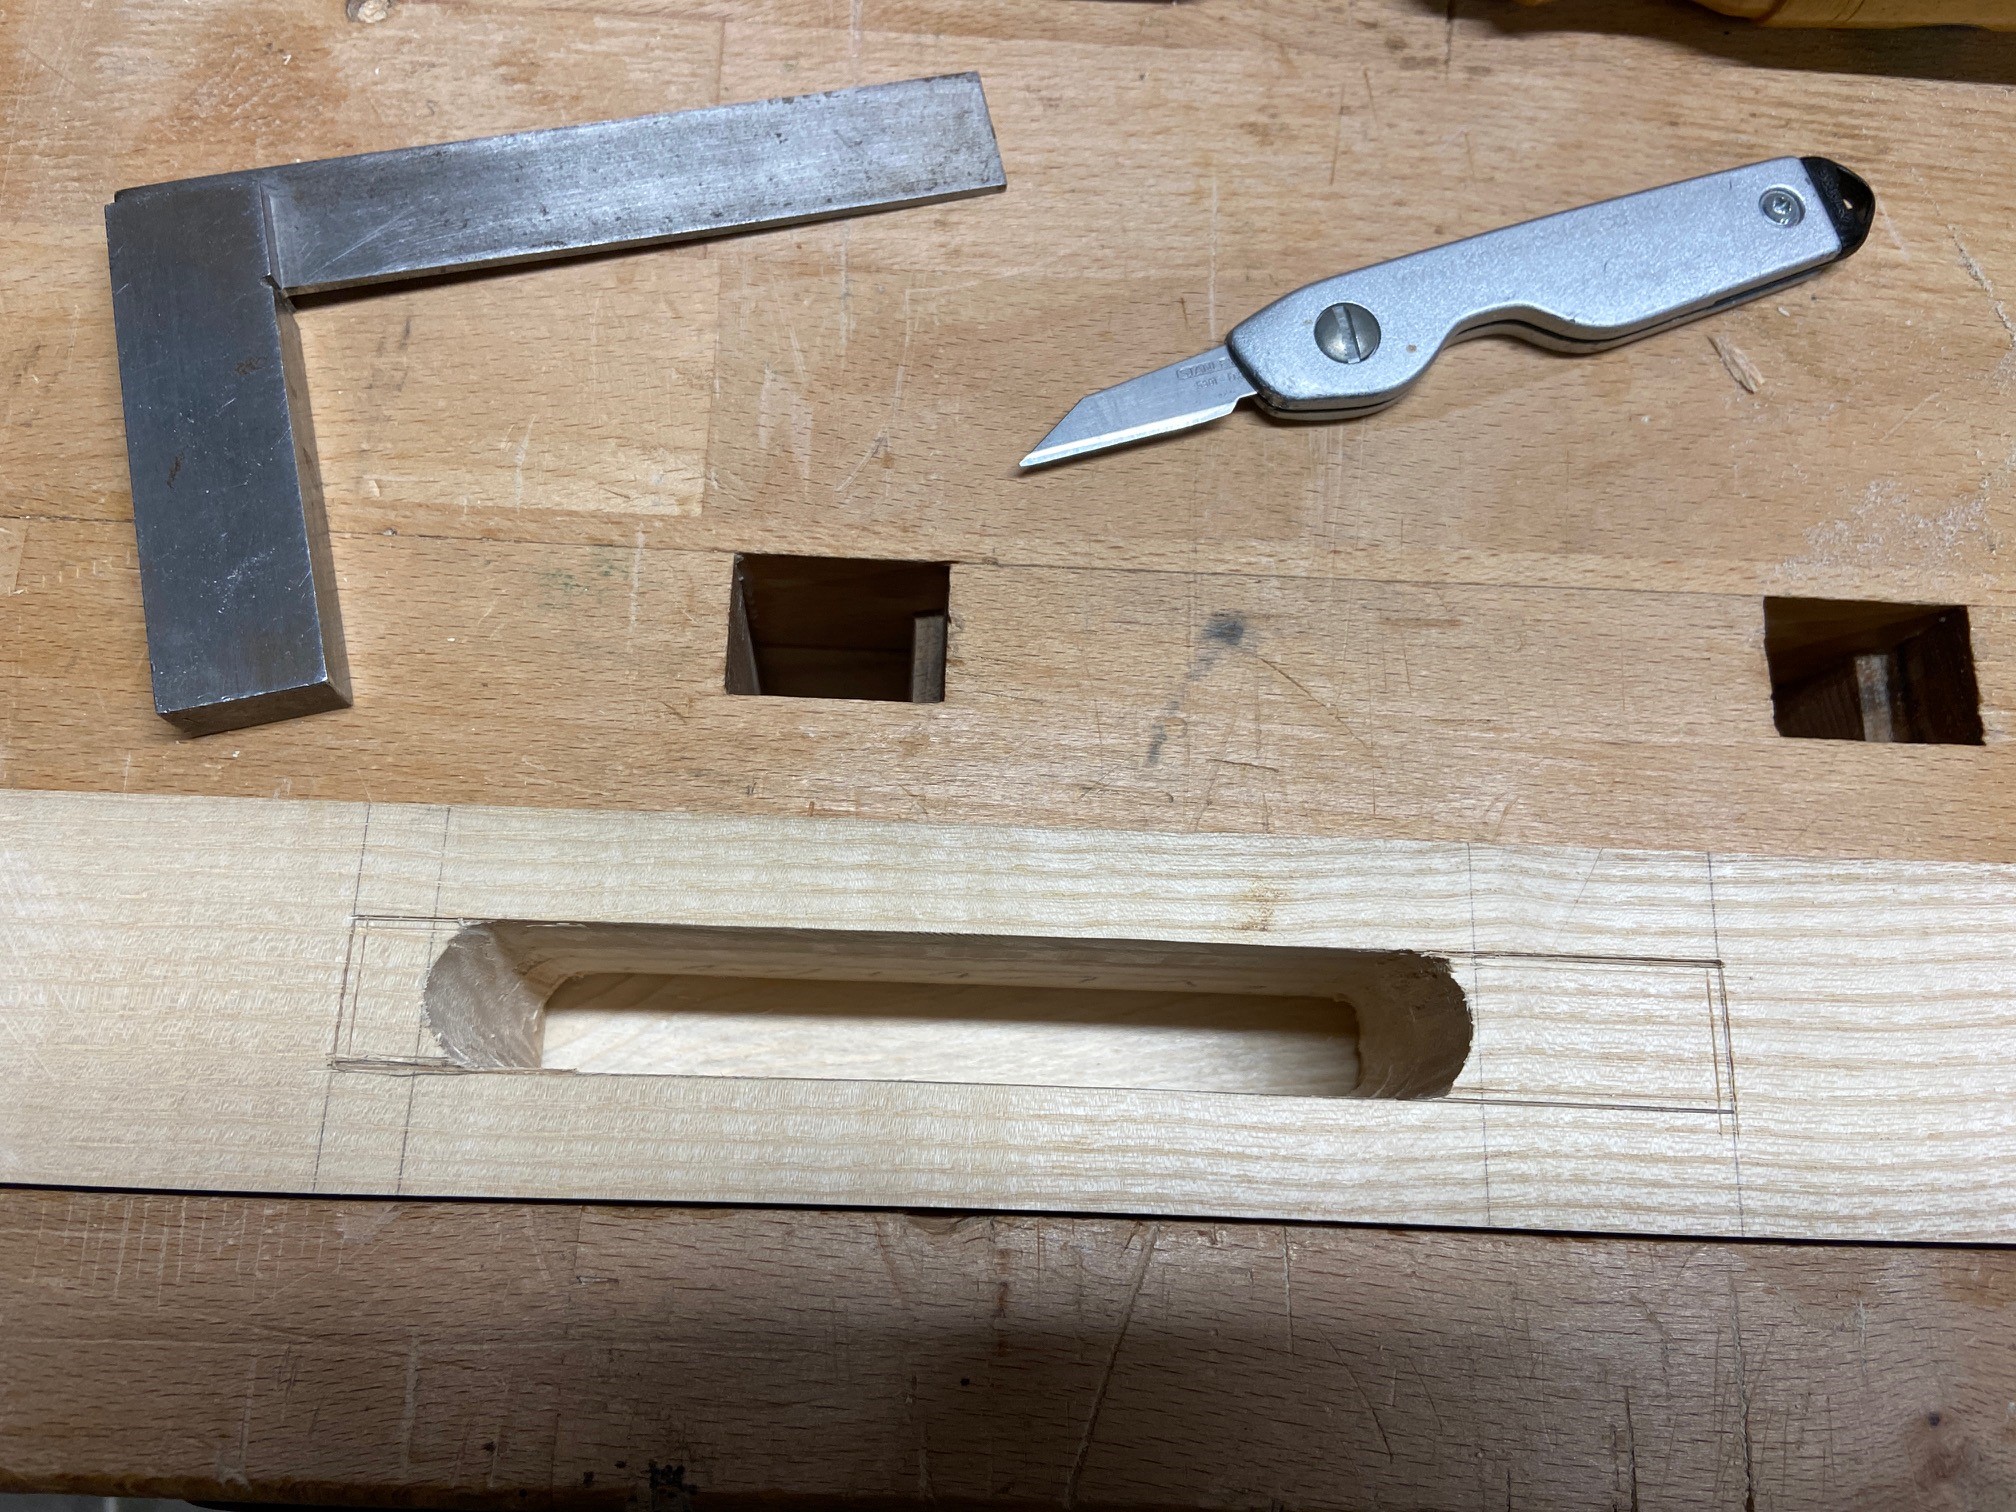
First I score the boundaries of each joint with a knife and carefully pare out the first cuts. This helps to ensure a clean entry and exit for the mortise.
A helpful step prior to chiselling the angle is to saw out the sides almost down to both shoulder lines. A Japanese Ryoba saw is great for this. It’s not very safe, but I use one of my fingers to help keep the side of the saw flush with the inside wall of the mortise until I’ve got a nice straight kerf going. Just keep your fingers away from the cutting teeth!


With that done, I grab the piece of scrap I used to mock-up the joint. It was cut-off from one of the front legs (I’ve mentioned before how handy it is to have scrap pieces of final dimensioned parts) and so is the same width. I cut the wedge angle at one end and the dovetail angle at the other end. Now I can use this scrap as a chisel guide.
 Chopping out most of the waste is straightforward; I hold the chisel with the bevel towards the end of the mortise and when I chop straight down, the bevel forces the chisel to the left. This obviously won’t follow the exact angle but you can get it close by eye. I’ll then flip the chisel around and using my guide block (again by eye), lean the chisel over to get close to the angle and chop some more waste out.


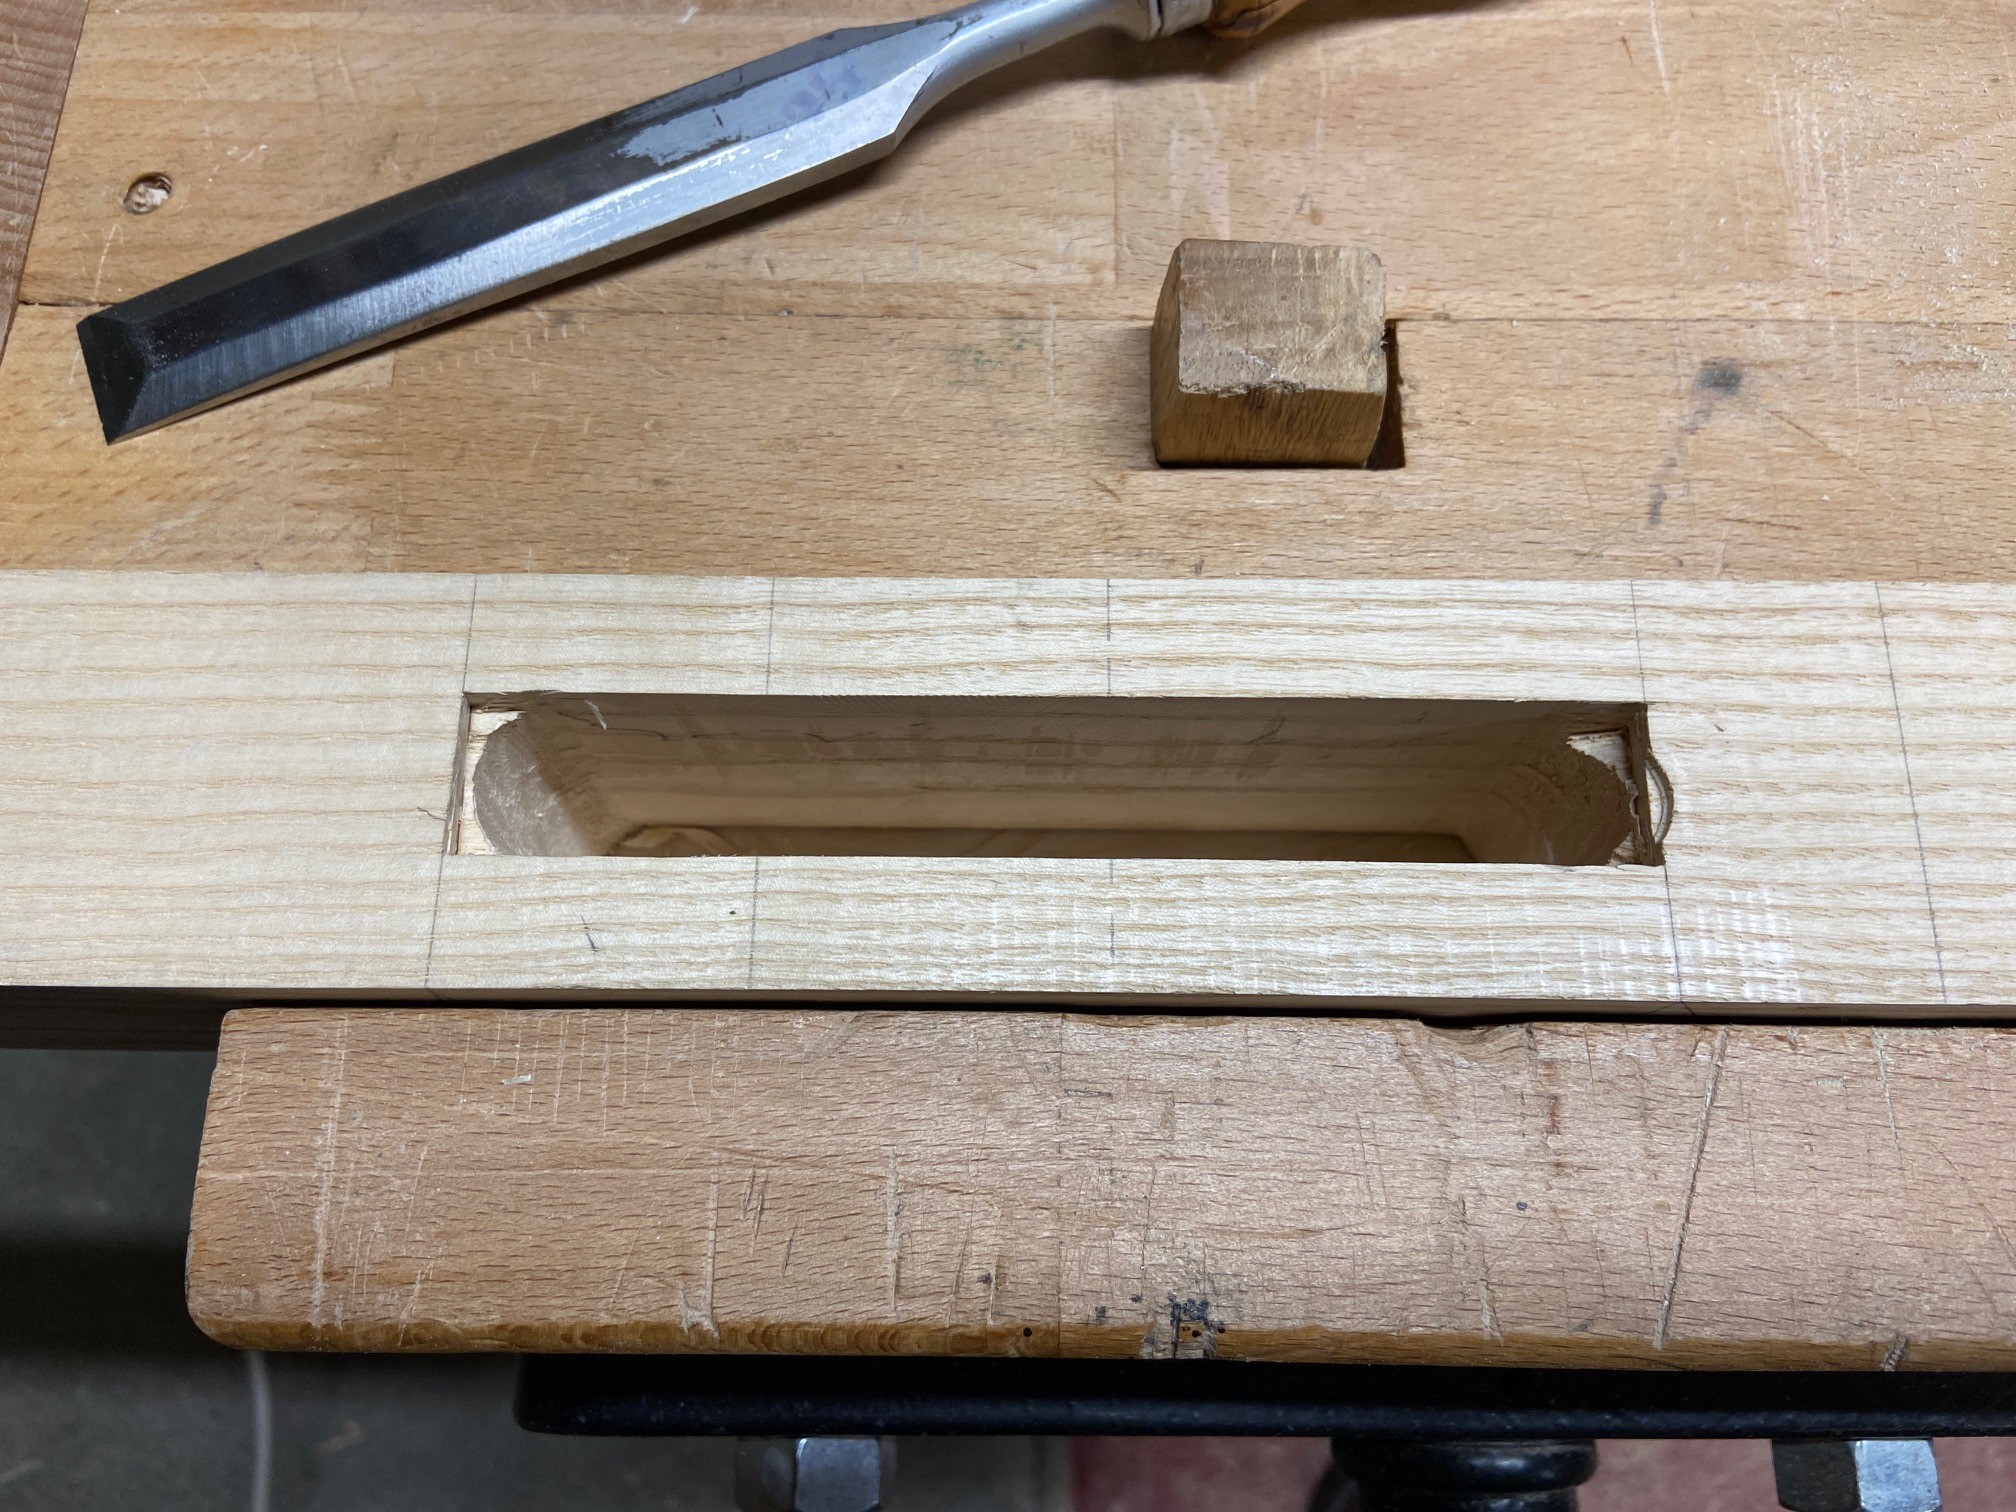
I’ll do this till I have most of the waste hogged out. Once I start getting close to the end (maybe within 5mm), I’ll actually hold the chisel snug against the guide and work slowly from top to bottom, clearing out the waste every few taps. If you just try to pound it through, the chisel tends to start angling steeper than it should. I repeat at about 2-3mm from the line, and then from the line itself but by that time, the chisel doesn’t want to wander and if I’m careful and lucky, I get a nice straight, clean mortise end.


Incidentally, for the final bit I use a paring chisel that is ground/honed at 25 degrees instead of the typical 35 degrees I normally grind to. This is hard on the edge, but I get a much cleaner chop. I work down about ¾ of the way through the mortise and then flip the leg over to finish from the other side. Repeat this for the other end of the mortise where the wedge will go. After each mortise, I re-hone the paring chisel. Only a couple minutes work in order to save myself a re-grind later.
Next I check to ensure the angled mortise ends are straight. I use a straight-edge and check for any rocking or unevenness. This is critical to getting a snug fit later. It’s not so important to match the planned angle perfectly, only to have a straight wall. If it’s a couple of degrees off it won’t matter.

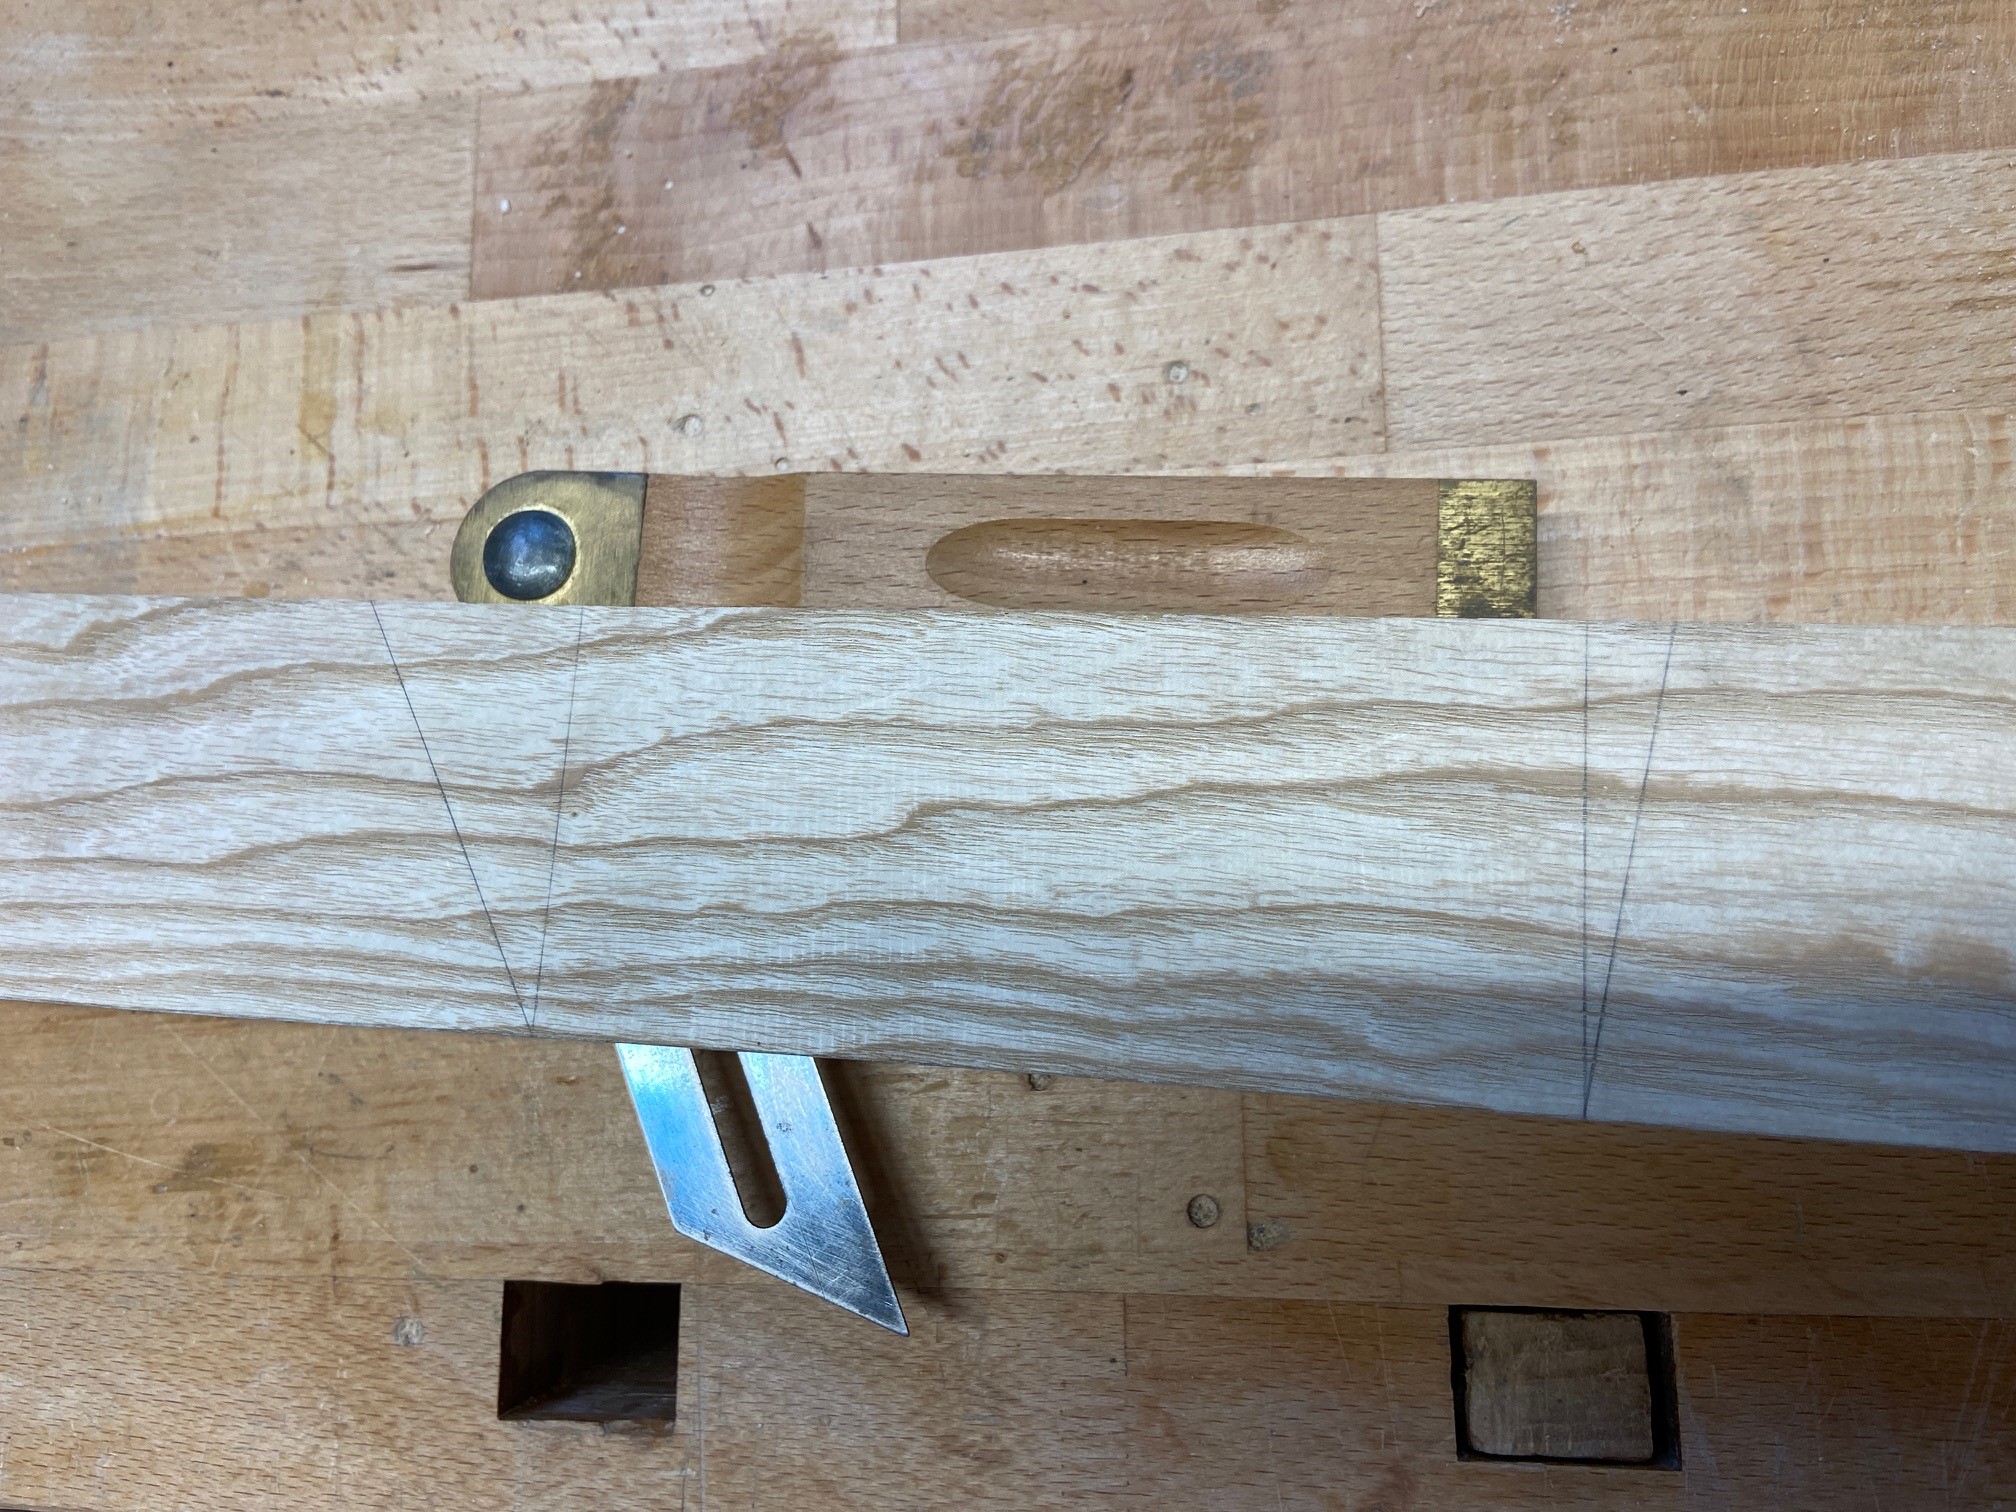
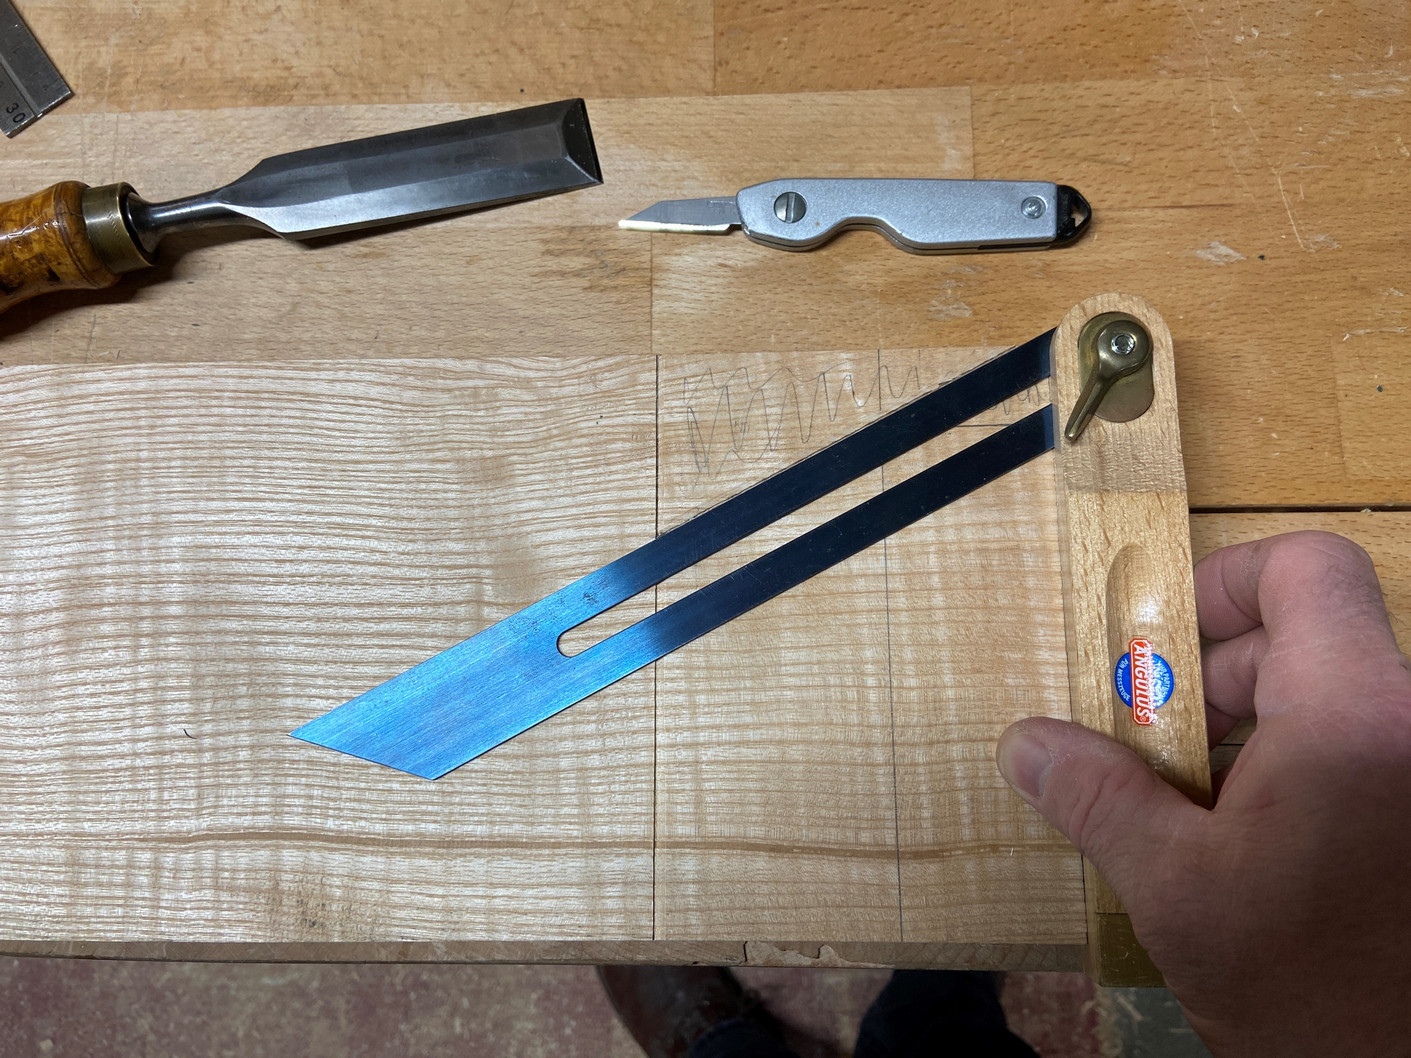
Use a bevel gauge to set the dovetail angle from the actual mortise wall. Both to mark the end of the side rail, and to cut the wedge. It’s easier to creep up on a perfect fit by paring the dovetail or wedge than trying to pare the mortise wall.
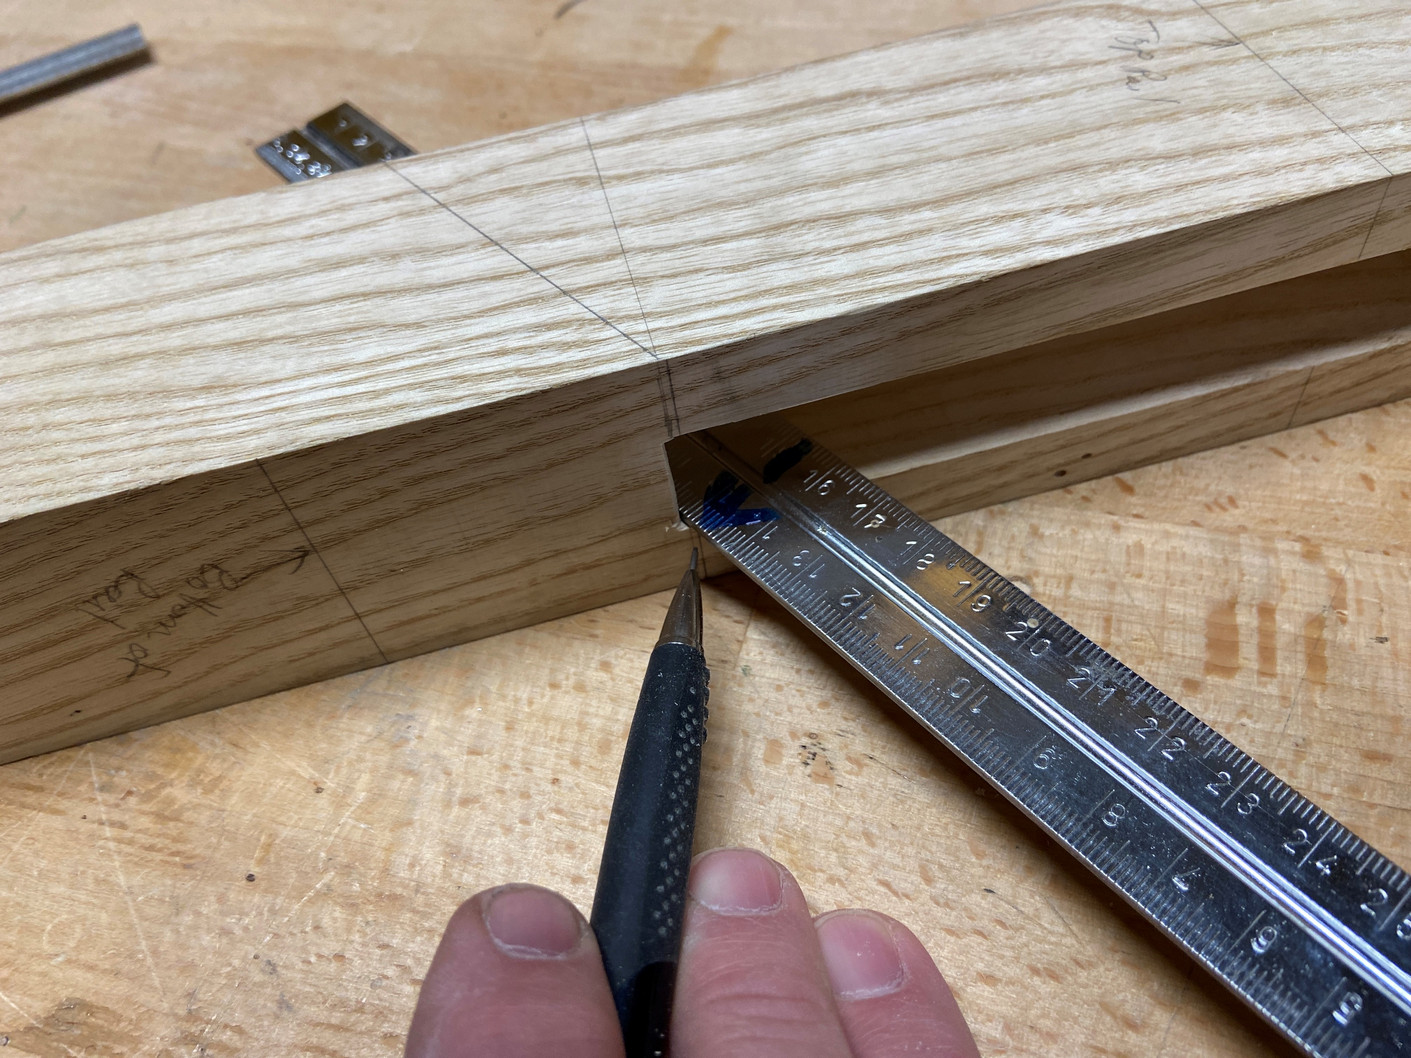
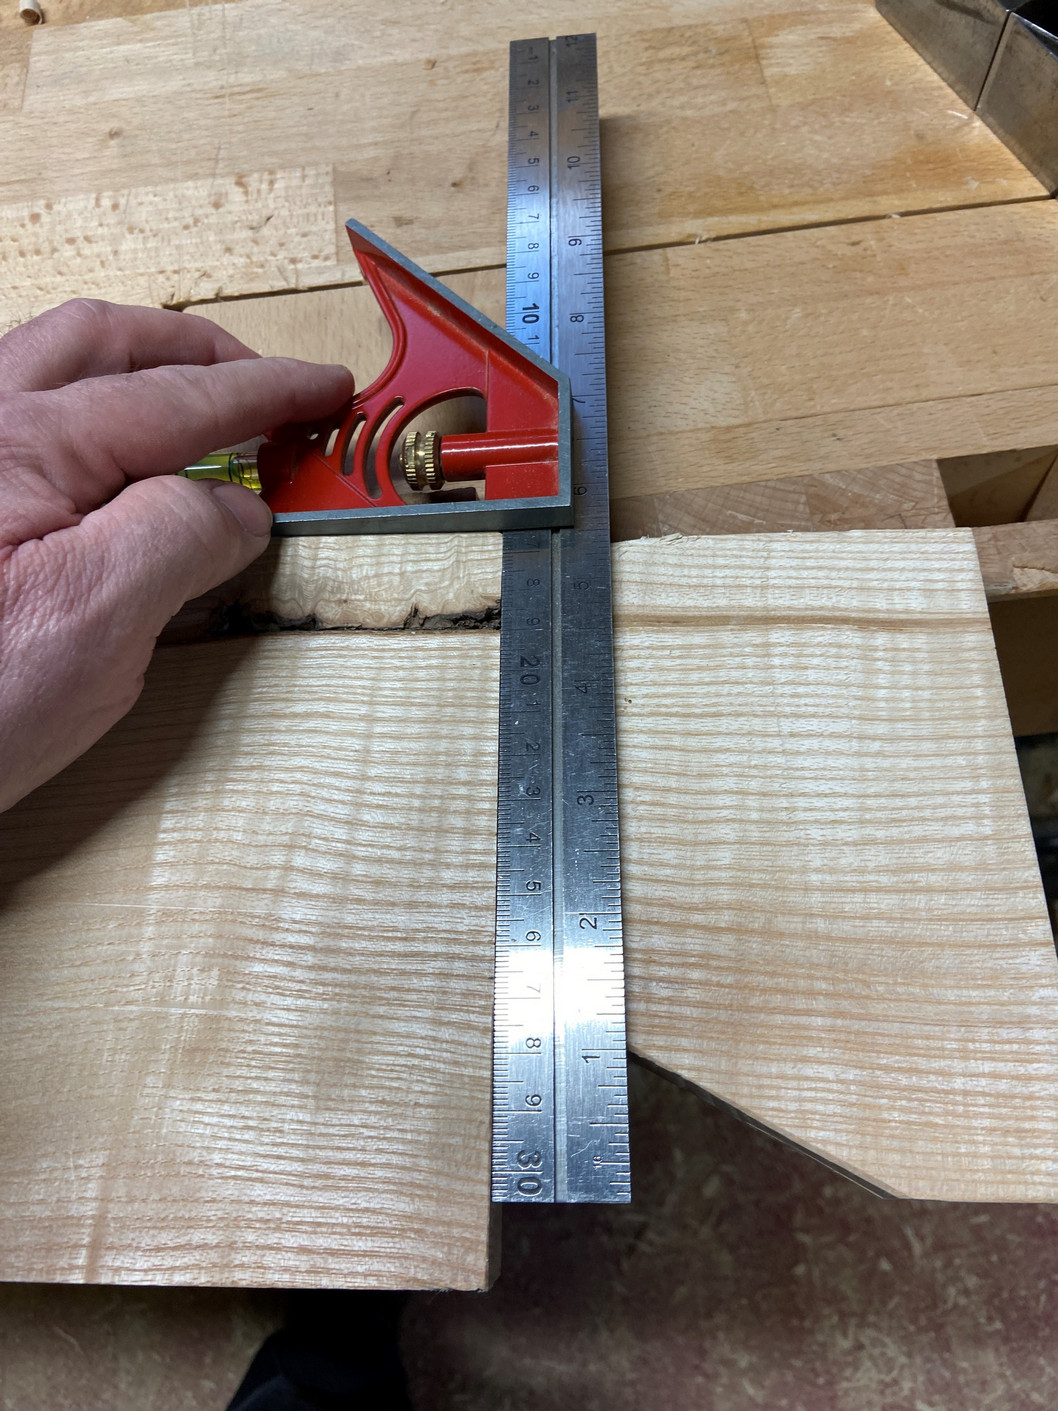
So now to prepare the rail ends. I’ve cut the rails a few centimeters longer than necessary and so I mark the middle point and measure outwards 99 ½ cm to each end. That gives me 199cm from leg to leg but there is another 3cm of length to the faces of the foot/headboard frame and panels. A few extra centimeters will allow for blankets and bedspreads to be folded around and under the mattress.
The first mark is for the inside face of the leg. I lay the leg on the rail up to the first mark in order to scribe the actual width of the leg.

An important step: using the straight edge as a guide, make a mark on the leg where the actual angle exits the mortise (below left). When I was marking for the mortises I also made a mark where the lower edge of the side rail meets the leg (below right).
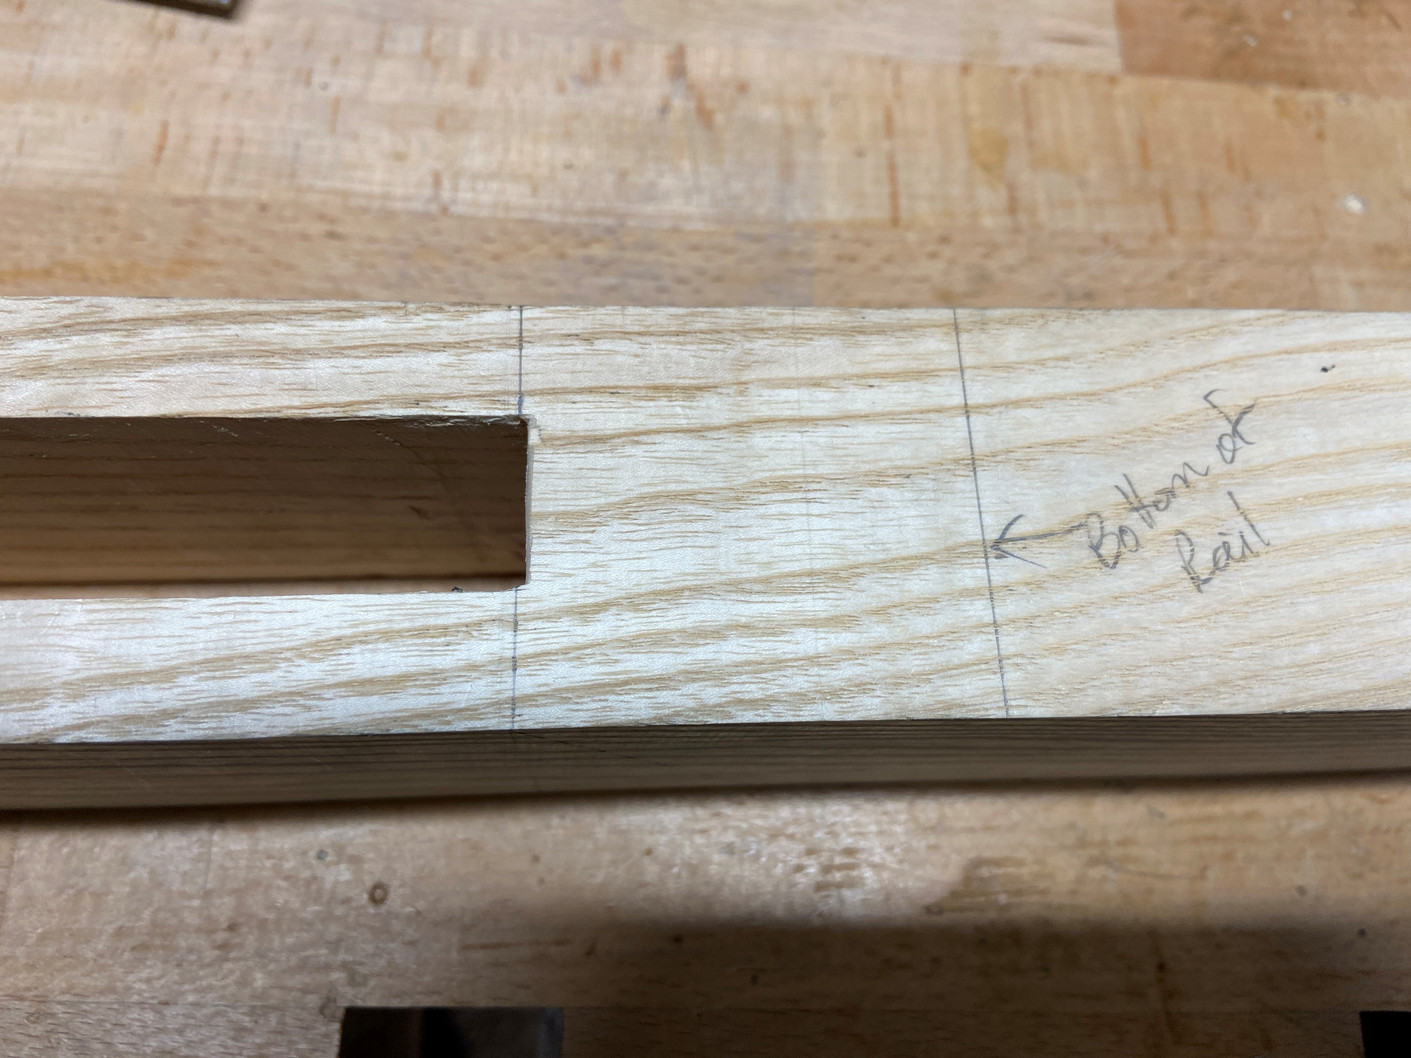
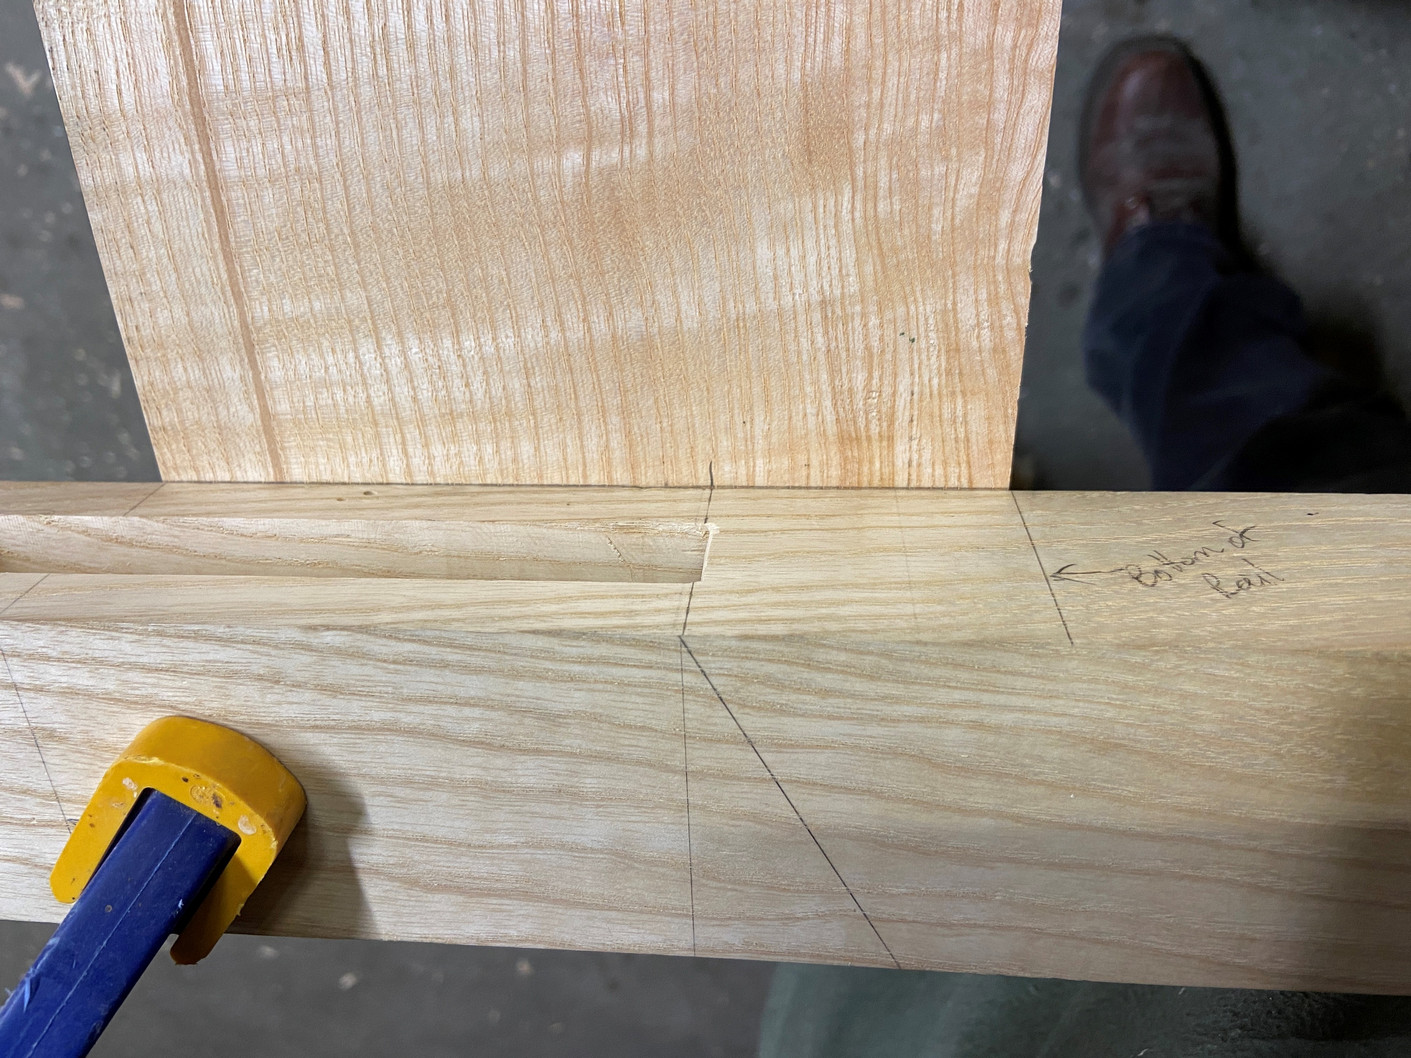
And now here’s why. When chopping the angled mortise wall your final result may be a little off from the planned angle as mentioned; a couple degrees won’t matter much. You may diddle it up and by the time you make a good flat end, the mortise is a couple millimetres longer than the original mark (yes, this happened on one of the legs). All that doesn’t matter as long as you account for it when marking the rail’s dovetail. To do this, lay the leg on the rail up against the mark made previously and line up the “bottom of rail” line with……wait for it…..the bottom of the rail. Now make a mark where the actual exit of the mortise is (below left). When you set the bevel gauge in place, line it up with that mark and you’ll be cutting a half-dovetail that, when snug against the mortise, will result in the bottom of the rail located where it needs to be. And if you do that with all four legs, the bottom of each rail will be the same distance from the floor on every joint.
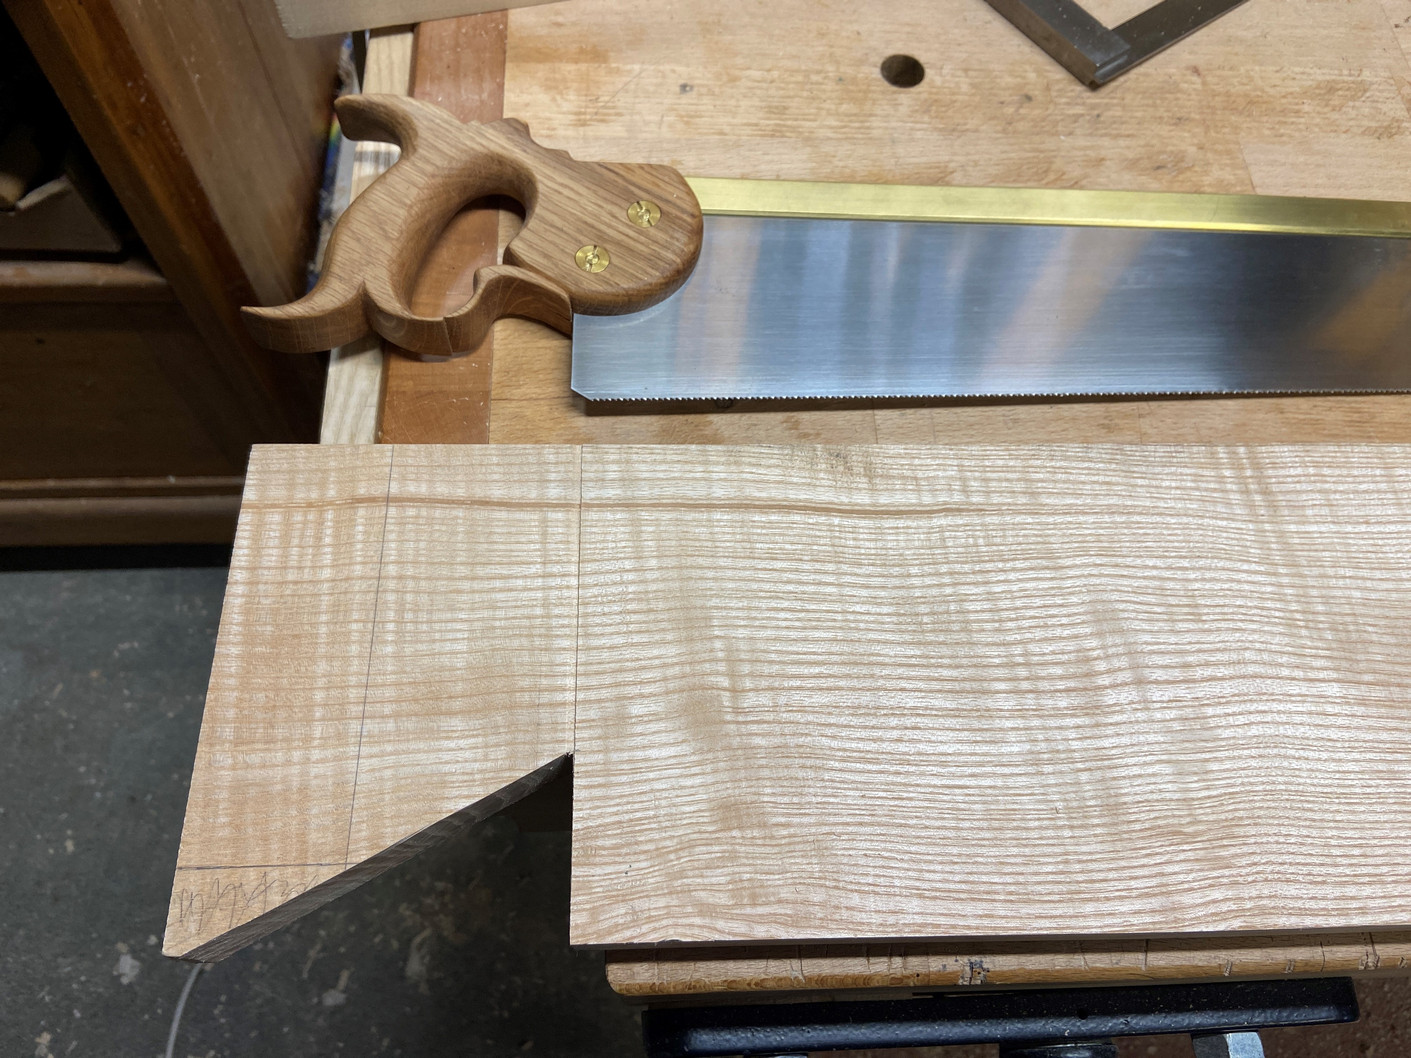
I’m tired of chopping so am happy to grab a couple saws to cut out the waste triangle. With a square and the bevel gauge as guides, I use a knife to create a clean transition to saw to (the “knifewall”).


First the crosscut from the bottom edge to the dovetail line then the dovetail itself. The saw at below right is a Gramercy Tools sash saw I bought as a kit (blade/back, slotted brass hardware only) and made my own handle for. The saw comes with a “combination filing” that is supposed to be good for both crosscutting and rip-cutting although I find that it excels more at the rip cut, or as in this case, an angle that’s a bit of both. Very happy with it so far.

After the cut, I clean it up a bit with the paring chisel and check it against the bevel gauge however, I can’t fit it yet. The legs ended up at about 50mm thick and the rail is 27mm thick. I could have chopped the mortise at 27mm and it probably would be okay but that would have left less than 12mm of solid wood on either side of a thick rail. I’ve opted instead to shave the dovetail down to a tenon about 19mm in thickness that will give me a 4 mm shoulder and about 15mm of solid wood on each side of the dovetail.
 I’ve mentioned I’m not a hand tool purist and if it makes sense, power tools and machines have their place. In this case, 4 very large tenon/dovetails motivate me to grab my router. I actually don’t care for routers and in split seconds have ruined pieces before, but if I’m careful, and can see the shoulder line well so I don’t get near it, the router cleans out the waste very quickly and then I can use the hand tools to finish and refine the fit. Yet another reason to plan for extra cut-offs when dimensioning your parts is evident in the below left picture. The piece of wood underneath the right side of the router is a scrap from one of the rails. Here I’m using it to help my router span the 8-9 centimeter width of the tenon/dovetail. After the router gets me within a millimeter of final thickness, I switch to my router plane for fine tuning until it fits freely into the leg mortise.
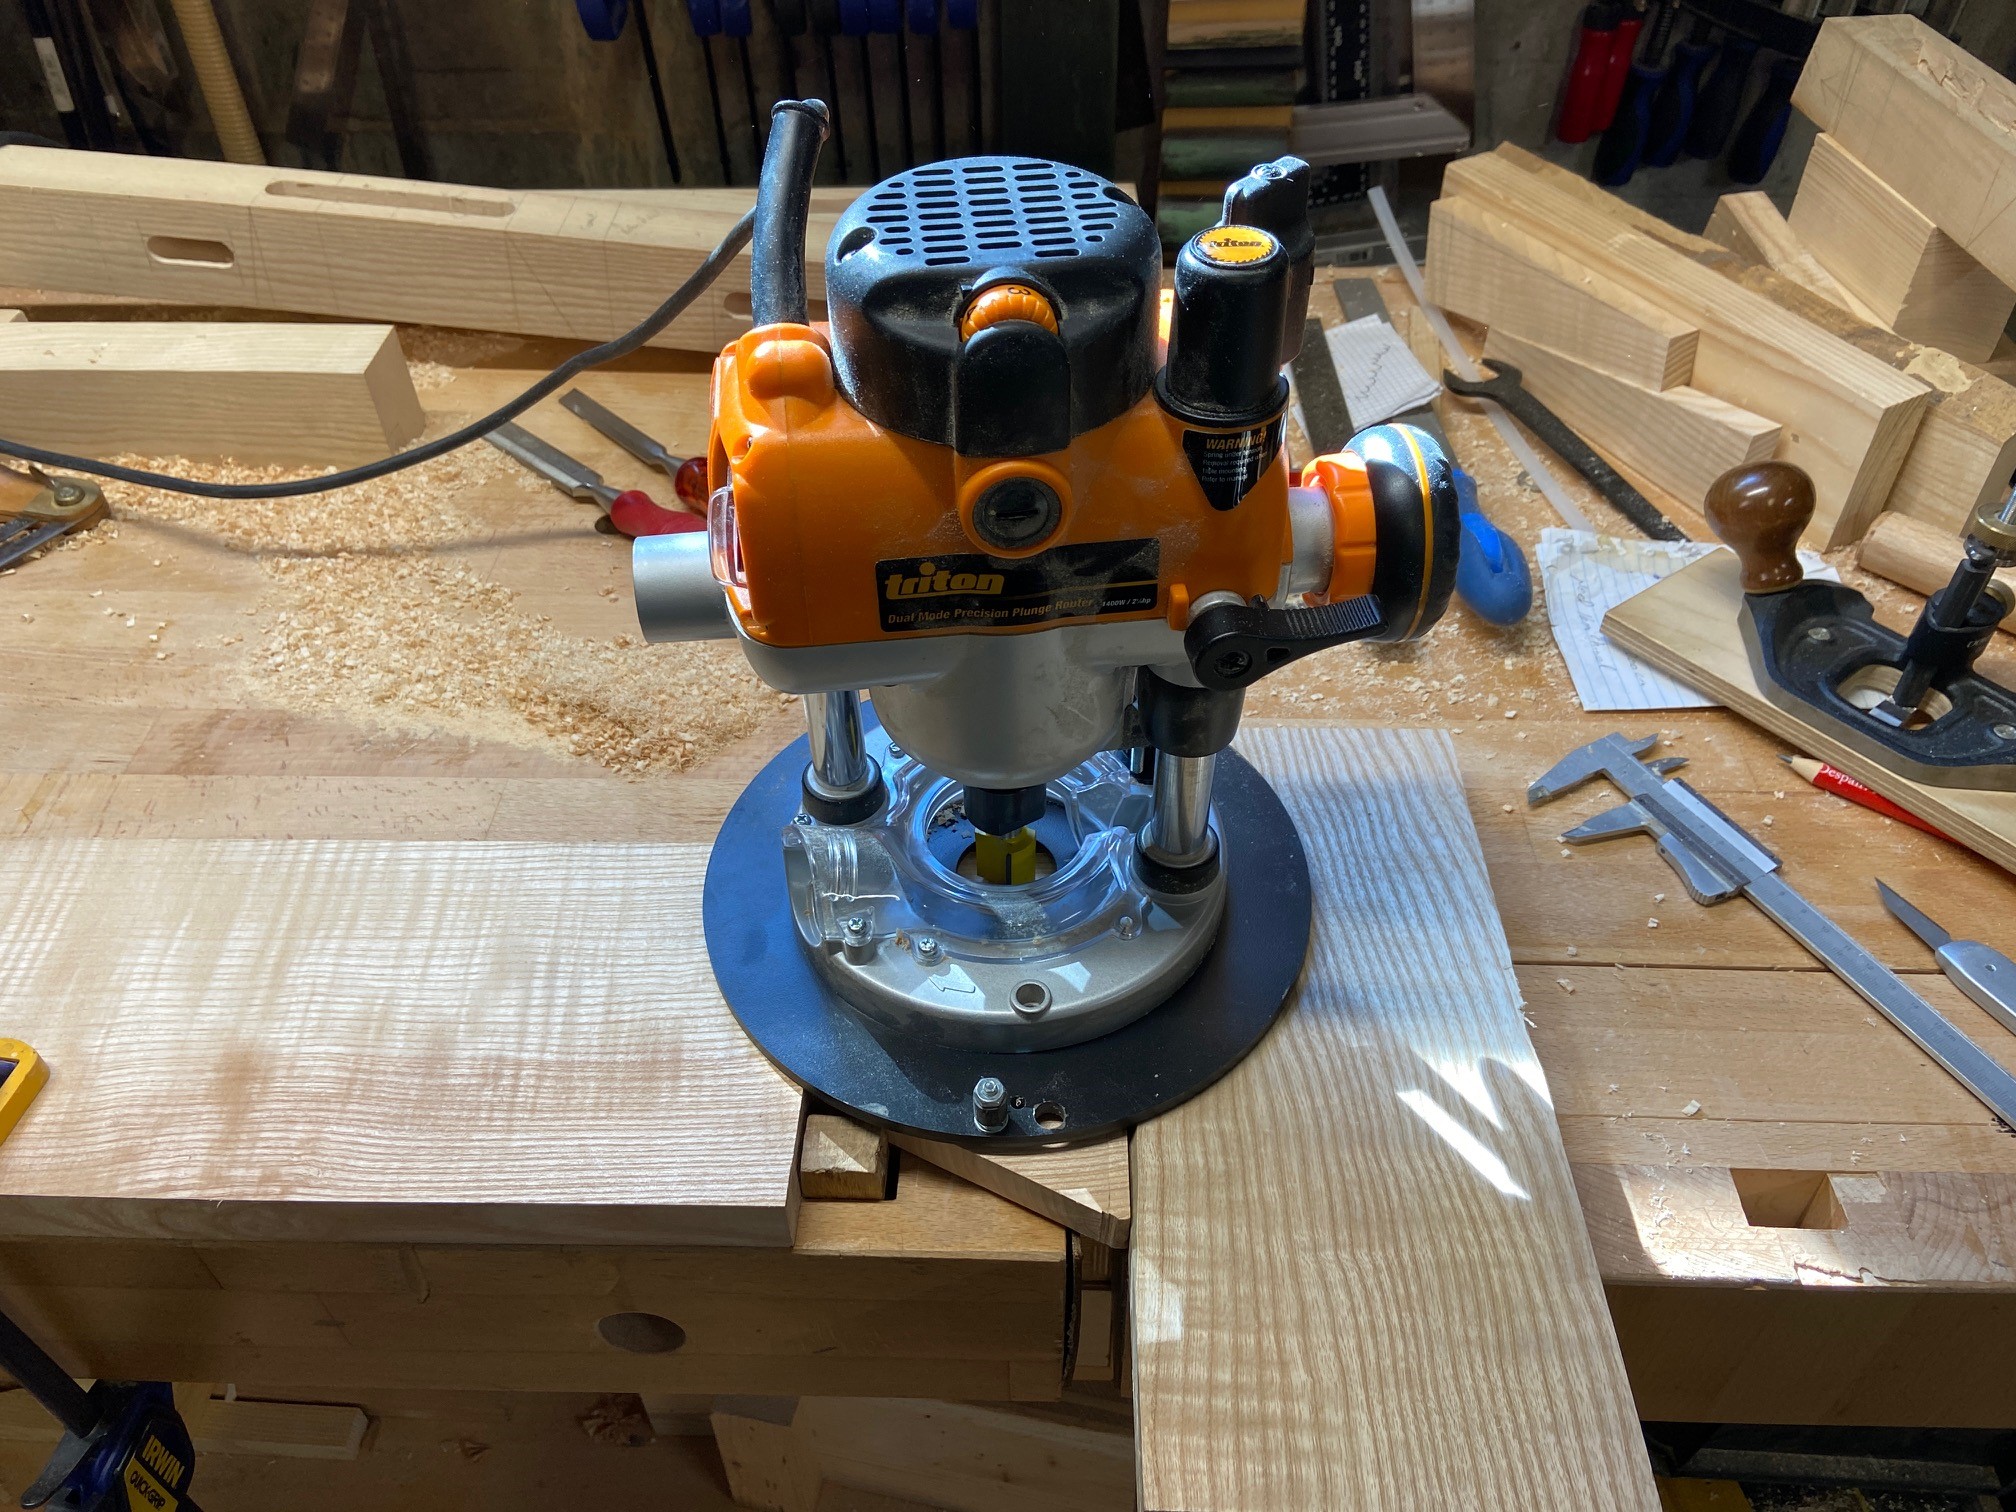

A square and shoulder plane allow me to ensure the shoulders of the tenon are exactly square to the top of the rail (which is my reference edge).

Lastly, more fine-tuning but this time with the joint assembled. Either with the wedge lightly installed or by just holding the leg firm against the shoulder, you can wiggle it in order to see where to pare away some material. The goal is that with hand pressure, there is no “wobbly-ness”. With the wedge tapped (not pounded) in, there should be absolutely no movement in the joint. Bingo, earthquake-proof bed…..
Below left is the rear leg joint and below right is the front leg. I’ll trim away the excess and leave not more than 25mm protruding from the face of the leg.

Below is the right side wedged together. Up next: Frame and Panels.
Leave a Reply