
The client is returning soon from a golf vacation and I’ve promised to have this cabinet ready!

Not to mention the fact that I will soon be helping Monika with this years’ “Advent Fenster” for the Retirement Home. This is basically a village-wide Advent Calendar where different homes or establishments decorate a window, one for each of the 24 days leading up to Christmas. Big Do-ins and a lot of work so I better finish up on this cabinet.
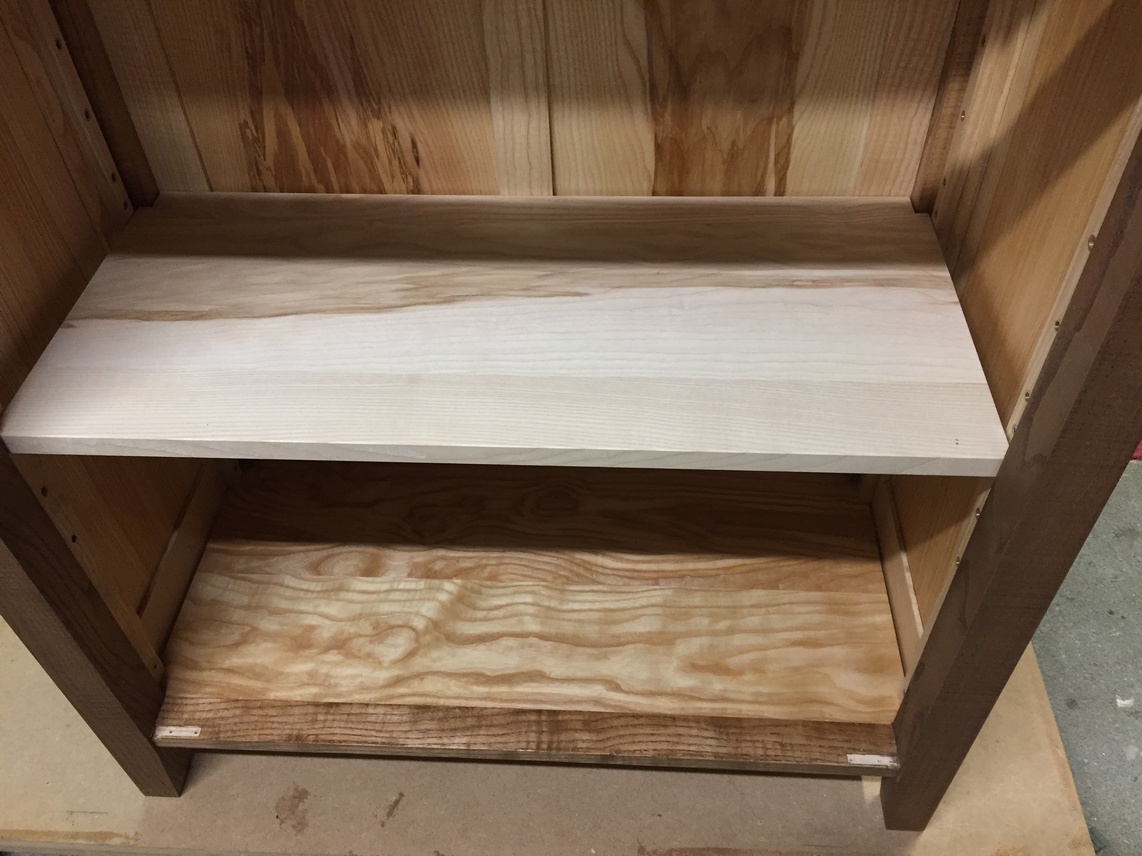
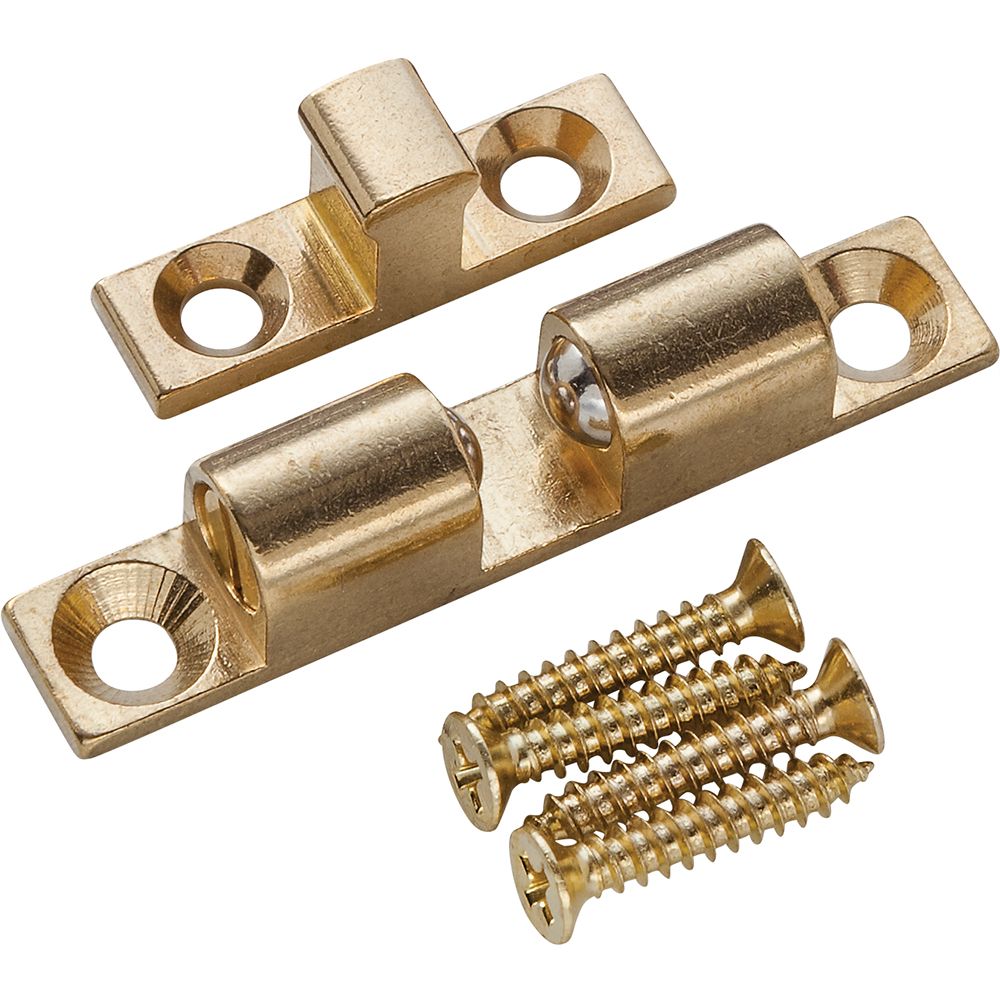
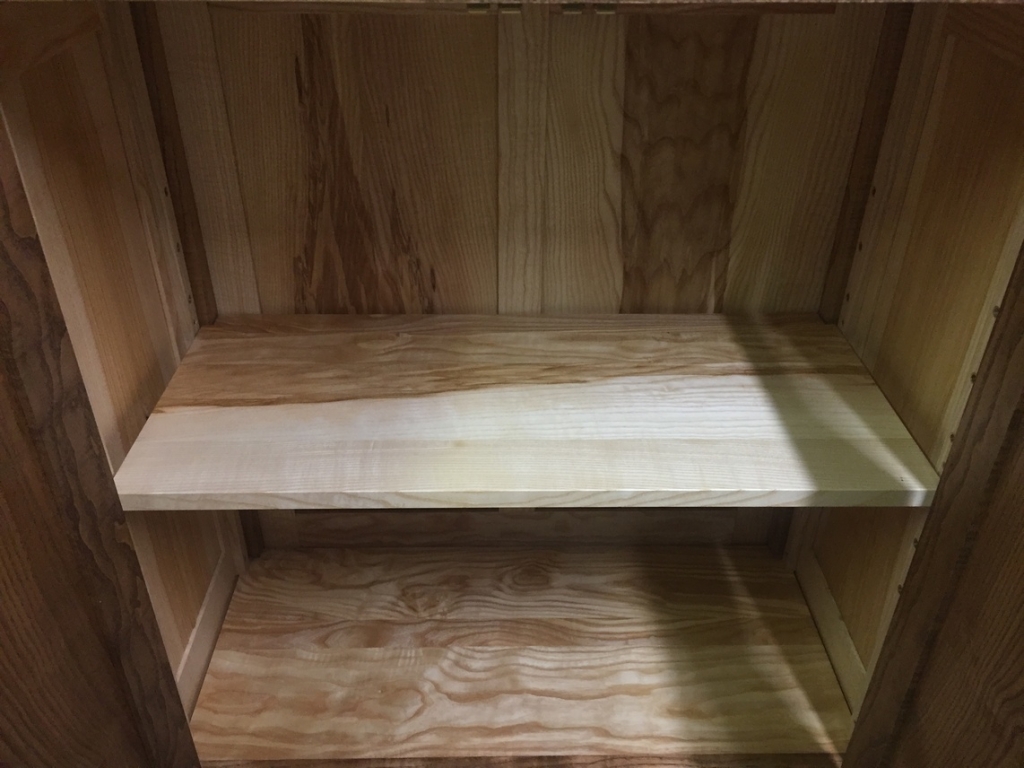
One of the last few tasks is to fit the shelf and supports. A few chapters ago I cut and drilled the four supports to fit the custom hardware I bought, namely this:

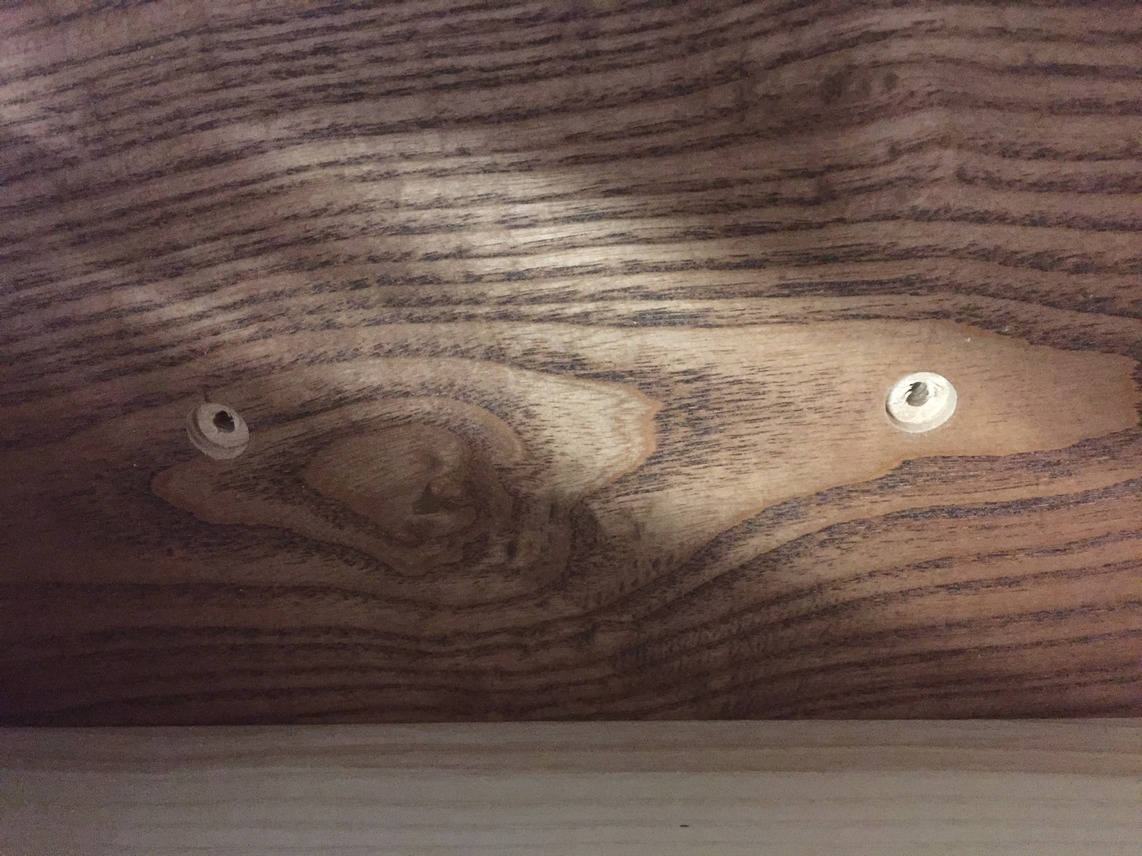
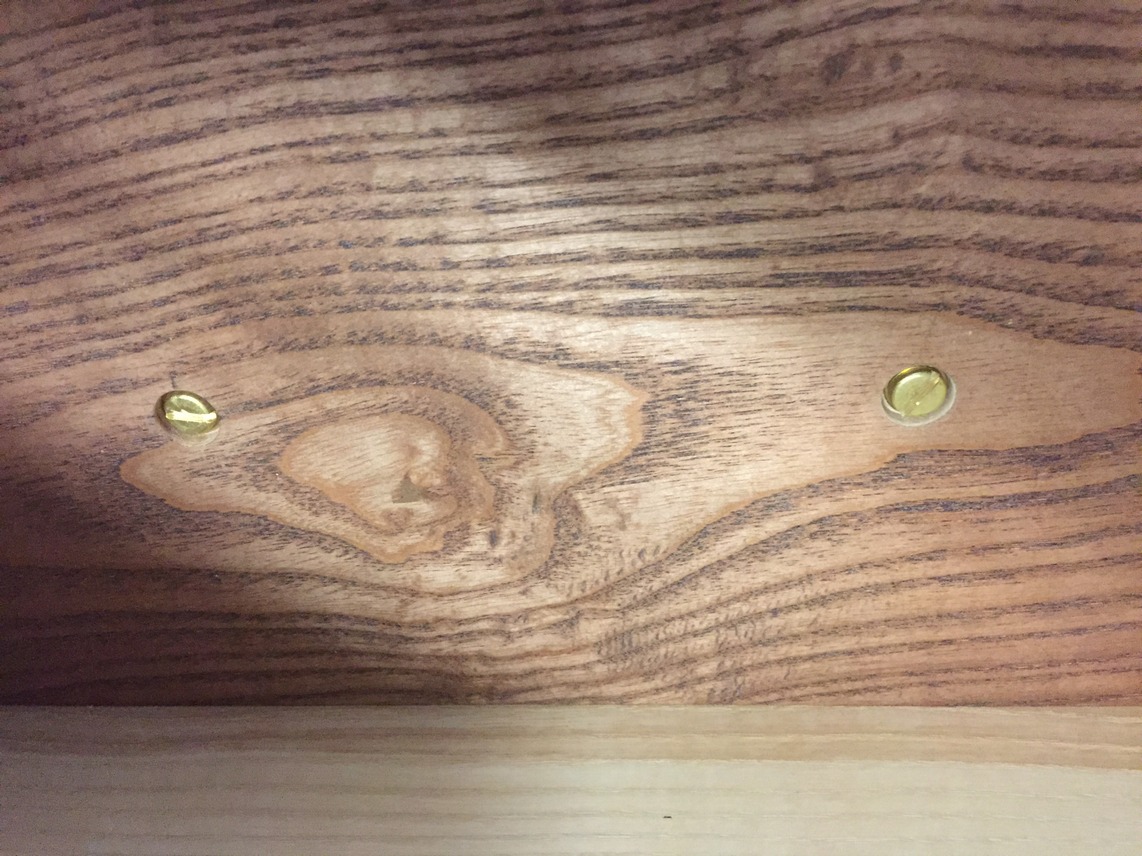
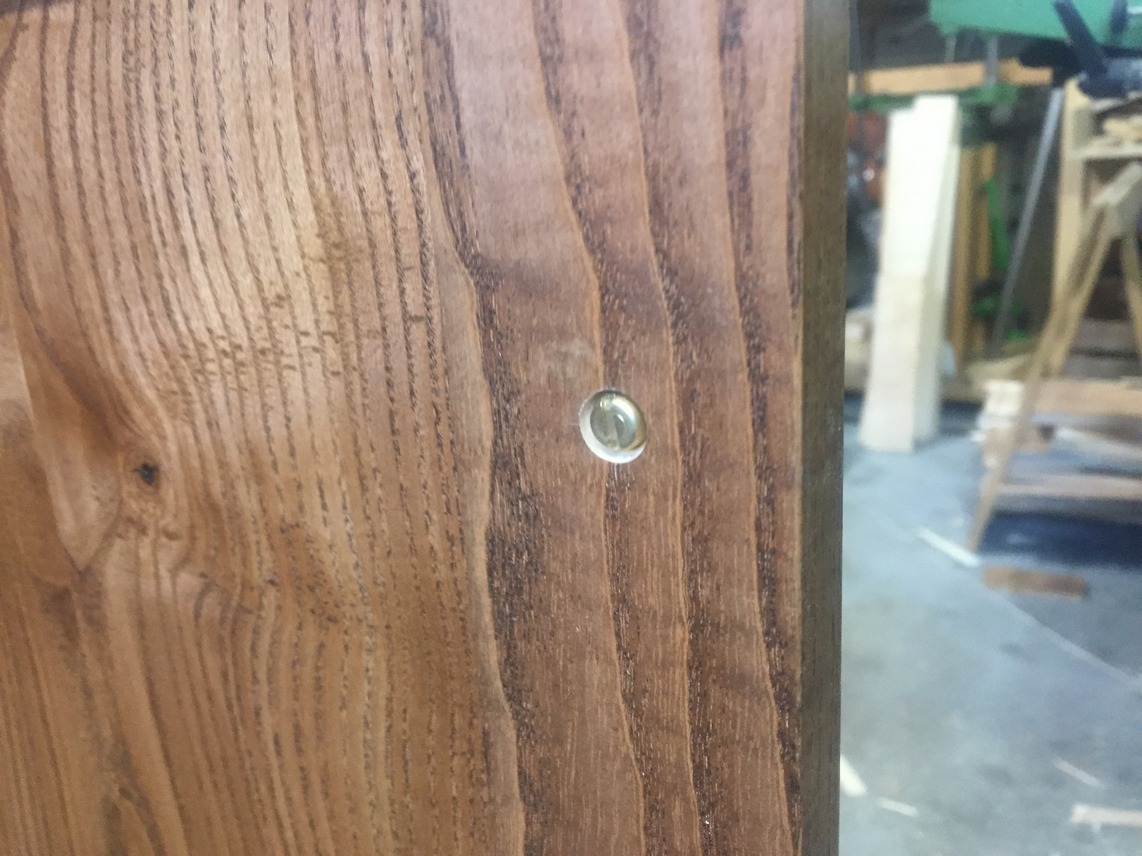
I can’t emphasize enough what a difference installing good quality hardware makes. Even if you aren’t scrutinizing every piece on a cabinet, your eye will subconsciously recognize the flat, lackluster look of cheap brass plate or imitation brass. In the picture below, the screw on the left came with some decent quality drawer pulls I bought for another project. The company probably figured that since the screw isn’t normally visible, that it didn’t matter. The screw on the right, 100% brass, is what I purchased separately. Sure, you won’t see the screws till you open the door or drawer, but then, in my opinion, it does make an impression when you do.

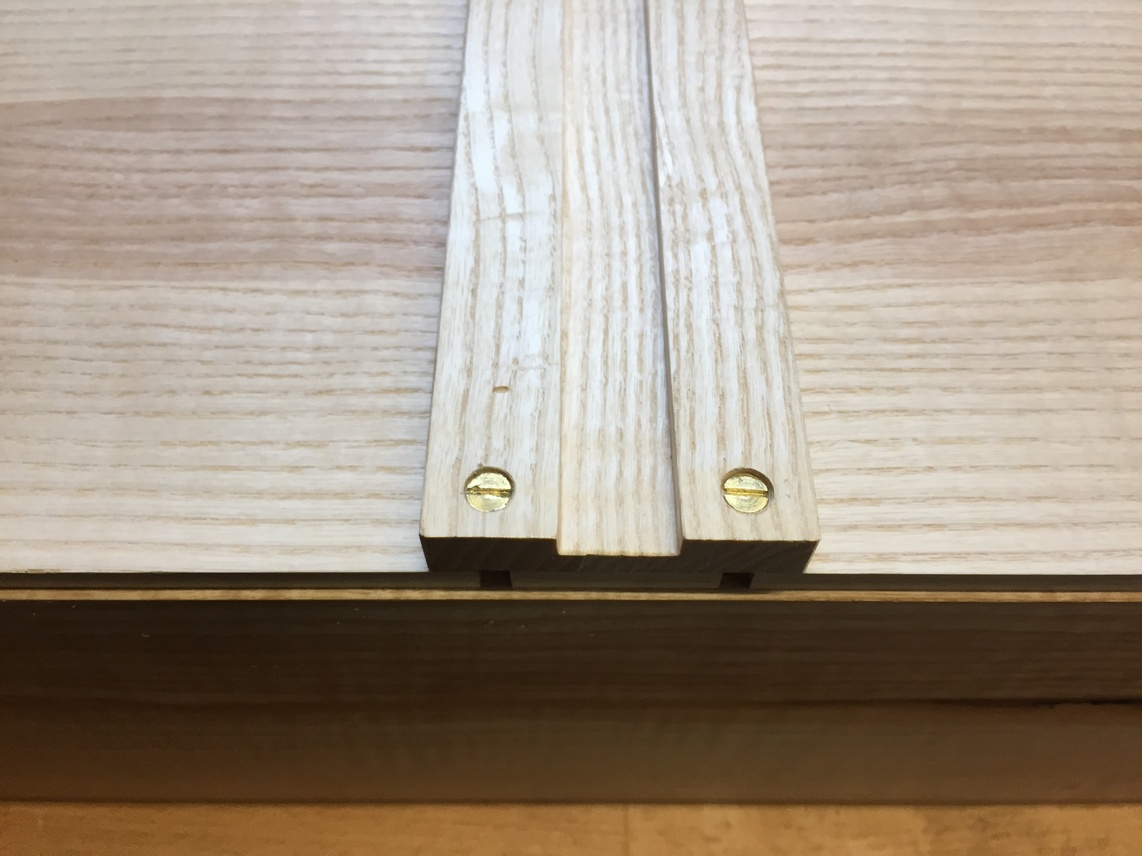
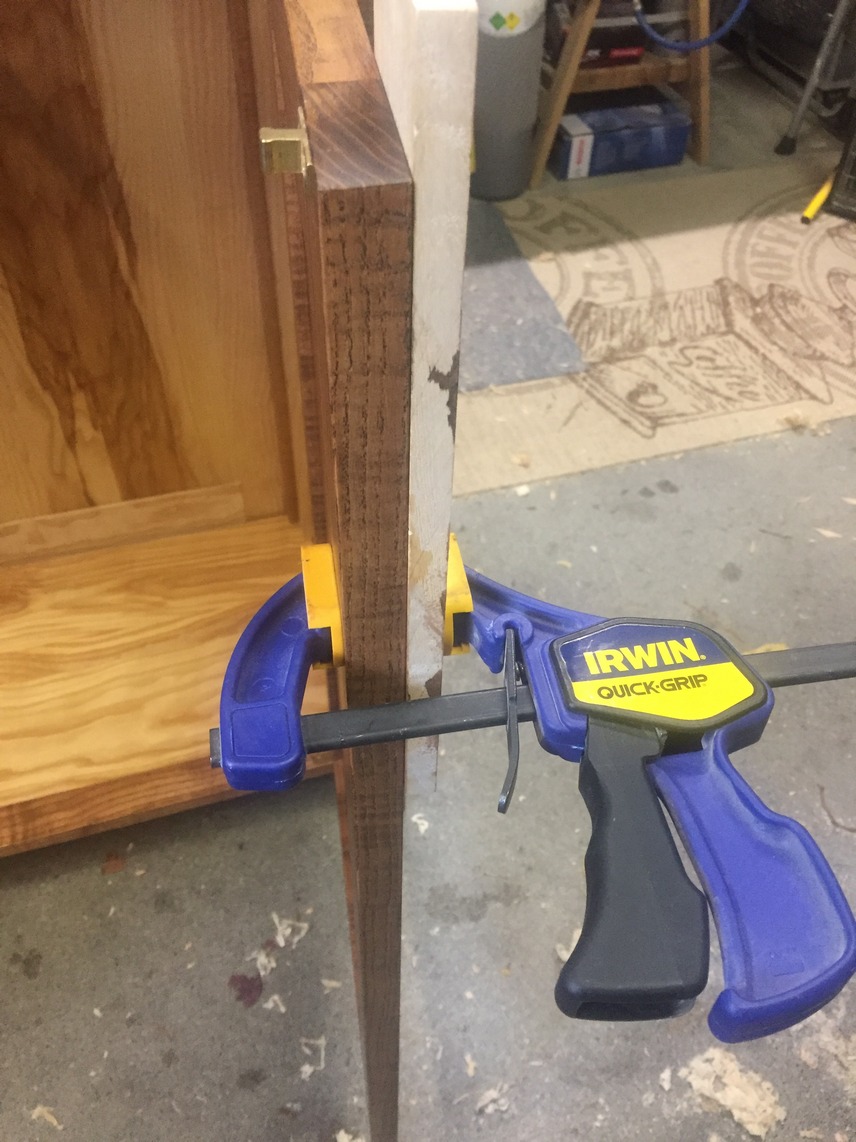
The supports are going to be screwed into the inside face of the side panel stiles (22mm thick) and I don’t want to take any chances on breaking through to the other side when I drill the pilot holes so I use a piece of scrap as a stop.

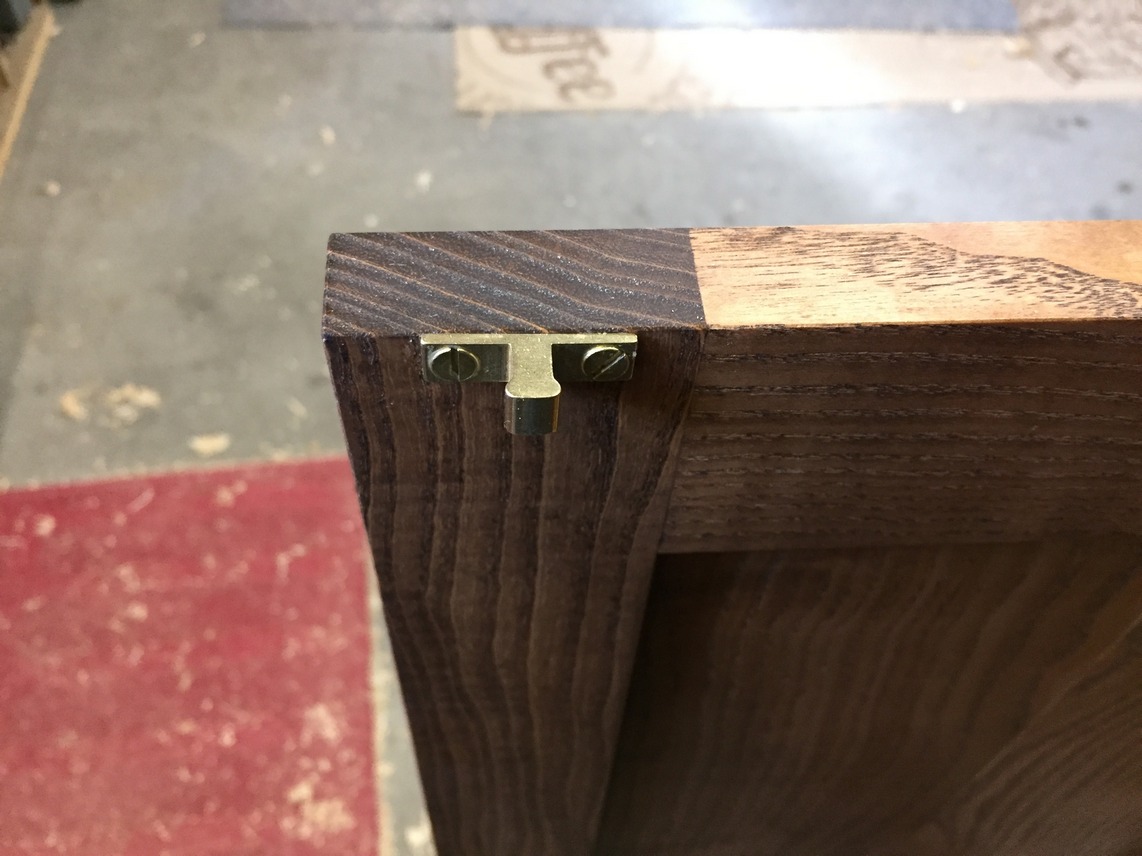
I could mount the supports flush up against the leg but somehow, I like the look of it better when there is about a 15mm gap. I install a spacer (red arrow) between the leg and support when marking for the mounting holes. Steel screws while getting everything in place, and then brass screws for the final install.


I cut two notches in each back corner of the shelf so that it fits up against the back panel. Not only does this give an extra 3cm of shelf area, but it looks better than leaving the gap open.
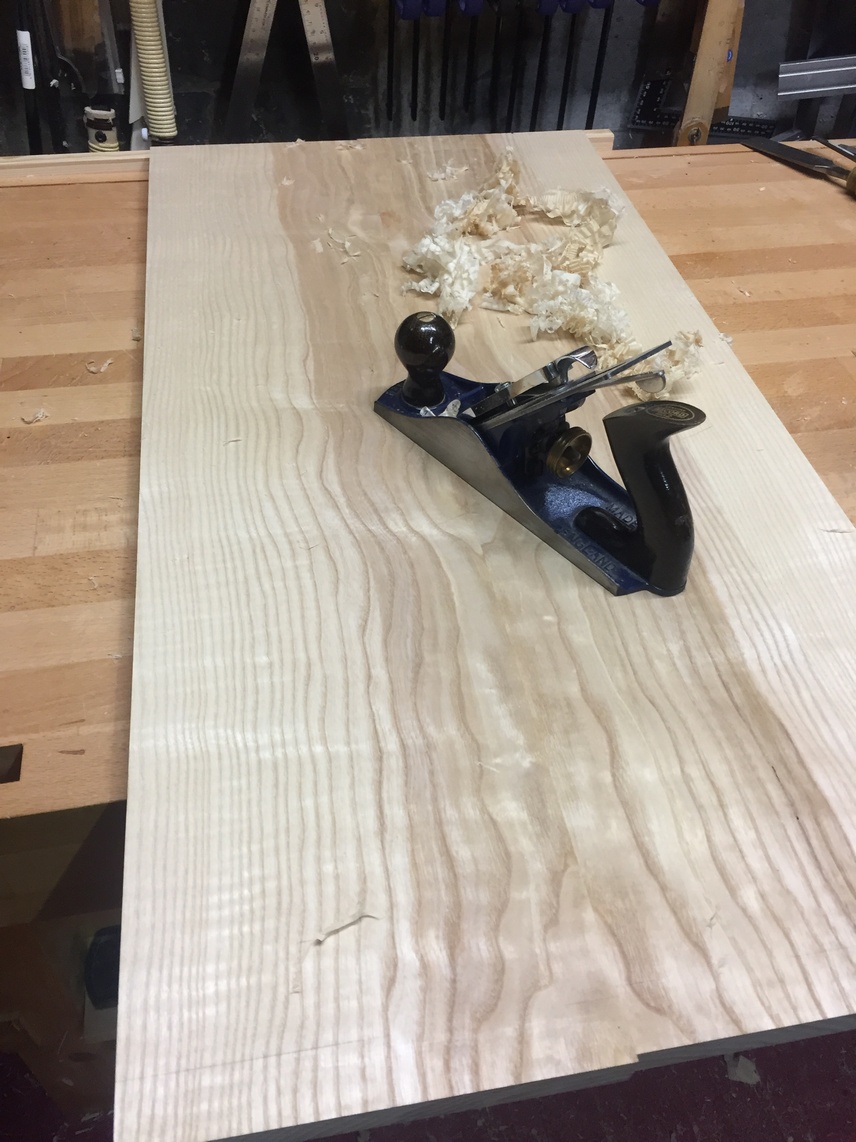
Next is the top. For a detailed description of my process for large panel glue-ups, I recommend checking out Chapter 12 of my Sewing Center project. I’ve glued up the panels and now smooth out any scratches with one of my No. 4 planes. The Record plane (a recent manufacture that I’ll probably get rid of eventually) in the picture is not my favorite but it weighs more than my Stanley and sometimes the extra mass is helpful. I hate the plastic handles but recently found a pair of old rosewood handles on e-bay to replace them with. I cut the top to final dimension, plane a 45 degree chamfer onto the front edge and sides, go over it with 240 grit sandpaper, and apply the water-based dye. After an hour it’s dry enough to the touch so I can mark and drill for the mounting points.
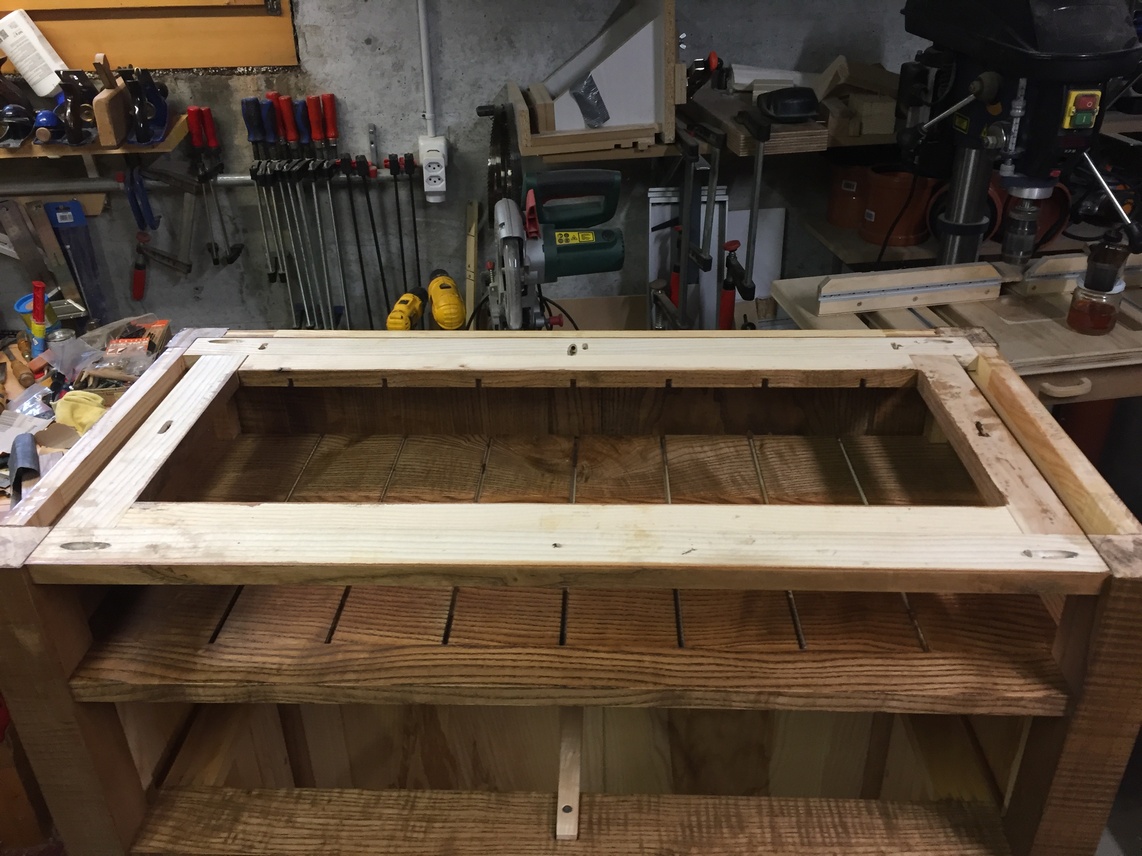
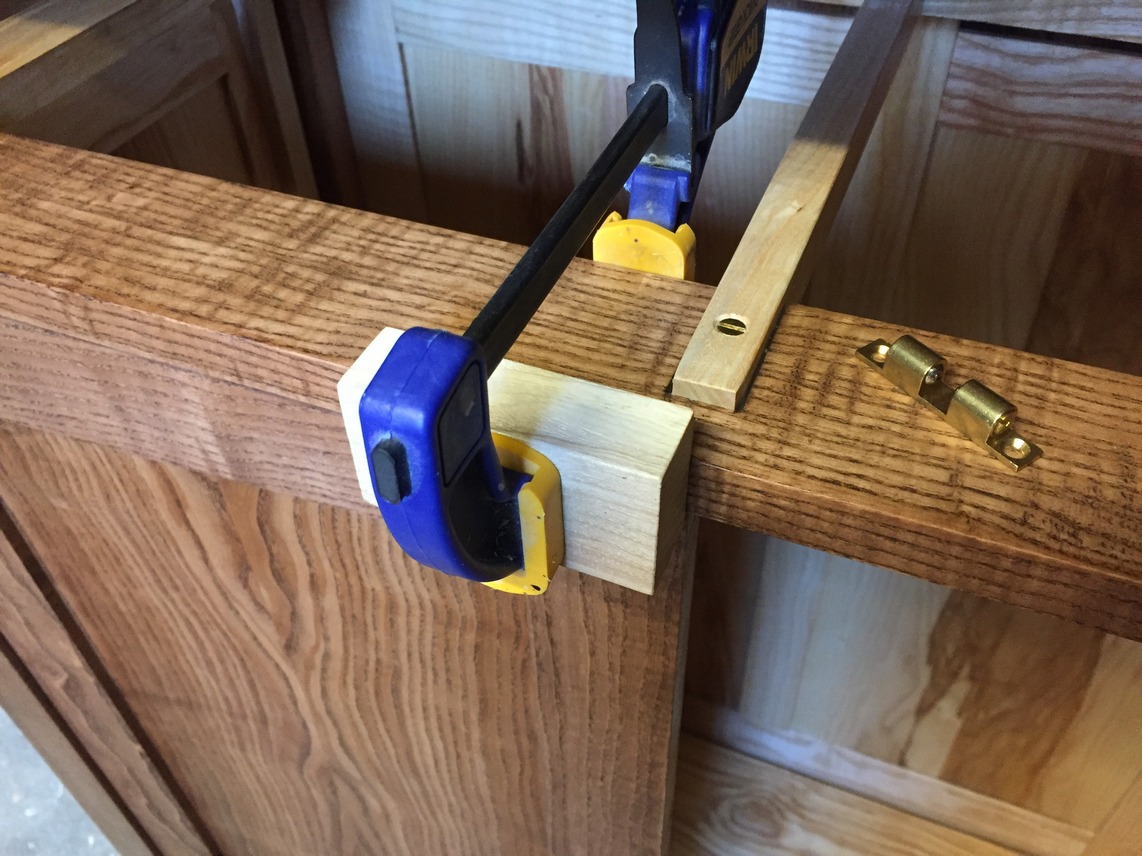
The top web-frame is installed and you’ll remember that I previously drilled three regular holes along the front and then elongated holes along the back and sides to allow for wood movement. Position and clamp the top piece and ensure the overhang is even; then I can use a brad-point drill bit from underneath to mark the attachment points.
For attaching large panels, I like using threaded inserts. I have used these a few times on other projects and while they work great, they are difficult to install straight by hand. I did an internet search and found a great method here that really worked easily the first time I tried it. It utilizes your drill press as a mechanism to keep the insert straight while installing it. The inserts are 15mm long so I set my drill press for about 17mm depth of bore and drill holes for all the inserts. The thread diameter is 12mm so in a hardwood like Ash I’ll have to drill an 11mm hole for the insert. Then I take a 6mm bolt, cut off the head, and thread two nuts 16mm up from the end and tighten them against each other. Then I thread the insert onto the bolt and chuck the assembly into the drill press, centered over the hole. The Drill press keeps the insert straight and by applying a little downward pressure, I can use a wrench to thread the insert into the wood.


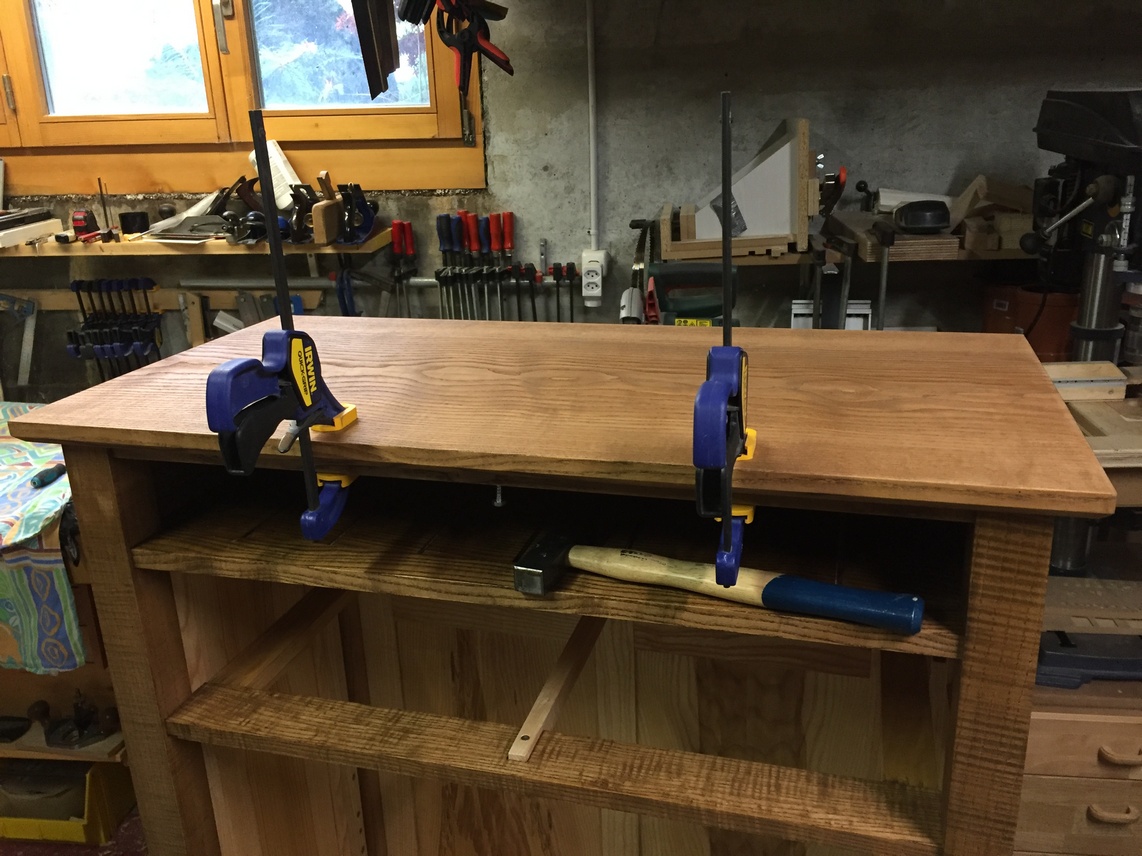
I bottom out the insert so there is about 2mm of clearance from the top of the insert to the surface of the wood. By now the dye is dry enough so I can apply a coat of oil stain and set the top aside for now.

To finish up the drawer, I do the final mounting of the slide and guide but this time with brass screws.

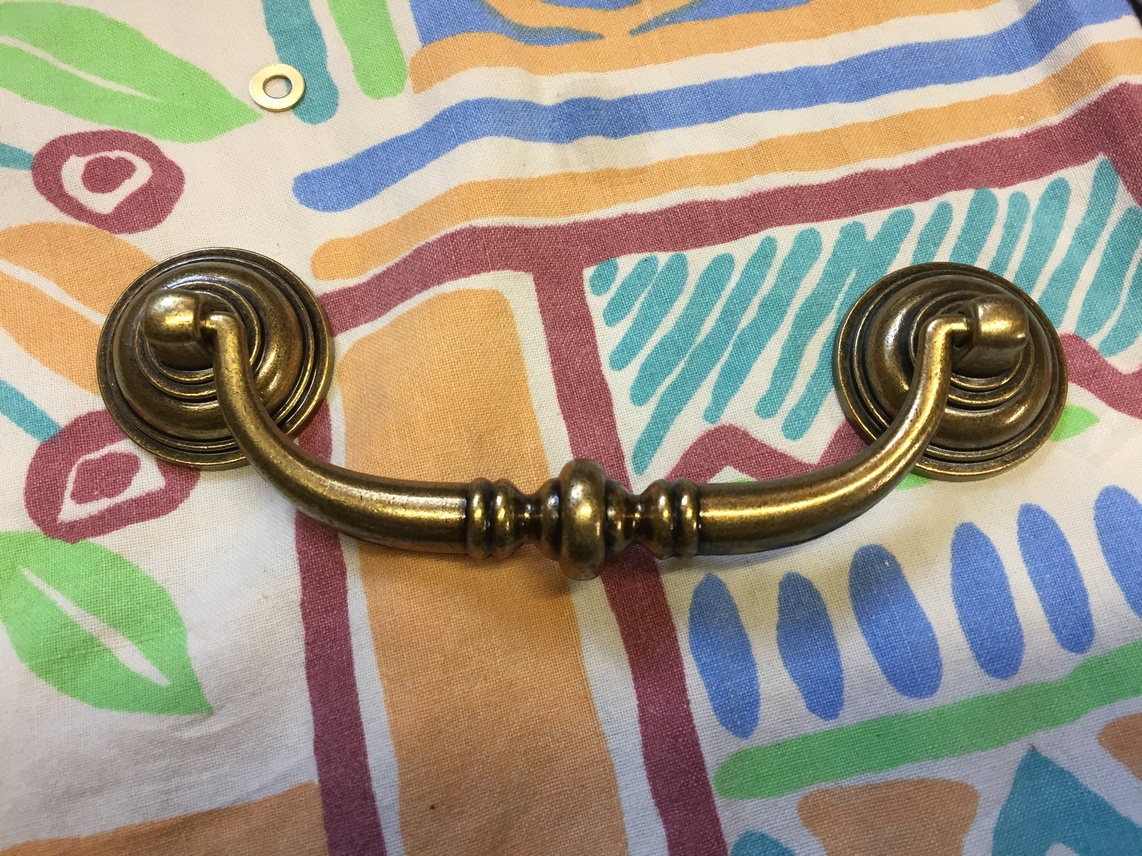
This is one of the handles the client has chosen for the drawer.
If I were making drawers for the shop, I would drill a 4mm hole for the mounting screws and be done. For a nice piece of furniture, I like to use a forstner bit to drill a counter-bore for the screw head and washer. That way, the head of the screw is flush with the inside face of the drawer front. A very minor consideration but I think it looks better this way.
And with the handle installed:

The doors are hung, but the latches and knobs are not installed yet. I’m using the same door latches as I used on the Sewing Center. The latch consists of two parts, the “catch” and the “strike”. The catch is the piece with the little silver balls (I asked for big brass ones but they looked at me funny) and will mount to the underside of the drawer rail. The strike is the piece that is “caught” when pushed into the catch. Another thing I like about this style of latch is that you can adjust the tension by tightening or loosening the screw caps that hold the springs in.
This is some very nice brass hardware from Rockler Woodworking (a completely un-solicited plug, but they carry a lot of good hardware for furniture and cabinet building). The easiest way (for me) is to mount the strike to the door first, and then use that to properly position the catch.
I mark where the first pilot hole is to be drilled. Then, before marking for the second hole, I install the first screw. Once both screws are holding the strike, I put the catch in place.

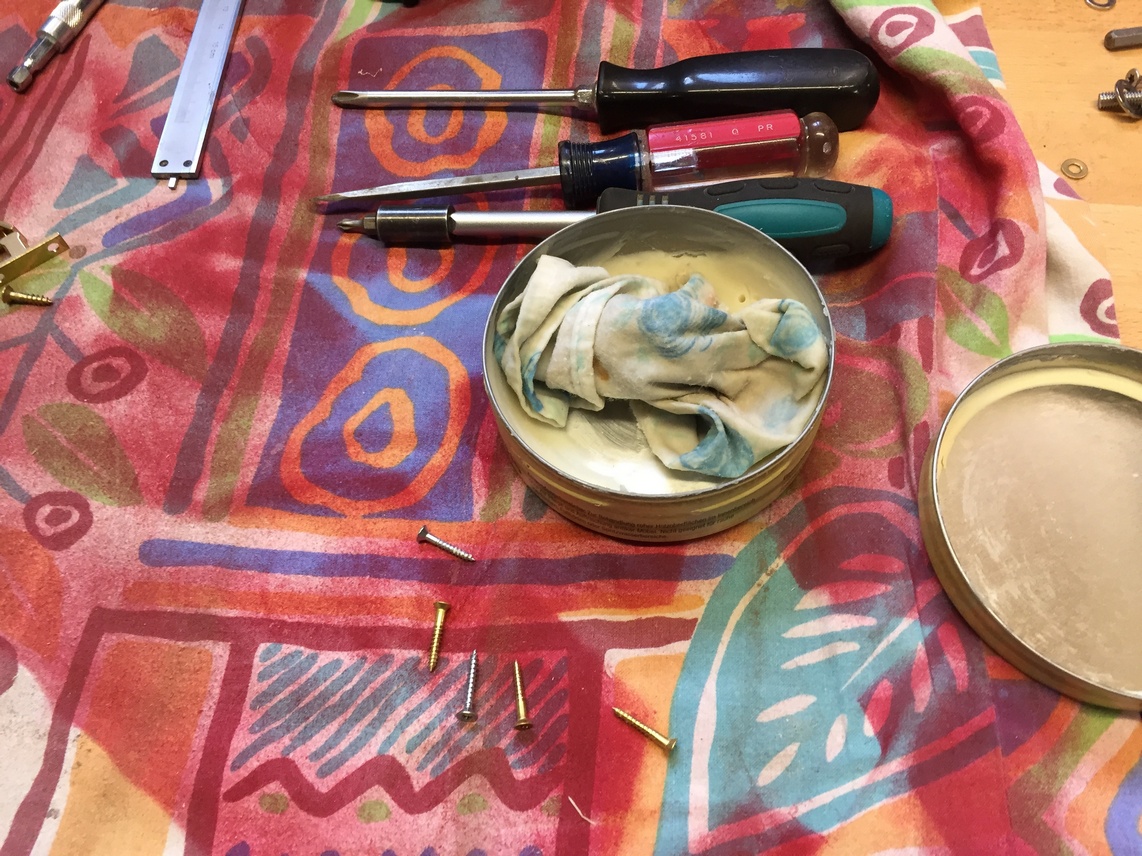
I then close the door and clamp a block against the front of the drawer rail. This gives me a method of ensuring that when the door is latched, it is in position flush with the front of the rail. I mark for the pilot holes, drill and install the catch. I may have mentioned it before, but if you dip the brass screws in a little wax before installation, they will go in easier. Nothing is more frustrating than giving a brass screw a little extra oomph to tighten and having it break off…….
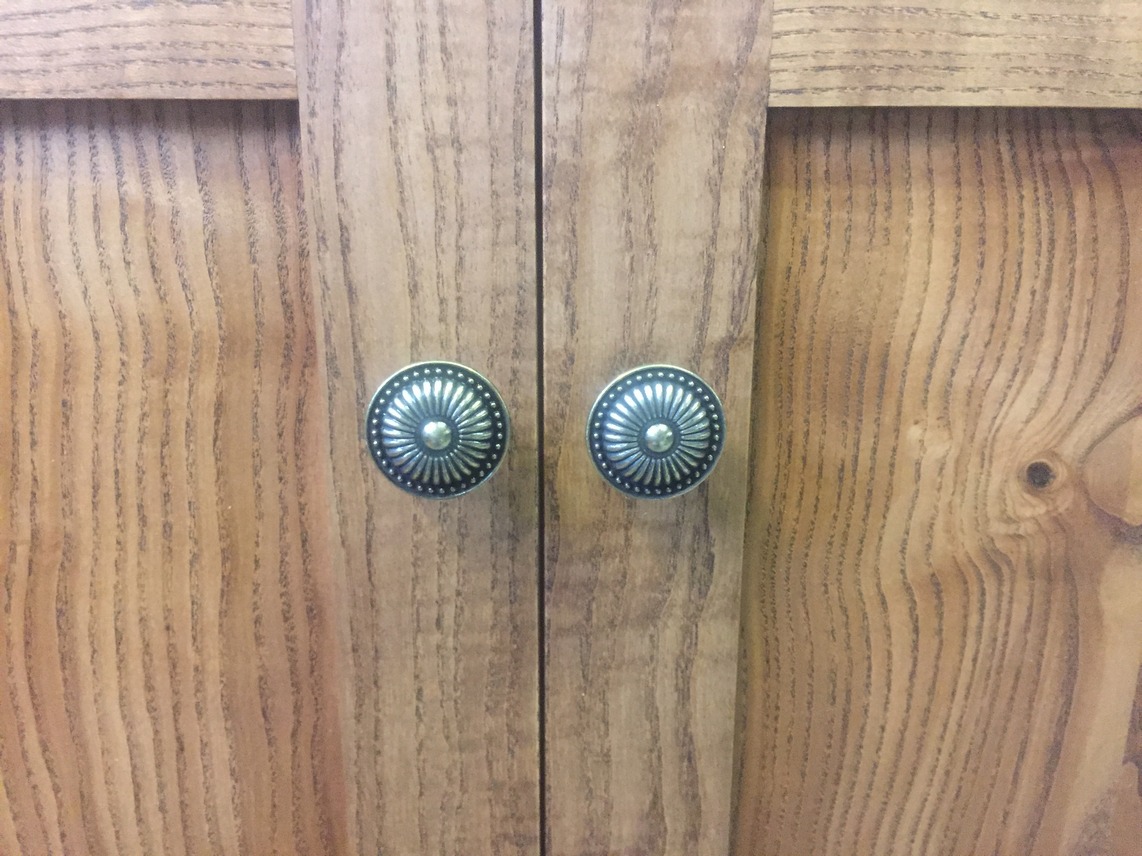
The door knobs are installed in the same manner as the drawer pulls. Clamp a scrap to prevent the wood from tearing out when the drill bit emerges. The same counterbore is made so the screwhead is flush.

The doors fit and latch nice however, because they are taller than normal, I’d like to have something at the bottom to help secure them. I could install another latch but that would be too much for a lightweight door. Instead, I decide to use magnets.
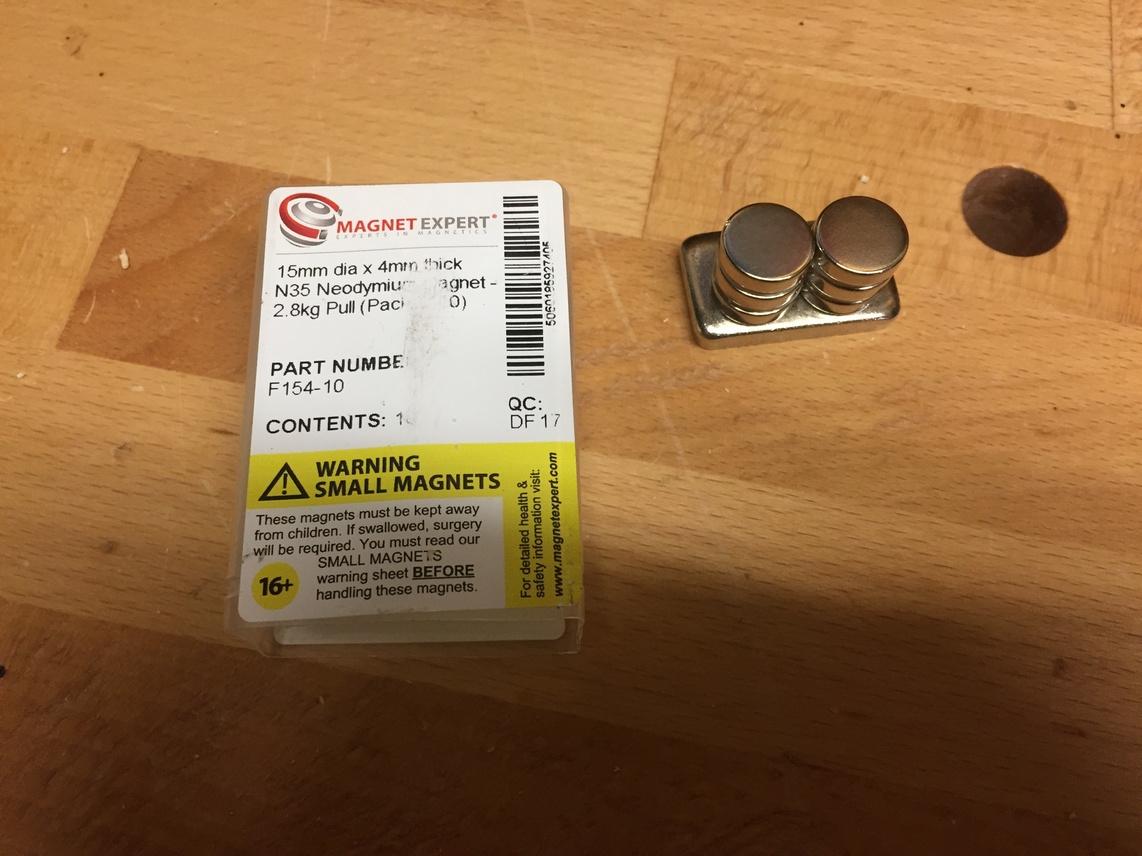
These are “rare earth magnets”, also known as neodymium magnets, and are not only very strong but also fairly inexpensive. The down-side to using these is that they don’t fit well with the “look” that I want for the cabinet so I decide to embed them in the stile of the door and in a small block of wood used as a door stop.
Before picking up chisel and mallet, I test the strength of the magnets with various thicknesses of wood in between.
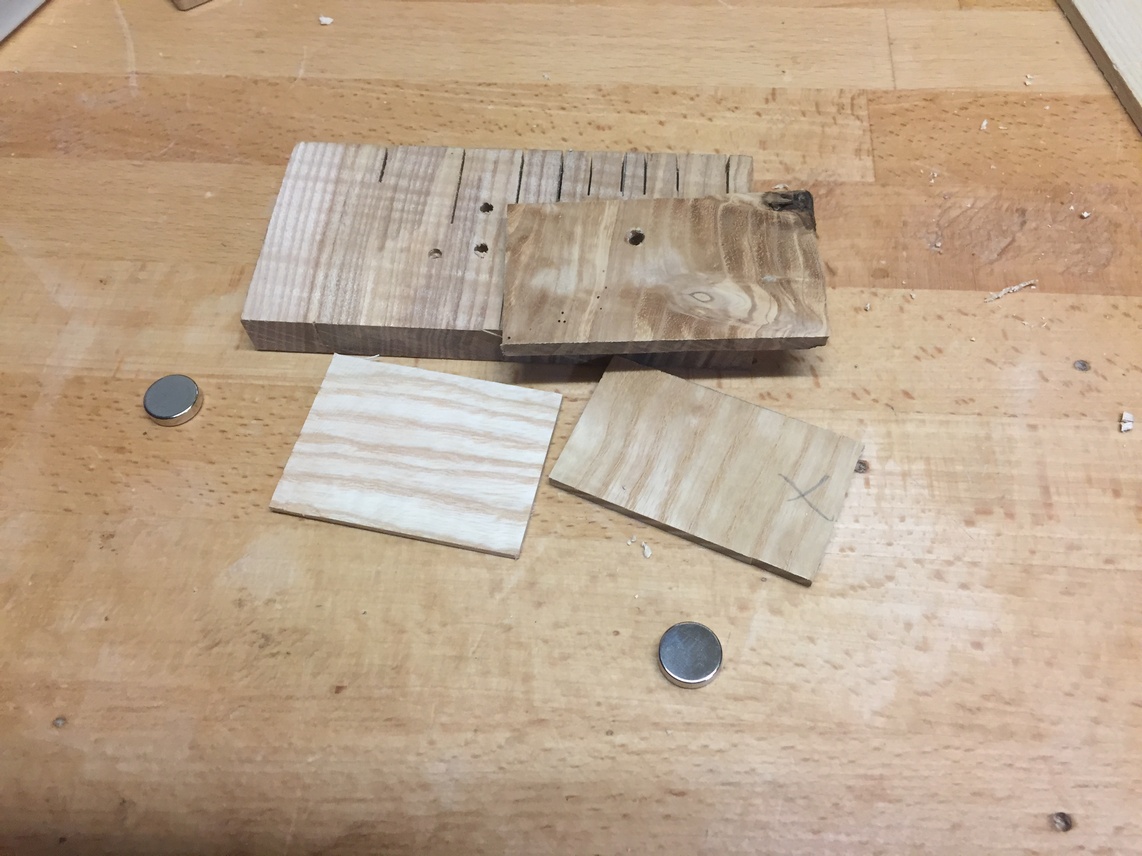
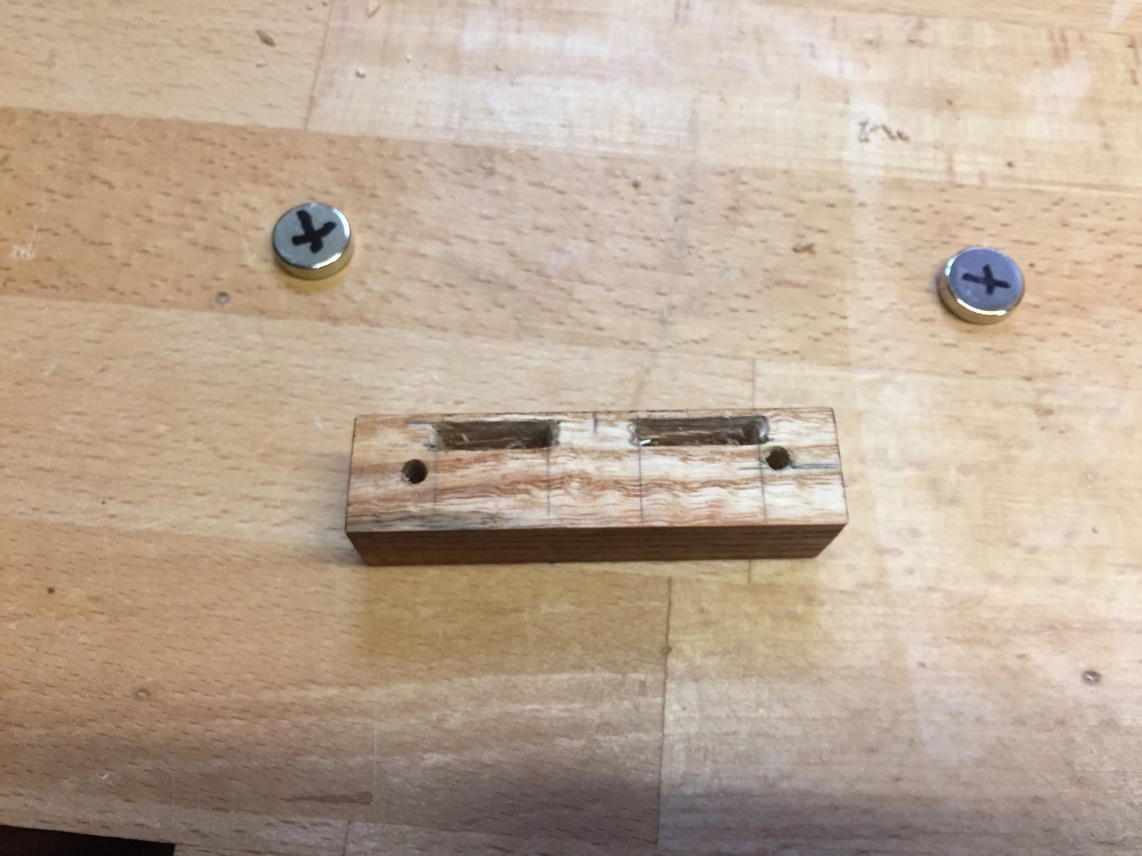
The optimum magnetic pull is achieved with a maximum of 6mm of wood. This means 3mm max on the door and on the stop. As with any mortise that has a thin wall, it’s good to clamp a scrap to help support the thin side whilst chiseling.

I insert the magnet and hold it in place with clear RTV silicone. A little painter’s tape allows me to hang the door before it dries. Now, a very important point: before sealing in the magnets on the stop block, ensure which side is to be facing the door and mark it. That way, you don’t install the magnet backwards and have it push your door open instead of the reverse J .

Last, dye/stain/wax the stop block and install with brass screws.

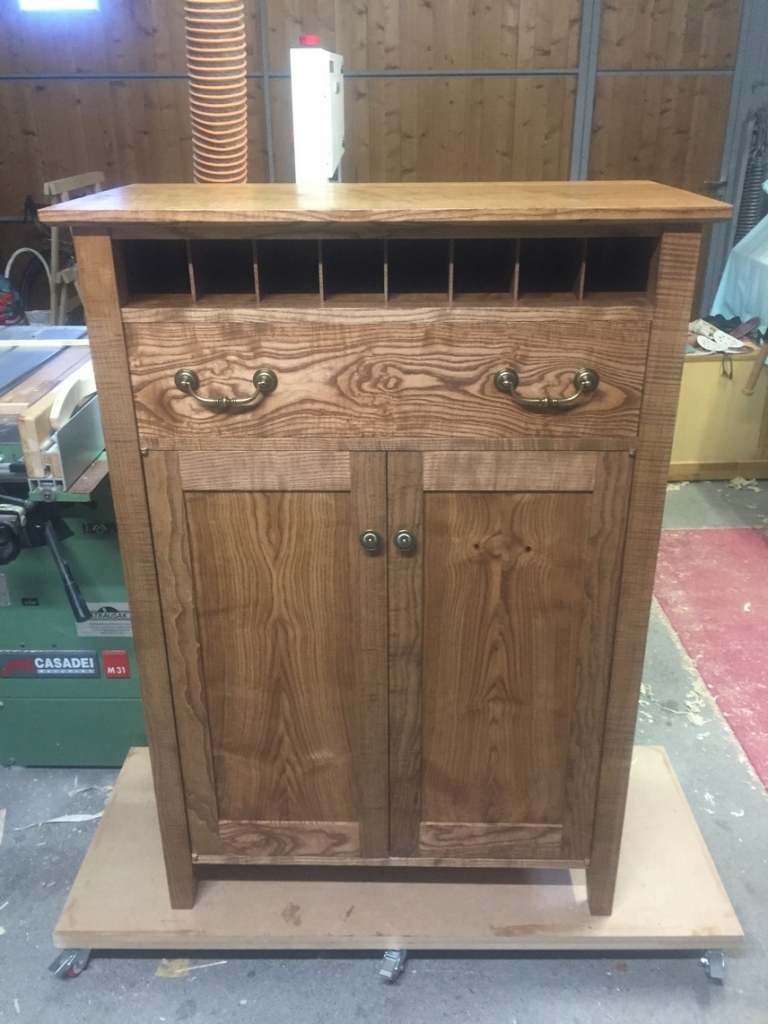
So that’s it folks, another piece of furniture to hopefully last generations, custom designed to the client’s needs, and absolutely, positively, unavailable at your local Ikea.
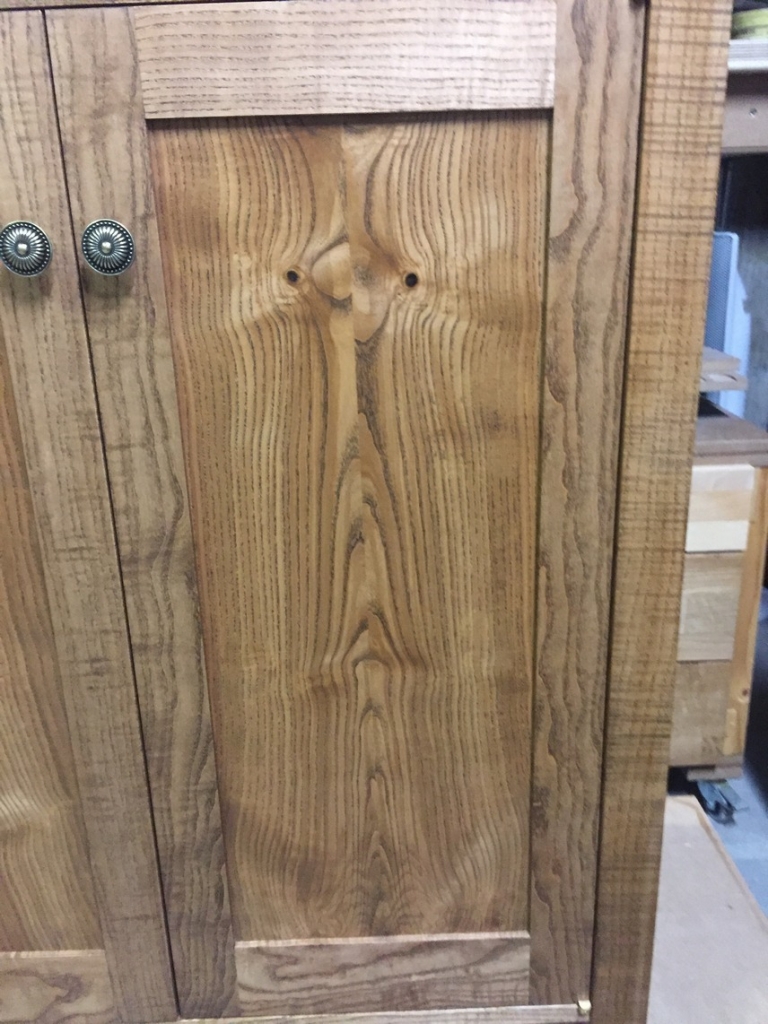
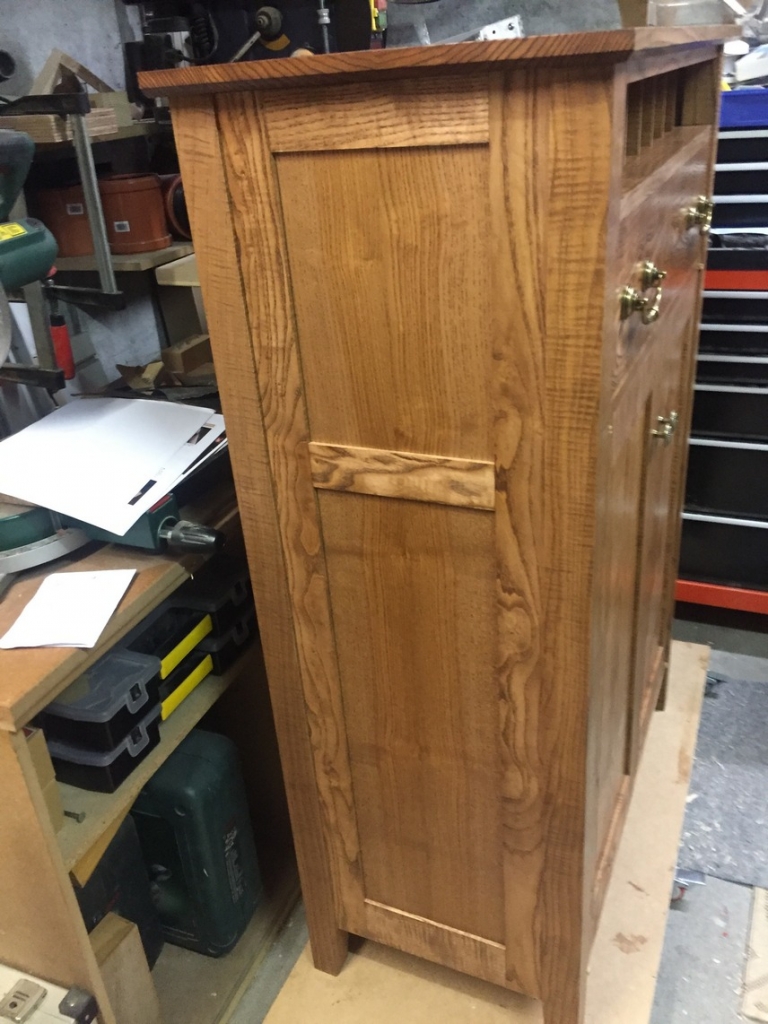
Here are a few pics of the finished cabinet however, it is still in the garage. When I get some photos of it in its new home, I’ll update this post.


Leave a Reply