
This particular cabinet will be a bit complicated to glue-up. Oh, to have extra hands for the assembly like Shiva. But I would be depressed when I had to destroy the universe at the end of the current cycle (don’t worry, we’ve probably got another 100 years…..).

I hope this modification of a religious image doesn’t strike any nerves or, if it does, learn to take it in the non-malicious spirit with which it was intended. 🙂
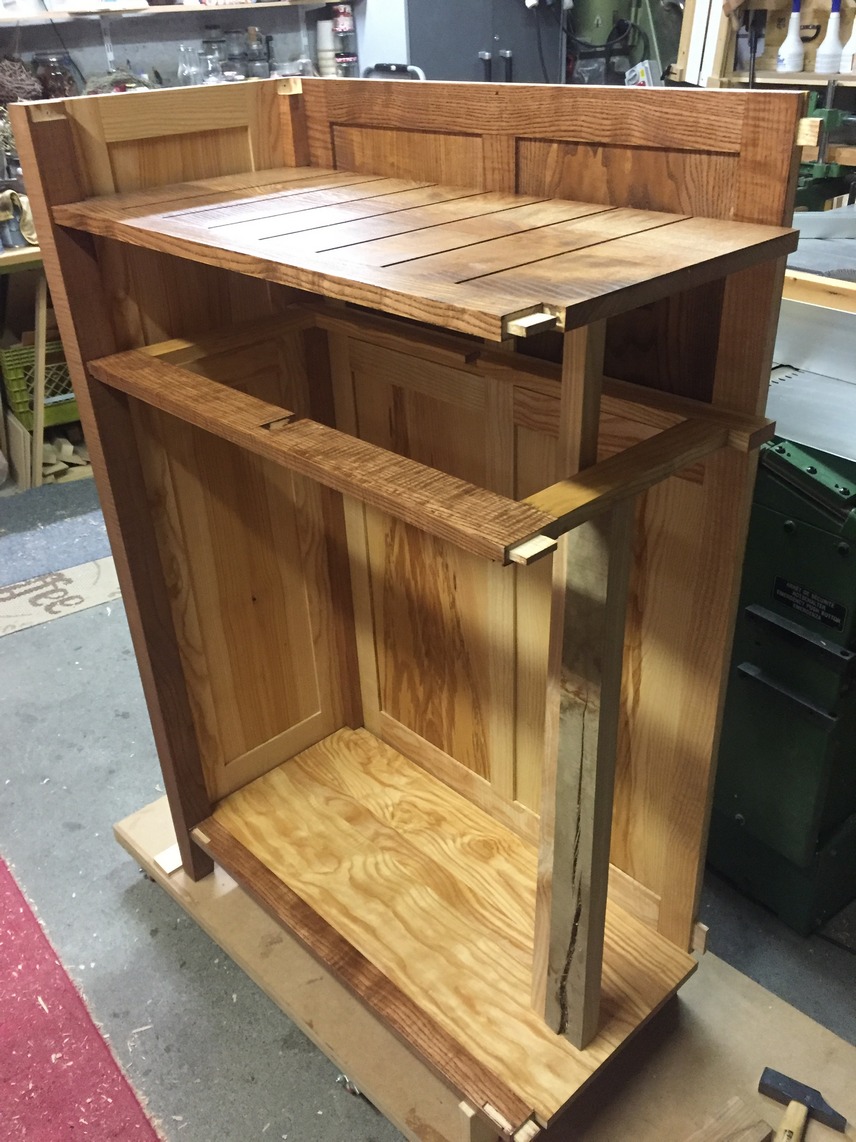
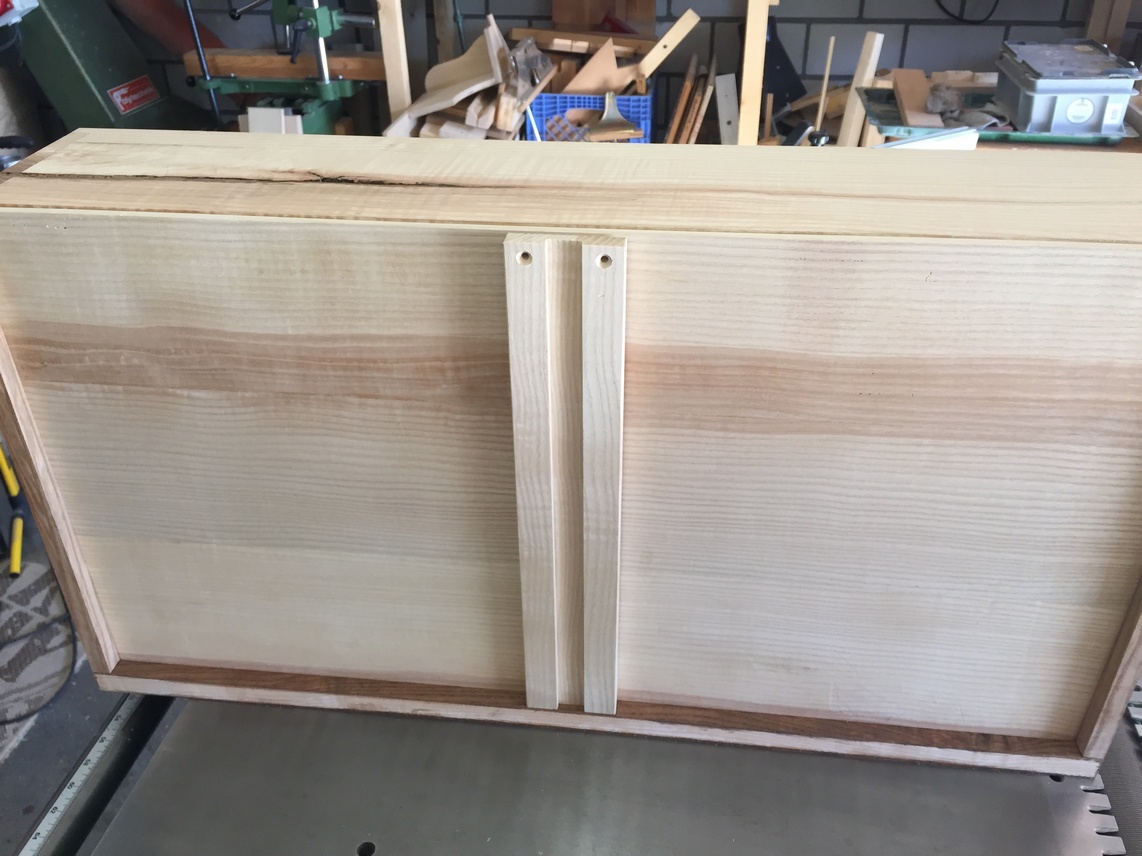
Any major assembly is one of those things you have to carefully plan before you actually touch the glue. Considering how each of the horizontal pieces and also the back assembly will fit into the sides results in a specific sequence of assembly that I have to get clear in my mind. The numbers in the below picture show the sequence:
- The back assembly’s tenons fit into the left side’s mortises
- Bottom fits into the left side
- The drawer web-frame into the left side
- The wine cubby shelf into the left side
- The right side’s mortises fit to the tenons of the previous 4 pieces
- The top web-frame is last and is held in place by screws.

If you are a one-person garage-shop this could get ugly real quick. Glue selection should be for long open/working time. In this case, I use plastic resin glue which stays workable in the cup for hours and re-positionable for at 20-30 minutes depending on temperature. This glue ideally requires an ambient temperature of minimum 21C (71 Fahrenheit) so I crank up my space heater for about an hour prior to gluing. I keep it warm until at least an hour after clamping. The temp drops overnight to about 13C (55F) but I’ve never had any issues with this glue as long as I apply it in the correct temp. Lastly, I make sure the pieces are ready to grab in the correct sequence and that my clamps are within reach.


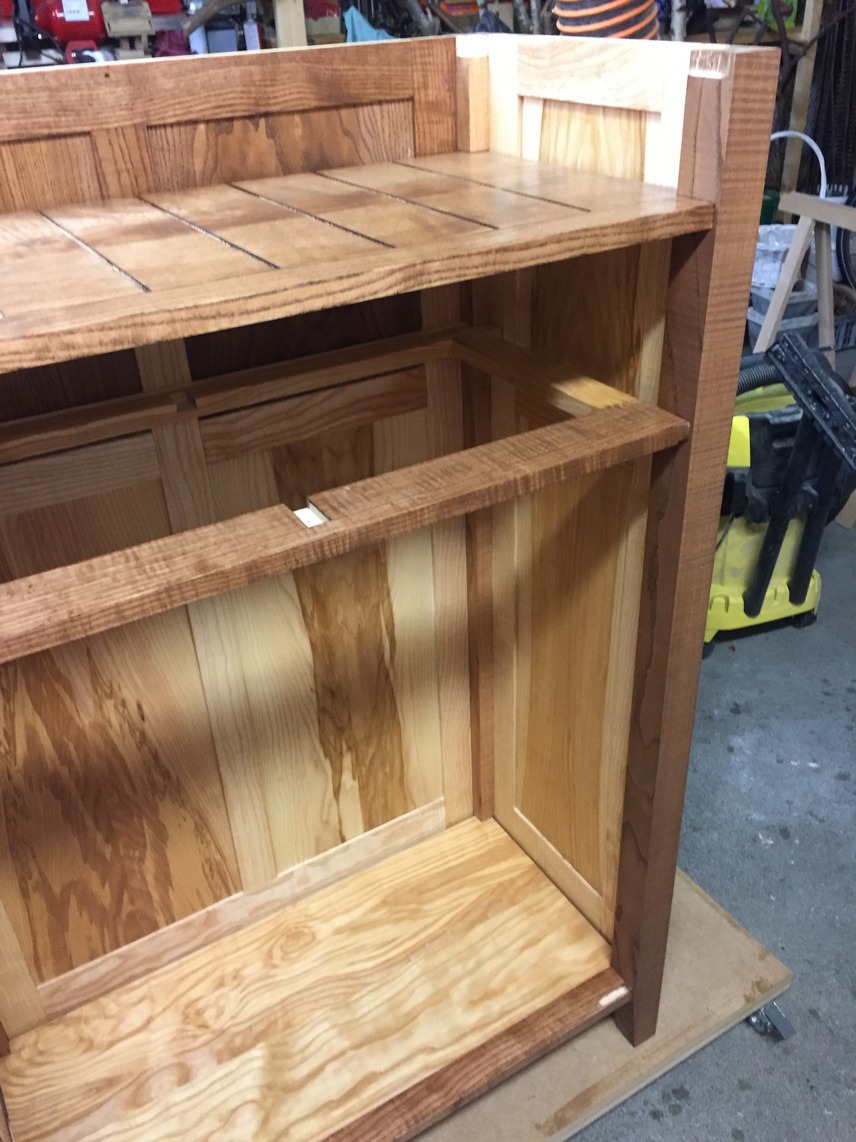
During the assembly, all the pieces have to be held in the correct position so I cut scraps to keep things in place as I go. First, a scrap under the bottom-right of the back to keep it from tipping. Second, a scrap under the bottom to hold it up.


Third, a long scrap to hold up the drawer web-frame. Fourth, a final scrap to hold up the wine shelf.

Then, carefully, fit the right side assembly to the back and 3 horizontal pieces. Install clamps, check for square at top and bottom, and screw in the top web-frame. Double-check for square. Clean up squeeze-out with a warm, wet rag. Easey-peasey.
Full disclosure: I had my good wife to help me also 🙂 .
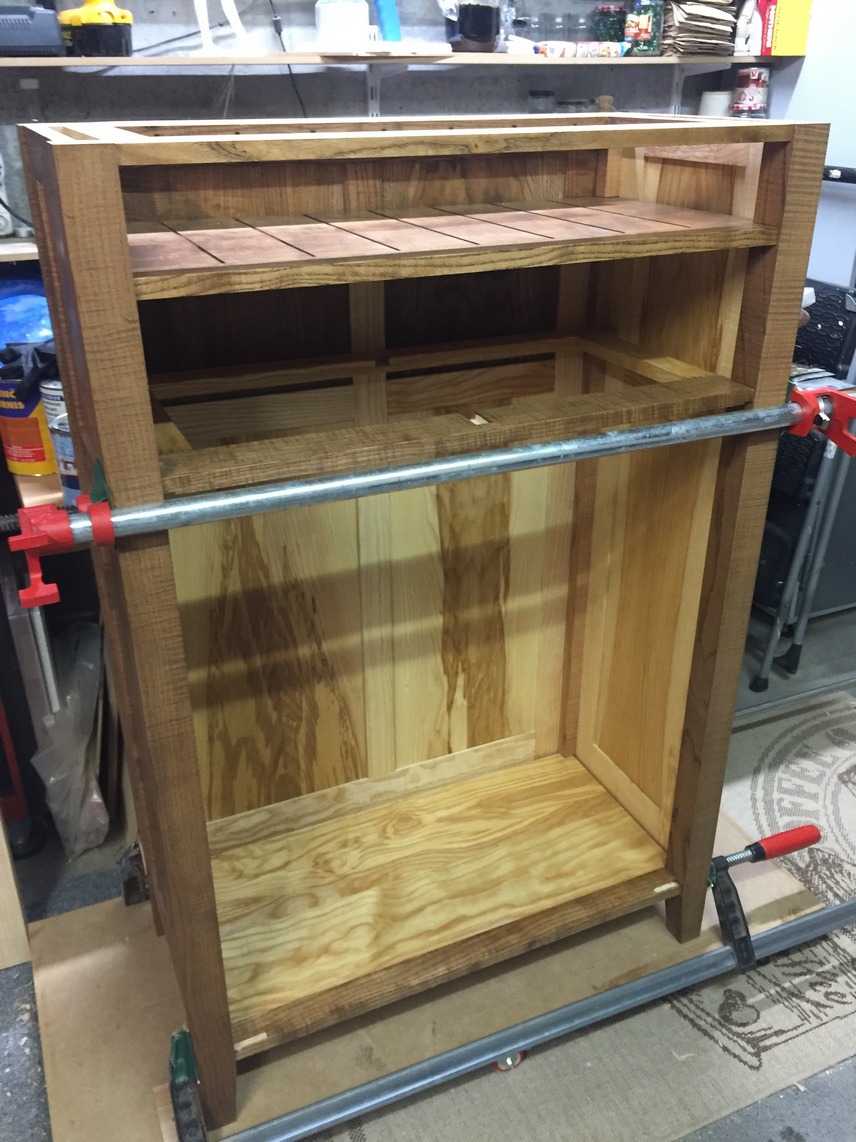
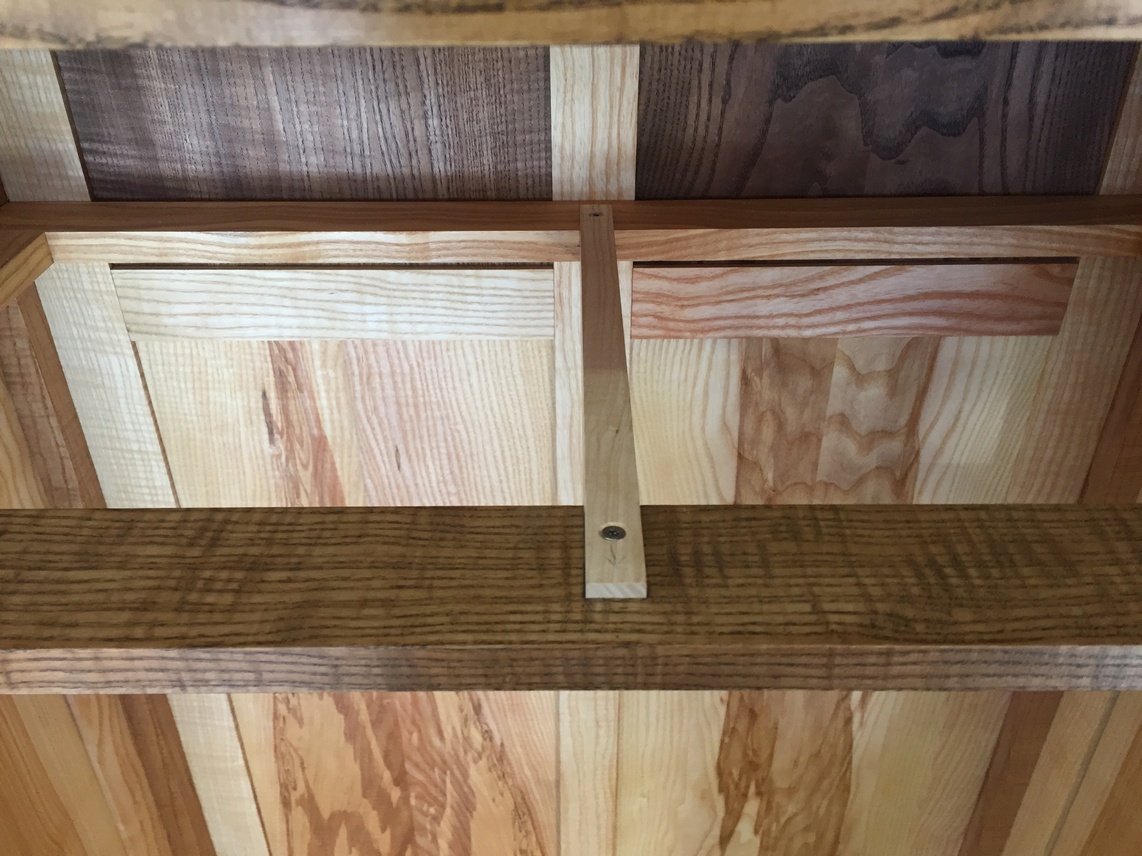
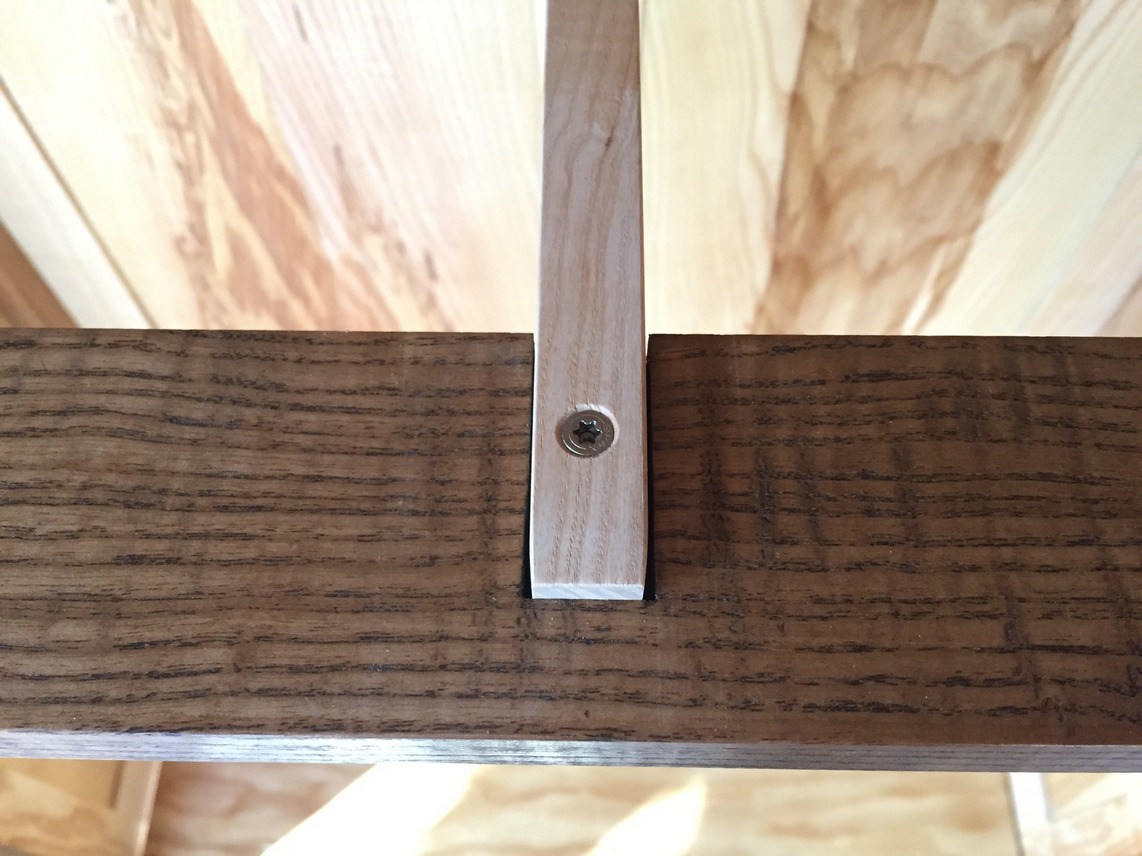
Remember when I glued-up the side assemblies and needed a piece of scrap between the stiles for the clamp-up? Same issue with the back except I needed 2 scraps, taped in place for the clamping.

The next day I removed the clamps from the carcase and turned my attention to fitting the drawer. Previously, I had glued the sides, front, and back (also with plastic resin glue. For small drawers, I use bone glue) so I plane the bottom edges flush and then plane the top edges little by little until it fits into the drawer space with only a tiny gap clearance.


I’m expecting the wood to contract a little bit once it’s moved to its new home so for now, I don’t worry about expansion. I’ll be in touch with the client next summer to see if I need to take a little more off (one of the nice things about having a client who lives just down the street from you). By the way, I dyed the front piece and its edges before glue-up but it still needs the oil stain.

Next, I insert the drawer bottom, trimmed to fit, and drill two 4mm holes in the end of the slide for attachment.


The guide piece is screwed into position on the web-frame and the slide is installed loose on the drawer.
Now, when I insert the drawer into final position, I can mark the exact location of the slide piece on the bottom. Remove the drawer, and with the slide in the correct spot, I use a brad-point bit to mark the position to drill pilot holes for the screws. The bottom piece is clamped so it doesn’t move while I drill 2.5mm pilots through the bottom and into the back edge.

Since the bottom needs to be able to expand and contract, I remove it now, enlarge the 2.5mm holes to 4mm, and use the holes as reference to chisel 4mm slots.

I re-insert the drawer to see if it works smoothly and there is a little stiffness. If you look at the pic below left, you’ll see that the left inside groove of the slide is tight against the guide. The first instinct is to just plane a few shavings off the left side of the guide but we don’t want the guide/slide fit to be loose. Instead, I plane the left side of the drawer until I get smooth operation.

Now, just before the full closed position, sometimes the back corners of the drawer catch on the back legs. To fix this, I plane a slight taper on the back corners of the drawer. Finally, I taper the front of the guide so it is easy to initially insert the drawer if it has been removed.
A “guided” drawer should close smoothly even if you push from only one side. Now I can fill a few small gaps and sand the outside to 240 grit. I don’t oil drawers except for the front but instead, only wax. Wax makes the wood look as nice as oil (I think) and keeps things moving smoothly. Also on the inside, I use wax.

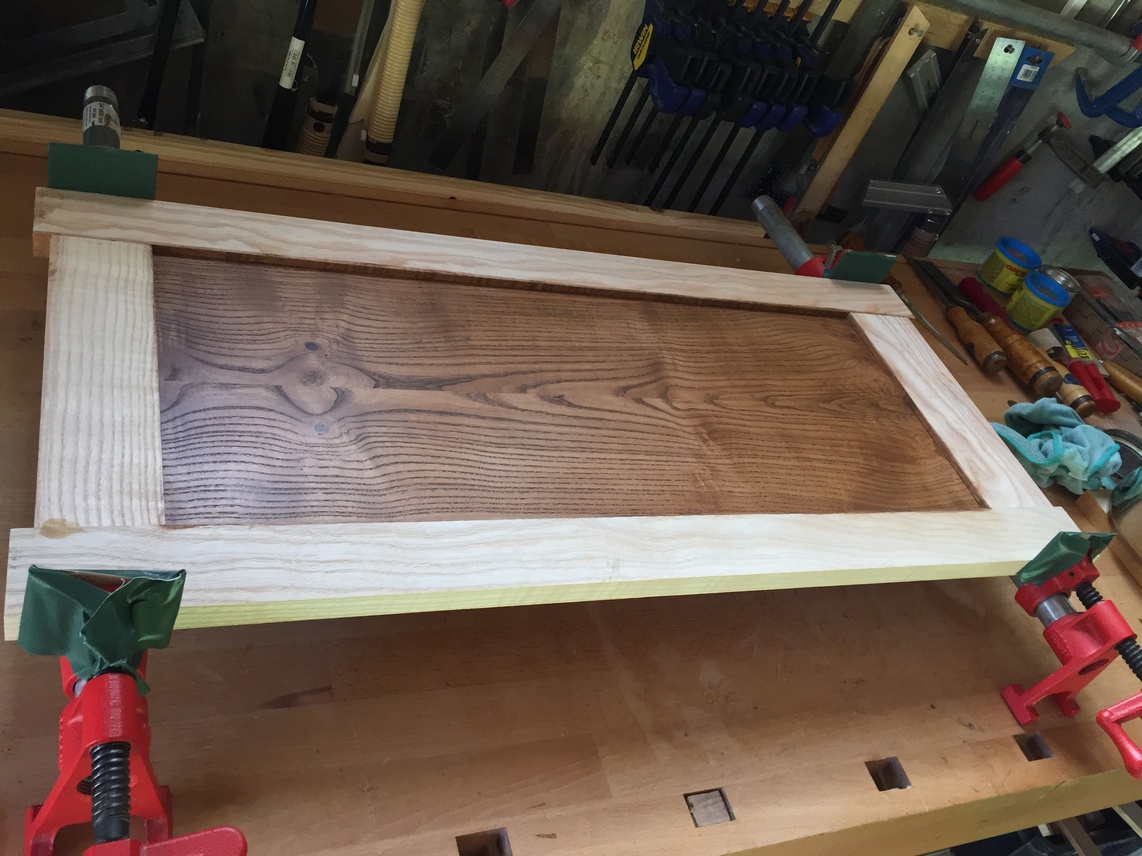
Now to the doors. The panels are finished on both sides and waxed and the groove surface of the stiles/rails is dyed/stained. This way, after assembly, oil won’t have a chance to seep into the grooves and cause the panel to stick. For the doors, I’m back to the bone glue; keeping the jar in the pot of hot water helps until I get an actual glue-pot…..

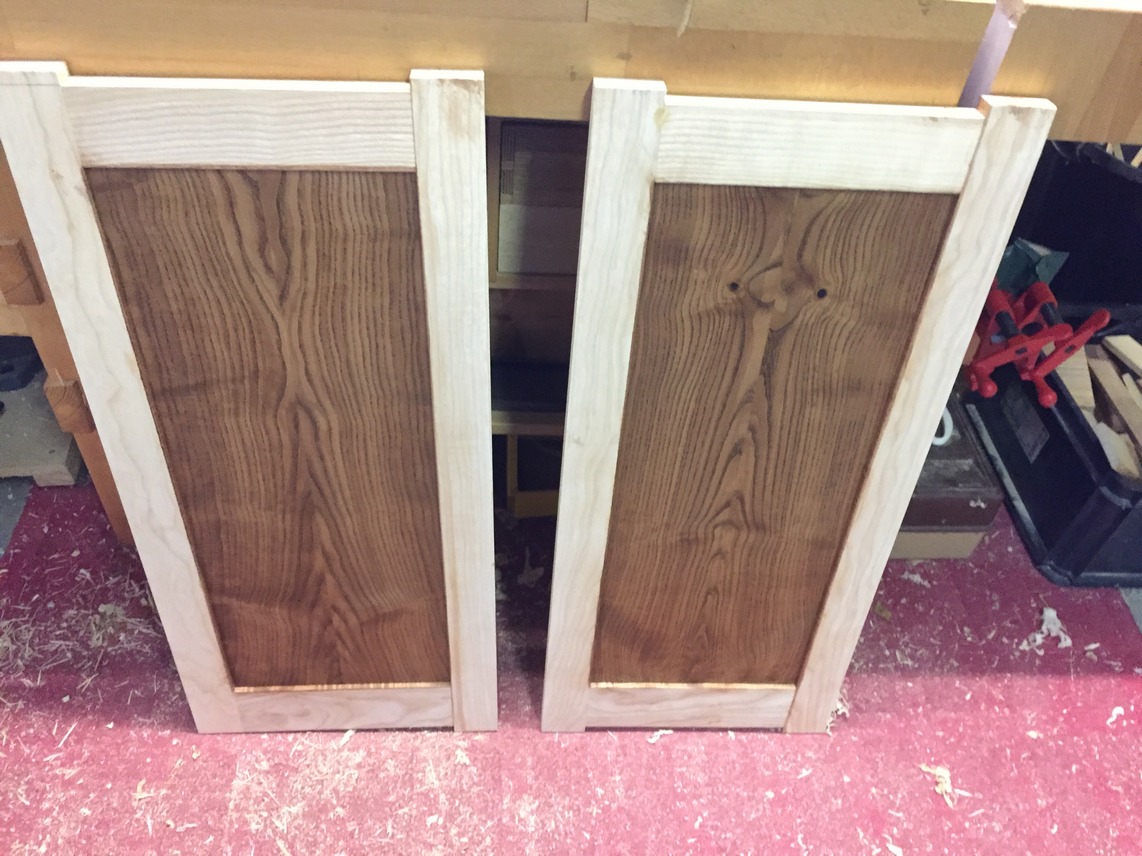
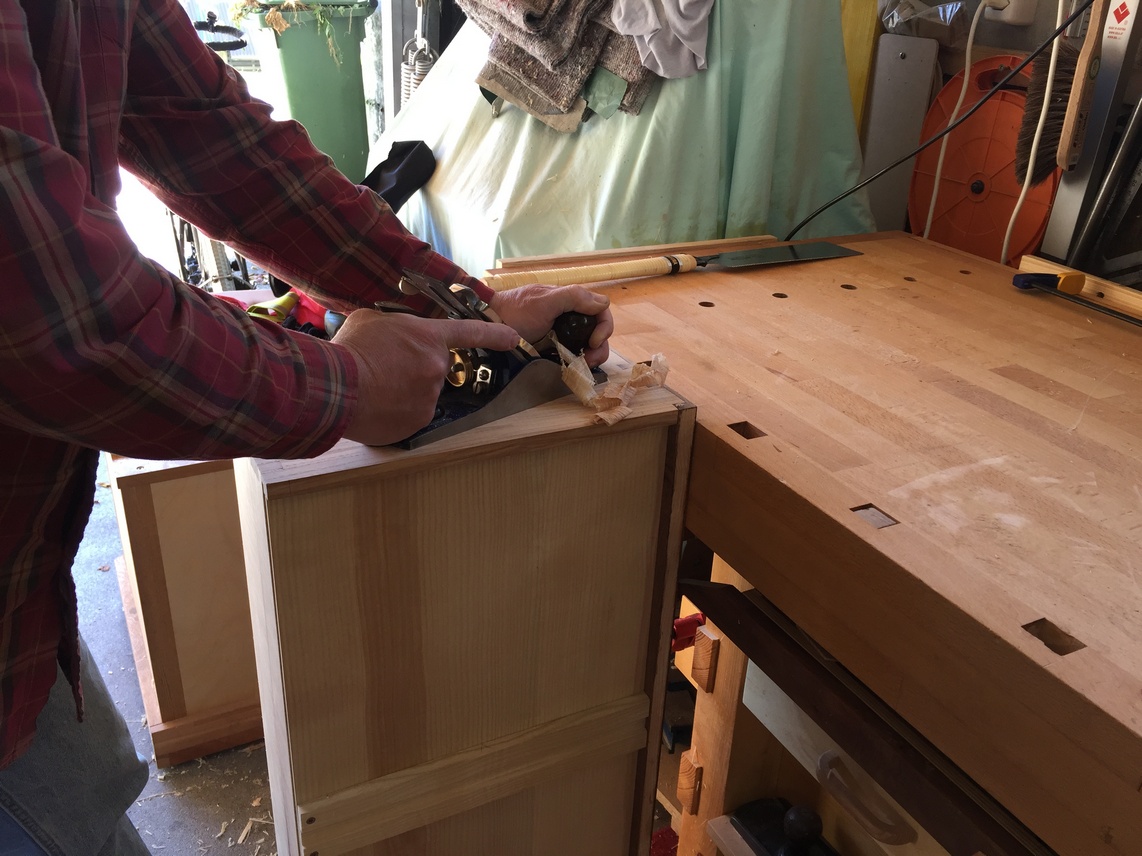
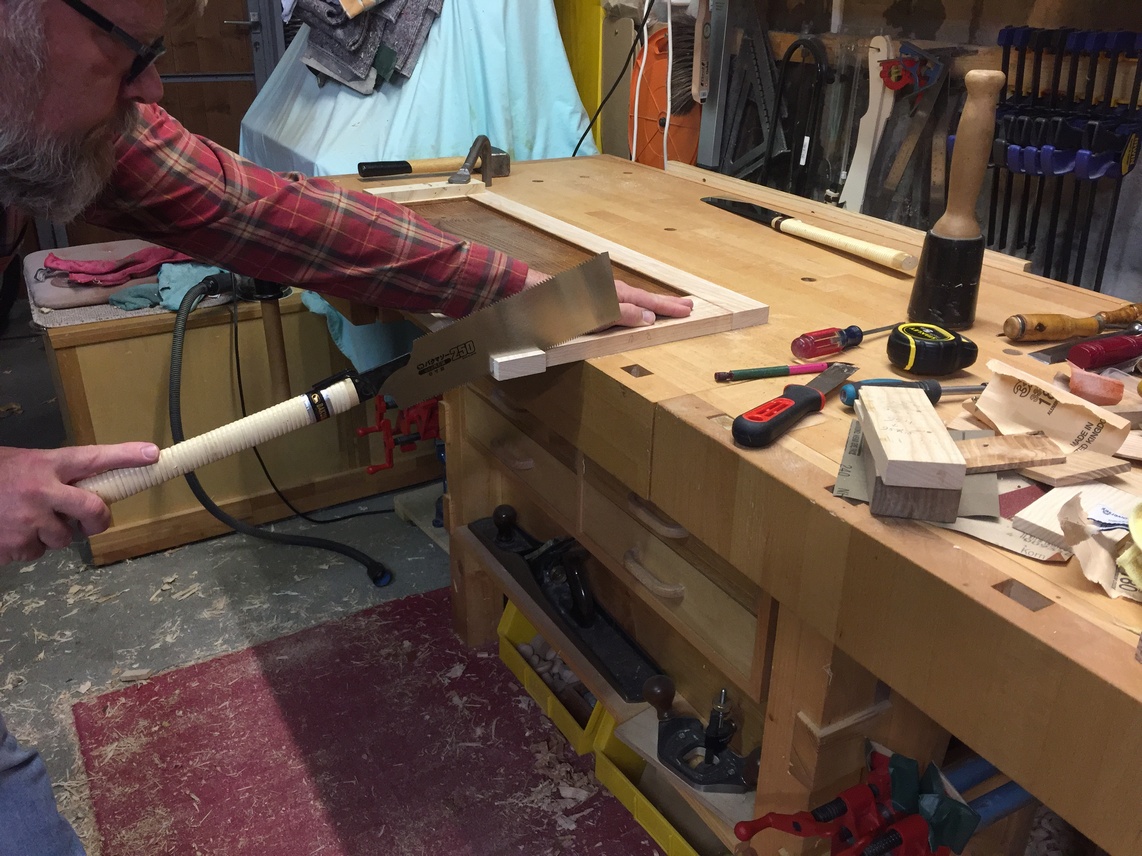
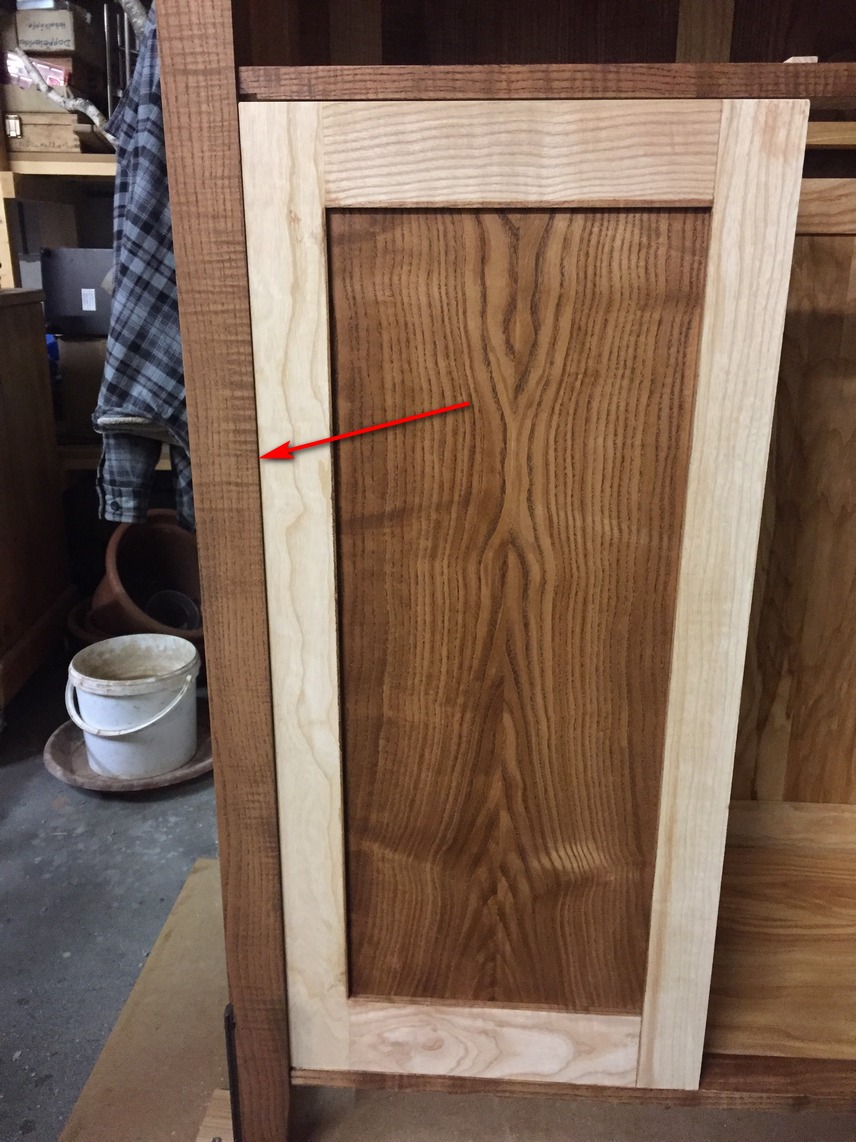
Since I’m done with the “horns” I cut them off before moving on. 2nd class sawcuts are all that’s needed here since I’ll be planing at least a few millimeters off the top and bottom rails.
Door fitting, like drawer fitting, benefits from a sequenced approach. After planing off the saw marks I position the door in its place and check the left stile for straightness against the left leg of the carcase (it’s not a foregone conclusion that the two will match each other 🙂 ) and plane the door’s left edge until it’s flush along its length with the leg.
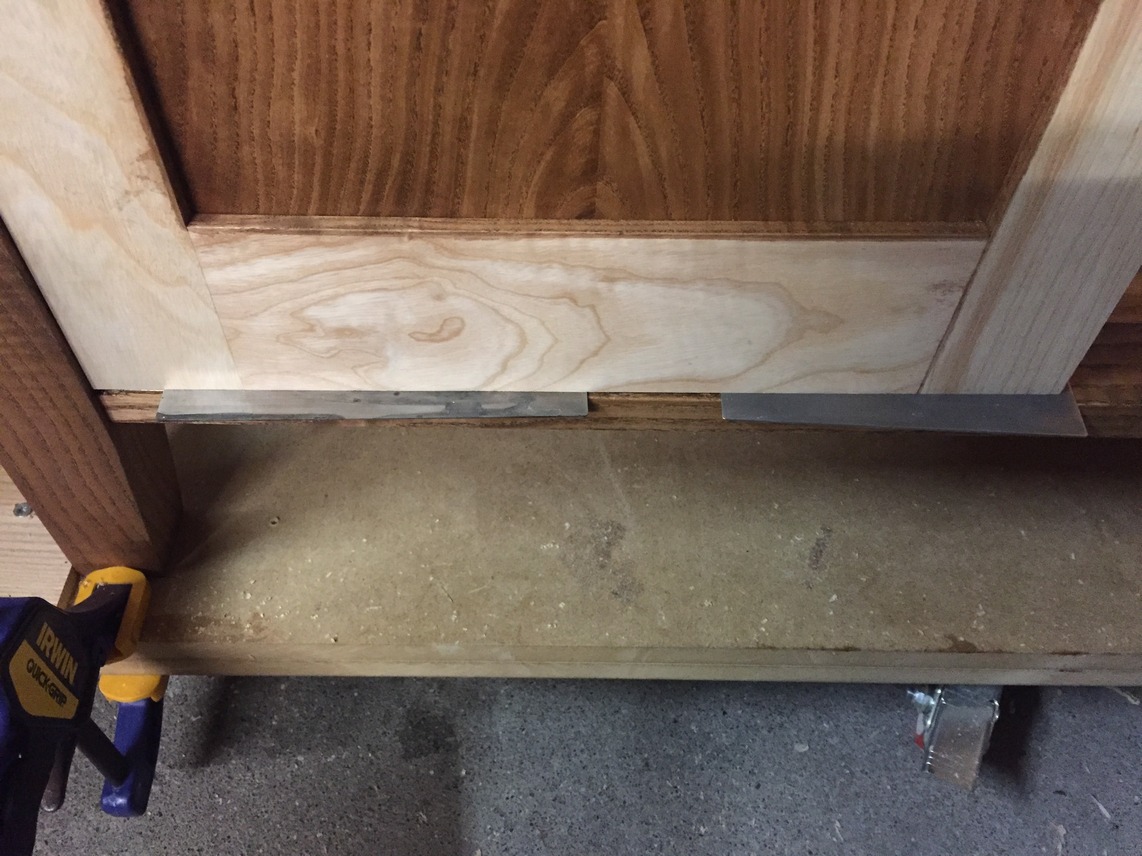
Next, I’ll plane the bottom and top edges to match the rails of the carcase and at the same time, create a little over 1mm gap at top and bottom. This gap between rails is meant to match the gap between the hinge halves.

By coincidence, the gap needed is the same as the thickness of my card scrapers so I put 2 of them at the bottom for the door to rest on while I’m fine tuning the top rail.
For “fine-tuning” a little detail may be helpful. Let’s say that with the door in place, there is a larger gap at the left than at the right. I fix this by starting to plane at the right but only for a few inches (pic below left). Then start again at the right and plane a few inches past the first (pic below right).
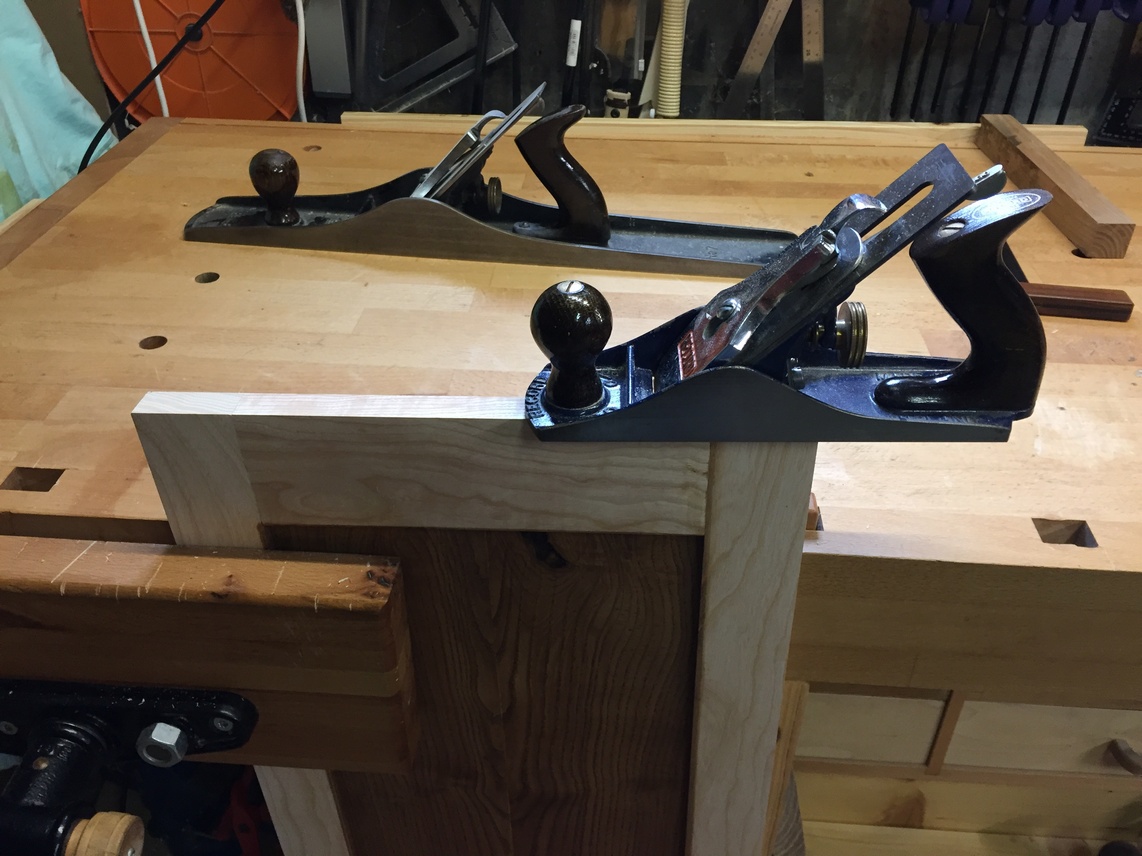

Again, come back to the right and plane all the way to the left (pic below left). What I have just done is taken 2 extra shavings from the right than from the left. I check my gap now and repeat the above procedure until the gap is even all along the width of the top rail. Finally, I take a swipe with my jointer plane (overkill for the width of this door but I really like my jointer…..) to straighten the top edge.


Starting from a square piece of stock, this technique can be used to create a taper, such as for table legs. If I’m only doing a few pieces, I much prefer this to using the table saw tapering jig however, I’ll not balk at the jig if I’m doing more than 4 pieces.
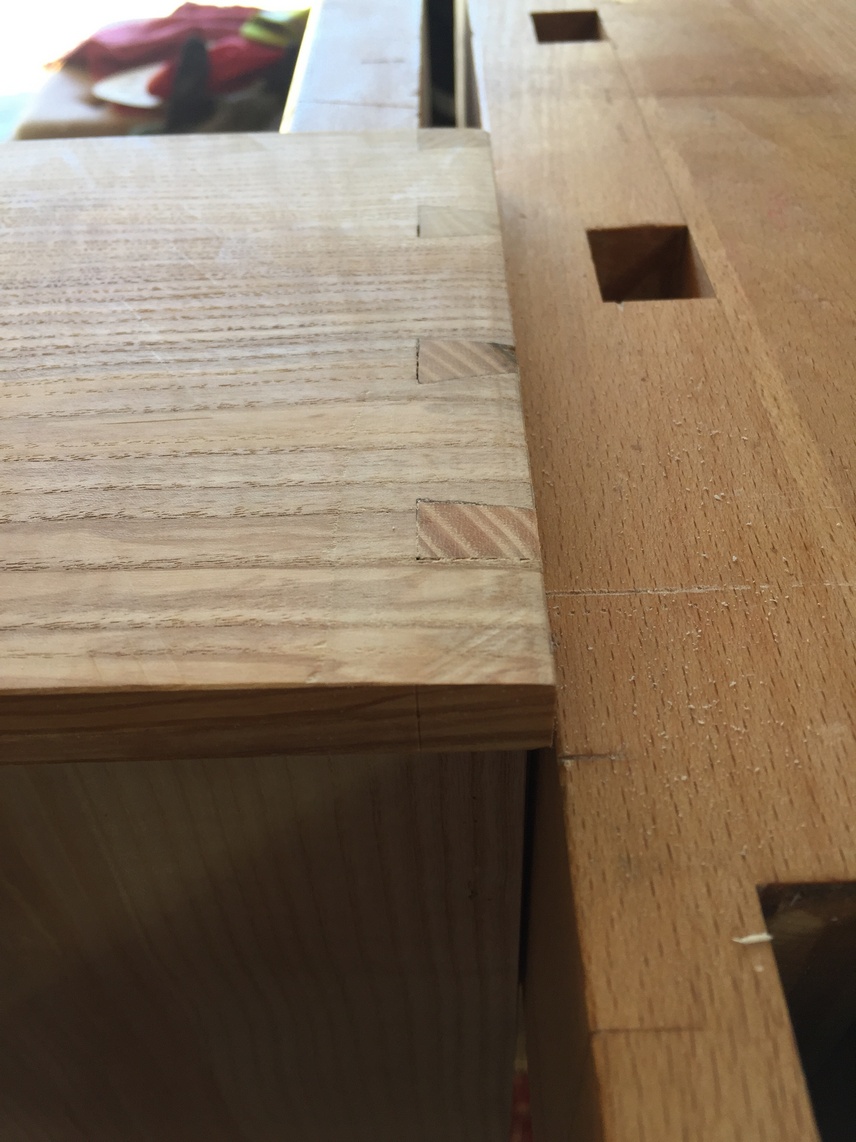
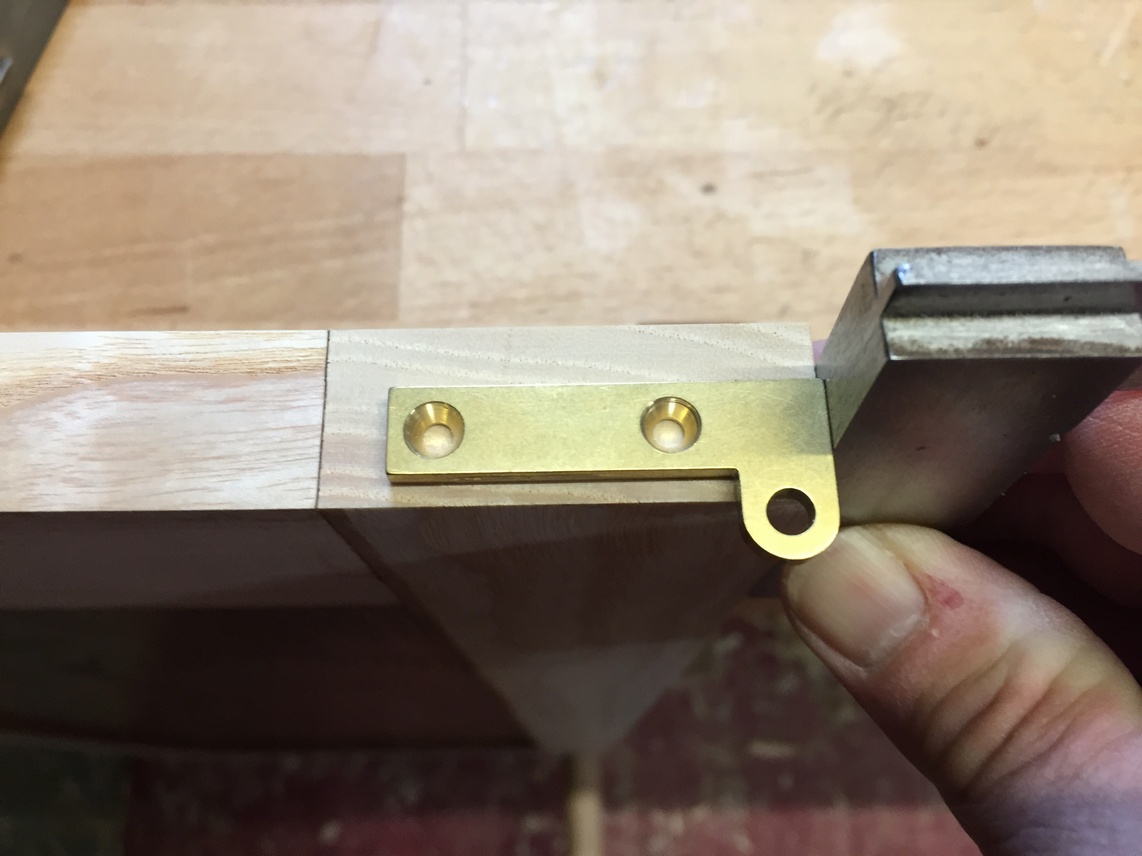
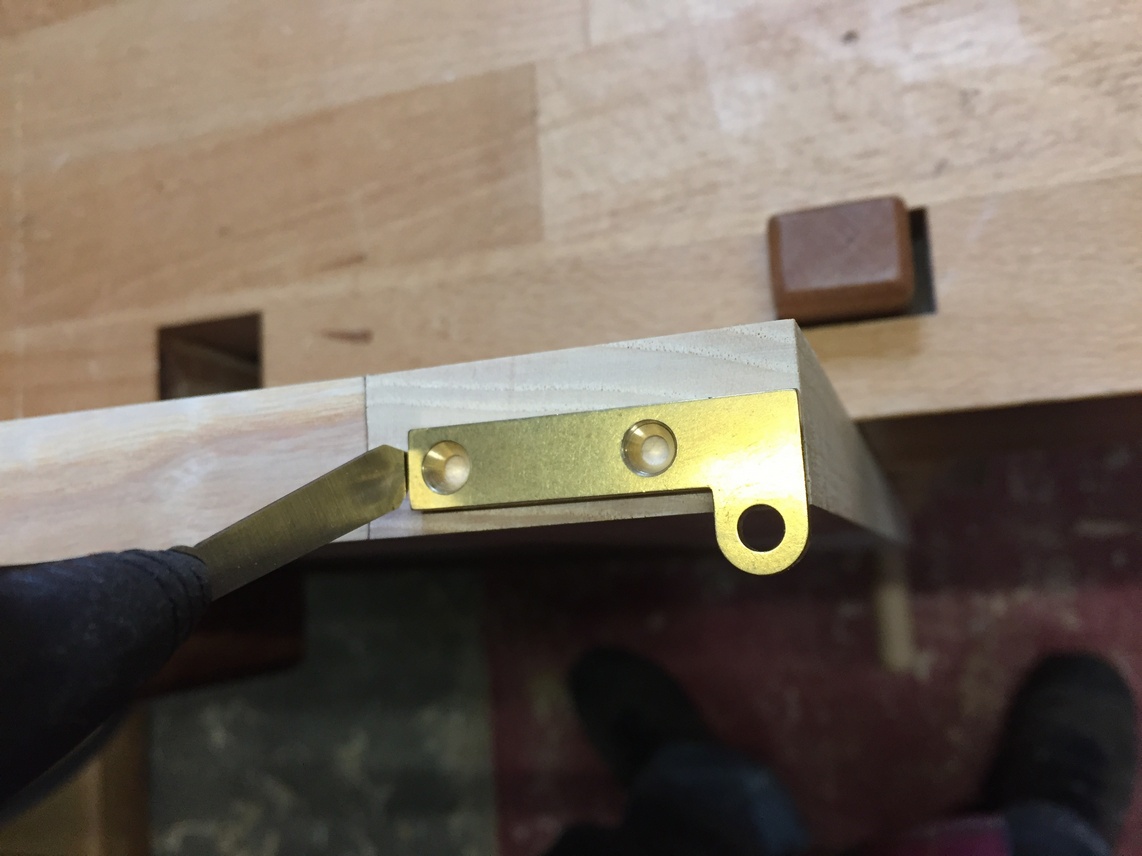
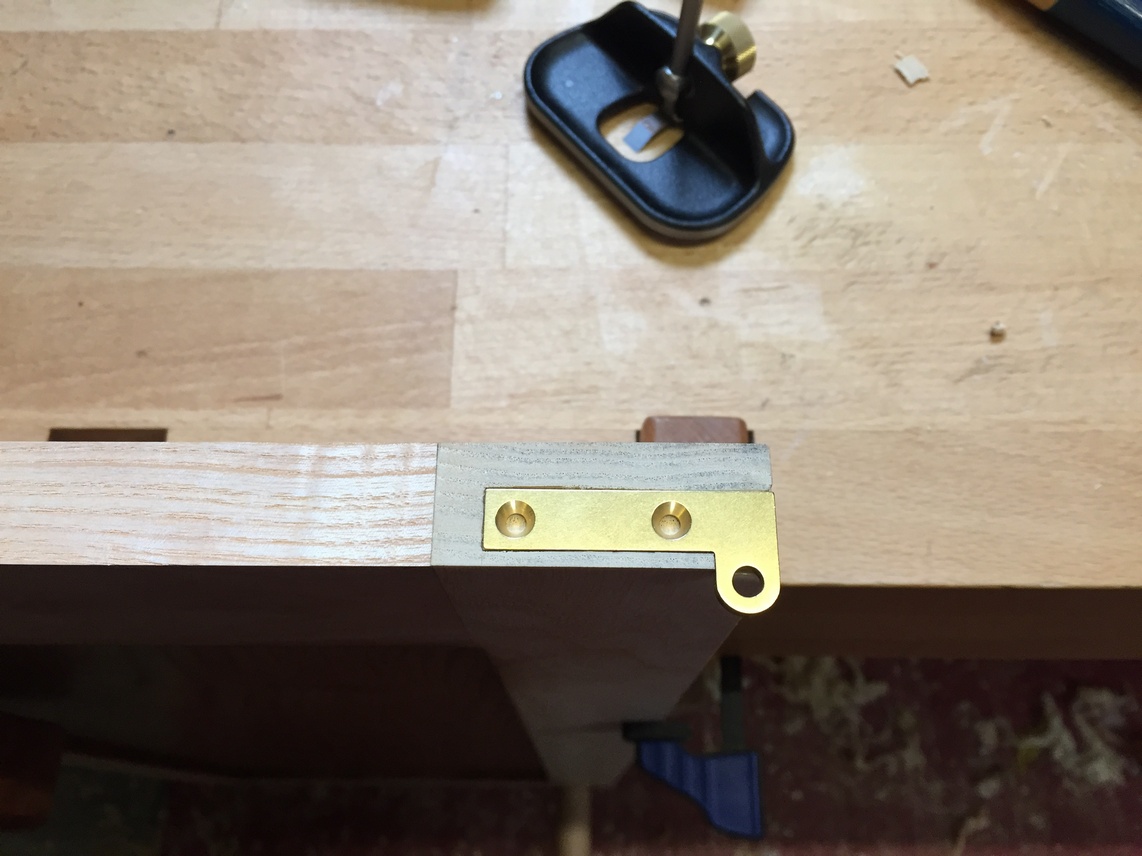
Once the doors have been fitted, only then can I install the knife hinges. The hinge-halves for the carcase side fit snugly and I won’t drill screw holes for these halves till the very end. I use my combination square and set the rule even with the front edge of the hinge.

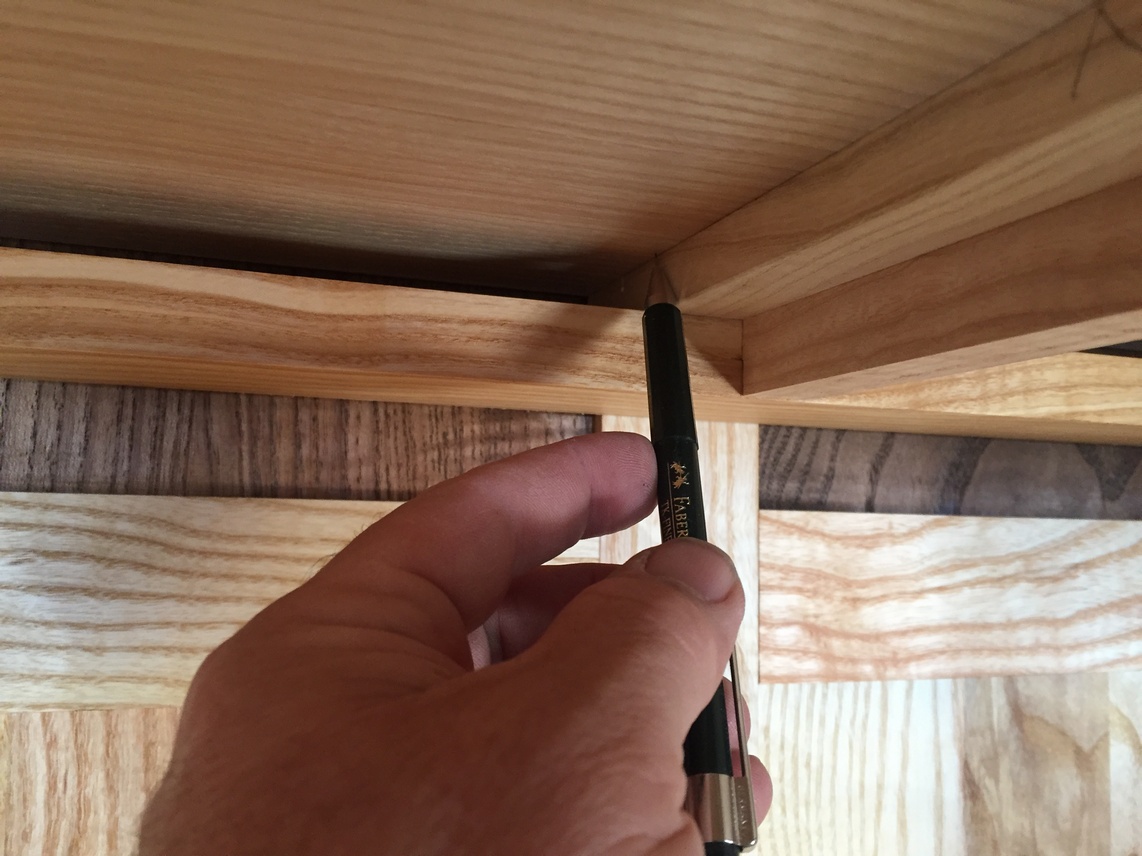
The door side hinge-half is flush with the side edge and I use the square to position it the proper distance from the front face of the door. Knife hinges give you very little forgiveness so it is best to be as accurate as possible.

A pencil is not accurate enough. I use a marking knife.
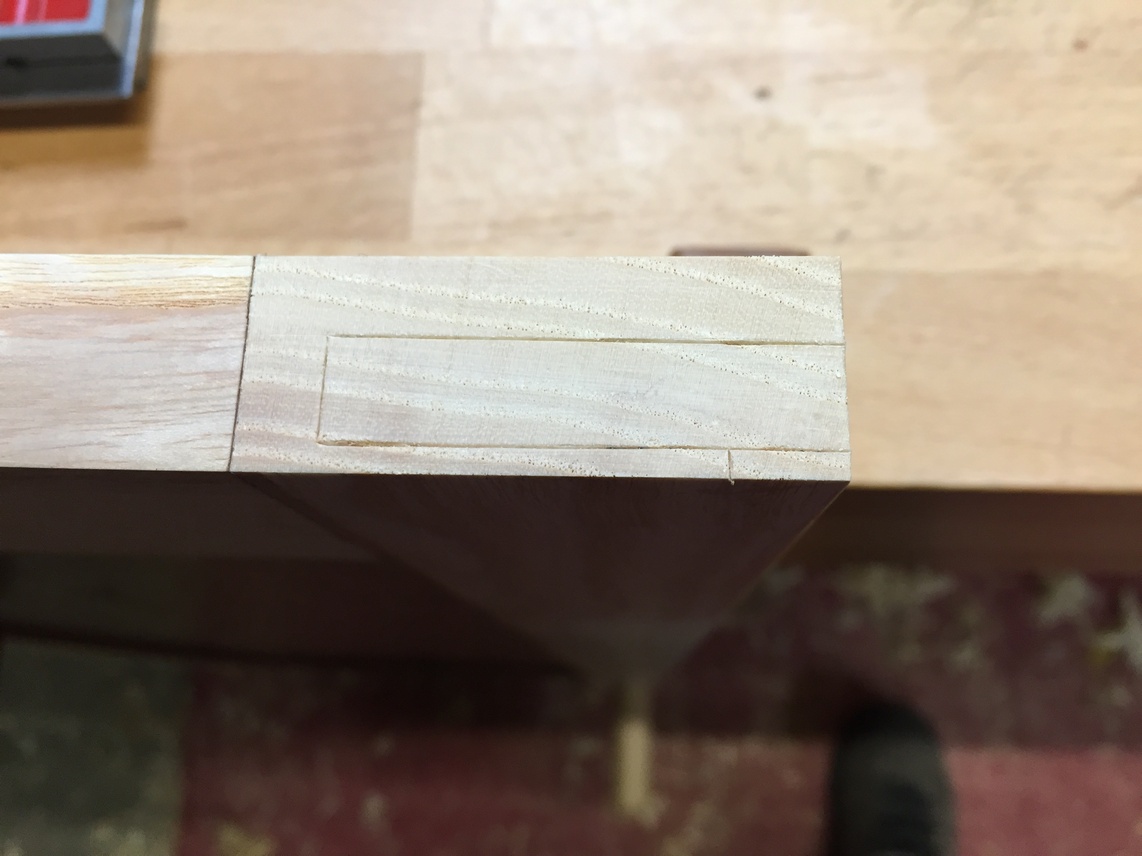
I then chisel out most of the waste but keep 1-2mm away from the final knife marks. When I’m ready to work up to the mark, I clamp a scrap block (don’t be confused by the hinge mortise in the scrap, this was a test piece) flush to the top and on the front face. There is only about 3mm between the mark and the face and without this block, splits can (will) happen. Ask me how I know this….
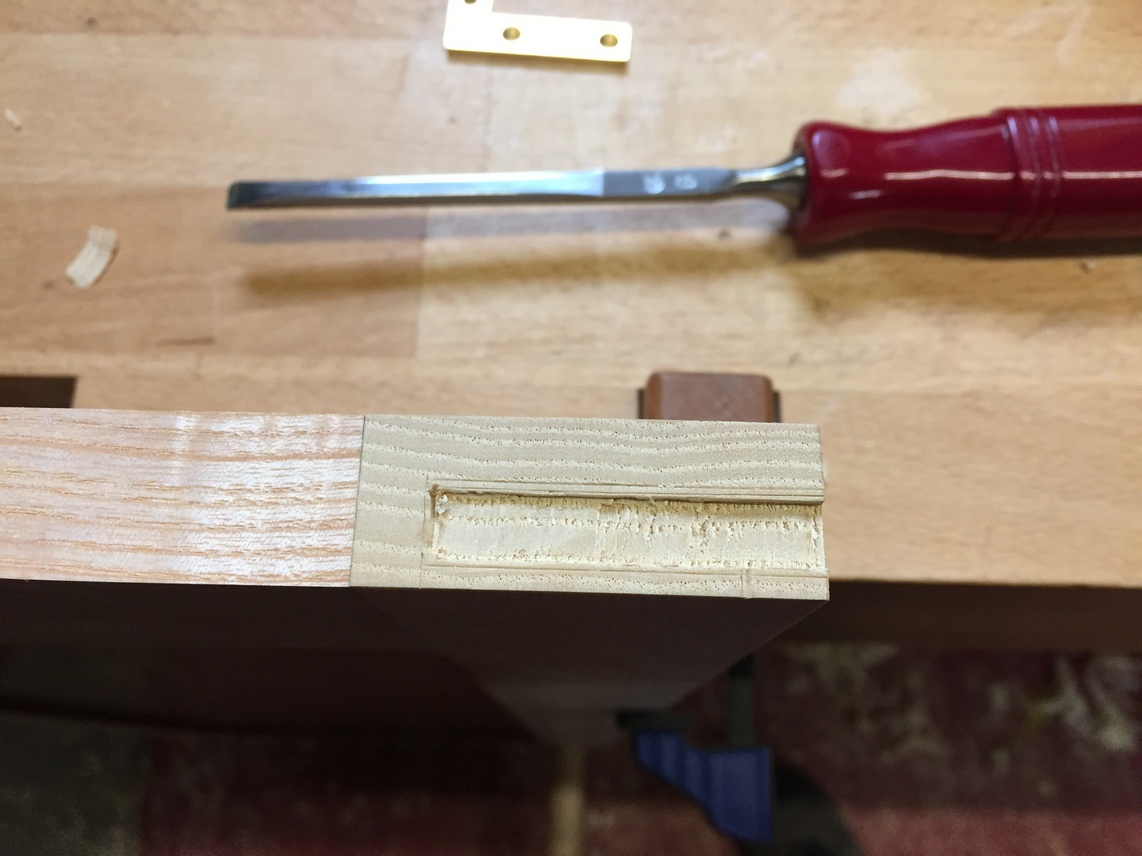

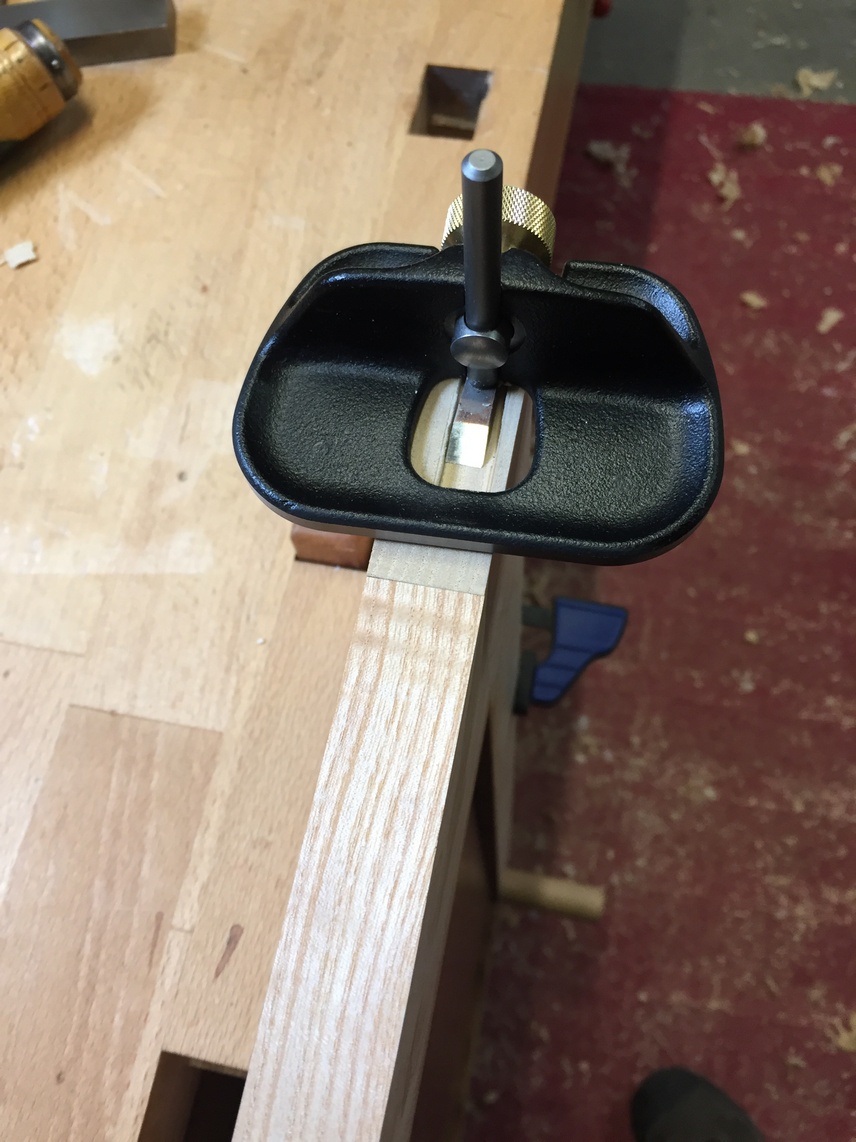
When I am about 1mm from the final depth of the mortise, I grab my small router plane and in a couple increments, approach the final depth. This plane, and its big brother, are extremely handy in the types of work I do.
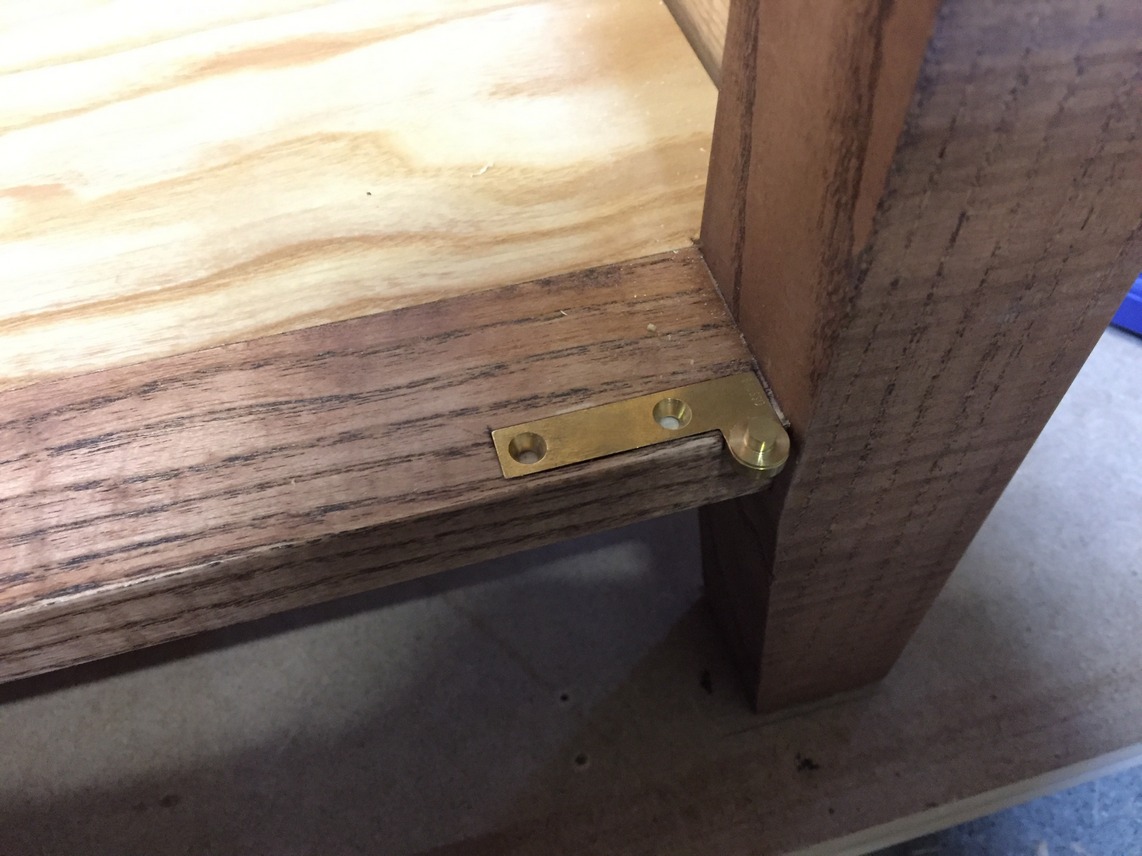
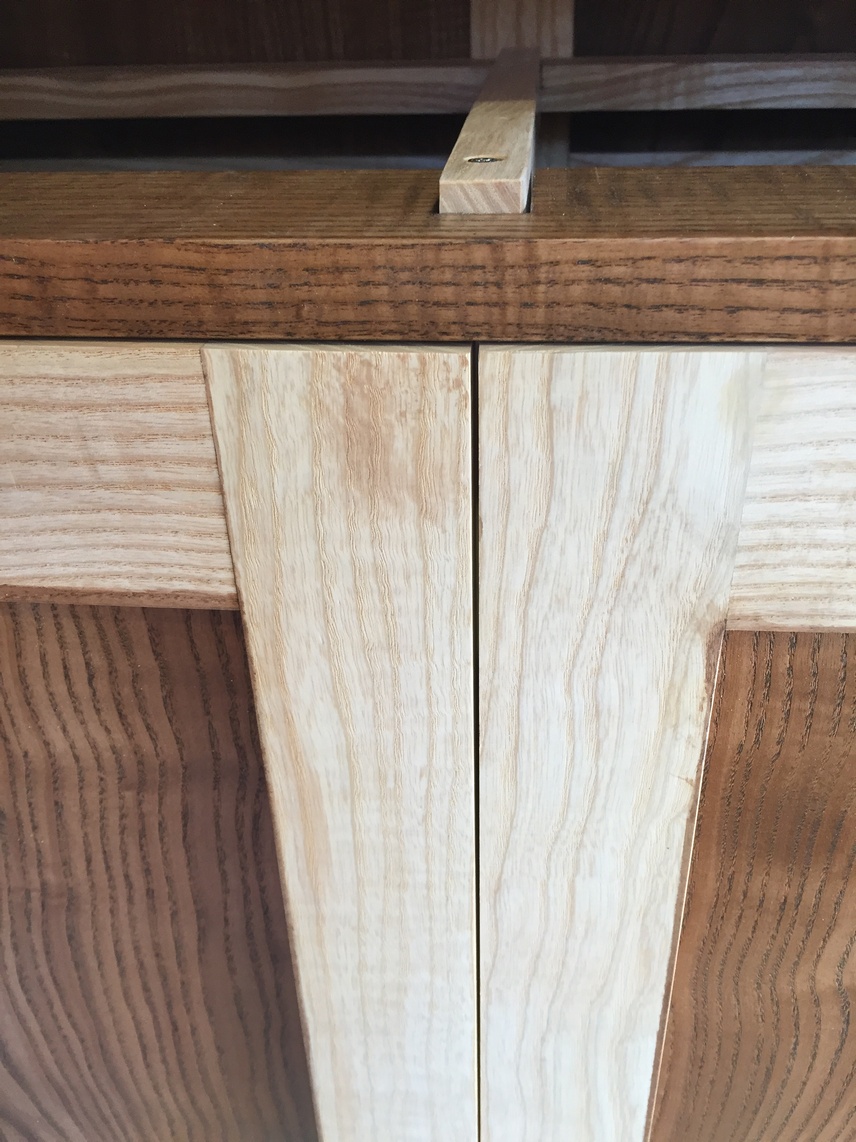
Now, still with no screws, I can slide the door into position on its hinges and double check my gaps. I need to take a few shavings off of the top right corner to get an even gap. I was lucky, because this did not require an adjustment of the mortise (If I had to shave off of the top left corner, the hinge mortise would suddenly be a little too shallow). Once both doors are in position, I can fine tune the gap between them.

I’m satisfied with the result and only now do I drill pilot holes for the screws. I start with just one hole for each hinge half and install the doors again using steel screws the same size as the brass ones that came with the hinges. The steel screws can be driven in, out, and re-inserted a number of times without having to worry about marring (or breaking) the brass ones. Also, the steel screws effectively cut threads into the wood so it is easier to install the brass screws later.

When the doors are completely fitted and tuned, I drill the remaining pilot holes, check one last time, and apply dye/stain/oil to the doors.

And just so you know that my priorities (furniture) are straight, my wife put this ceramic on one of my shelves 3 days ago. My daughter had to point it out to me……

Next Chapter: Shelf Supports, Handles/Knobs, and the Top.
Leave a Reply