Yes, more mortise and tenons! This is my goal: When the next major earthquake hits Switzerland, like the big one near Basel in 1356, I want someone digging through the rubble to come across this cabinet and say “Wow! The building is gravel and dust but this cabinet held together like a steel safe! I think I’ll take it home.”
The strength of this carcase begins with the leg-posts and radiates inward. Like a roof truss, many smaller pieces are joined in a fashion that, when complete, form a very strong assembly. For something as simple as this cabinet, you may think it is overkill however, many of the furniture pieces that have survived the centuries were built with similar techniques.
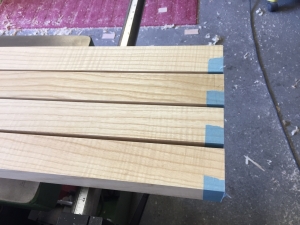
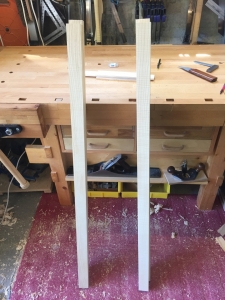
After final planing, the legs are about 47mm thick and squared on all faces which will make it less difficult (for me) to mark and cut the joinery. I square one end of each leg, then set a stop on the fence to cut them all to finished length. To help prevent spelching (wood fibers being torn out by the saw blade or plane), I wrap painter’s tape around the back edge of each leg where the cut is made.
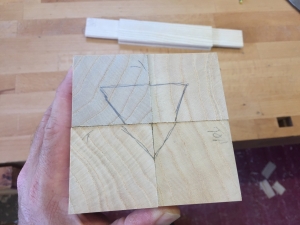
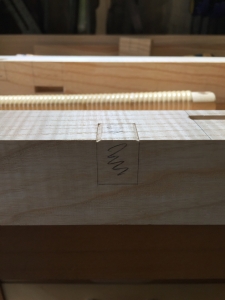
Now I can scrutinize the grain on each leg and decide how they will be oriented, front/back and left/right. I draw a triangle on the tops so I don’t get them confused later.
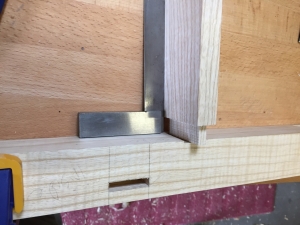
Now I mark the mortise locations for the side frame on the left front leg by transferring a mark directly from the tenons on the frame. I made all the rail locations for the 2 sides and the back exactly the same so after marking the first leg, I use it as the master to mark all the others. Clamp all of them together with the tops flush and ensure the appropriate face is up. Now I can use a square to extend the mortise locations across the remaining three legs and remove some of the potential error. To satisfy my little bit of CDO (it’s like OCD, except the letters are in alphabetical order the way they should be J ), I lay the 4th leg up against the 1st leg to see if the marks all line up (they do).
If I had to do this again, I’d probably take the 15 minutes or so needed to set up and adjust the horizontal borer for these 16 mortises however, the drill press does fine to get most of the waste out and I don’t mind the extra chisel work. Like on the Frame and Panels, I make two guides to ensure the two walls of each mortise are exactly positioned. 5mm from the outside edge of the leg and 7mm wide.
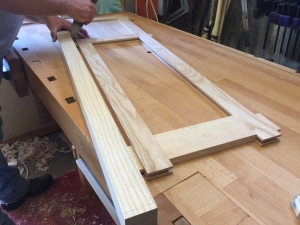
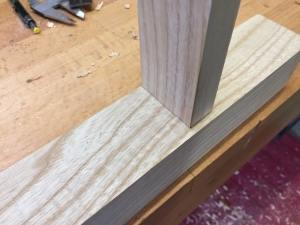
The tenons are just a tad over 7mm thick so I can creep up on the exact thickness using the router plane. After the mortises in each leg are complete, I dry-fit the frame to the leg and make sure it all comes together flush, no gaps. I’m fairly pleased with the outcome.
The two sides are fitted to the legs and these two assemblies fitted to the back. This cabinet is starting to take shape……
Unfortunately, there are still quite a few mortises to still chop. If you refer back to the drawing on page 1 of Chapter 1, you’ll see that I have a few horizontal members to install:
- a frame at the top of the legs to attach the top slab
- a shelf-like divider between the wine bottles and the drawer, this is solid wood that will need to expand and contract with the seasons
- a frame (rails and drawer runners) for the drawer
- and finally, the bottom piece, also solid wood
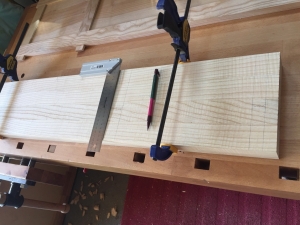
I have all the frame pieces planed to final thickness as well as the pieces for the divider and bottom. Those last are not glued-up yet so I can use the front facing piece to mark for mortises. No measuring now, I use the actual frame piece to mark the exact location of the frame face. I’m actually doing a “double-mortise” on the front legs. The main mortise is where the tenon will fit and a second, shallow mortise (2mm) to house the frame piece, inset 5mm from the front edge of the leg.
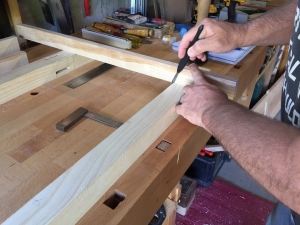
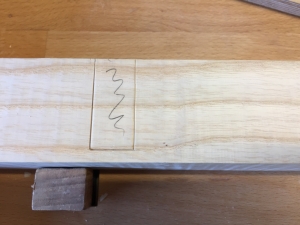
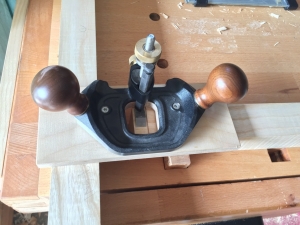
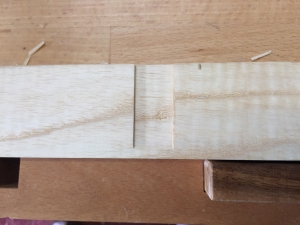
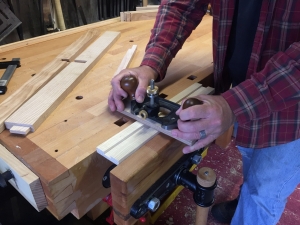
Starting with the secondary mortise, I mark the walls with a knife and follow up with a couple gentle taps with a chisel to define it. I then, very carefully, use the router plane to cut the 2mm deep mortises, in this case, 4 each on both front legs.
I have already cut the tenons on each end of the front frame rails so I use the rail, squared to the face of the leg, to mark the mortise directly from the tenon. Then chop and refine the mortise.
Again, I’m pretty happy with the fit. Below right are my implements of tenon fitting. Between the frame/panel assemblies and the mortises in the legs, I’ve probably sharpened these chisels 4 or 5 times and the router blade twice. I keep my sharpening station ready with waterstones soaking so that when I detect something getting dull there is not more than a 3 or 4 minute delay while I do a quick sharpen (chisels are quick, the router blade takes about 5-7 minutes).
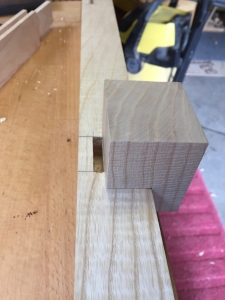
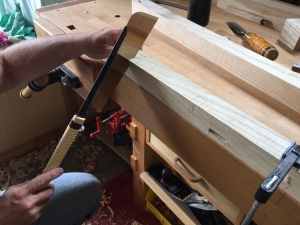
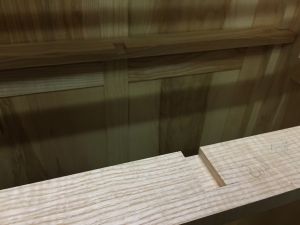
Last, but not least, there are four dados in each of the rear legs. For the top and drawer frames, these provide a place to glue the rear rails. For the solid wood divider and bottom, the back edge of these panels will float in the dado (no glue) to allow for wood movement. The dados are 20mm deep and so provide plenty of support. I mark the dados with a knife and cut a slight depression up to the knifewall so I can saw the dado sides with confidence. After that, a forstner bit drills out the bulk of the waste and then the chisel work for the fine tuning.
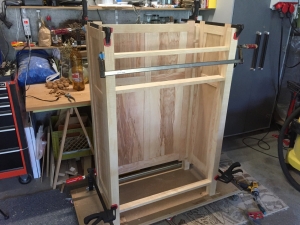
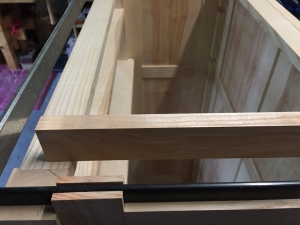
I dry fit the front rails and clamp the assembly together just as if this were a glue-up.
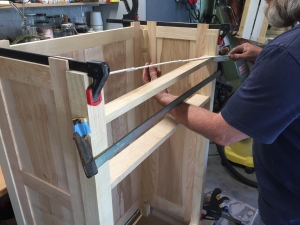
When everything is snug with no gaps, I check for square by measuring corner to corner at the top and bottom.
Now it’s easy to cut the remaining rails and runners (one at a time) by marking them directly from the dados. Even though everything is square, I don’t assume that both front and rear rails are the exact same length. They were actually a little over a millimeter different due to my chopping one dado a bit deeper than the other one.
With both rear rails inserted into their dados, I can mark and cut the runners, both for the top and drawer. I start with a rough measurement, 25cm between rails, and add 2cm on each end for the tenons (final length, 29cm), but when I cut the shoulders for the tenons, I creep up on them until the shoulders fit just right between the rails.
As I have mentioned in previous blogs, one of the main causes of problems in my woodworking, especially when I was starting out, was the failure to think ahead to what still needs to be done and when it would be wise to do it. In this case since there is a wide drawer, I’ll be using a center guide and slide to help keep the drawer straight opening and closing. This means a guide that is notched into the front and rear rails and a slide that is attached to the bottom of the drawer. The front of the guide will also be the drawer stop. Marking and cutting the notches will be so much easier before the rails are glued into place don’t you think? 🙂
First, I cut the guide from some 19mm thick scrap. The bottom of the guide will fit flush with the bottom of the rail and the top of the guide will extend 6mm above so I cut it 25mm high (wide). The drawer will be inset (flush with the surrounding frame) and I have already planed the drawer front to final thickness so I use it to mark how far the guide will be positioned forward on the front rail. Then I use the guide itself to mark the walls of the notch.
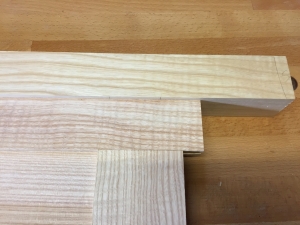
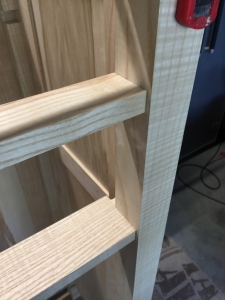
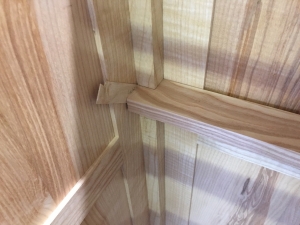
After chopping the front and rear rail notches I can mark and cut the guide’s final length. You’ll notice below right that it looks like it is much higher than 6mm above the rail and this is because I will also notch the bottom front and rear of the guide. When the two notches mate with the rail, the bottom of the guide will be flush with the bottom of the rails.
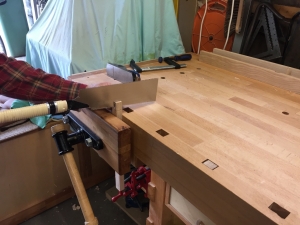
An easy way to mark the depth of these last notches is to measure the height of the guide above the rail and subtract the 6mm I want to leave proud (In woodworking, “proud” means not flush, but in the positive direction). I use a handsaw to cut the 2 notches out and a chisel to fine tune the fit until I have my 6mm at front and rear.
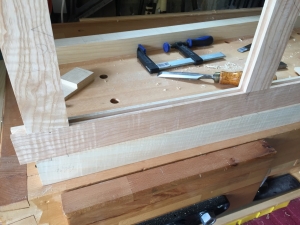
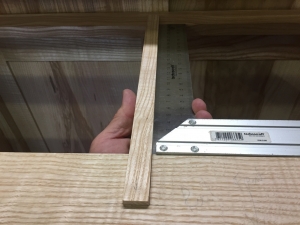
After installing the frame back into the cabinet, I check the guide for square; this will be critical for the smooth operation of the drawer. I’ve purposely left 2mm of play at the rear rail so I can move it a little bit to adjust the guide perfectly square. Once square, I plane a thin shim that will get glued to the notch in the rear leg.
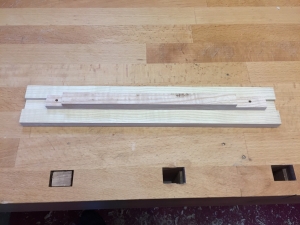
Last, I cut the slide (this will attach to the bottom of the drawer) and the groove to fit the guide. I can get really close to final fit with the tablesaw and the a few passes with the plane allows me to creep up on a perfect fit. Follow this up with the router plane to smooth out the groove and it’s ready till I make the drawer. Next time, I think I will cut my slide first, plane the guide to fit, and then use the guide to mark for the notches. This is probably a more logical sequence.
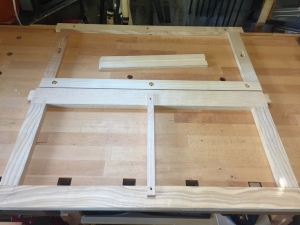
I’m now done with the frame for the drawer and turn my attention to finishing the top frame. This frame will serve not only as an attachment point for the top, but also as a way to hold the top of the wine bottle dividers. Due to the dividers, I want to make this frame removable as it will simplify the carcass glue-up significantly.
After cutting/chopping the mortise and tenons and ensuring the fit is good, I drill for pocket screws at each corner and in the middle of the back.
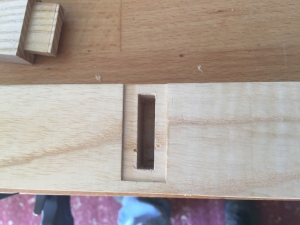
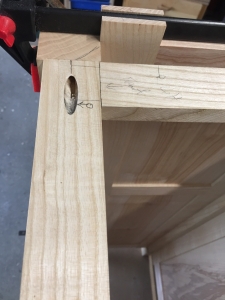
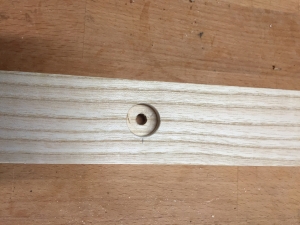
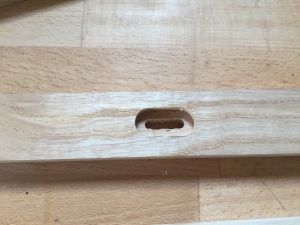
When the top is attached, it will need to be able to expand and contract with the seasons so on the front of the frame, I drill counter-bored holes for the 6mm lag bolts I’ll use for attachment, that way the heads of the bolts will not be seen. These are round holes because I want the front of the top fixed in place and the wood movement to happen towards the rear. For the side rails, I drill and chisel out elongated holes to allow for expansion and contraction (pic below right).
The rear rail causes me a little angst. If I counterbore the long hole then I feel like I’ll be removing too much wood and don’t want to reduce the strength of the rail. Since these will be at the rear, and the heads of the bolts will likely never be seen, I don’t counter-bore. For only 2 frame assemblies, these were quite a bit of work! And I’m not quite done with them yet……
And now, for something completely different:
Next Chapter: Dividers and Hinge Mortises
















Leave a Reply