
As usual, this project is running late, but I’ve been promised that no IKEA table will be purchased in the interim 🙂 .
Now that the tabletop is fully glued-up, I double-check the position of each bolt hole to the threaded inserts and ensure that the holes are elongated to allow for wood movement during the year. Perhaps contrary to popular advice, once pine has dried and acclimated to its environment, it doesn’t move as much as hardwoods during the change in seasons.

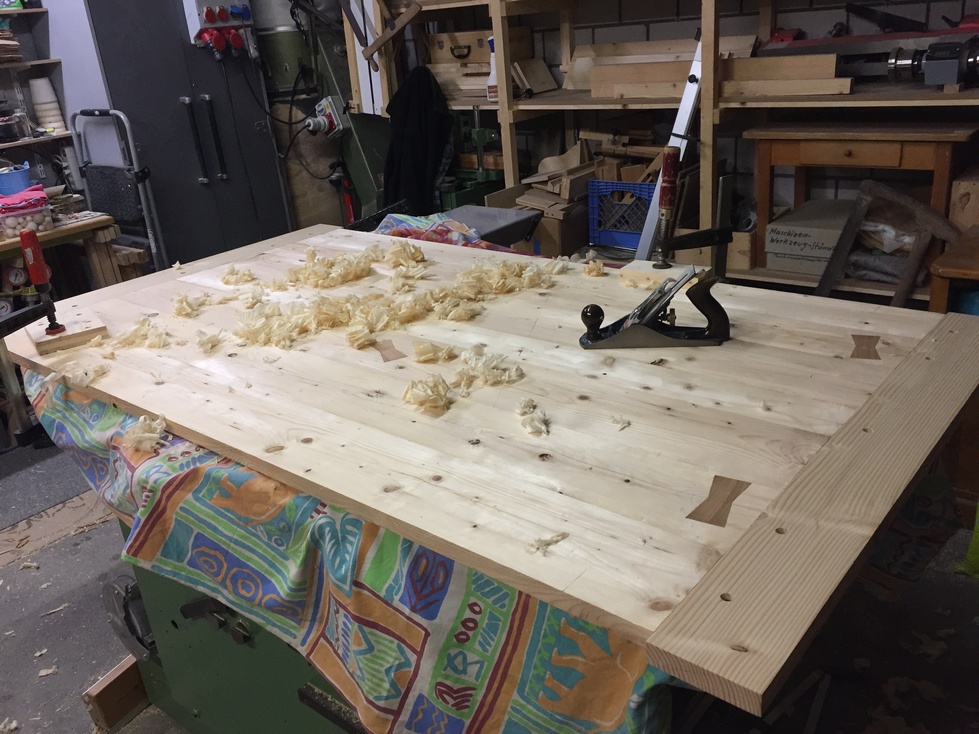
I’m ready to complete the base by glueing in the stretcher and middle brace so I take a final look over the parts and fill in gaps where appropriate and sand everything to 120 grit with a random orbit sander while its still easy to do so. While I have previously planed and scraped, this particular pine will benefit from some minor sanding. I use a wooden sanding block to hand sand to 150 grit and after gluing the stretcher I’ll only have the two pinned/wedged joints to clean up before applying oil.
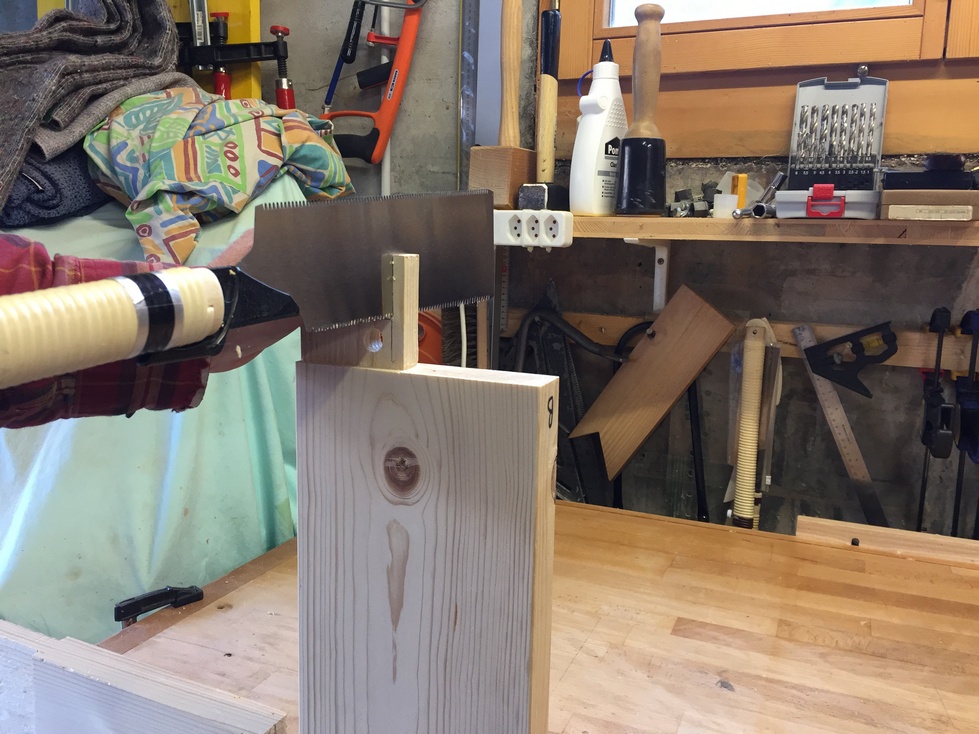
I had previously drilled for the drawbore pins so I just need to mark for the wedge kerfs. I layout the kerflines about 6mm from each end and will cut a little more than halfway down the length of the tenon. While I like to be ready to use both western and eastern style saws, I really love my Japanese saws. Using the rip teeth of the Ryoba, it takes me about 5 seconds per cut.

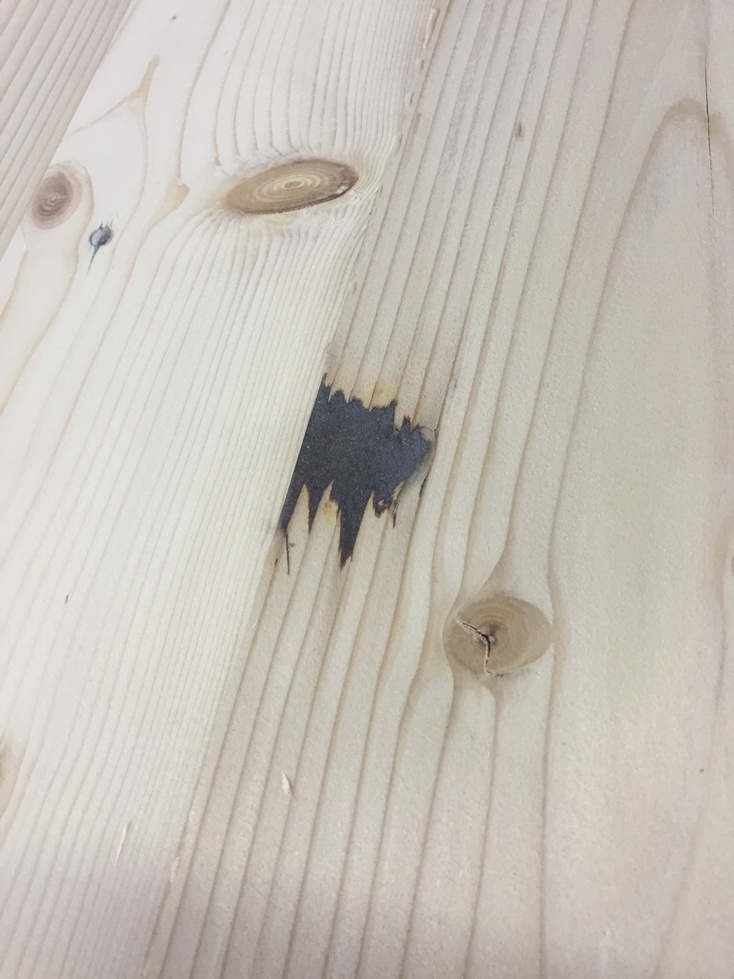
I apply glue to the appropriate surfaces, insert the tenon and tap in the pins. This effectively finishes the joint i.e. it won’t move anymore. Next I paint the faces of two wedges with glue and insert them by hand into the kerfs cut into the tenon. Tapping alternately on each wedge, I drive them into the tenon until they stop moving. The black marks on the upper left are an accident. It’s false economy to try and use a small, clean portion of a dirty rag to wipe up glue squeeze-out.

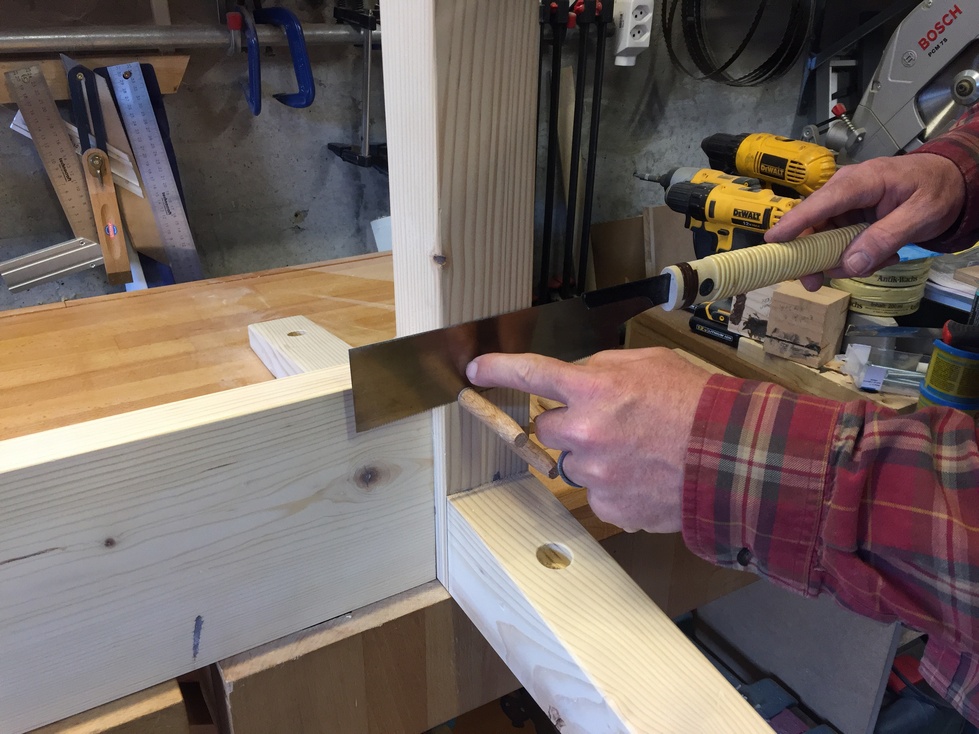
After the glue has set, I use my “Kugihiki”, a Japanese flush cutting saw, to remove the protruding pins and tenon. This is a saw made by Nakaya and while it was the cheapest of my Japanese saws, I’ve gotten the best use out of it and it still cuts cleanly after 15 years (albeit hobby woodworking).

The teeth have no set on either side and if I just apply light pressure with my finger close to the cut, I rarely have to clean up any saw marks afterward.
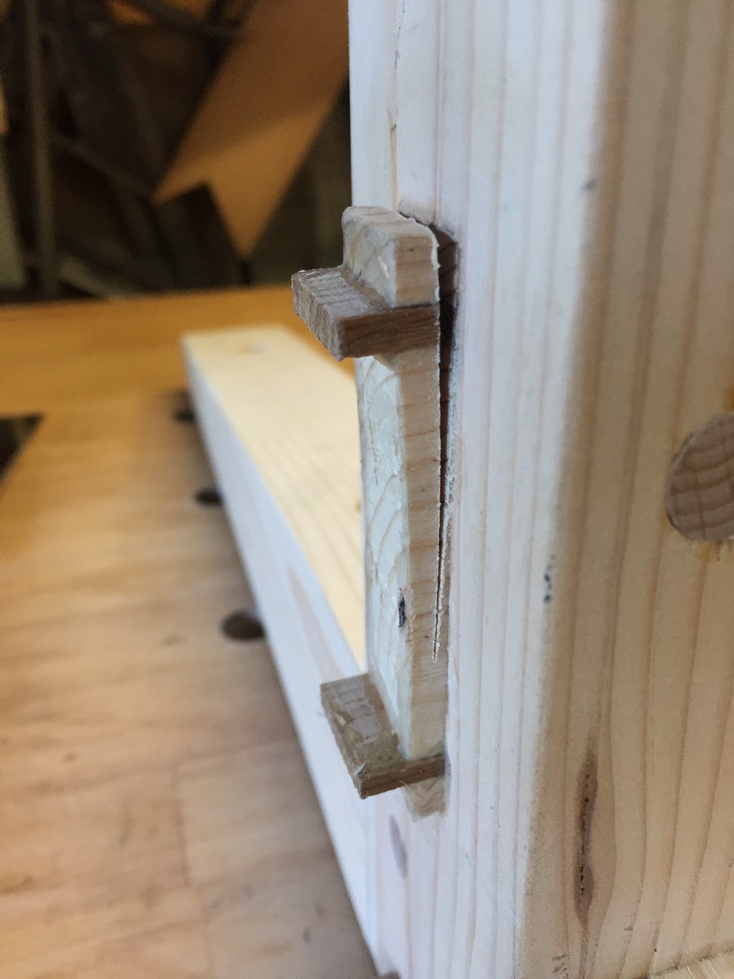
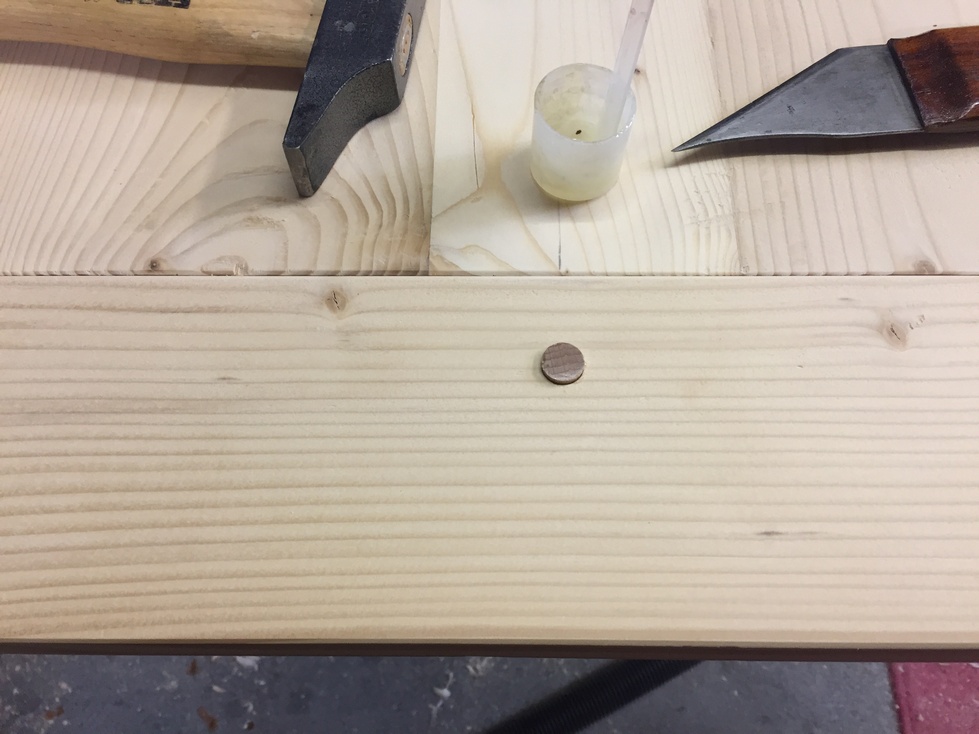
This is the result immediately after the cut, no marks whatsoever.

For the tenon end, the saw eventually drifts away from the leg (a good thing). I make a second cut from the other end and the final result only requires a few passes with a plane to bring it flush.

With the base completed I check one last time the fit of all the bolts. I only had to make a minor adjustment to one of the holes.

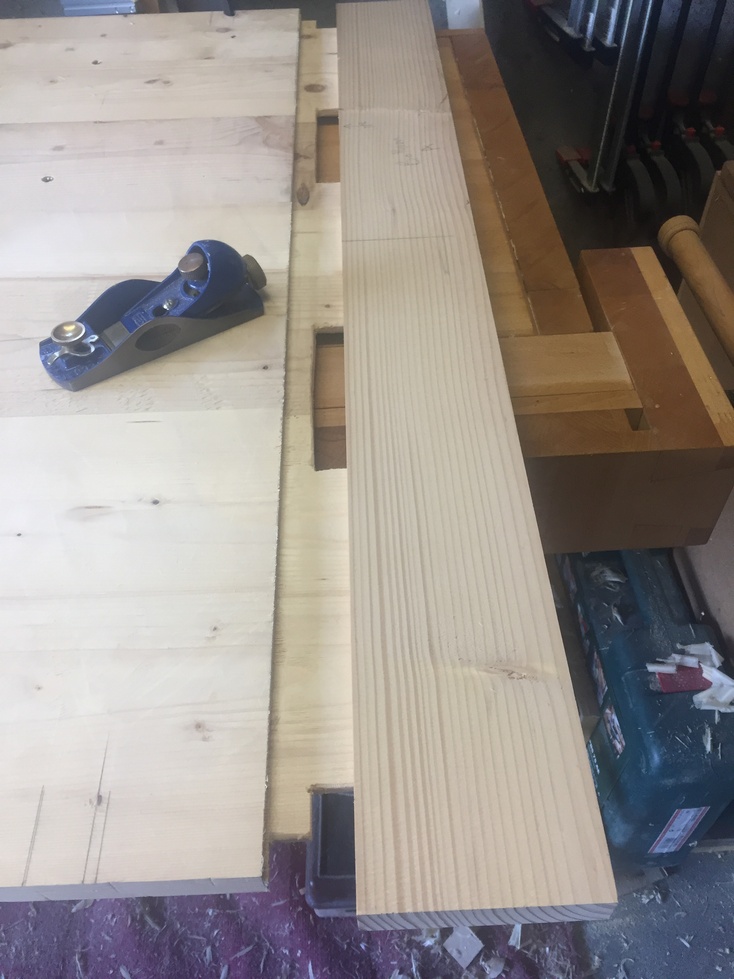
Now for the breadboard ends. These are a great way of keeping a wide panel flat while at the same time allowing for seasonal wood movement. I am making these the same basic way I did for Monika’s sewing center so if you’d like to read the detailed process, check out the second half of Part 12. I did deviate in one way because of the significant size of this panel. Insead of milling the long tenon on the tablesaw and spindle moulder, I used a router. I don’t care for the router that much but it made sense to use it in this case.
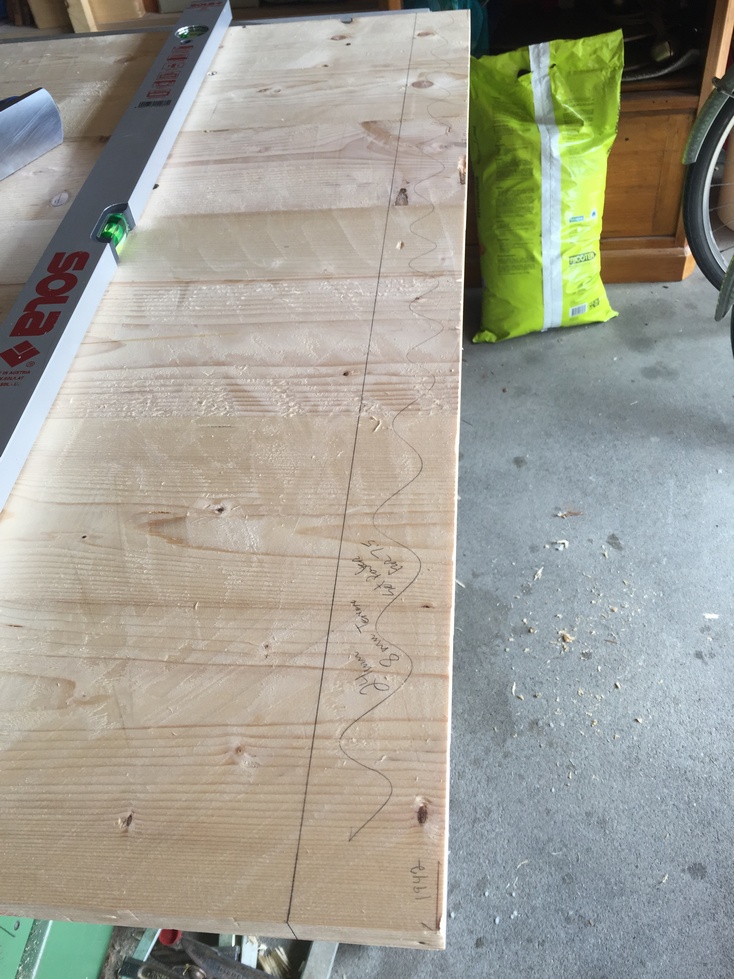
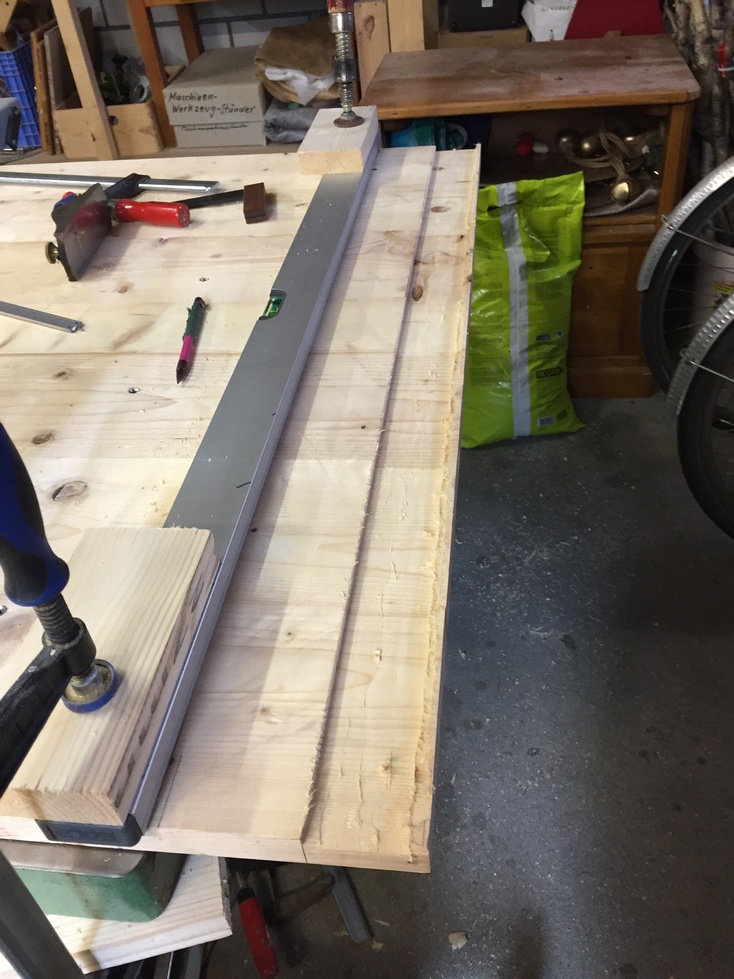
I marked the baseline for the tenon and clamped a straightedge to guide the router with. The tenon will be about 8mm thick (a third of the tabletop thickness) and I don’t want to take too much wood in one pass so I set the depth of the router bit to 5mm and make the first pass close, but not on the reference line. I then go back and rout to the reference line with a second pass. This is a good way for me because when I try to rout too much at one time, I find myself applying too much pressure to the straightedge and you can imagine the result.
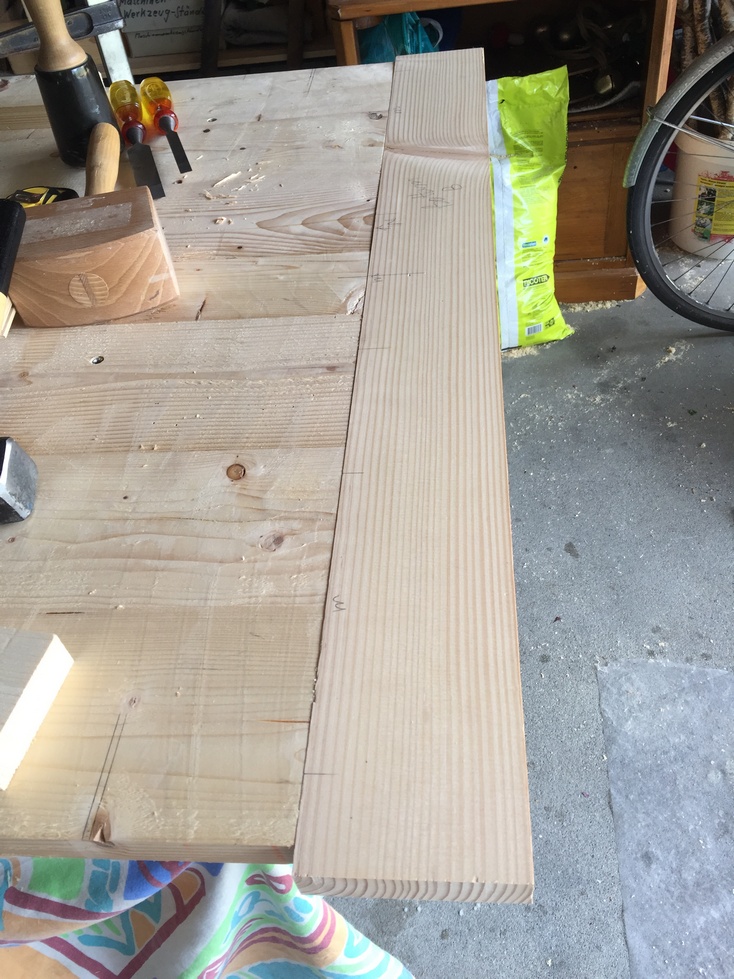
You’ll notice in the picture below right that I’ve left a little “ledge” on the outside. This acts as a support for the router until I have all 8mm of waste routed out.
The last pass takes off the ledge. I try to err on the high side when routing the ledge because it is easy to clean up afterwards with a paring chisel and block plane.


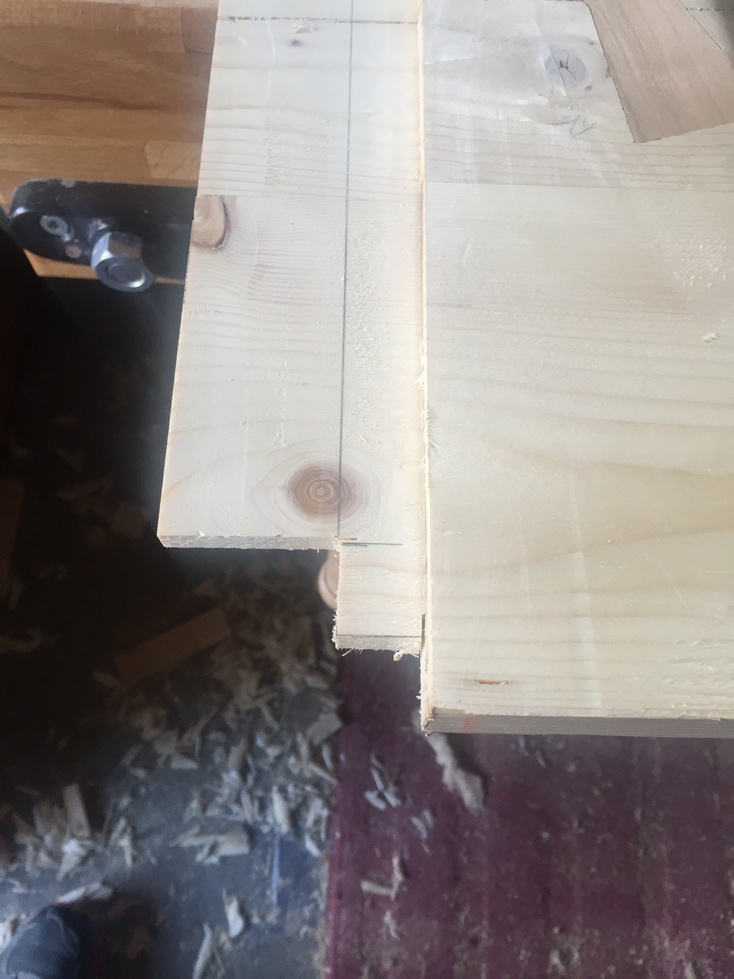
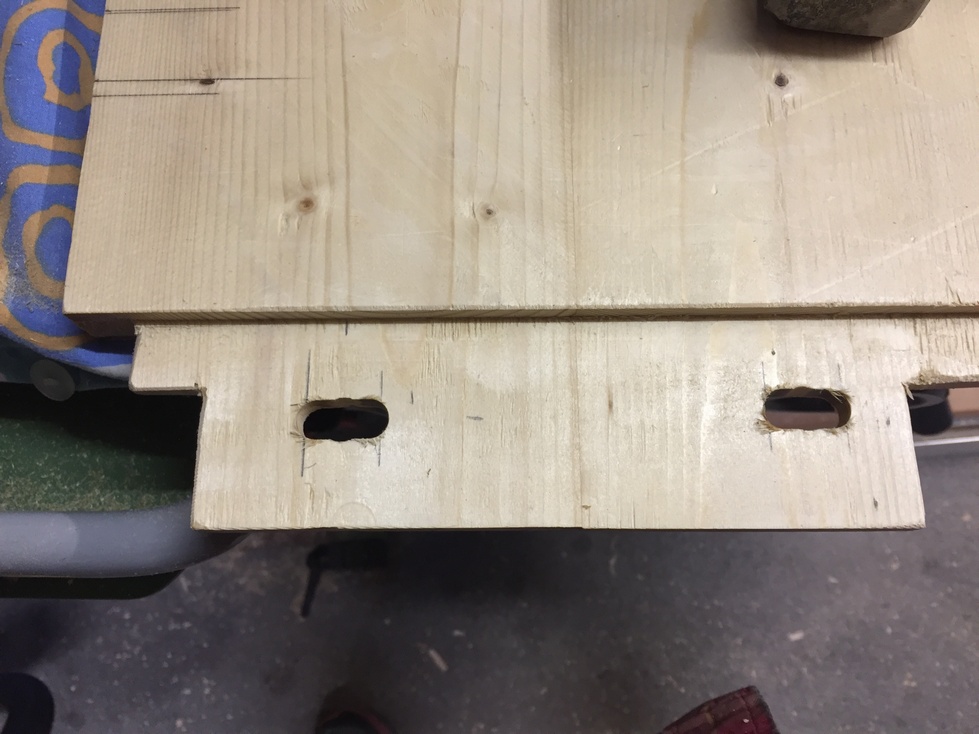
Same as for the sewing table, I plan for a continuous shoulder with three sections of longer tenons. For this table, I decide to make a stopped mortise in the breadboard (BB) end so that the inner tenon won’t be visible from the outside when installed. This means I have to cut the shoulder short at each end as in the picture below right. For a 1 meter wide panel, I don’t expect more than 10-12 mm of movement summer to winter but want to be conservative so I allow 8mm at each end for a total of 16mm of movement allowed.

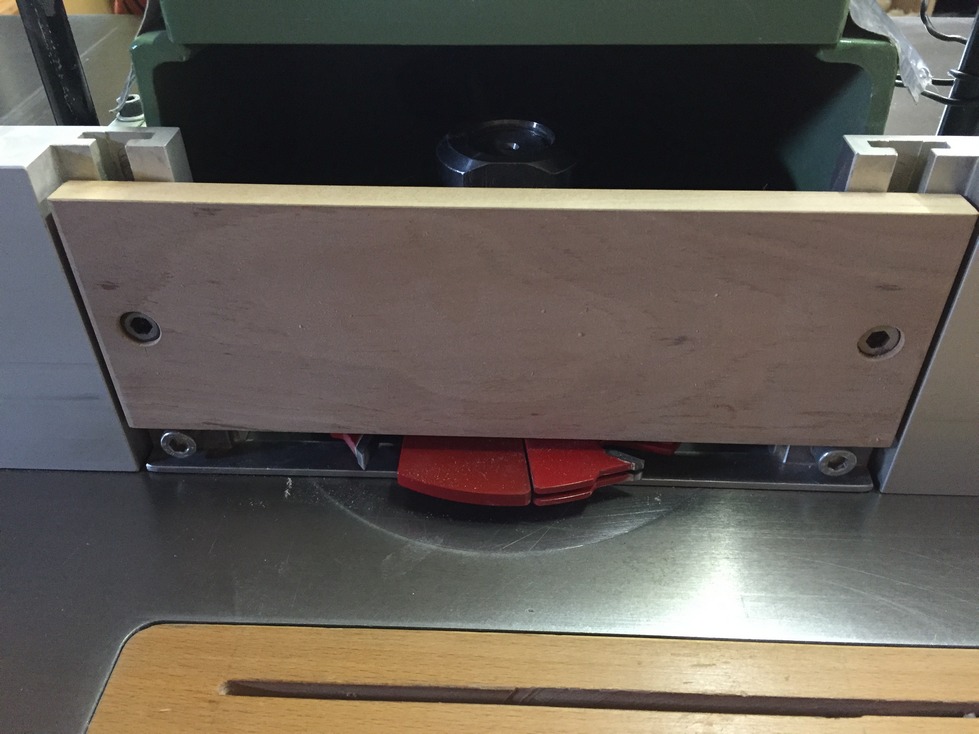
In order to mill the groove in the BB, I install a grooving head on the spindle moulder and use a scrap piece to set it so the groove is just a tiny bit narrower than the thickness of the tenon. The end result will probably be that half of the groove fits just right and the other half will be a little tight. I prefer to shave off a little of the tenon than take a chance that the fit will be too loose. If you look closely underneath the cutter you’ll see that I’ve installed a thin finger fence. This supports the bottom edge of the stock being milled while the wooden fence above supports the top edge. Since the stock has a good 5mm running against the wooden fence, I’d probably be okay with just that however, it is wise to ensure some safety overkill when using a spindle moulder. No need to be scared, only very respectful……

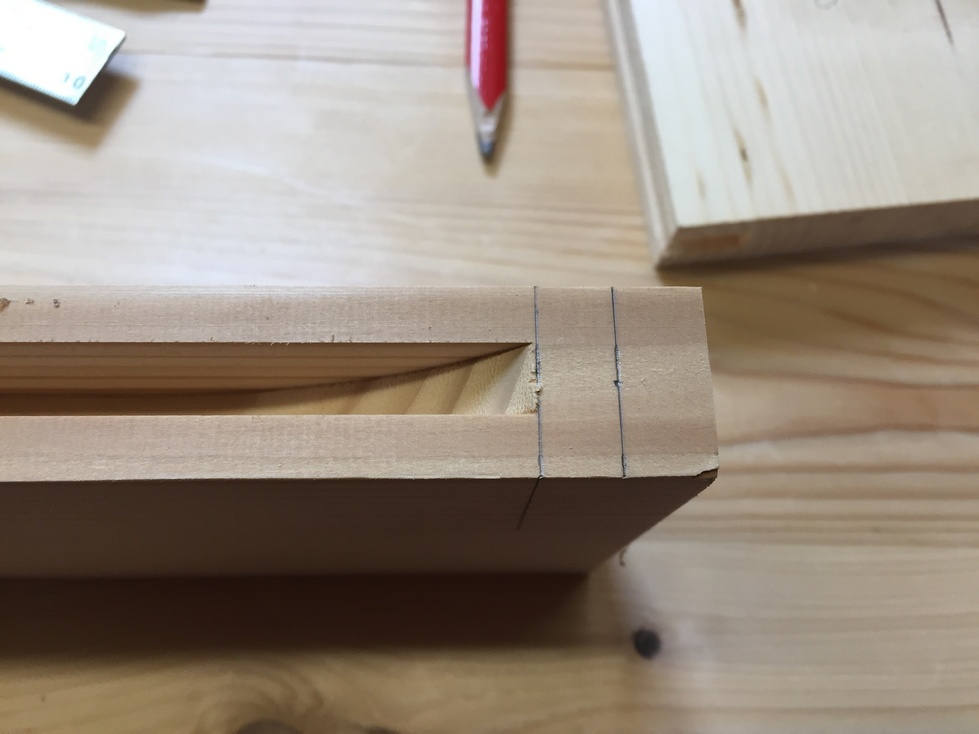
In order to mill a stopped groove accurately, I mark where the cut needs to stop at either end and install blocks to the left and right. When making the cut, I support one end, usually the right one, against the stop and slowly rotate the board into the cutter until it is at full depth. Then slowly push through the cutter until the other end reaches the left stop and rotate the board away from the cutter.


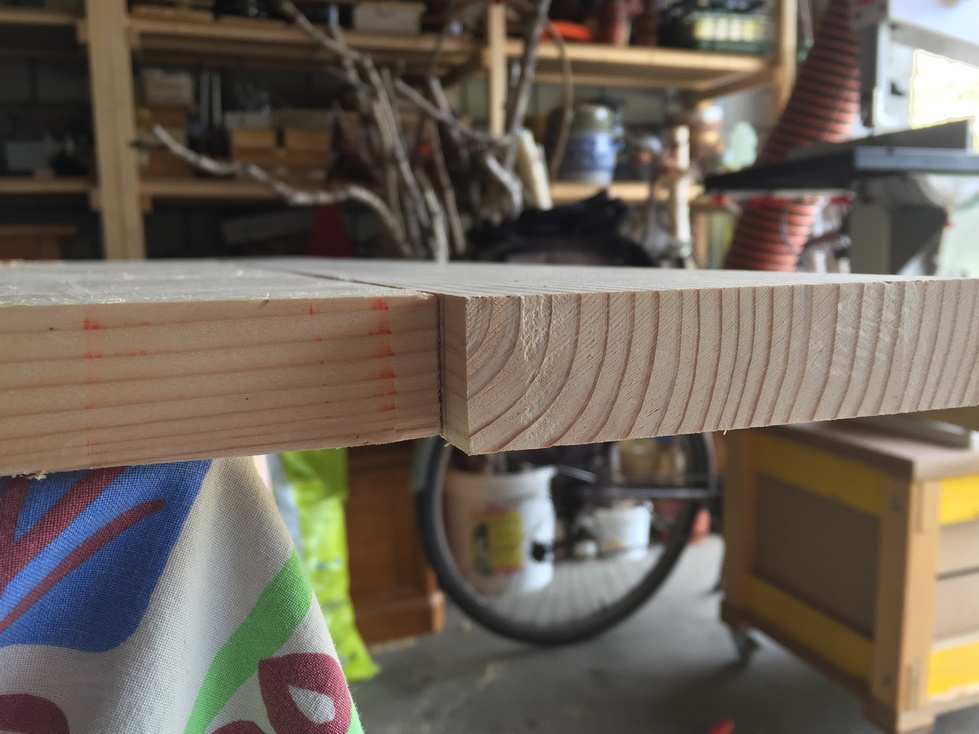
Here is the result, I’ll square it up with a chisel a bit later. The outside pencil mark matches the edge of the table leaving me some excess to tap the BB end off of the tenon during the fitting process.
I’m lucky and only have to make a few passes with the block plane. At this point, the groove is only 20mm deep to match the shoulder. I mark the locations of the three main tenons, add a little space on either side for movement, and use my horizontal borer to make the 60mm deep mortises in the BB end. You could also use a drill press with a mortising attachment or simply standard bits and clean it up with a chisel.

I square up each end with a chisel and move to the final fitting. After a couple more tweaks with the block plane and shoulder plane the BB fits flush up against the tenon shoulder. I had to undercut just a bit on the very ends but you can see in the pic below right that the result is a tight fit.
A visitation. I think they like UB40.
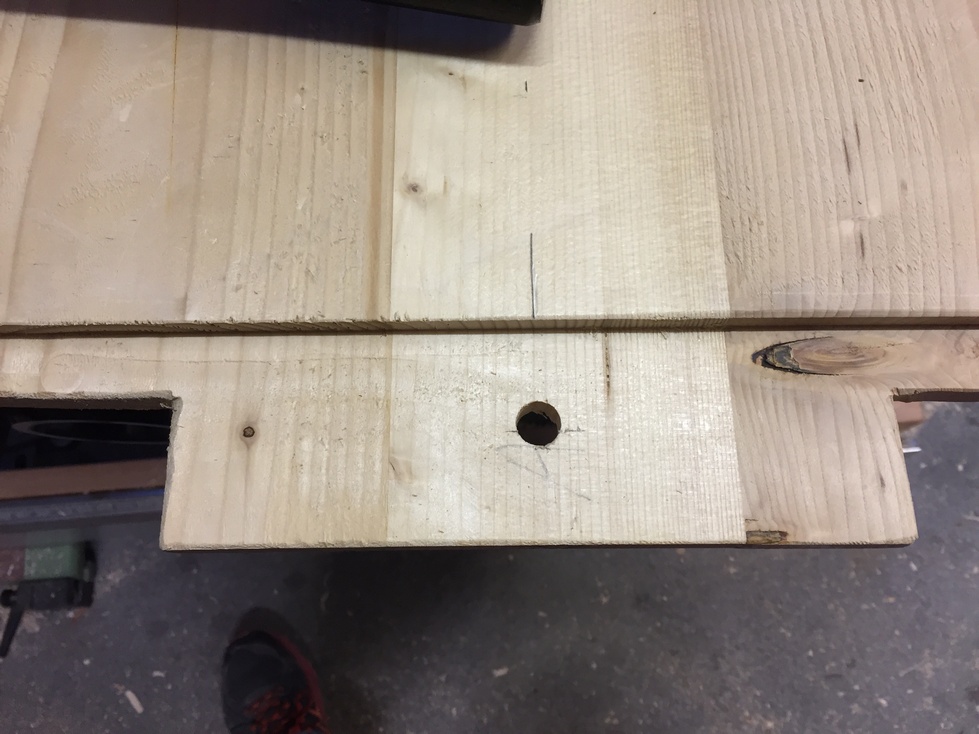
Once the BB ends fit right, I mark and drill 12mm holes for the drawbore pins. The center of the BB will be glued (about 4cm worth) and will have a center pin. This ensures the center of the BB remains rigid and the tabletop will expand and contract to the left and right over the seasons. The tenons on each side will get two pins. After the holes are drilled, I use the drill bit to mark the center location of the holes on the tenon (yes, it’s lopsided for the picture).


For drawboring in pine, I make a drill mark about 2mm closer to the tenon shoulder than the original mark. That way, when the pins are inserted, the mismatched tenon hole/BB holes pulls the BB tighter against the shoulder. The center tenon’s hole remains round but the outer holes are elongated to allow the tabletop to move.
I re-install the BBs and insert the center pin about halfway to test the fit. At this point, I plane the inside edge of the BB flush with the tabletop, flip the whole thing over and do the final smooth planing. Again, the surface of this table is not meant to be perfect but I want it to still be nice to the touch (and not impede the sliding of a beer mug from one end to the other).

Before sanding and finishing, I need to fill in the cracks and larger imperfections with epoxy dyed a dark, reddish brown. I bought some epoxy with a long working time for this since there are many areas to be filled.

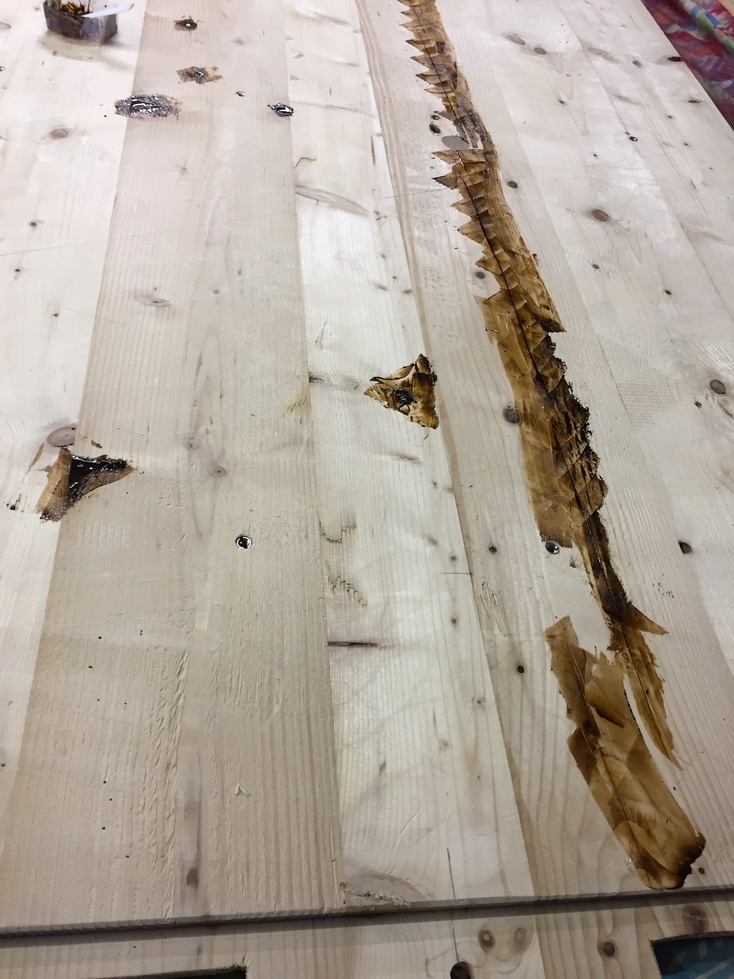
This particular epoxy dries hard, but will still allow a sharp plane to shave the excess down to the wood without fracturing like the fast epoxy. Then a 60 grit on a random orbit sander cleans up the area. The larger imperfections don’t look great but the cracks look pretty good with the brown epoxy. The small gaps next to the bowtie will get a little putty later.

Prior to installing the breadboard ends, I brace the tabletop against a bench so I can plane the edges smooth.

I mix up more of the slow epoxy so I don’t have to stress and paint the center tenon with glue as well as the inside of the center mortise. The BB gets installed and the center pin is inserted with glue all the way through.

For the pins on either side, they don’t get glued in contact with the tenon however, the last 6-8mm gets glue on the pin before it is tapped all the way in. That way, the pin is glued to the top surface of the BB but won’t interfere with the wood movement of the tenon.

The next day, I can flush cut the excess from the pins and do the final sanding. I go through 80 and 120 grits on the top and bottom, and then to 180 grit on the top. Between coats of oil, I’ll very lightly hand sand with 240 grit.

The oil mixture is one part each of Boiled Linseed Oil, Spar Varnish, and Turpentine (or equivalent) for the first coat which is a thin mixture and soaks well into the wood. This is also called a “wiping varnish”; you apply a generous coat, wait a while, and wipe off the excess. For the second and third coats I use less Turpentine so it’s not so thin.

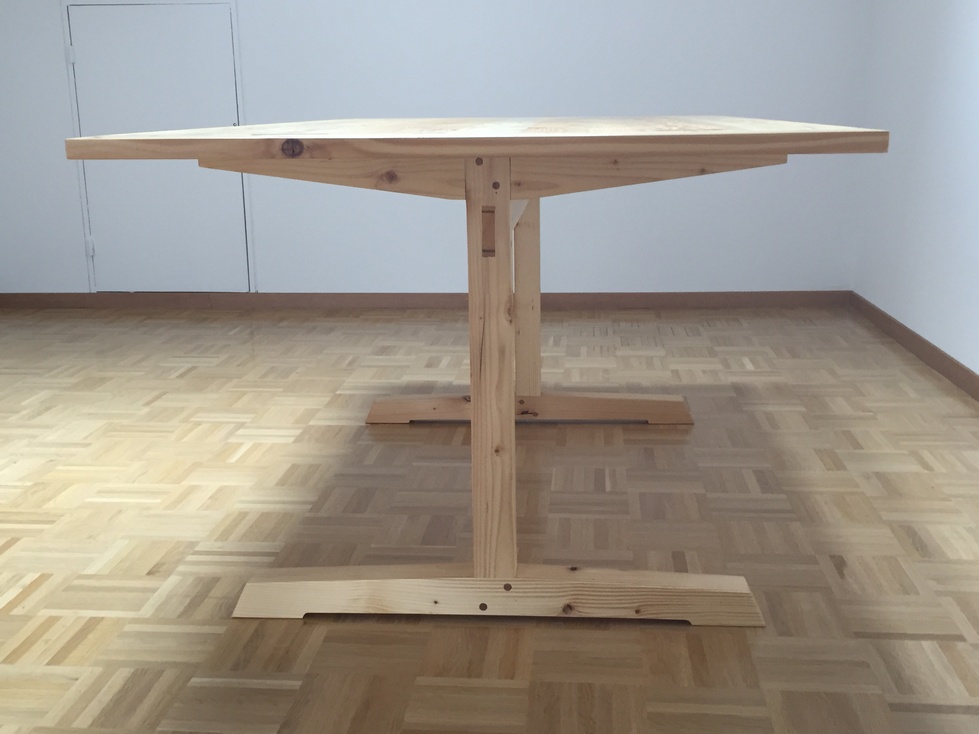
After a coat of wax, it’s ready to attach to the base in its new home in Aarau.
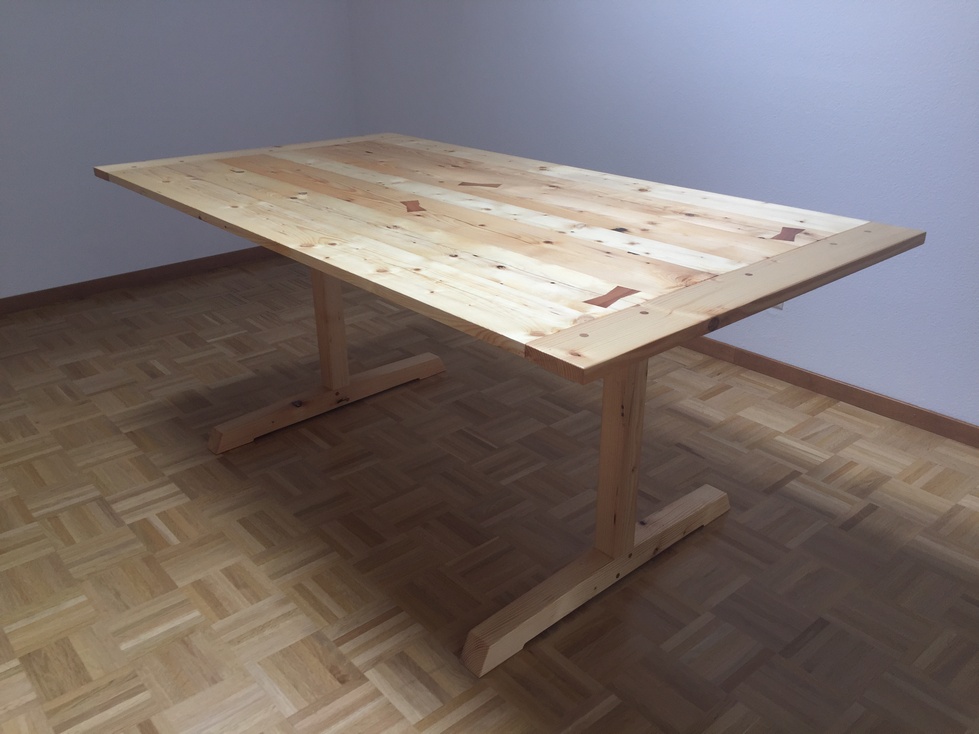

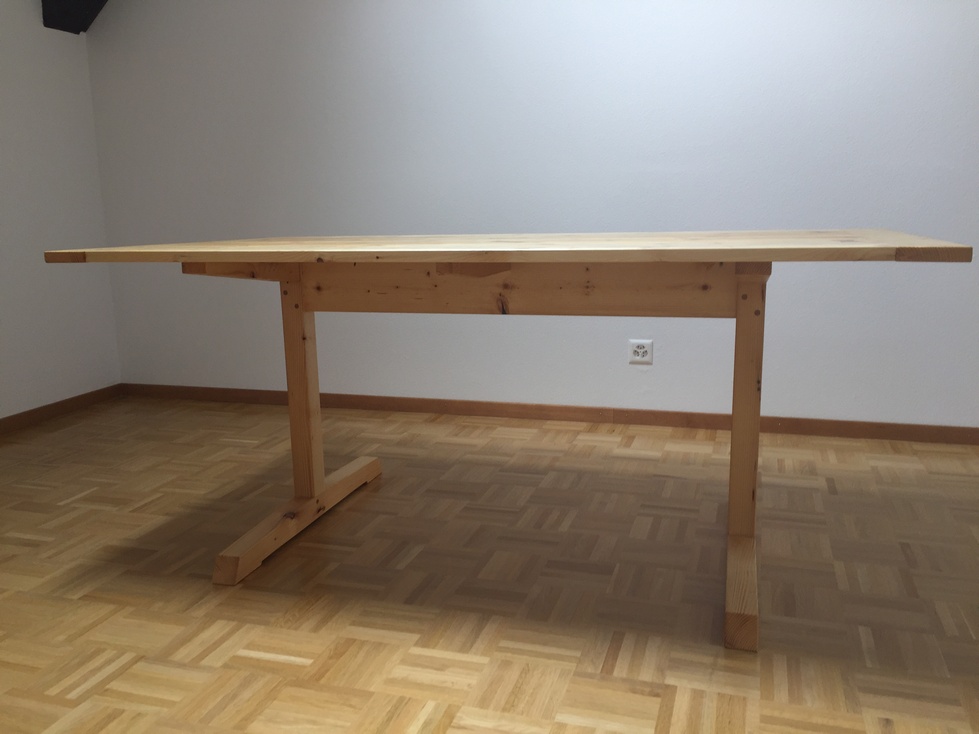
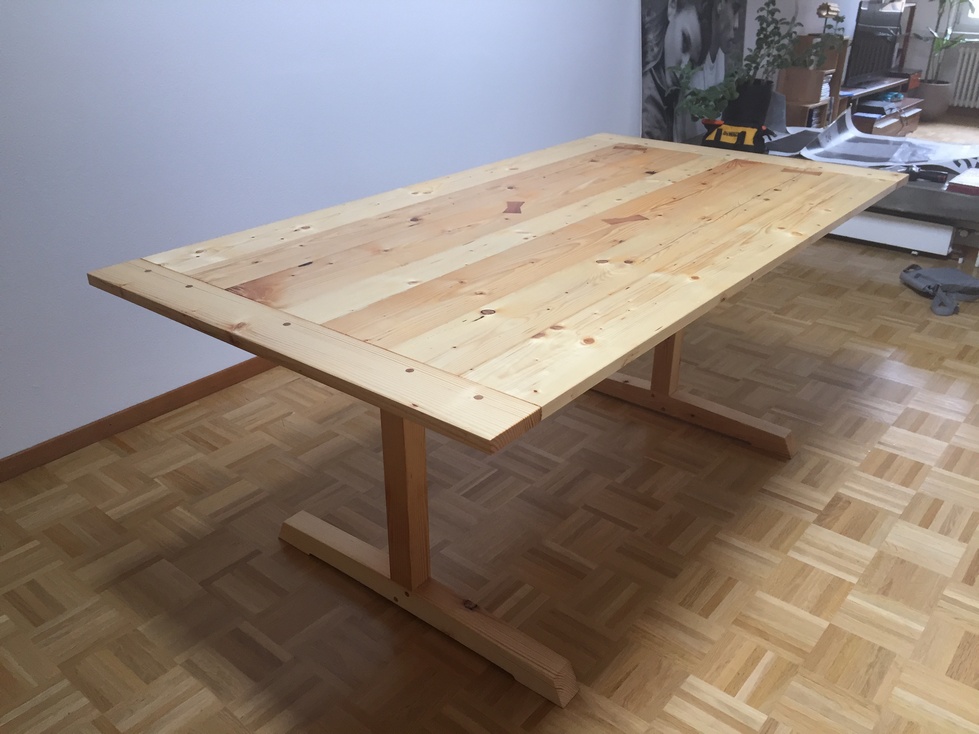
The final result doesn’t look like “fine furniture” however, the purpose all along was just to build something simple and strong using reclaimed wood and to do it relatively quickly. With that in mind, I didn’t stress so much about the details and used the project as a chance to hone my handplane skills and try out bowties for the first time. If I didn’t have three guys with an empty dining room waiting patiently for me, I might have tried to give it more “Aaaawww” factor but in the end, the small imperfections lend it character.
The message inherent in these last five posts is similar to that in Schwarz’s “Anarchist’s Design Book“, although not expressed as eloquently and with much less humor. That message is this: There are many forms of simple, yet elegant furniture that are straightforward to build and don’t require lots of tools, so why not “build instead of buy”? My hope is that 50 or 60 years from now, someone in the family will be moving out on their own and will end up with this table. A conversation with friends might go like this: “Yeah, it doesn’t look like much but it’s strong and I heard the wood was already 70 years old when it was built.”
In the end, if you don’t have to sit on the floor to eat dinner, isn’t that the purpose of a table?
Next project: I’ve got to catch up on a few things like giving Monika’s bike a spring overhaul, but I foresee a chair…….
Leave a Reply