
I have already flattened the bottom faces of the tabletop assemblies and even though it may not be best practice, I want to flatten and smooth the top faces prior to the final glue-up. It will be easier for me to do this now and after the top is fully glued I’ll only have to flatten/smooth the center of the panel.
The key implements for this task are my #5 jack plane, #7 jointer plane and #4 smoothing plane.

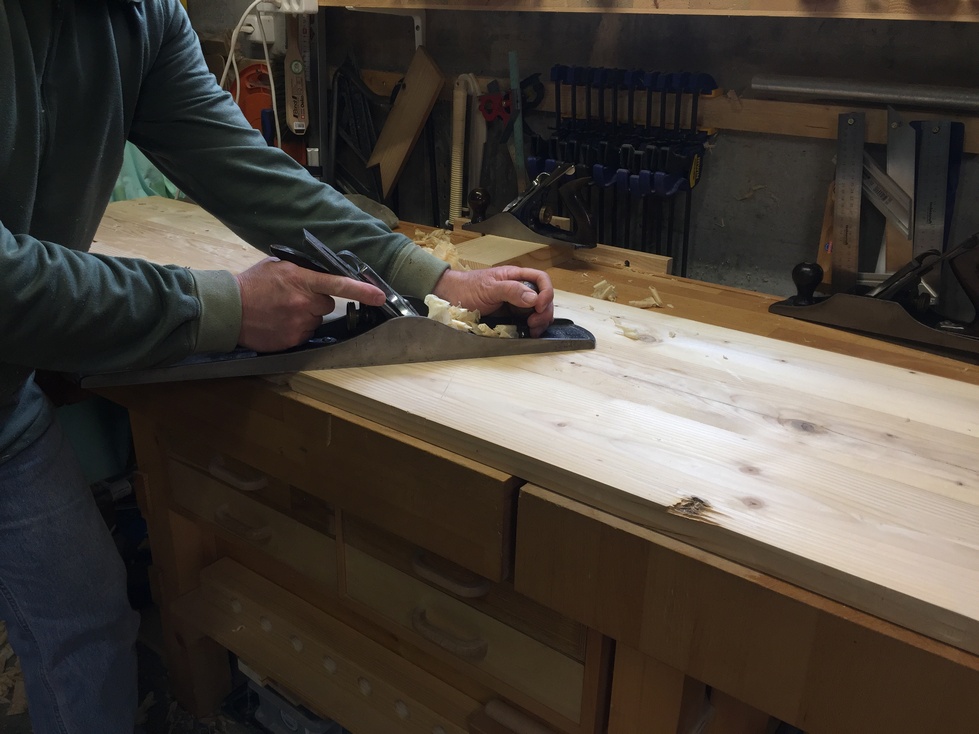
Both glued assemblies have a slight cup that I need to remove so I start with a Bedrock No. 5 jack plane I recently acquired on Ebay and take down the high edges by traversing (working across) the grain. I haven’t had a chance to do a full tune-up of this plane, only sharpening the blade, but I’m very happy with the performance. This supports the claim that pre-WWII hand tools are better quality (excepting the modern “premium” planes such as Lie Nielsen, but many of us don’t have $300 lying around to throw at a single plane).
The first couple of passes are pretty much 90 degrees to the grain but after that I start taking more angled cuts working my way up one direction and then the other direction towards the opposite corner


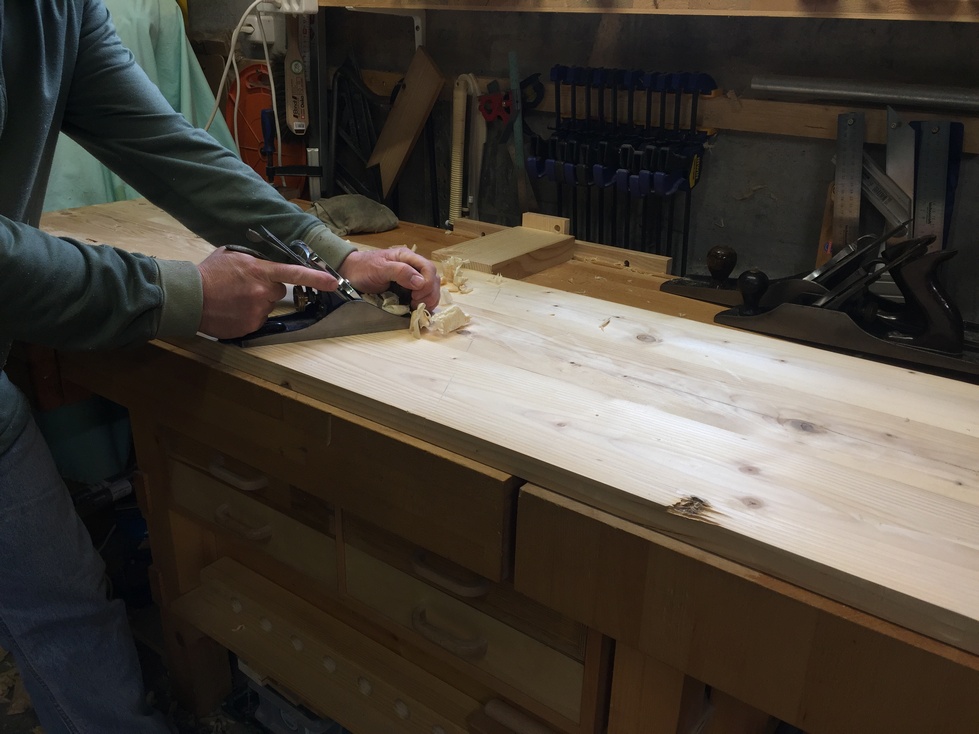
When the majority of the high spots are brought down, I follow this with my No. 7 jointer plane still working diagonally across the grain until the high edge is removed and then I take a few shavings along the grain to smooth up the effects of cross-grain planing.
Finally, I switch to the #4 which I adjust for a very light cut and remove the tracks made by the previous two planes. This operation is tricky since the grain sometimes moves different directions along the length and I have to be careful of tearout. With practice, you’ll learn to feel what the grain is doing as you plane and be able to guide the plane accordingly. The ideal is to choose wood that has nice straight grain and then orient the planks so that they all match each other however, this is not always (hardly ever) possible and I usually choose the orientations to best show off the face grain patterns.
**Opportunities to practice planing: It may be worth mentioning that with regard to planing techniques, it helped me to have a few projects that didn’t require a fine result. My usual OCD forced me many times to try to get everything perfect and I was afraid to try some new (to me) techniques for fear of ruining the end product. Making patio furniture and Adirondack chairs out of construction pine was a great way to not-stress so much about results. This particular table is also a good candidate since the reclaimed wood already has many defects and the customer (Bruce) expects this and is okay with it.
So, now that both assemblies are as flat and smooth as they are going to get, there is still one more thing that can be done more easily before the final glue-up. Two of the planks have a long crack that I’d like to re-inforce with a couple of bowties (also called butterflies) and two others have large wooden plugs that would be better covered.
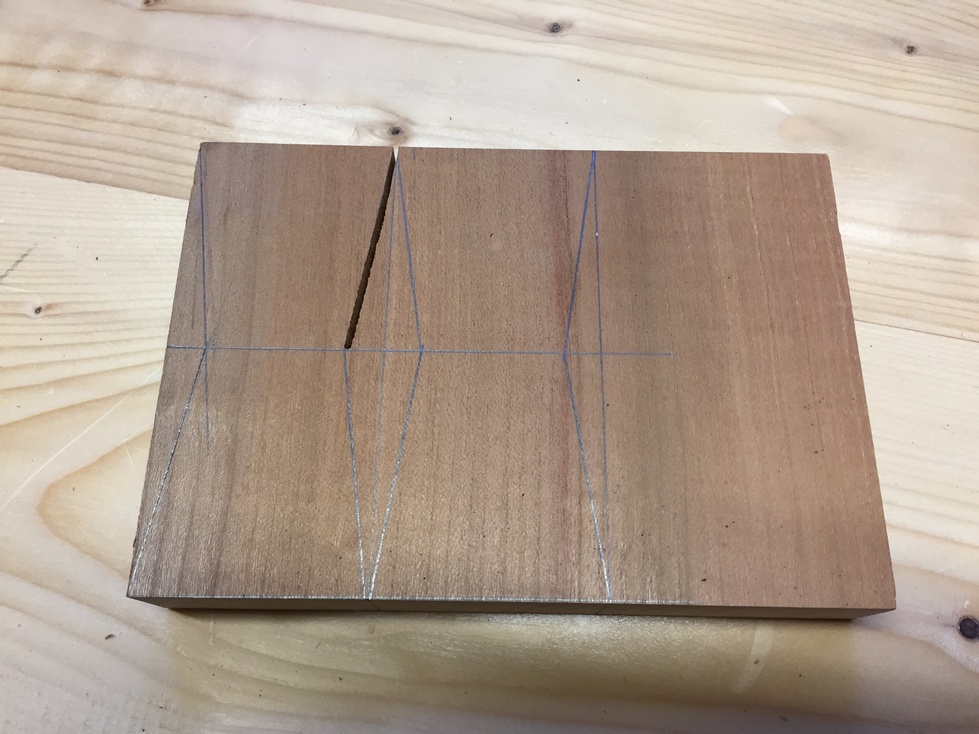
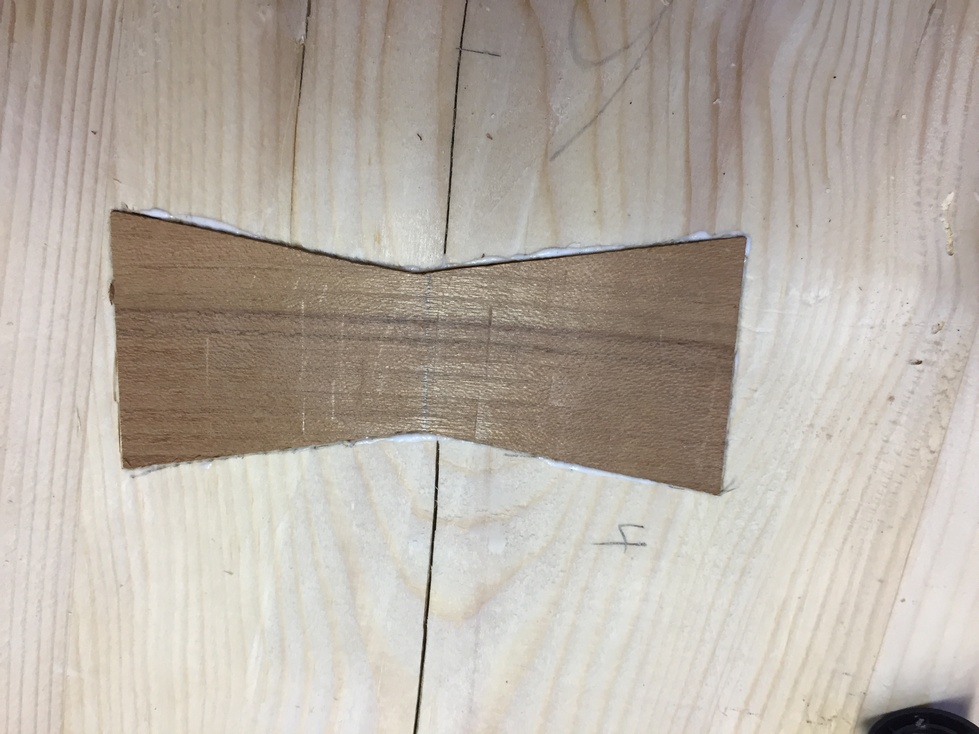
This is a shot of one of the plugs with a nice big nail hole next to it. I drew a rough bowtie, one half larger than the other, to get an idea of how it would look.

The bowties will be 9cm from end to end and the angle of the “bow” is 10 degrees. I draw the full layout on one side (A side) of a scrap piece of unknown hardwood (it looks a it like cherry) and just the main lines for reference on the other side (B). I set the miter guage for my bandsaw at 10 degrees and cut two of the angle lines.

By flipping the piece over, I can cut two more lines but instead of cutting all the way through, I leave a bit of material to hold everything together until the other cuts are done.
I move the miter gauge to the slot on the opposite side of the blade so I can cut the remaining four angles.

With a paring chisel, I smooth the sides of the bowties and ensure the sides are square to the face.
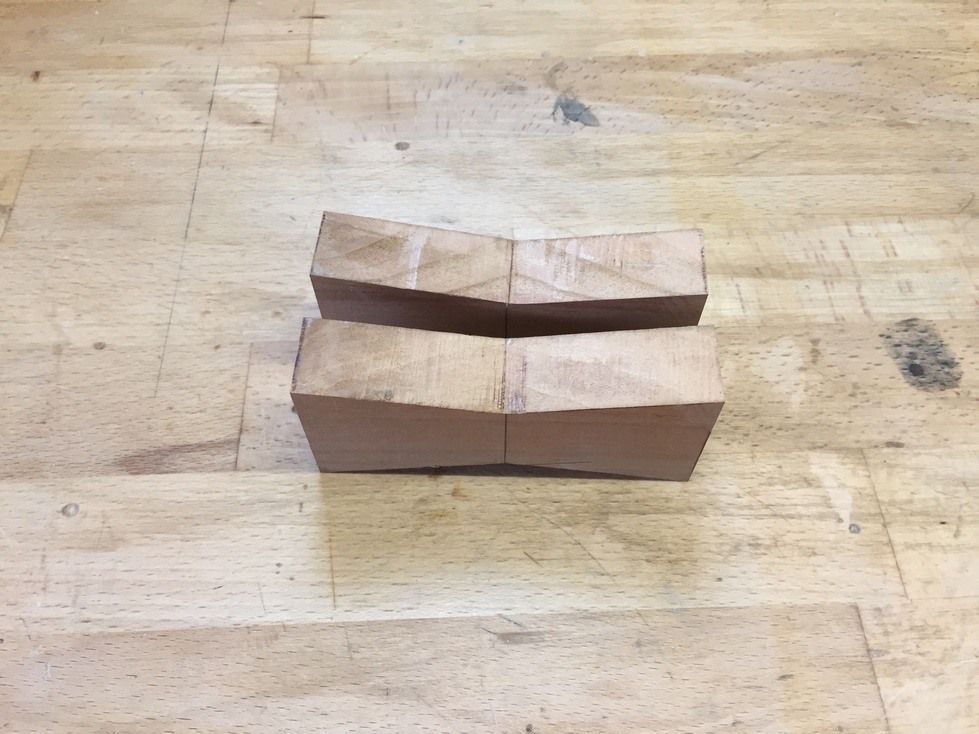
The scrap was about 22mm thick so by resawing both of these pieces on the bandsaw, I can get four bowties, each about 10mm thick after smoothing.

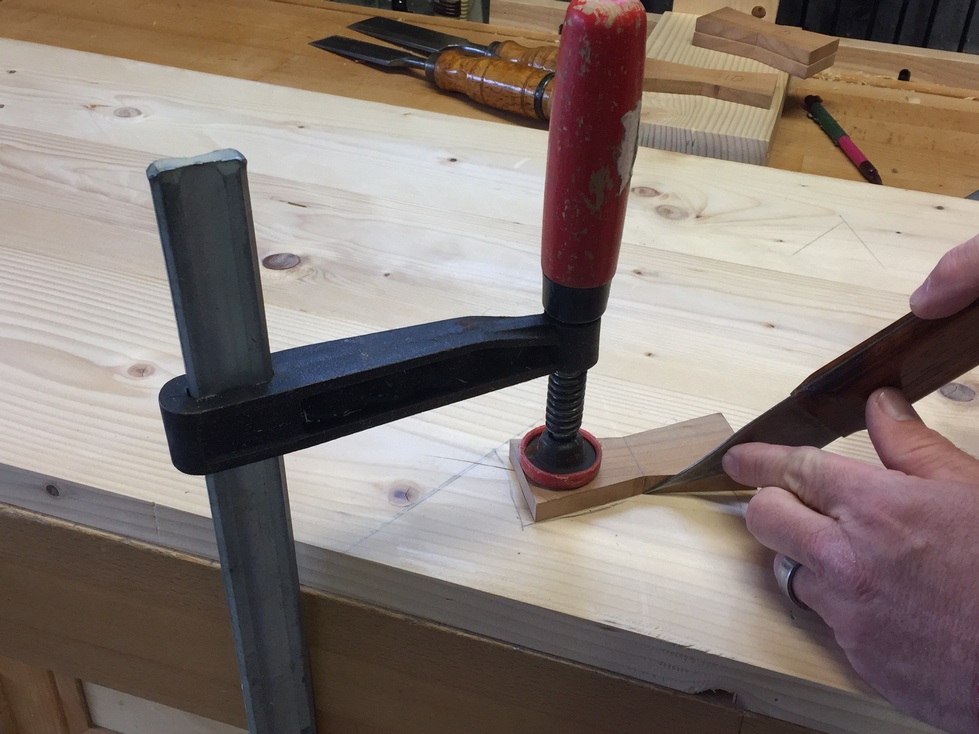
Now to position the bowtie in place, clamp it securely, and use a marking knife to layout the cut lines on the tabletop.
I use a router to hog out the waste, setting the depth of cut to 9mm. I’m able to stay away from the cut line with the router.
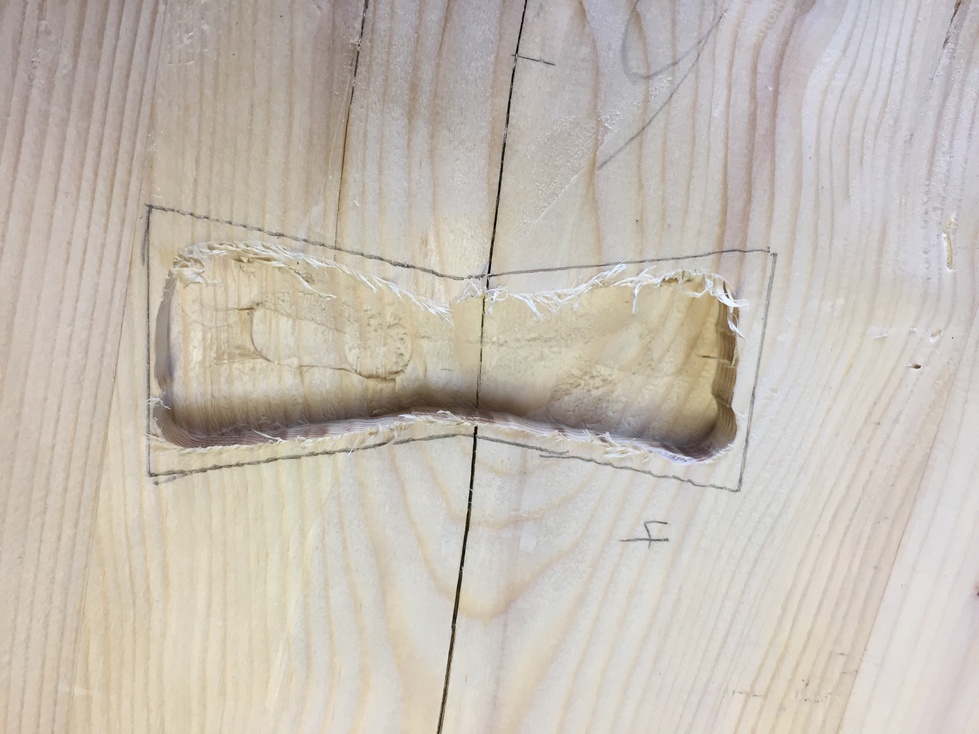
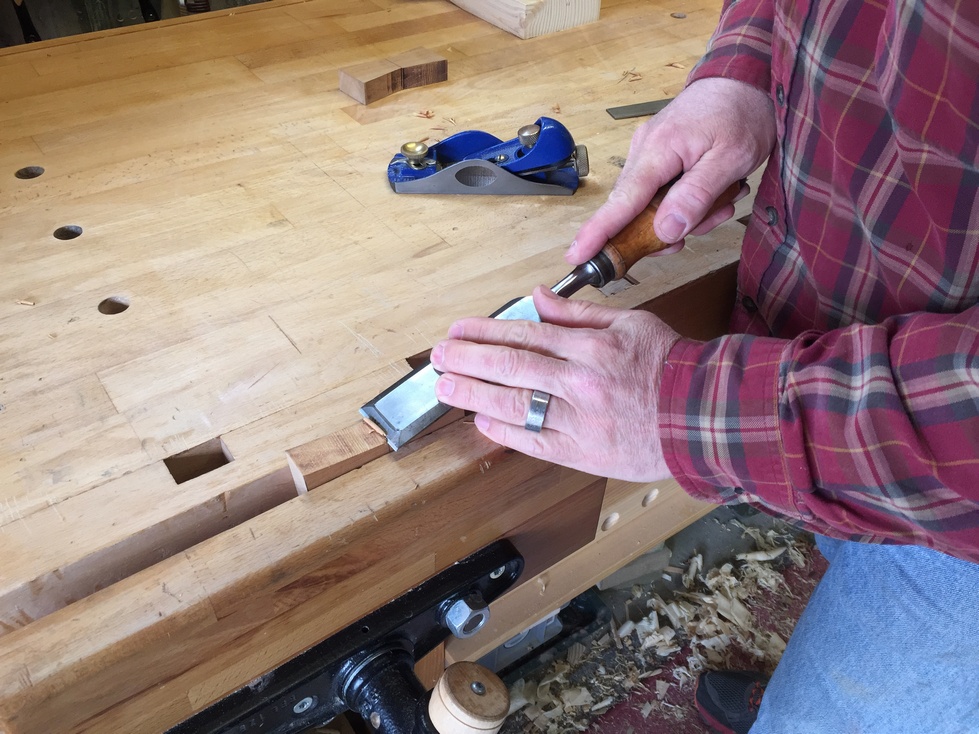
With a few freshly sharpened chisels, I cut the walls of the inlay down square. Since the depth is about 9mm, so there won’t be much to plane off of the top after inserting the bowtie.

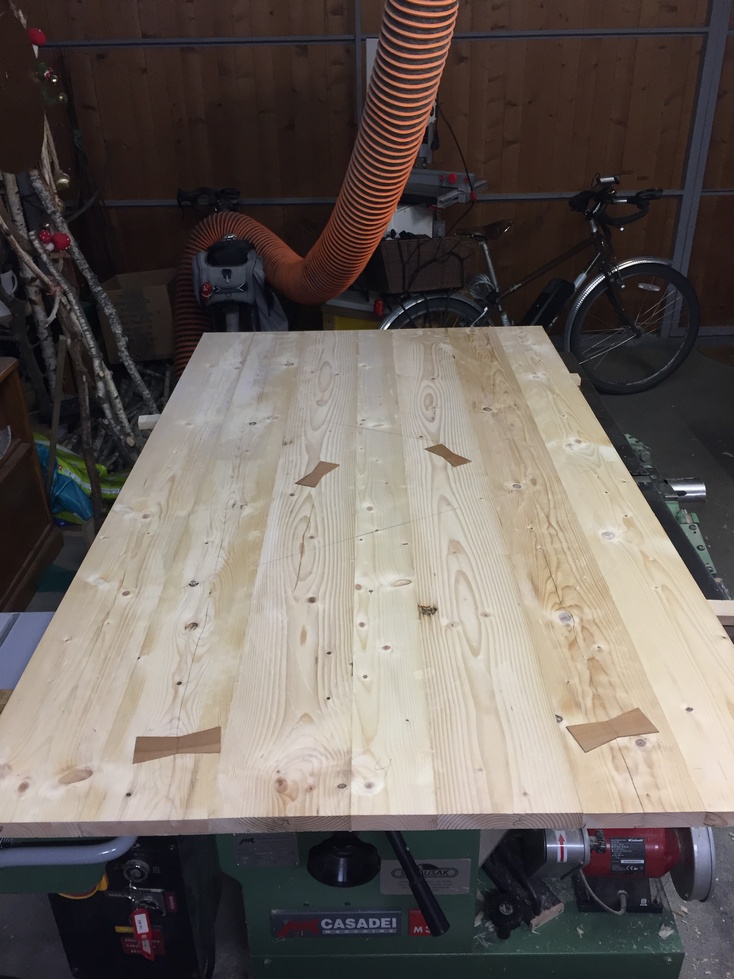
Glue applied and bowtie tapped into place. After the glue sets, I’ll use the smoothing plane to take the top of the bowtie down flush with the tabletop.

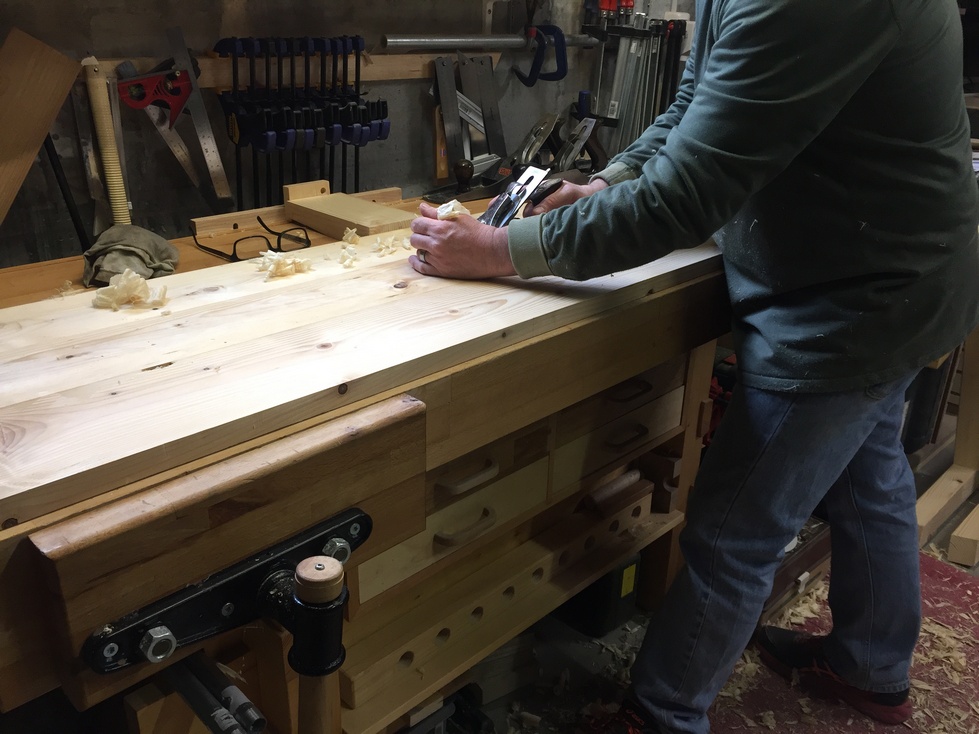
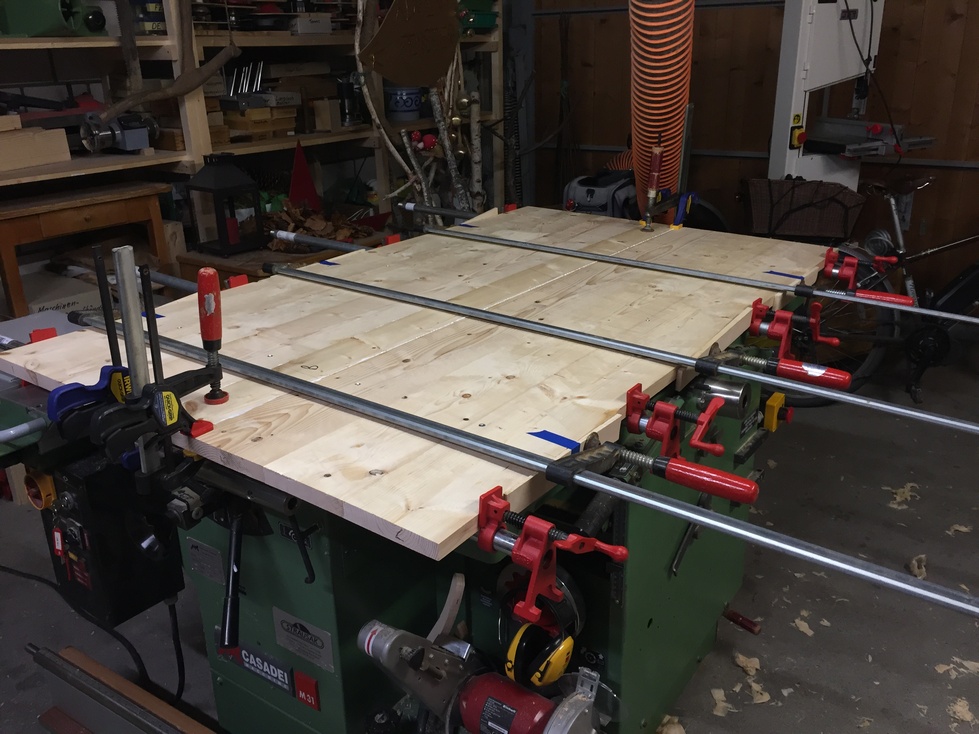
Finally, I can finish the glue-up of the entire tabletop. In the last chapter, I jointed the edges of the two half-assemblies and those of the remaining middle plank so I proceed to do a dry-fit. I’ve only got 4 pipe clamps and like to use them to help a panel remain flat so I position the 4 underneath and laying on the flat surface of my machine. A couple of quick-grips at each end hold the seams even.

Everything lines up pretty good and the Rolling Stones have gotten to the last track of Let It Bleed (my absolute favorite Stones song, You Can’t Always Get What You Want) so I go into “feverish mode” and brush glue on the four mating edges, position the clamps, tap (whack with insane abandon) the panels flat with the pipes, position three large F-clamps above and between the pipe clamps, double check everything, make a few adjustments, and breathe a sigh of relief (phew).
The next morning, before going to work, I remove the clamps and scrape off the glue drippings.

Because of this, it’s a rare day going to work with a smile.
Next and Final Chapter: Breadboard ends, final tweaks, and oil-finish.
Leave a Reply