
a.k.a. Have a heapin’ mess o’ clamps and wet rags handy…..
Probably the single most teeth-grinding, face-sweating task in my experience is gluing up a large tabletop. It’s really a straightforward procedure however, I always stress about it and this one is no different. I have found though, that if I get everything prepared beforehand and do a complete dry fit, then I can reduce the number of feral whacks with a mini-sledge hammer necessary to achieve relative flatness.
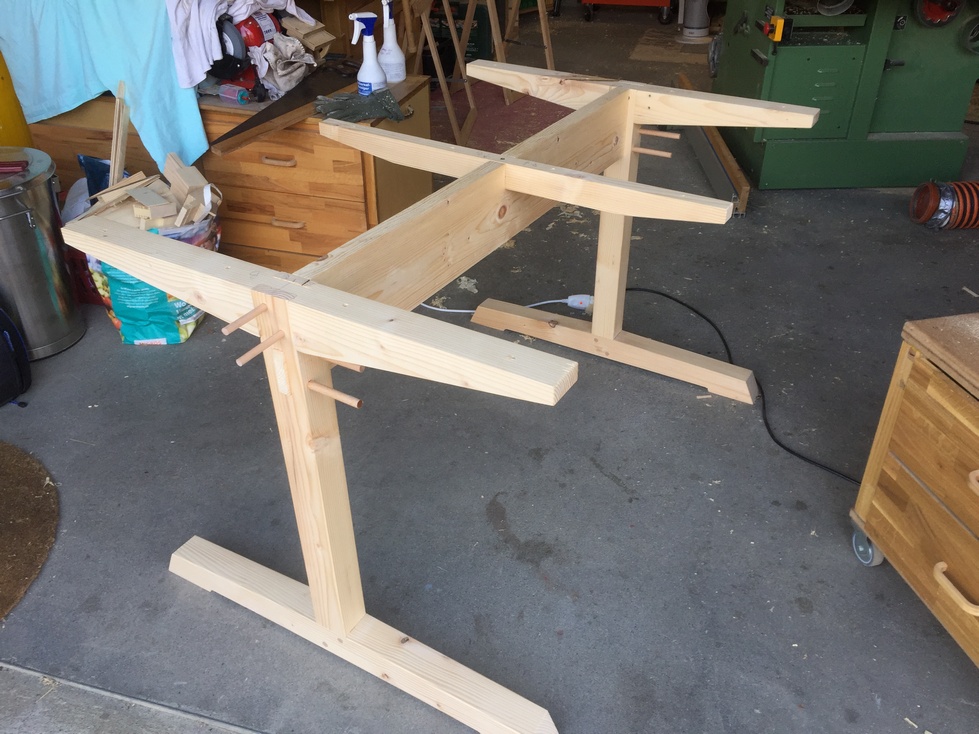
At the end of the last chapter I had finished preparing the parts of the base and had dry fit them together. I’ve since glued the end assemblies (foot/leg/brace) but not yet the stretcher.
While the end assemblies were curing, I ripped the planks for the top to final width and edge-jointed them ready for glue. Incidentally, I’m happy to use machines when it makes sense and with 7 individual planks to glue, I use the jointer to prepare the edges. I’ll glue the planks in three stages, #s 1-3 and #s 5-7 and finally, these large assemblies with #4 in the middle (not as weird as it sounds, by the time of this writing, I aquired more large clamps). Current wisdom seems to be to do everything at once (same day) but this is not feasible for me so I’ll take the opportunity to flatten the assemblies before the last gluing. The final edge preparation will be done with my jointer plane since those assemblies will be too large to joint safely on the machine. More on that later…..
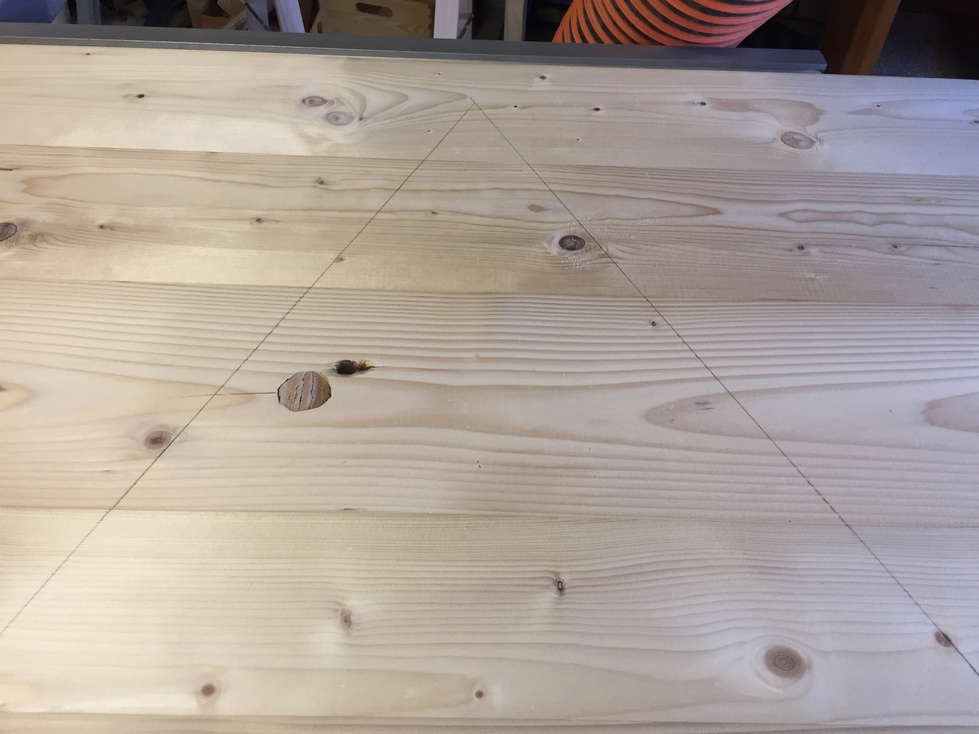
With the planks dry clamped together I draw a large triangle on both top and bottom and number the planks in order of assembly.
In my recent years of woodworking, I generally try to use less hardware for joinery (screws) however, I do want to make the top easily removable from the base and as mentioned in the previous post, I will be using threaded inserts on the underside of the tabletop to allow for bolts to attach from underneath the braces.
A few times during the build of the sewing center I harped on the importance of thinking ahead. In that spirit, I thought, and realized that if the top was fully glued, it would be difficult to install the threaded inserts. I have used these a few times on other projects and while they work great, they are difficult to install straight by hand. I did an internet search and found a great method here that really worked easily the first time I tried it. It utilizes your drill press as a mechanism to keep the insert straight while installing it however, for a 1 meter wide tabletop it would be useless. If I pre-install the inserts in the individual planks before glue-up that would be a lot easier.
There is a risk that after glue-up the holes won’t quite match the positions of the inserts but if I’m careful to keep my triangle in line during the process I should be okay. So with that in mind, and while the top planks are dry-clamped together, I position the base upside down on the bottom side of the tabletop and centered between where the ends will be.

Using the 7mm brad point bit I used to drill the bolt holes I mark the center points on the underside of the table.

Now I have 4 planks with 3 marks each for insert holes. The inserts are 15mm long so I set my drill press for about 17mm depth of bore and drill holes for all the inserts. The thread diameter is 12mm so I use a 10mm bit since this is Pine. In a hardwood like Ash I’ve had to drill an 11mm hole for the same insert. Then I take a 6mm bolt, cut off the head, and thread two nuts 16mm up from the end and tighten them against each other. Then I thread the insert onto the bolt and chuck the assembly into the drill press, centered over the hole. The drill press keeps the insert straight and by applying a little downward pressure, I can use a wrench to thread the insert into the wood.

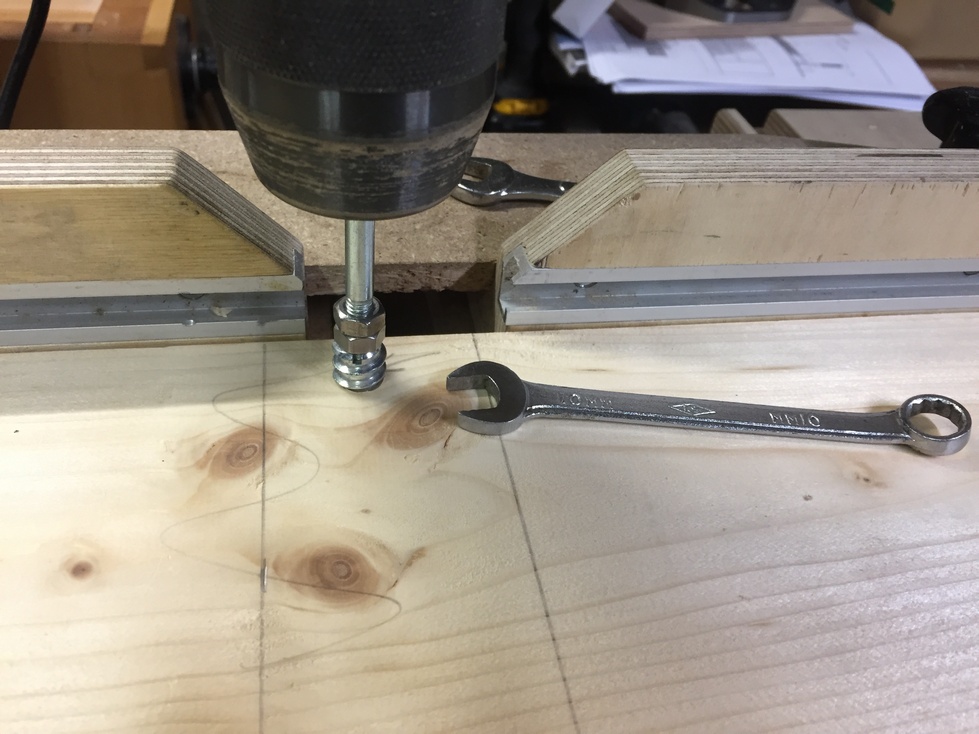
I bottom out the insert so there is about 2mm of clearance from the top of the insert to the surface of the wood. That way, I don’t worry about nicking my smoothing plane later.

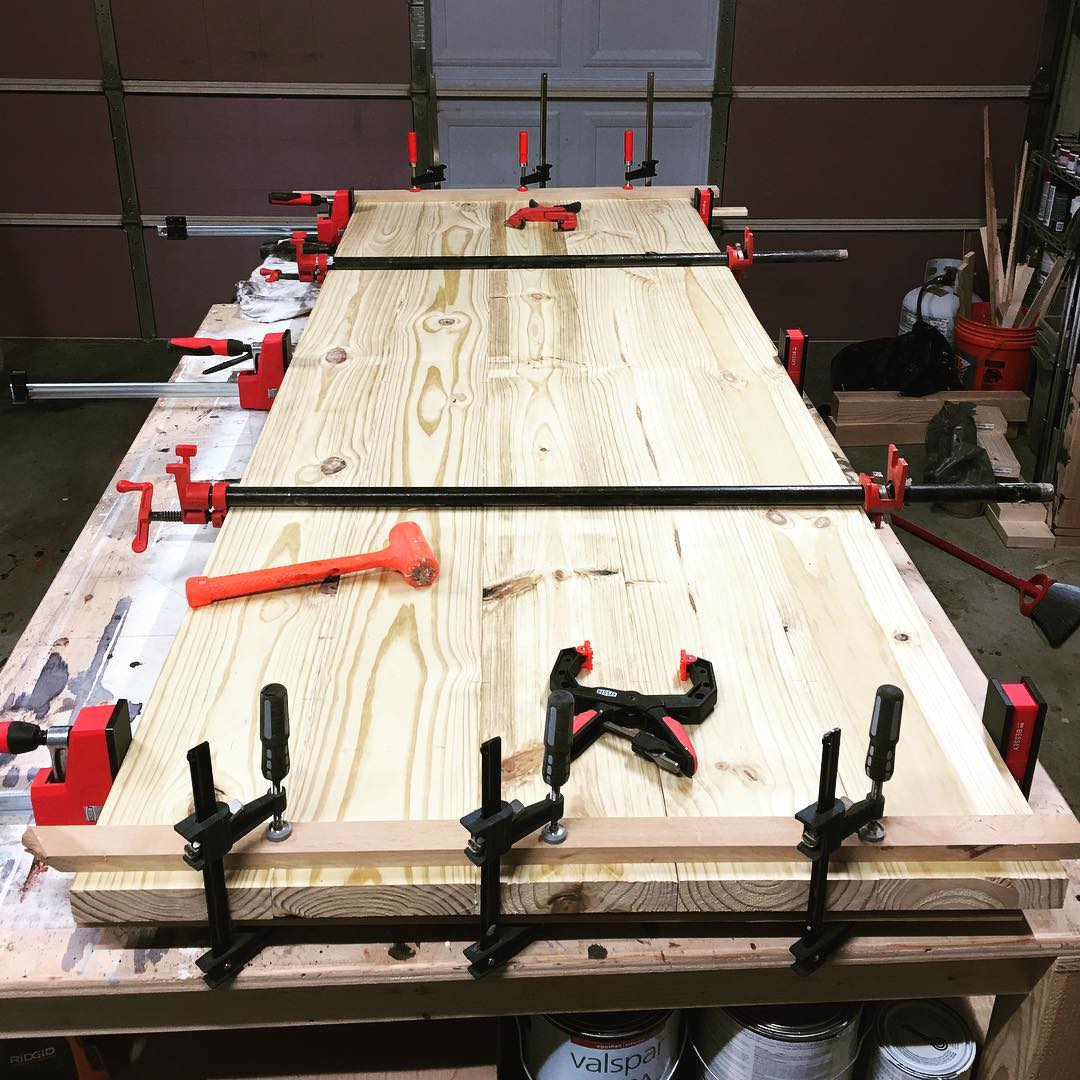
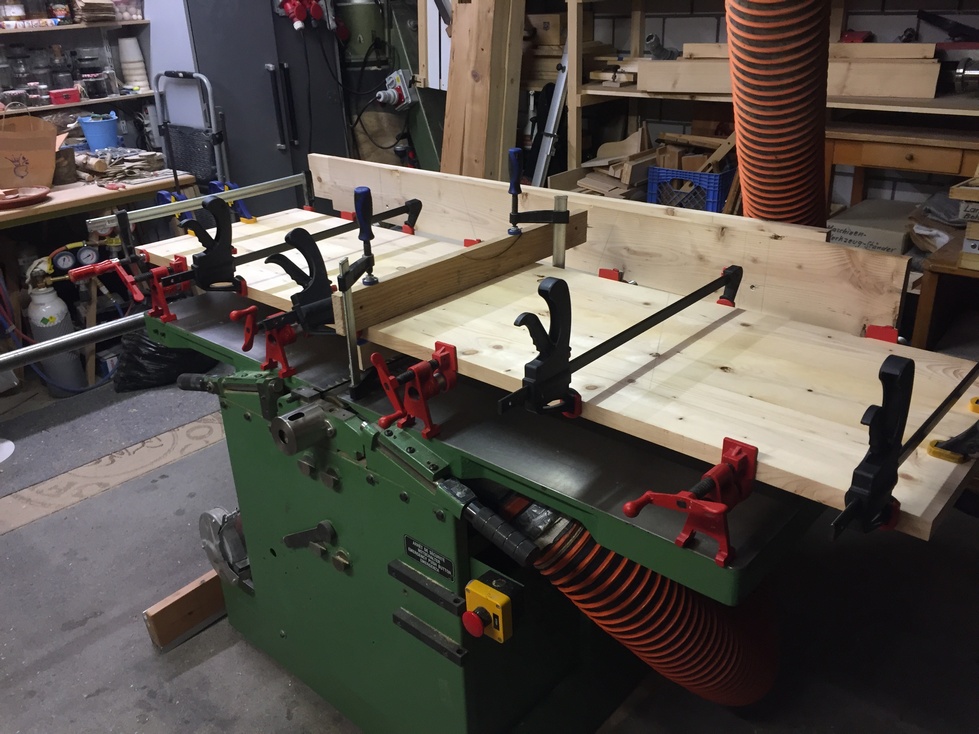
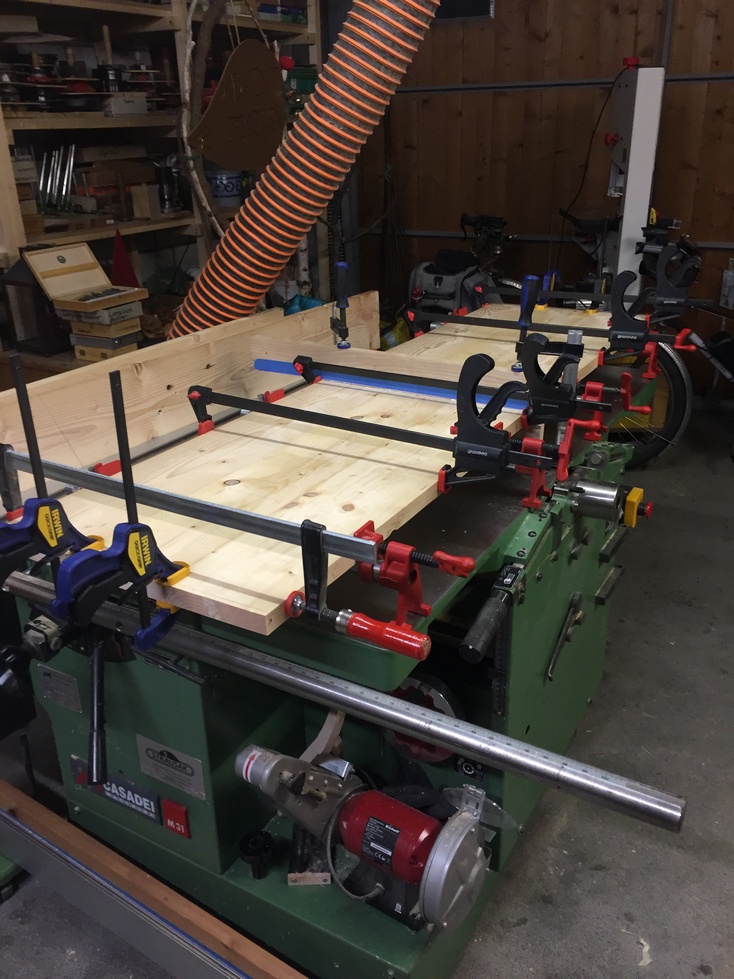
I’m going to glue 3 planks at a time so I set up my pipe clamps on the jointer table, get my other clamps within easy reach, and do a dry run. I’ll use a caul in the center to assist keeping everything flat however, the pipe clamps do a good job of that. With a little clamp tension, a lump hammer and a block of wood, you can tap the pieces as necessary till they lay nice and flat on the pipes. Keep in mind that for this to not end in tears (twisted top), the clamps have to be resting on a flat surface, hence the jointer table.


Happy with the dry-clamp, I undo everything and pour some glue in a plastic cup and get a glue brush. I really should get a little roller for these occasions but if I’m quick, the brush is fine. If it were a little warmer, I would use plastic resin glue for the longer working time but that glue needs at least 70 degrees F to cure properly.
So my sequence of events is this:
- Apply glue to all the edges and lay the planks flat on the pipes with the triangle lines even with each other.
- Two small clamps at each end to hold the seams even.
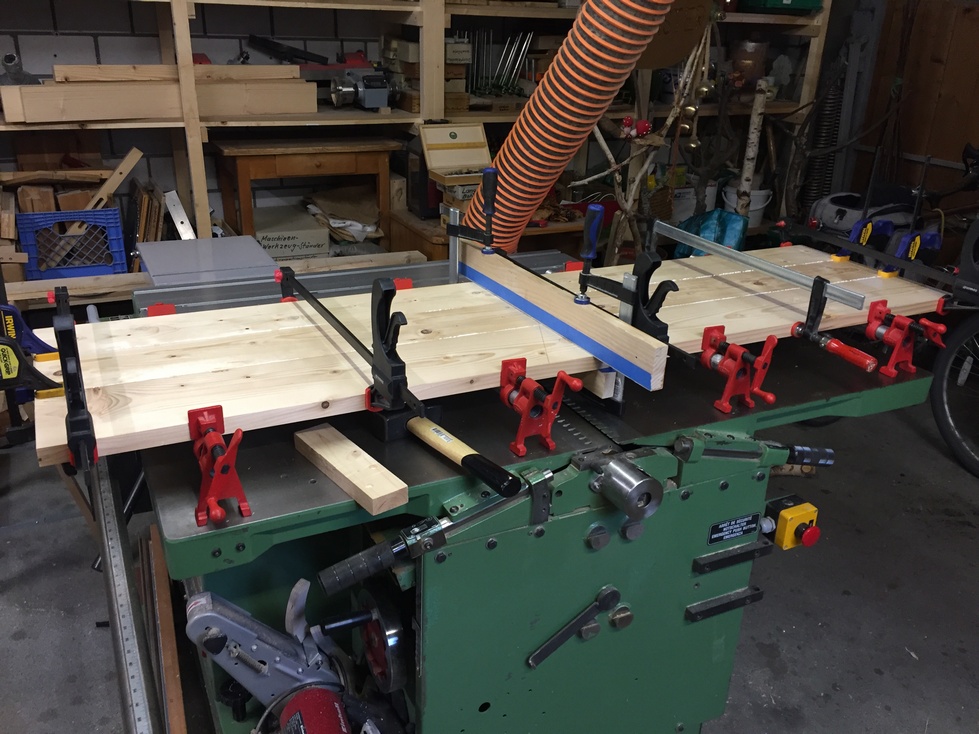
- Clamp the caul in the center to start everything flat.
- Apply a little tension to each of the four pipe clamps starting with the middle two.
- Using the lump hammer and block of wood, tap (smash) each plank down flat onto all the pipes so I can’t see any light in gaps underneath.
- Install five more clamps from above, alternating between the pipe clamps at about half tension.
- Double check all the seams and look for gaps appearing between the pipes and the wood.
- Cinch up all the clamps to final tension.
- Triple check all the seams.
If everything goes perfect, I’m done clamping. More often than not, the final tensioning drives something askew and I have to loosen a clamp, and tap (whack) the seam even again.
I take a putty knife and scrape off the bulk of the excess glue squeeze-out followed by damp rags to wipe off the remaining residue. Time to call it a night.
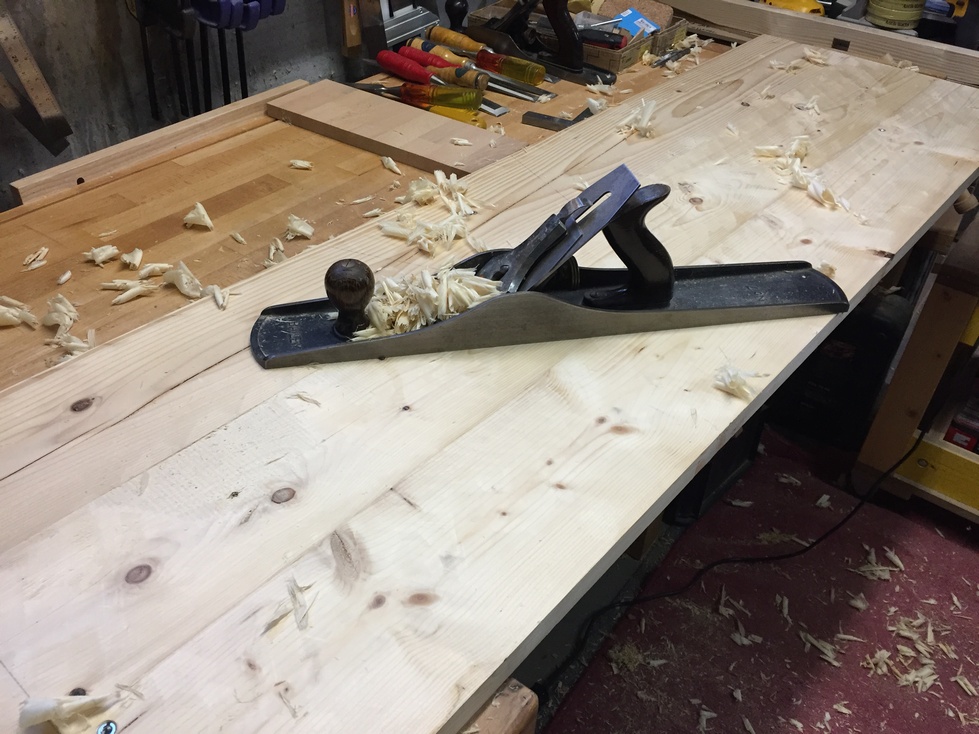
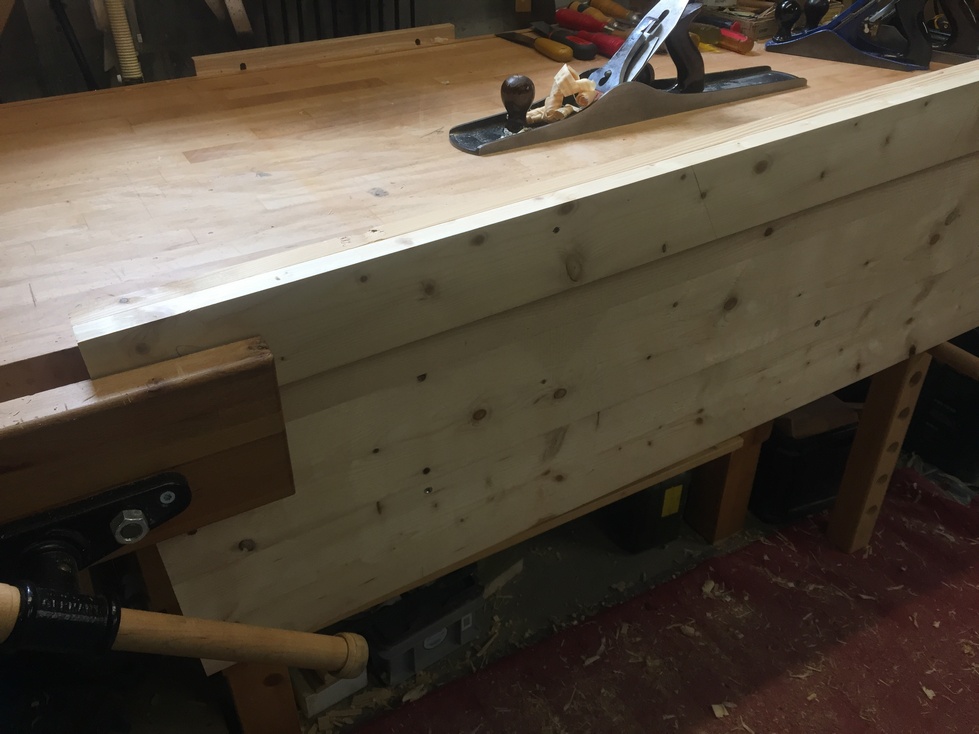
The next evening, I repeat the above with three more planks and after they are in the clamps, I use my jointer plane to flatten out the bottom of the first panel. My glue up the night before was pretty successful and the panel doesn’t need much planing. This is about all the bottom face will get besides a little sanding. From the start, this table was not meant to be built for the showroom but to fill a need and to recycle old barn wood. As long as a future diner doesn’t get a splinter from running hands underneath the table then the intent is met :-).
At this point I turn my attention to cosmetics. Starting with the foot assemblies, I mix up some epoxy, adding a dark walnut dye to color it. This will be used to fill in any cracks and crevices, not to mention old nail holes. I made my first attempt in a spot that will be mostly covered by the stretcher when installed and foolishly trusted the dye’s description. More like cherry than walnut.

For the next batch I mix in a little black dye with the “dark walnut” and like that better, although it still came out reddish.
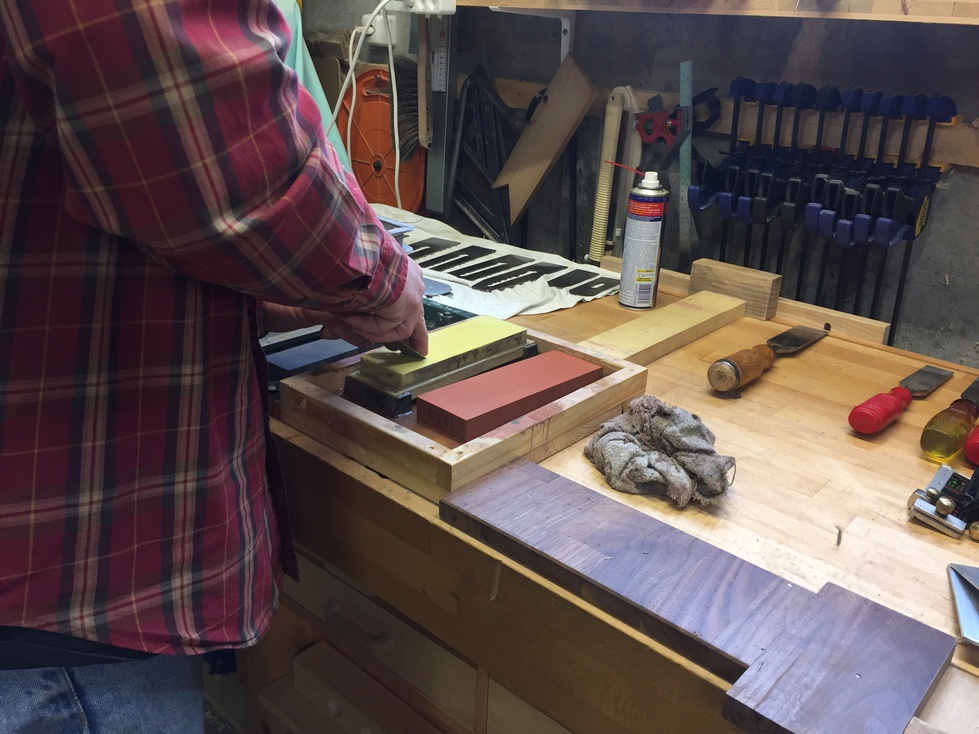
Every type of epoxy is different and with this one (a 5 minute cure), I’ve found that I need to come back to it after about 20 minutes and use a paring chisel and plane to smooth it. At 20 minutes it’s hard enough to plane but still pliable enough to get a smooth surface. If you wait too long, the epoxy (this one at least) will really harden and becomes too brittle. You may comment that this isn’t good for my plane irons but I’ve found that the better I get at freehand sharpening, the less I worry. About every 4-5 sharpenings I’ll go back to the jig to ensure a consistent square edge and 35 degree bevel and about every 10-12 sharpenings, I’ll lightly grind a new bevel (also freehand). This seems to be working pretty well for me. Recently I’ve been gifted a few used plane irons and this gives me some additional working time between sharpenings. The downside is that when I do sharpen, it takes longer. Recently, I did 11 irons and 10 chisels starting with the grinder and finishing with the stones. I spent about 35 minutes at the grinder (some of them needed to be squared) and about an hour at the stones. After grinding, I can start with a 1200 grit stone and move directly to 6000. About 4.5 minutes per tool, which isn’t bad for me.
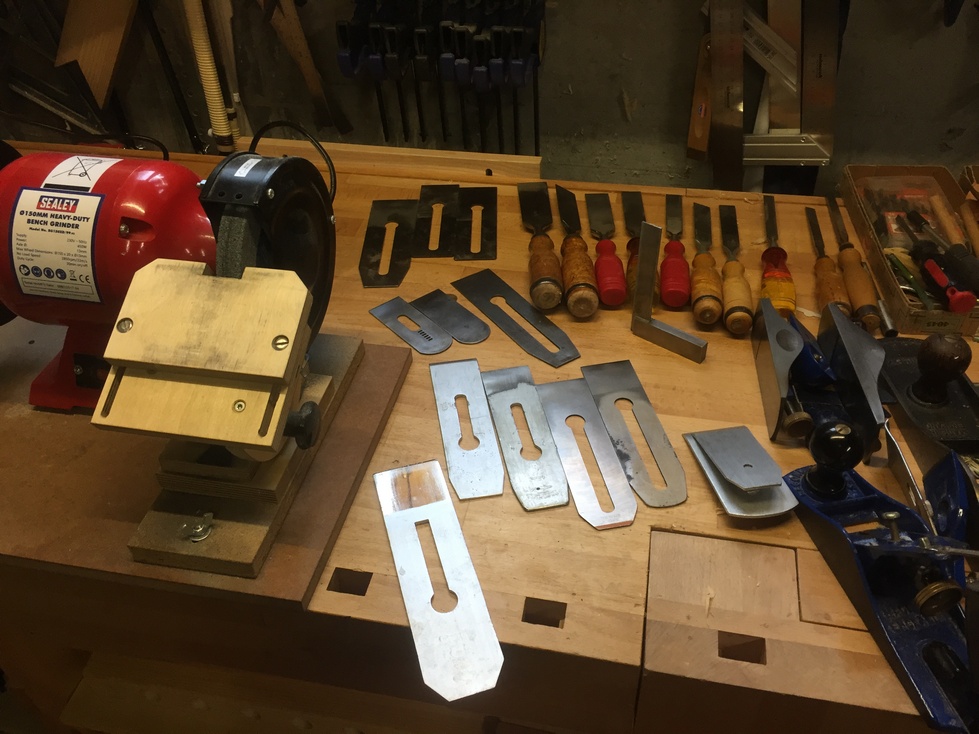
I have plans to set up a dedicated sharpening station and if I can find the space for that, I’m sure I’ll sharpen tools as they get dull and not wait till a bunch of them need it.
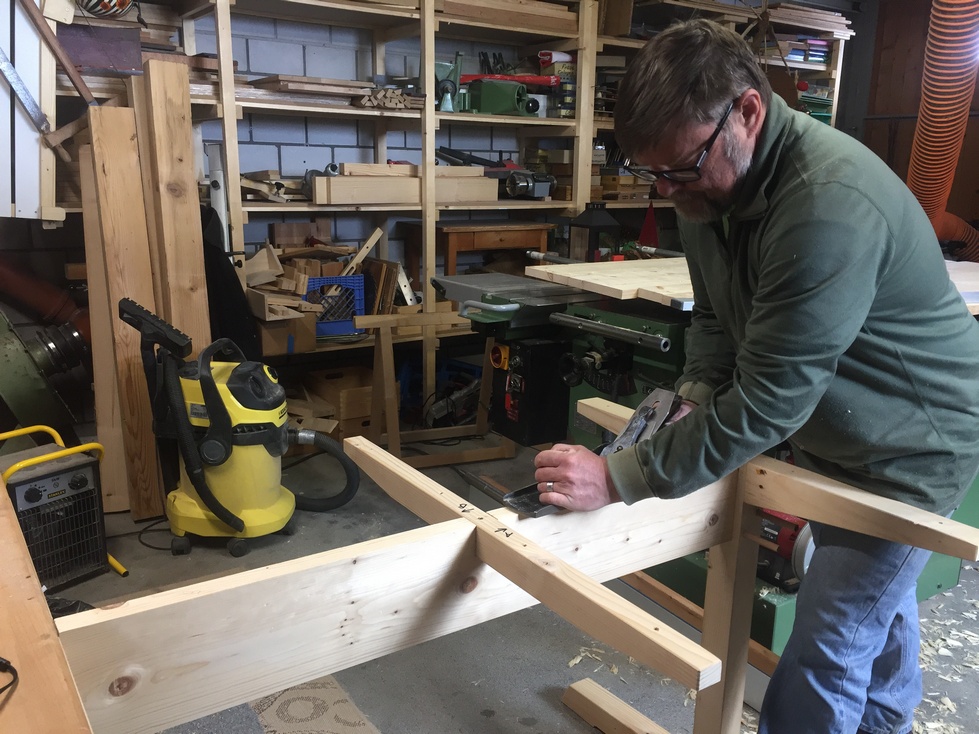
Back to the project, while I’ve got the base dry-fitted, I notice that the top of the stretcher isn’t quite flush with the top of the end assemblies (it’s slightly proud) so I prop the base against my wife’s workbench for stability and use the jointer plane to take a few shavings off the stretcher. (Does this picture make me look fat?)
I’m ready to prepare the last edges for glue-up. Since the two assemblies are about 45cm wide by 180cm long, jointing the edges on the machine is not advisable and would result in an uncertain outcome. Rather than trying to jury-rig a tall fence I’ll use my jointer plane. A really great method to ensure two edges are jointed properly is to joint them at the same time. If you put two flat panels together edge to edge and then fold one over the other like closing an open book, you can joint both mating edges and any error from exactly square will be canceled out by their orientation. Kind of like this (the error is exaggerated):

Due to the length, I need to use my bench slave, a.k.a. the deadman for political correctness (Why is a “dead man” better?). Maybe I’ll just call it the Steve’s bench-front support fixture (SBFSF). The SBFSF supports one end of a long piece and the other end is typically held in the face vise. The SBFSF is secured to the bench (I used a square peg that slips down a dog-hole into a square notch in the top). Alternatively, one might have a base to stand on its’ own. Also, there is a method to adjust the height of the support; in my case, a large dowel peg and multiple holes to position it.

After orienting the first assembly (#’s 1-3) with the middle plank (#4), I clamp them together at one end.

And the other end is positioned in the vise with the forward end flush against the vise’s support rod.
Since I pre-jointed all the planks before any glue-up, these edges are very close to where they need to be and I only have to take a few thin passes till I get a consistent shaving the entire length.

Well, that’s it for now friends and neighbors, next time we’ll finally get to a fully glued tabletop.
Next Chapter: Bow-ties, final glue-up and maybe, just maybe, breadboard ends.
Leave a Reply