
a.k.a. The prodigal woodworker returns from business trips
Hey there friends and neighbors, I’m sorry you haven’t heard from me in a while but there’s this thing that pays the rent and keeps food on the table that I have to deal with. I’ve been in the land of dates and niqabs not once, but twice, in the last 4 weeks and let me tell you, I’m not happy about it. However…..comma…..I get a paycheck to do a job and I’m going to do it until I start my own business and build furniture for a living (hysterical laughter issues from the peanut gallery).
Joking aside, I’ve made some progress on the cabinet.
I ended the last chapter with a dry-fit of the back panel and that was acceptable so I’ll go ahead and prepare the pieces for glue-up. I’ve mentioned before how exceedingly useful a properly prepared card scraper can be. One thing I’ve noticed is that a scraper that is a little dull can still perform on hardwood but when it comes to soft pine, it’s completely useless so I give my scrapers a quick prep.
If they’ve been re-burred more than 3 or 4 times, I’ll condition the edges on my waterstones. I use the method shown by William Ng in this video, I just wish I had the space for a large dedicated sharpening station.

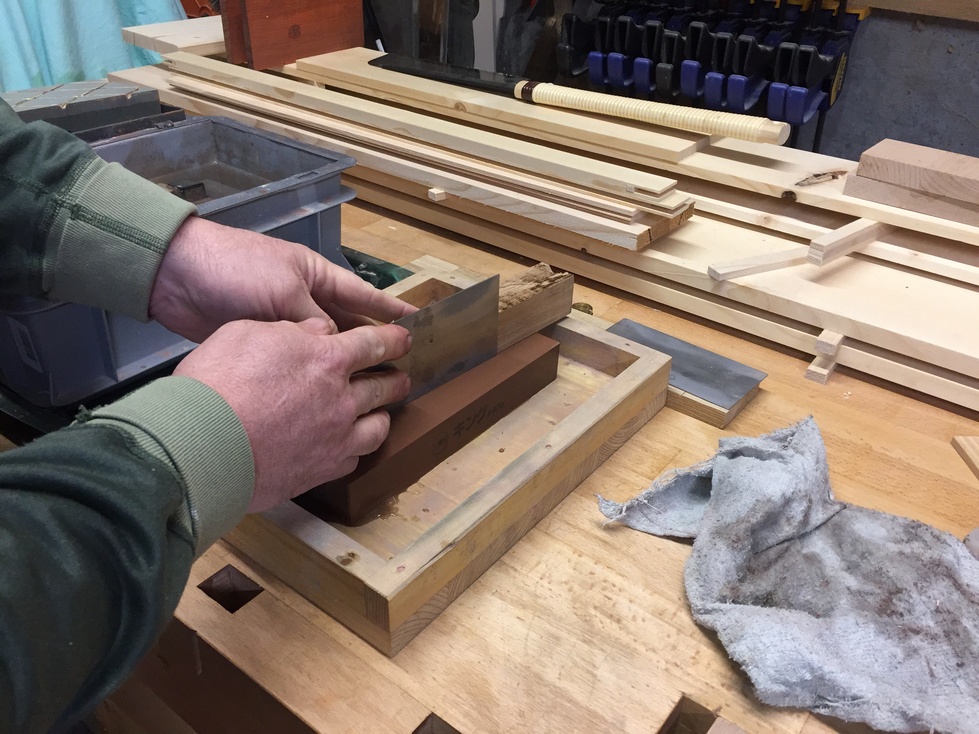
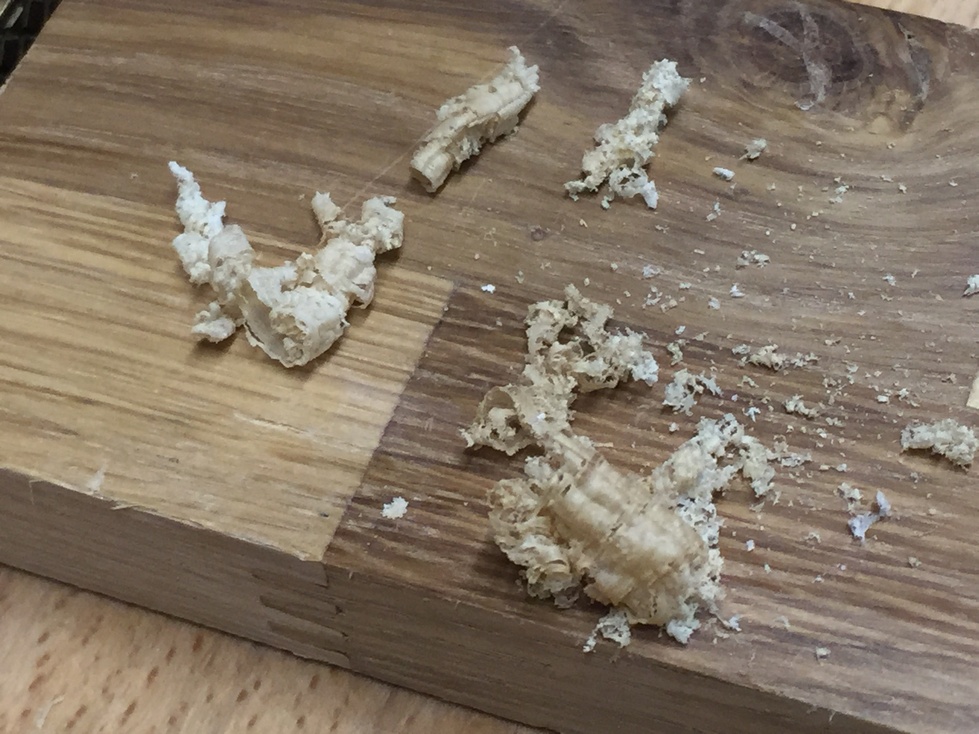
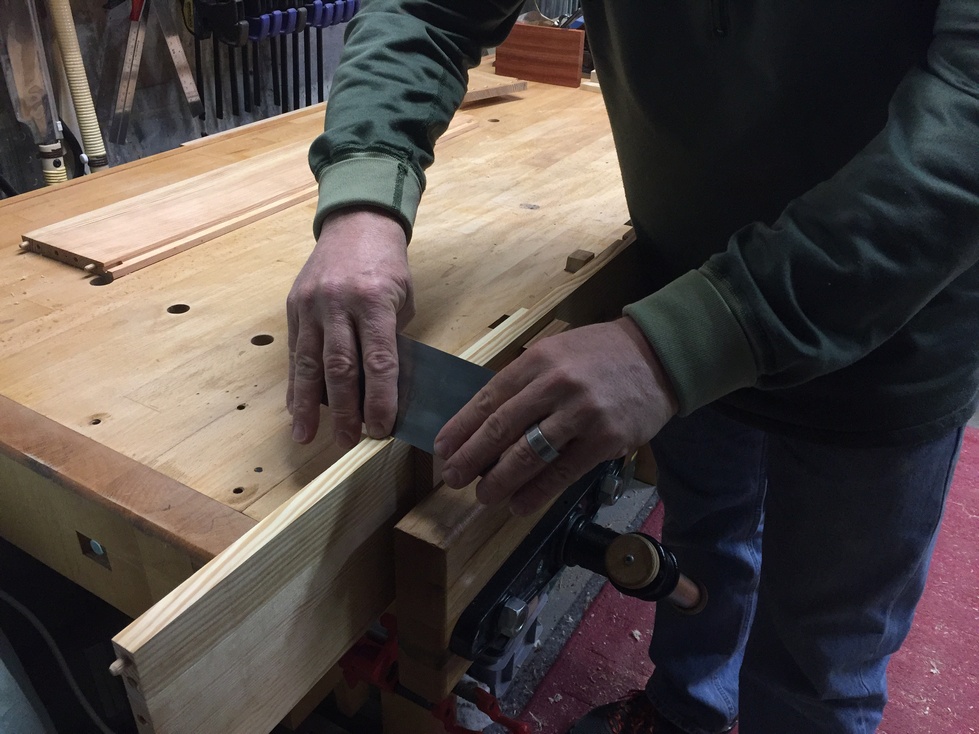
My skills at producing a good burr are getting better. I can get an adequate burr that gives me some decent shavings on hardwood as below:
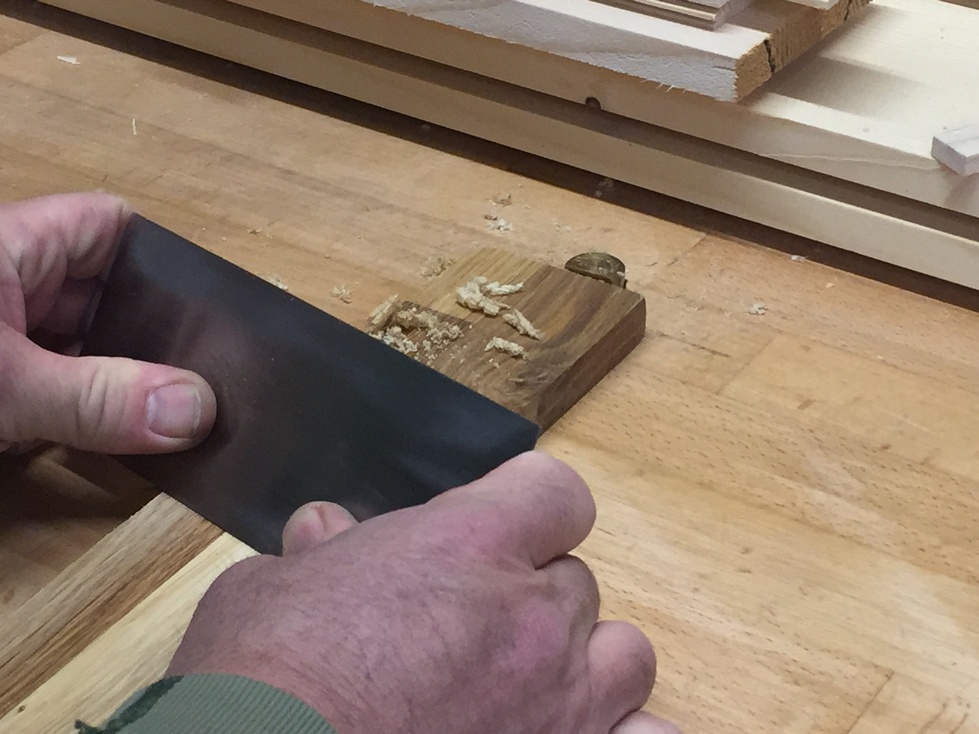
Once my scraper edges are fresh, I tackle the parts of the back panel. Lately, I’ve been trying to use sandpaper less and less and a good scraper is essential to that goal.
Because this is such a delicate frame and panel (10mm thick rails and stiles and 5mm panels) I don’t want to take a chance that the oil will act like glue when it’s dry and possibly cause the panels to crack when they move during seasonal changes. Being very careful to not get oil on any potential glue surfaces, I use the Maloof recipe but with a little extra spirit to finish all the pieces of the back panel. Here is a good article on mixing your own oil.

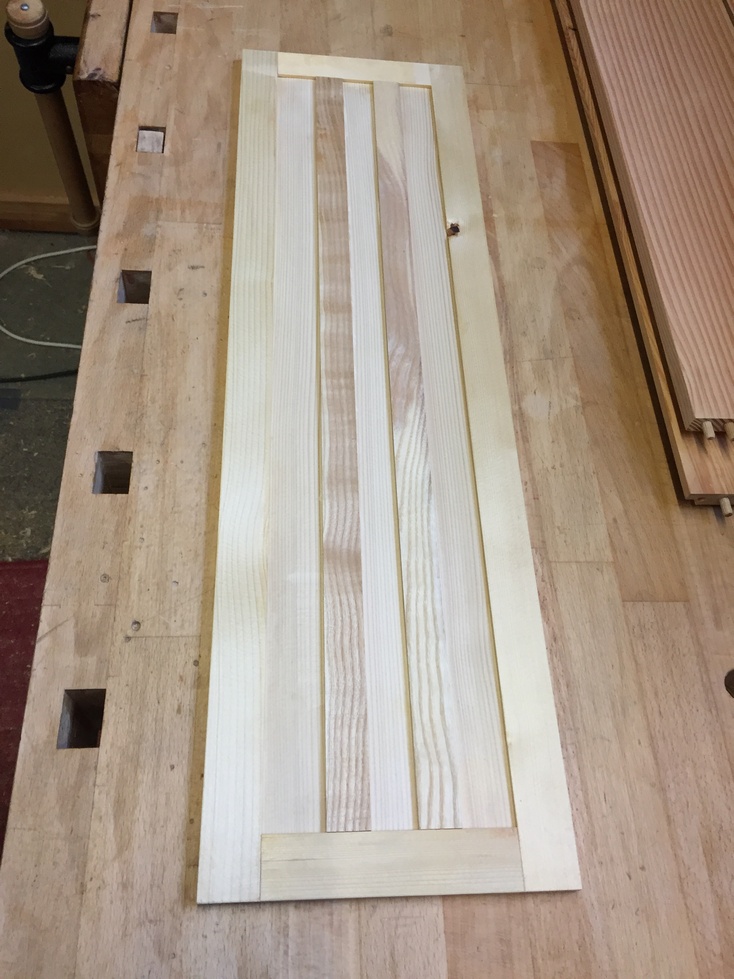
With the pieces pre-finished, I glue two corners together and insert the panels.

Then the last stile is glued on. I was worried about the flimsiness of the 5mm thick panels and the chance of gaps appearing as they shrank so I glued a couple of thin strips to the back. This way the panel can still move with the seasons without cracking and no gaps will appear in the middle. There’s probably a better way to do this so feel free to comment :-).
I set the back panel on a shelf and prepare the sides, top and bottom for gluing. Using the scraper, I dress the edges and then scrape the faces. At this point, and especially with a soft wood, I start using smooth pine scraps on either side of the piece while in the face vice to help prevent any errant dings or dents.

When I’m satisfied that these pieces are ready for oil, I glue in the dowels. I don’t want to get any glue on the end grain yet so I use a little stick to get the glue right inside the dowel holes, enough, but not too much. The corresponding holes in the top and bottom are all 12.5mm deep so I plane a piece of scrap 11mm thick and use it as a guide to tap the dowels in.


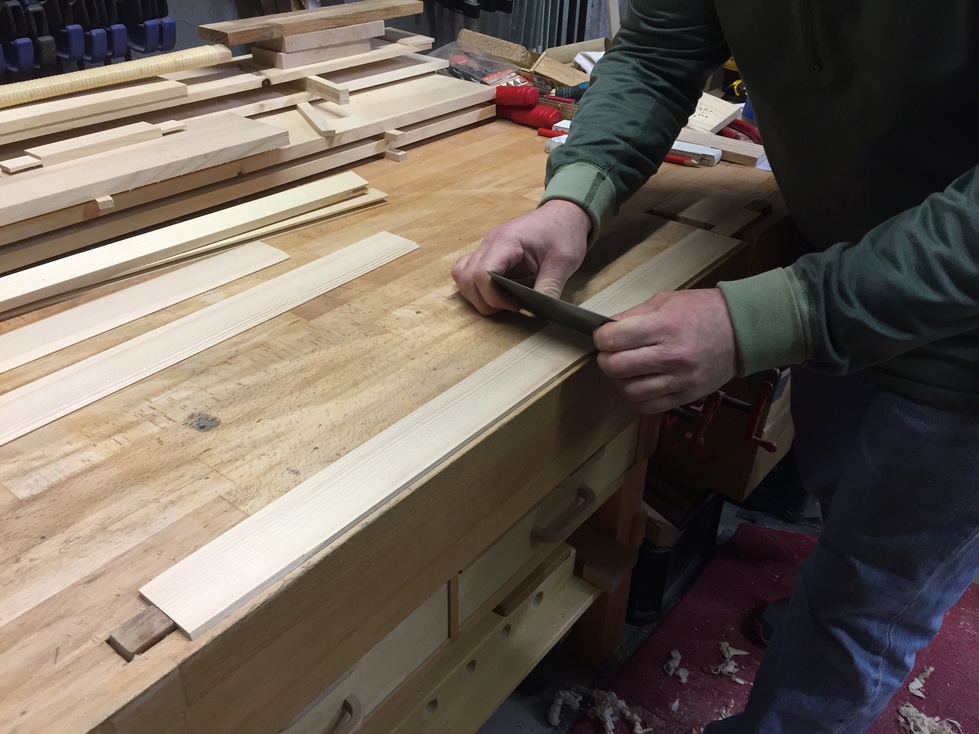
Once the glue is dry, I use a big file to lightly even out the dowels (probably unnecessary, but I’m a little paranoid about this particular glue-up).

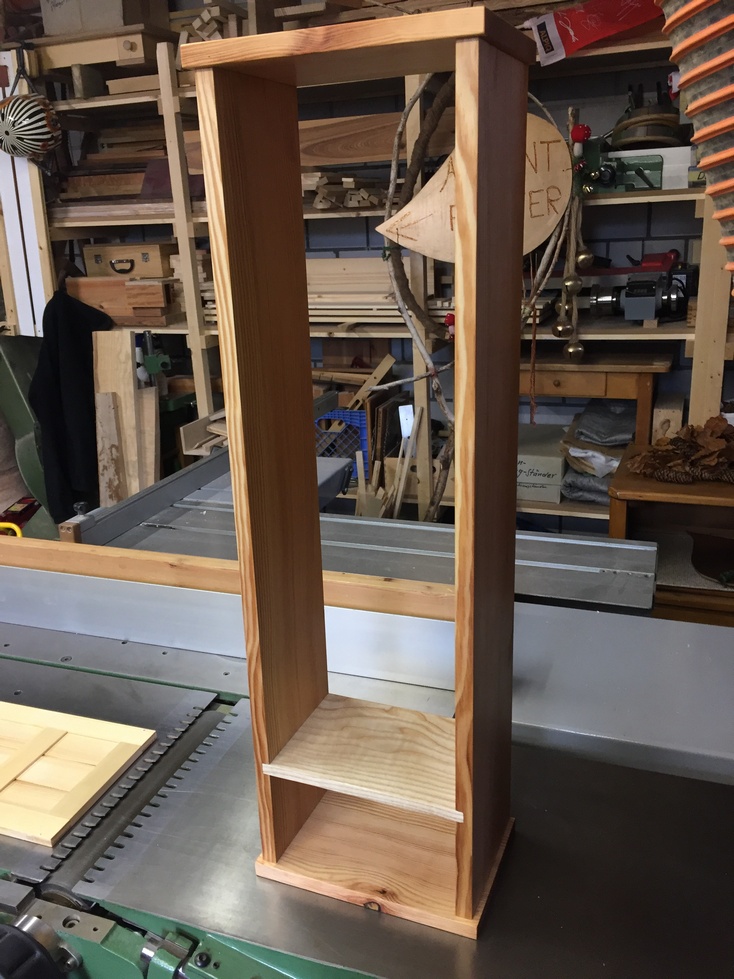
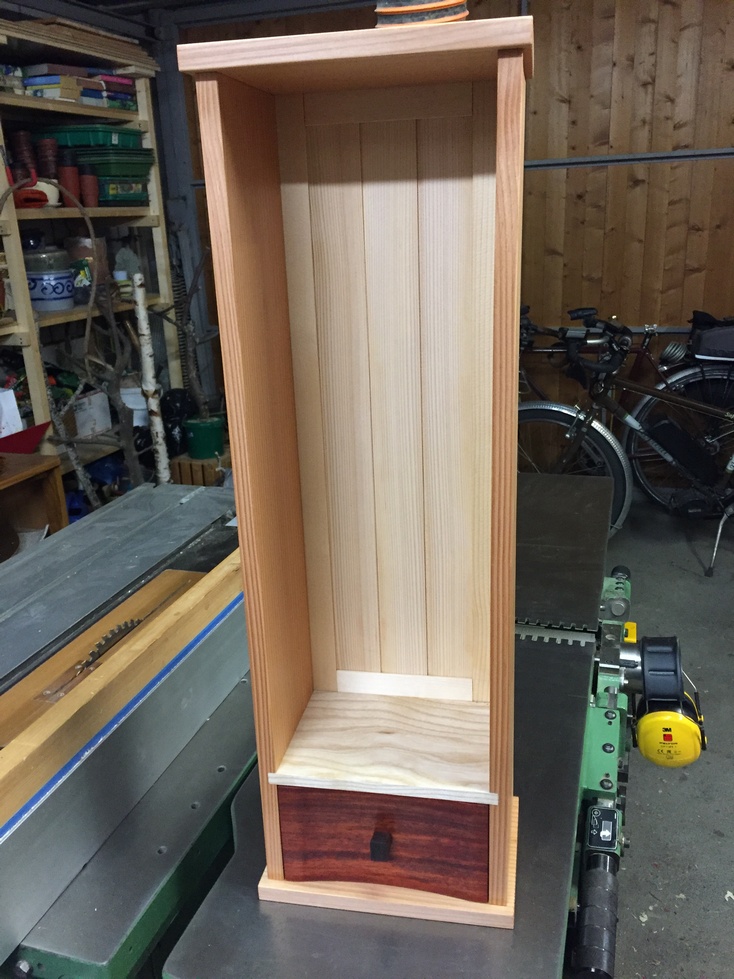
Again, dry-fit before glue:

And during the glue-up I installed the little shelf.
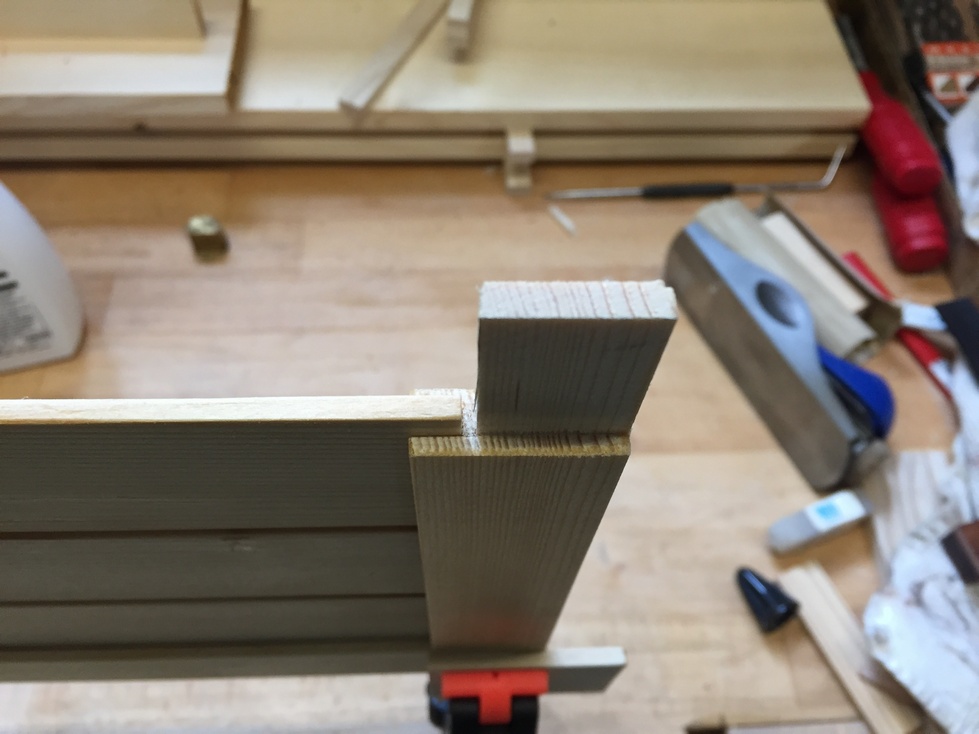
Now for some fun. I decided that it would be cool if the drawer front had a concave curve cut into it. I occasionally have these ideas, the most infamous one was when Monika and I were planning the kitchen addition for the house in Albuquerque and I looked up and said “Why don’t we tear out this 8′ ceiling and make a vaulted one?” 2 months of extra work, but it did look cool.
Anyhow, during the course of the next few paragraphs you’re probably going to think “what an idiot, he should have done _____ first”. Well, you would be right, but let’s do this anyway. First thing is to mark the width of the drawer front on my piece of stock.
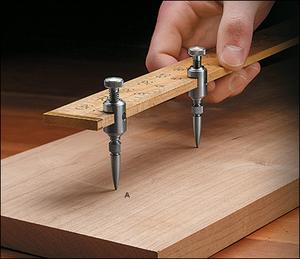
And since I want to draw a segment of a large arc on the top edge of this piece I now have a chance to use an amazingly useful item, a pair of trammel points. With these and a long stick, you can make a huge compass.
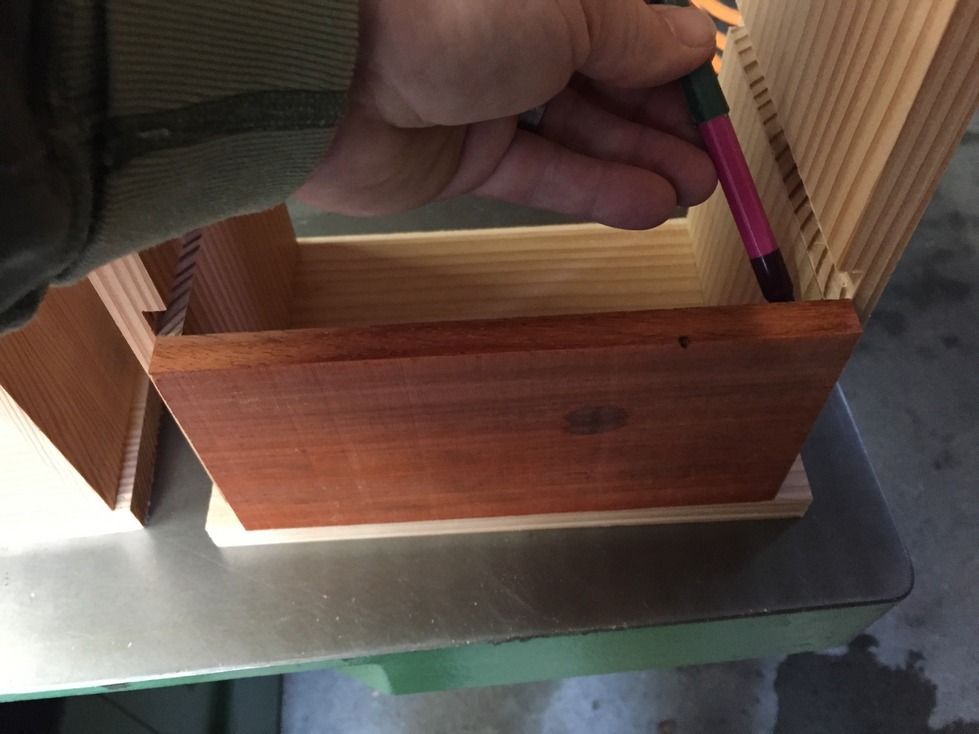
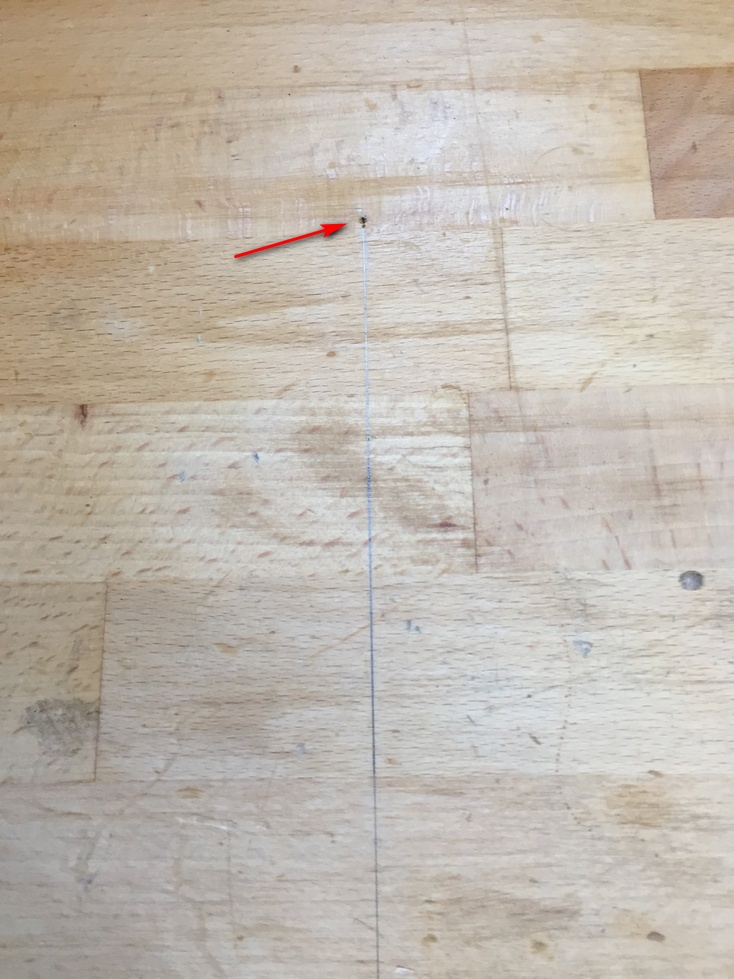
I first marked the center point of the drawer front and drew a line on my benchtop perpendicular to the front edge. Using a long stick with my trammel points, one of which has a pencil lead installed, and some trial and error, I determined where the center point of the arc would be.

A small indentation marks the spot for the center point and I draw the arc on the top edge of the drawer front. I marked the center point because I have two drawer fronts to do; this way I can find the point again and draw the same arc on both.
Now comes a tricky bit, and I don’t think I can recommend this to anyone. I’m sure there is a better way however, at the time, I didn’t think of one.
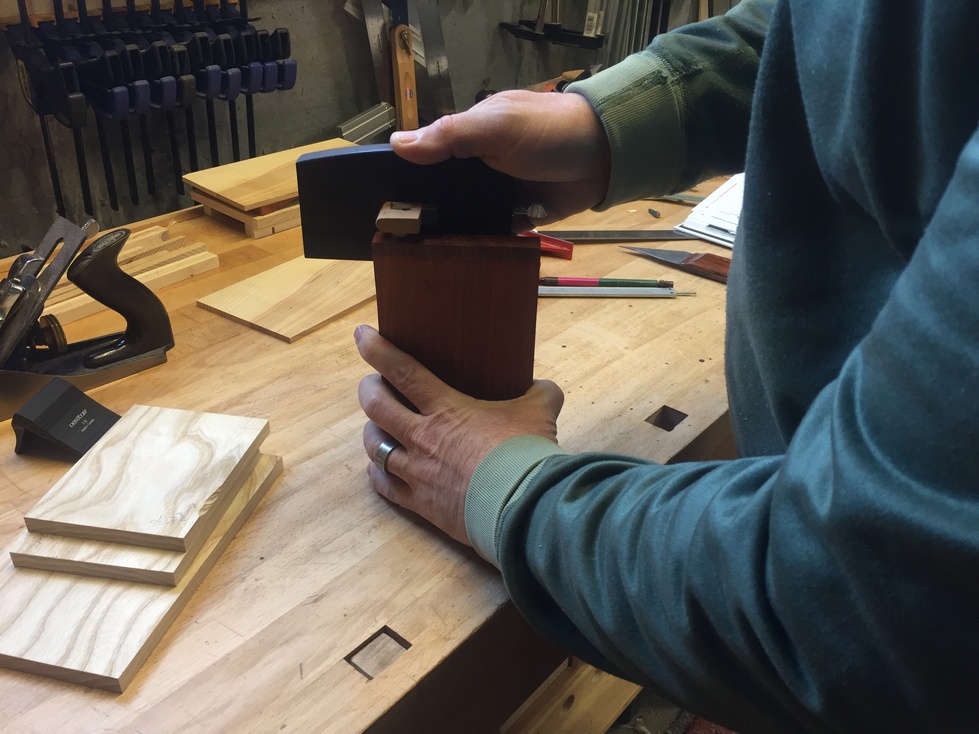
I have a dedicated bandsaw blade that is great for re-sawing and I only use it for that. I install it on the bandsaw and wipe the blade with a little bit of Pam.
I didn’t film myself making the cut so the below pictures are a re-enactment in 3 steps. Normally, I would clamp my re-saw guide to the table however, in this case due to the curved cut, I left it free and used my left hand to hold it in place and slowly move it as needed. I used my right hand to guide the cut while keeping my fingers away from the blade as much as possible. I was only worried at the end of the cut so in the third picture you’ll see that I’m using my right hand to pull the piece the rest of the way with my left thumb only guiding, not pushing at all towards the blade.

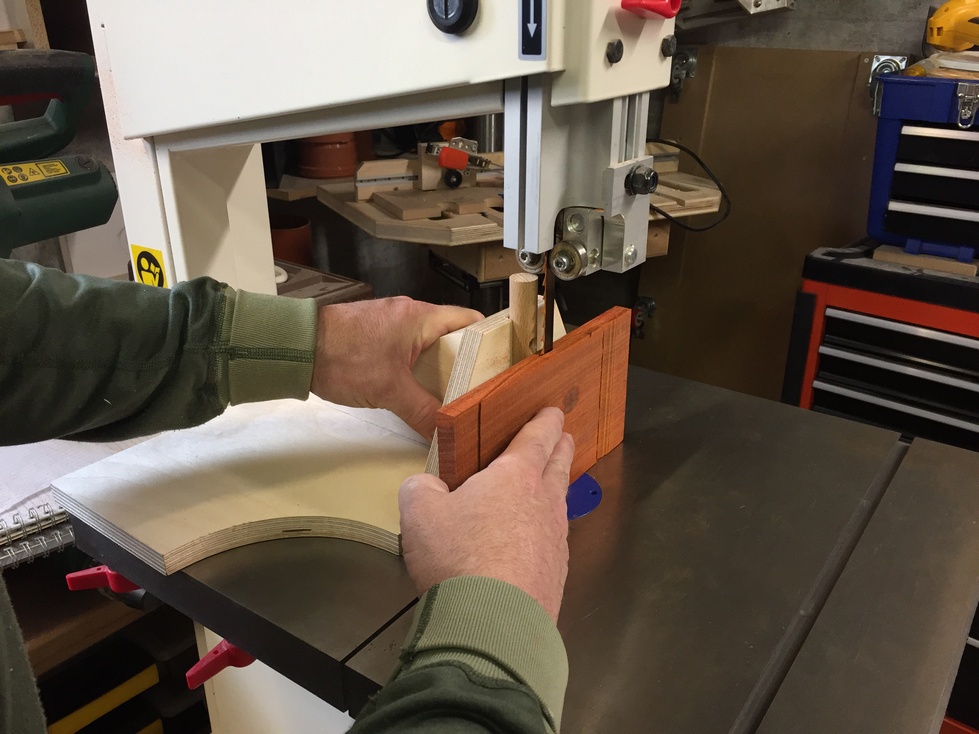
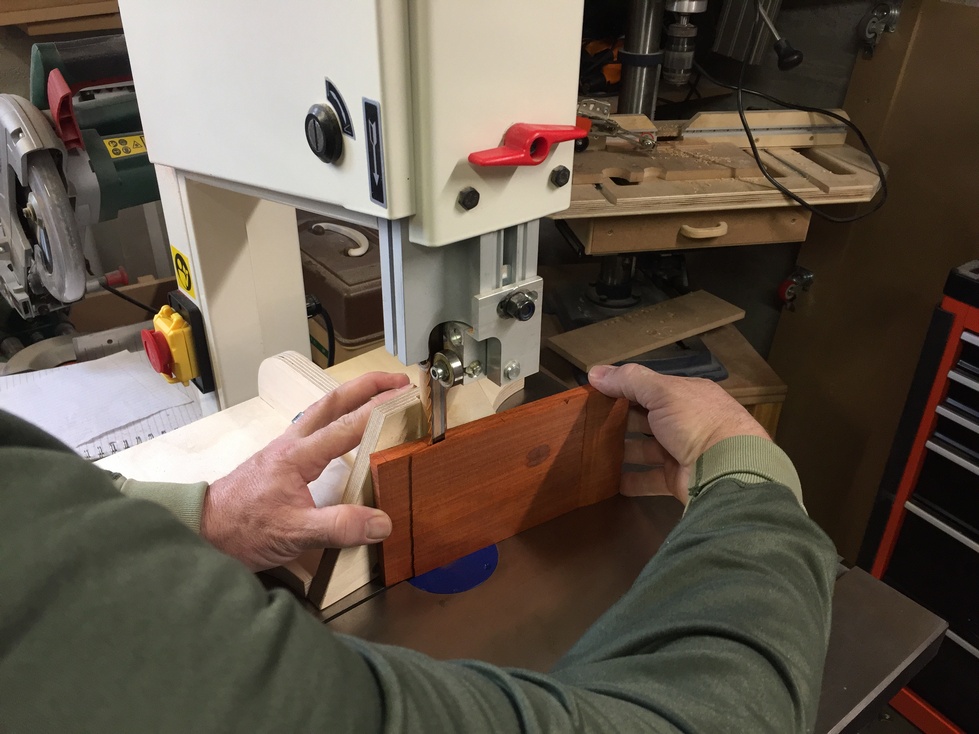
It’s best to have a healthy respect for your machines, but not unreasonable fear. This is personal to each woodworker and you’ll learn your comfort zone through careful practice.
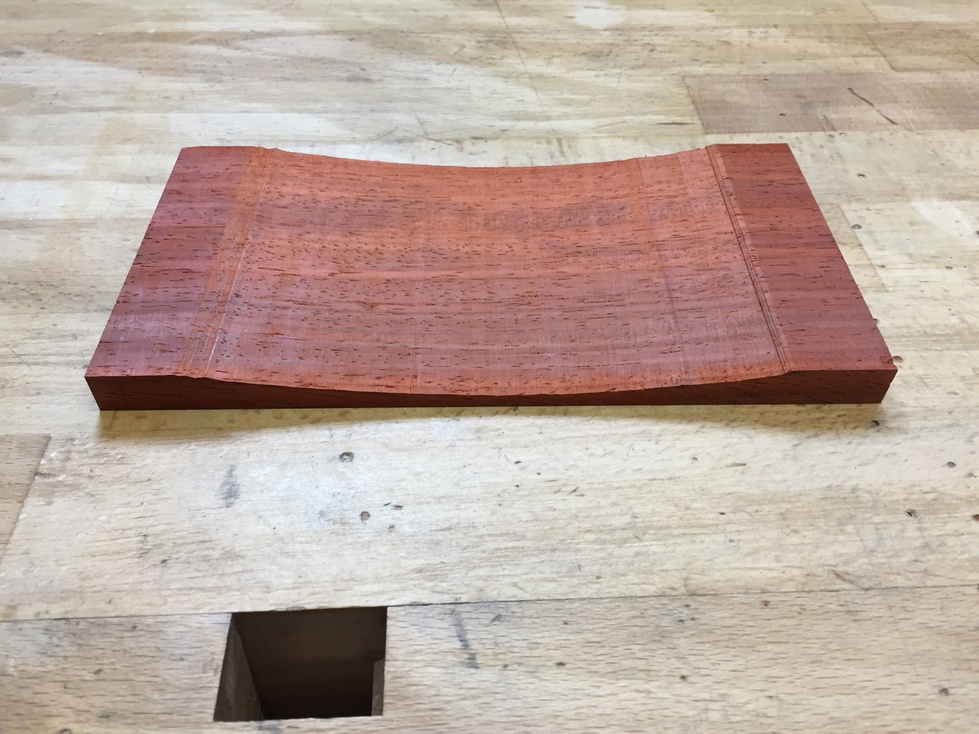
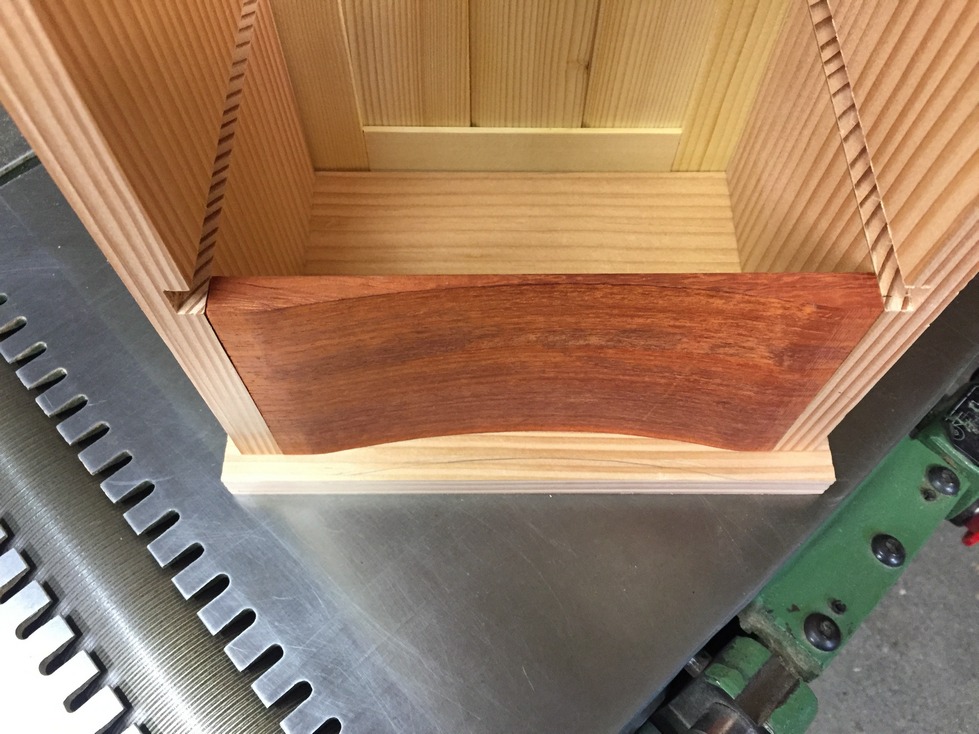
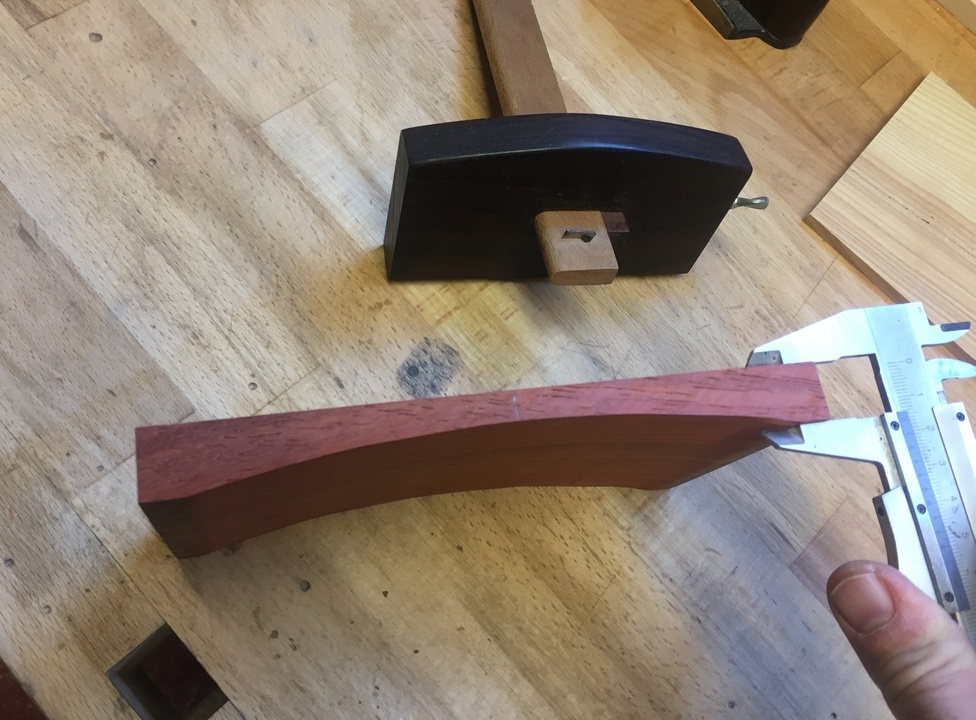
Here is a shot of the rough cut, still with the extra length on both ends.
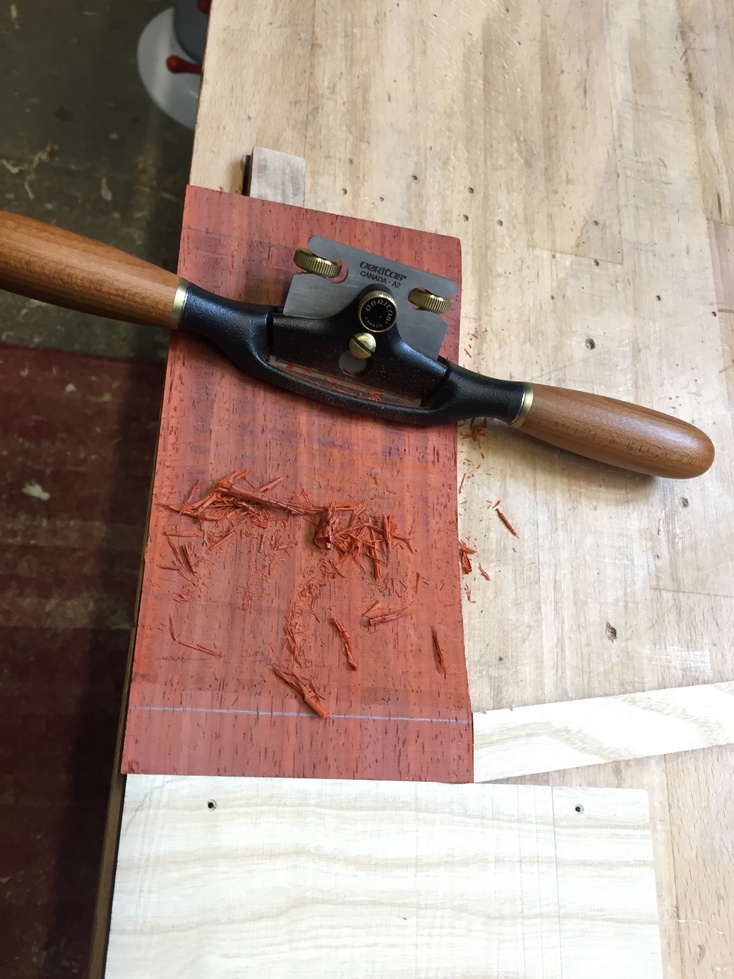
Then, with a sharp round bottom spokeshave, I clean up the saw marks and smooth the curve as best I can. I finish smoothing with the card scraper.
Crosscut to finished size until it fits in its space with little or no gap.
And now you can say it: “You have to cut joinery between the drawer front and the drawer sides, why didn’t you do that before you cut this curve into the piece?”. Yes, that would have been a better idea. In this case, I use the saved offcuts from the bandsaw in order to clamp the drawer front in a vise when needed, but it sure would have been easier the other way.
Anyway, it is what it is. I trim the side pieces so they also fit with little or no gap and are just a bit longer than needed. I’ll trim as necessary once the drawer is glued-up.

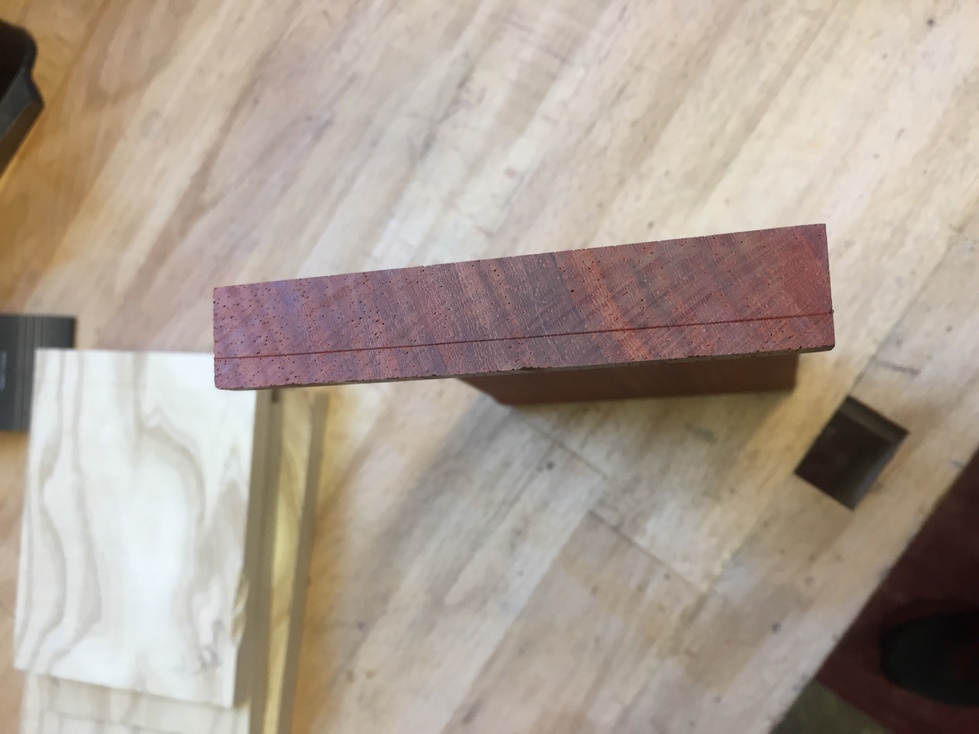
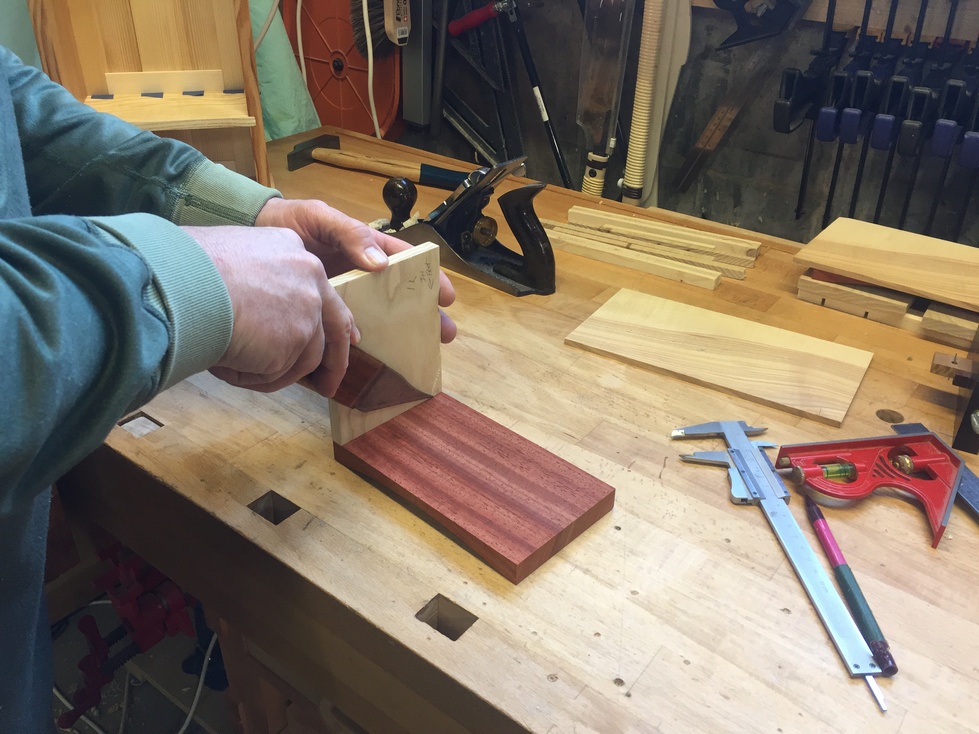
The two pieces I have for drawer fronts are actually not the same thickness. On the thinner piece, I’m not comfortable with the idea of dovetails so I cut rabbets in each end and glue the sides into them. For the other, thicker piece (about 17mm), I start by marking the sides for the tails first. For through dovetails, I have better results when I cut the pins first but for half-blind, like for drawer fronts, it’s easier for me to cut tails first. I’m not stuck on this yet and am still bouncing back and forth between pins vs tails first.
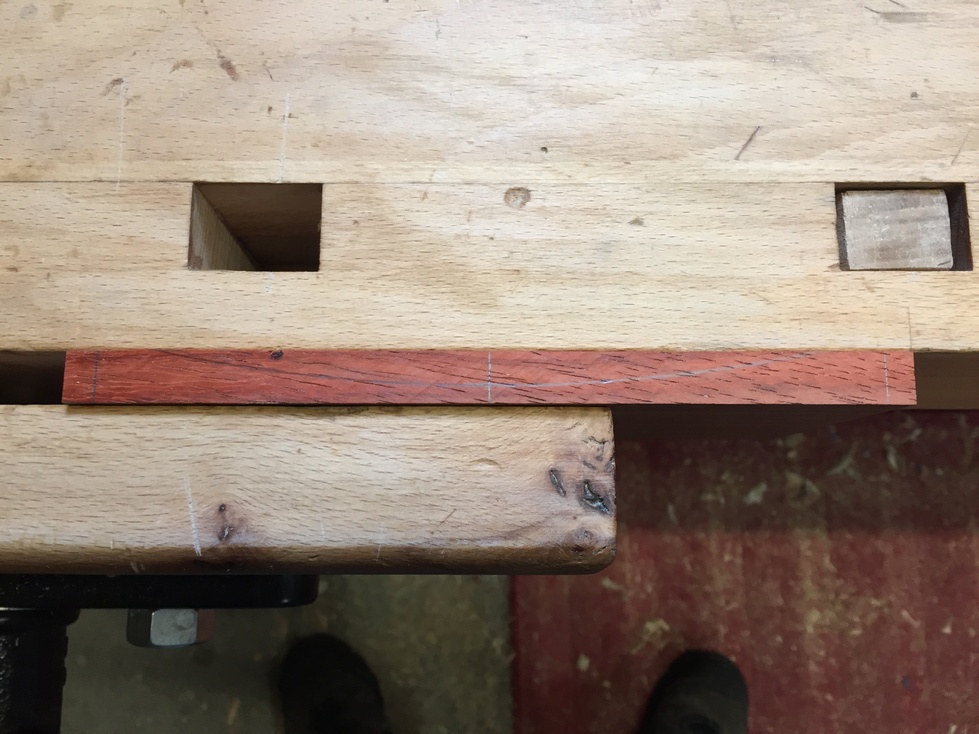
So with the thickness of the front at 17mm I decide that a 12mm depth for the blind pins is in order and set my marking gauge. Then scribe a line on each end of the drawer front as so:
Then, with the gauge still set to 12mm, I scribe a line on all four surfaces of the two side pieces:


I use the side piece as a guide to scribe the thickness onto the back of the drawer front.
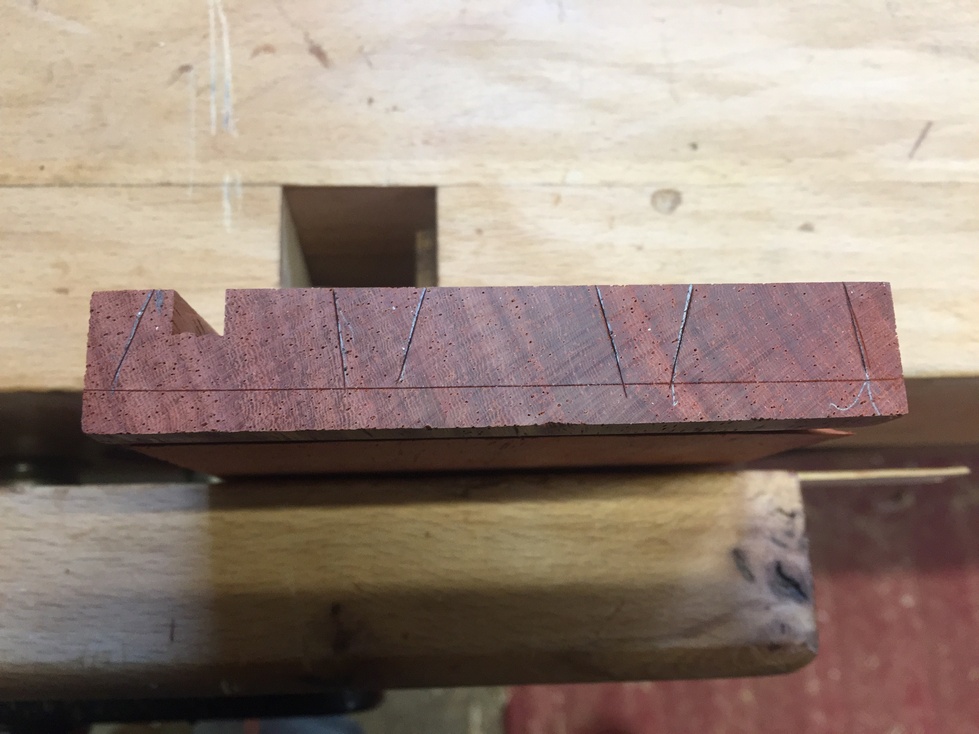
The following are a couple of tricks from Christian Becksvoort. Sandwich the two sides in the vise and pencil in the angles of the tails, then saw both pieces at the same time, increasing accuracy. By the way, I’ve positioned my lower tail such that when I cut the grooves for the drawer bottom (close to the lower edge of the side piece), they stay hidden in the tail.

After cutting the grooves, I make a small spacer that is the same thickness as the groove to act as a key to hold the pieces in position while I use a knife to scribe for the pins in the drawer front.

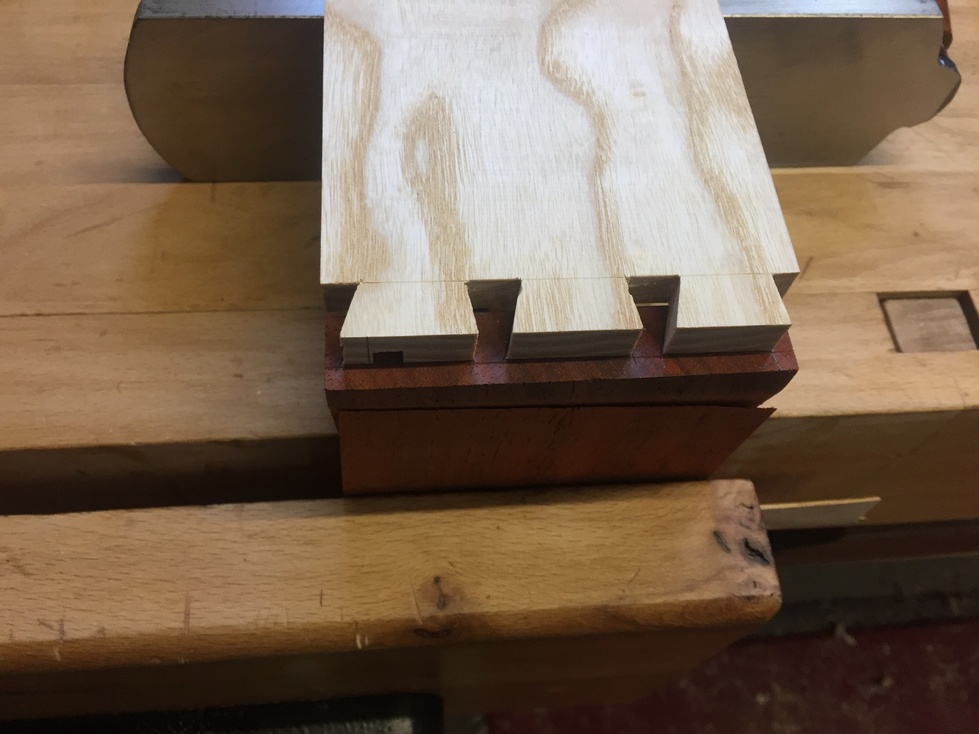
Pins ready to cut:
I won’t give you the painful play by play on my dovetail cutting, I still need lots of practice. At any rate, after glue-up, I mix some paduak sawdust with glue to make a paste that I can use to fill a few gaps.

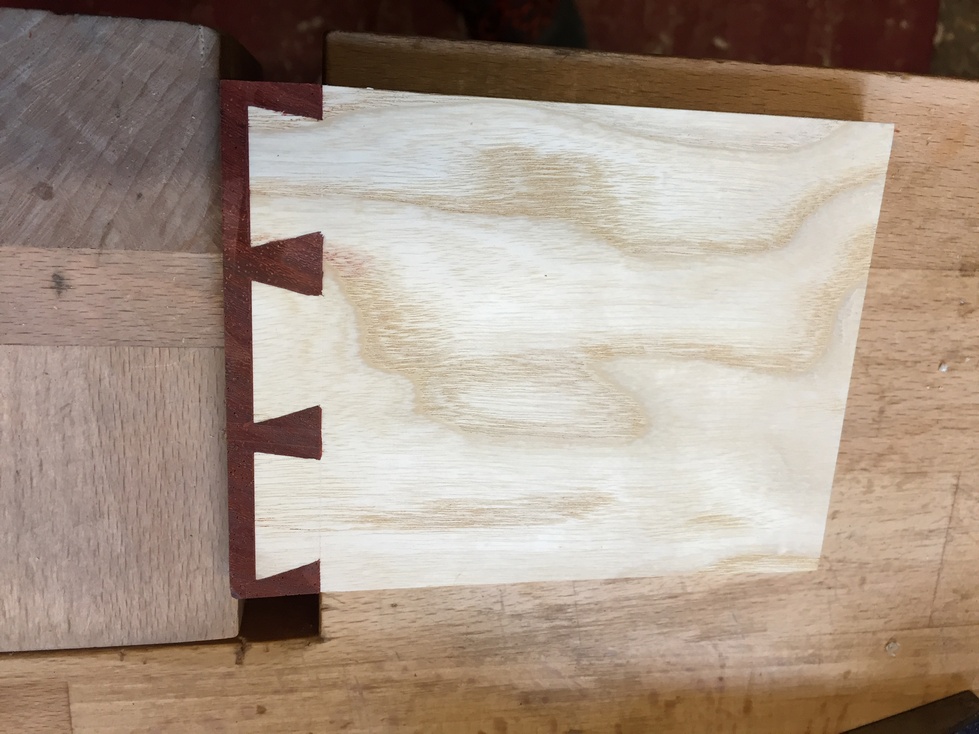
After giving my smoothing plane blade a quick sharpening it cleans up the joint with just a few passes. I’ll go over this again with the scraper before applying oil.
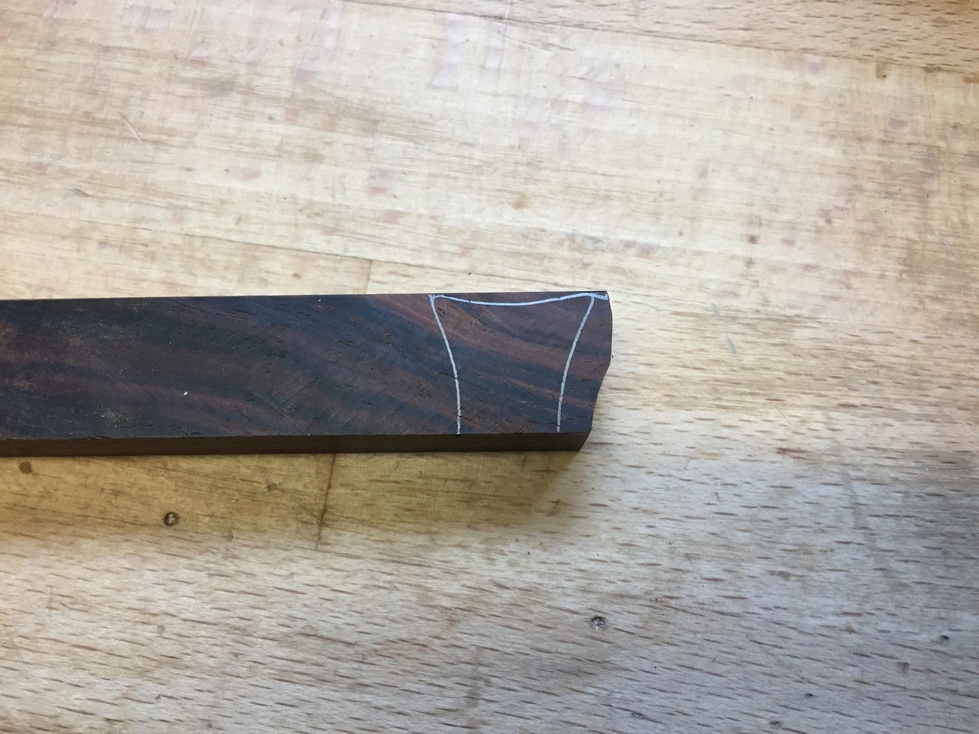
After installing the back and the bottom into their grooves the only thing left for the drawers is to make a couple of pull knobs. I have a scrap piece of cocobolo from many years ago (never throw away scraps of exotic wood) that I will use for the knobs.
I pencil the shape I want on to the face of the scrap and cut the curves on the bandsaw. This is the one piece on this cabinet that benefits from sandpaper and I use a small sanding drum and hand work to fair the curves nicely and ensure it’s smooth to the touch.

I’m using a 4mm brass screw to attach it to the drawer front and since I’m afraid of splitting, I drill a 3.5mm pilot hole in the back of the knob. Then I put the knob in the vise along the grain and use a steel screw the same size to “cut” the threads in the knob. Basically, I drive the screw in and out a few times. It sounds like overkill but I’ve split more than a few knobs in my day….

A little dab of epoxy inside the screw hole for added strength and then I mount the knob. Drawer finished.

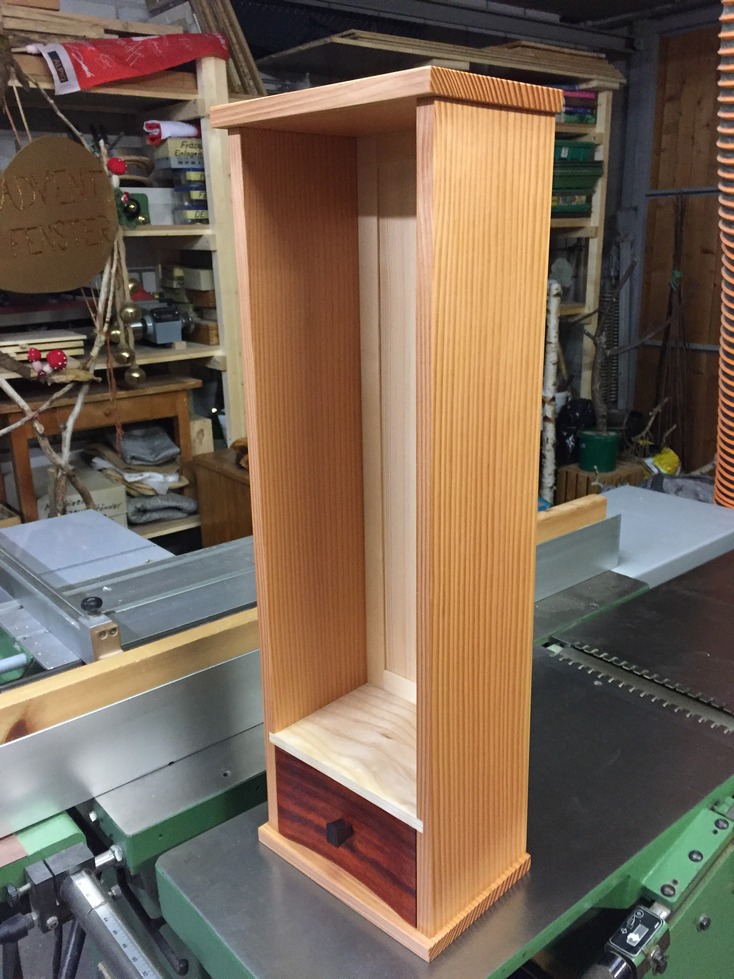
The last step is to shave off a bit from the back so that it fits nice and flush with the front edge of the cabinet sides.

I use small brass screws to attach the back panel, install a wall hanger, and we’re done!

Well, that was fun. Now I’ll have to take a little break from wood and think about finishing Bruce’s bicycle. We’re going to build some wheels, hopefully next weekend. Do I see a future blog post on that? Maybe. Just…….maybe.
I hope this was useful to some of my woodworking colleagues out there and if not, well, I’m still enjoying this blogging thing!
Leave a Reply