
So at first I thought I would build the back of the cabinet, which will be a frame and panel, as the next step. However, even though I started with a picture as an initial guide, I’m trying to be as visual as I can during this process. I’ve learned from previous projects that something I build, even though it’s from a drawing or plan, may not look just right when it’s actually built (no offense to previous designers).
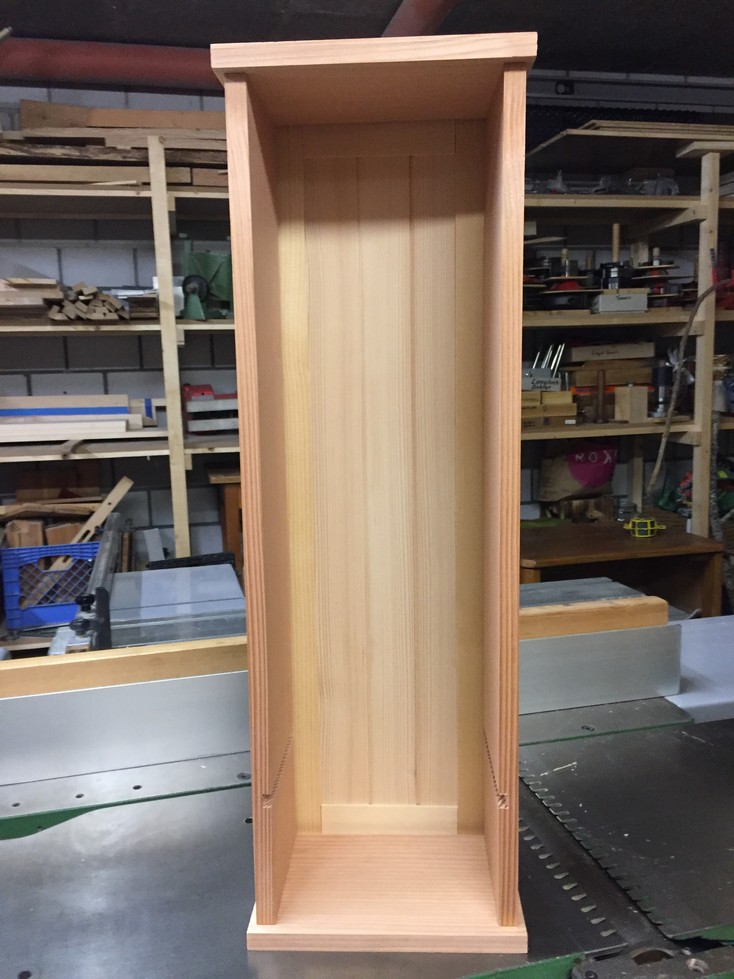
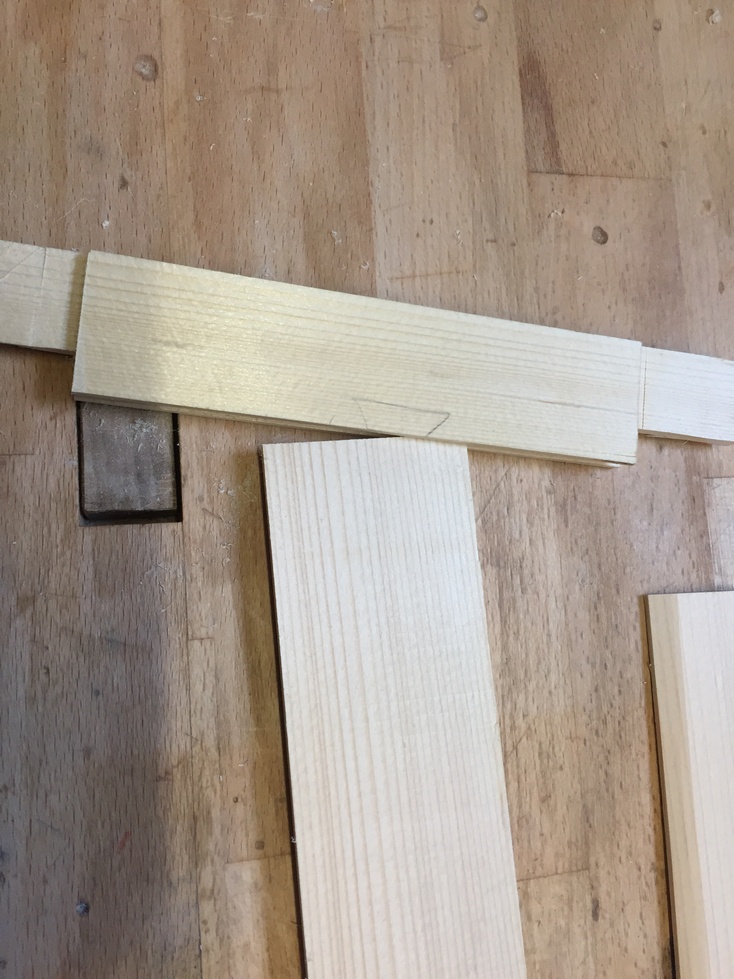
By now the height and width of the cabinet is decided and I know that I want the stiles and rails of the back to be visible (as in the original picture), I’m just not sure yet how much I want visible. I start oversize and cut the rail/stile pieces 40mm wide (The stock is 10mm thick. This will be a thin frame and panel.) and tape them to the back of the cabinet. It looks too intrusive to me so I rip off another 10mm from the pieces and, assuming a 7mm rabbet to inset the panel, tape them back on.

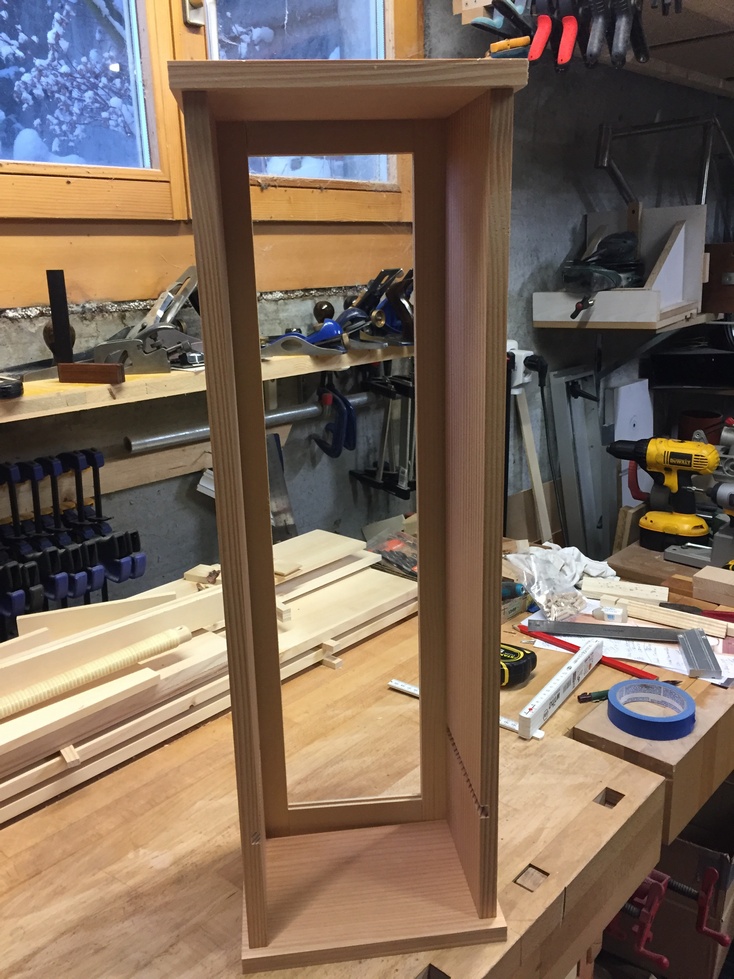
I like this a lot better and call it good. Next is to mark for the rabbets in the sides, top and bottom to house the back panel. I know I want a 7mm rabbet so I set my combination square to 7mm and use that to mark the pieces. All eight for both cabinets.
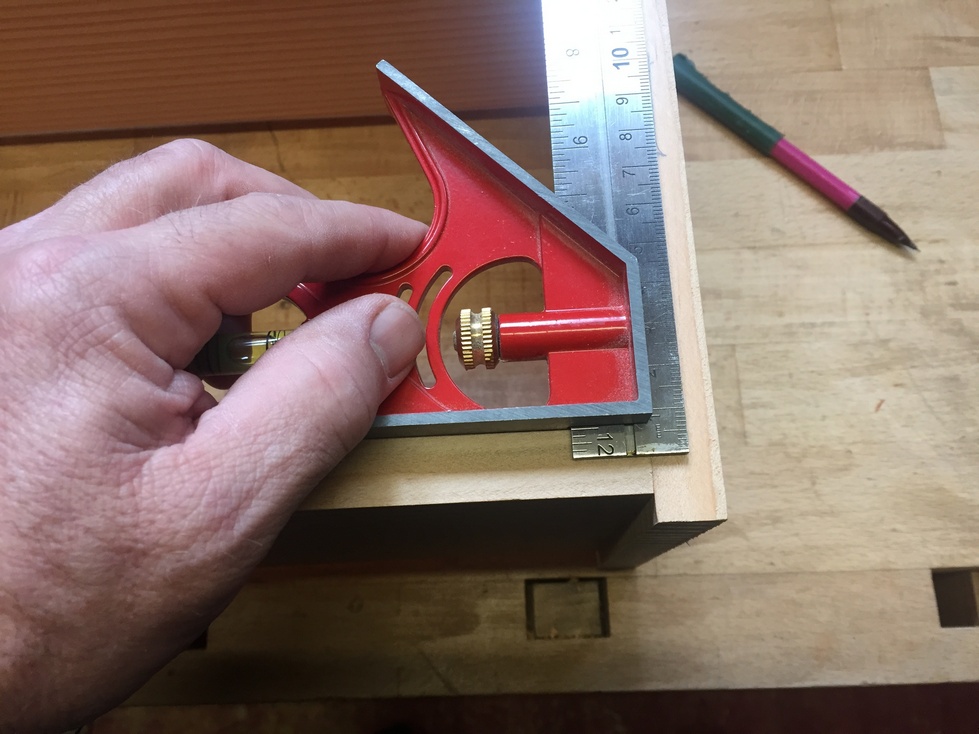

That mechanical pencil you see in the background is an anomaly. It found its way to my garage via my uniform shirt when I was still in the Air Force sometime around 1998 and has been with me ever since. I’ve had to wrap some duct tape around it to keep it together and eventually it will self-destruct, but for 20 years it’s been my go-to pencil and I’ve become attached to it. (was that really worth writing a paragraph about?)
I’ve been doing a lot more hand-work the last 6 or 7 years but cutting the side-piece rabbets on the tablesaw is just too simple. Set the sawblade 7mm high and the fence to 10mm from the outside of the blade (the thickness of the rails/stiles) and test on scrap. Cut one side of the rabbet on all 4 side pieces.
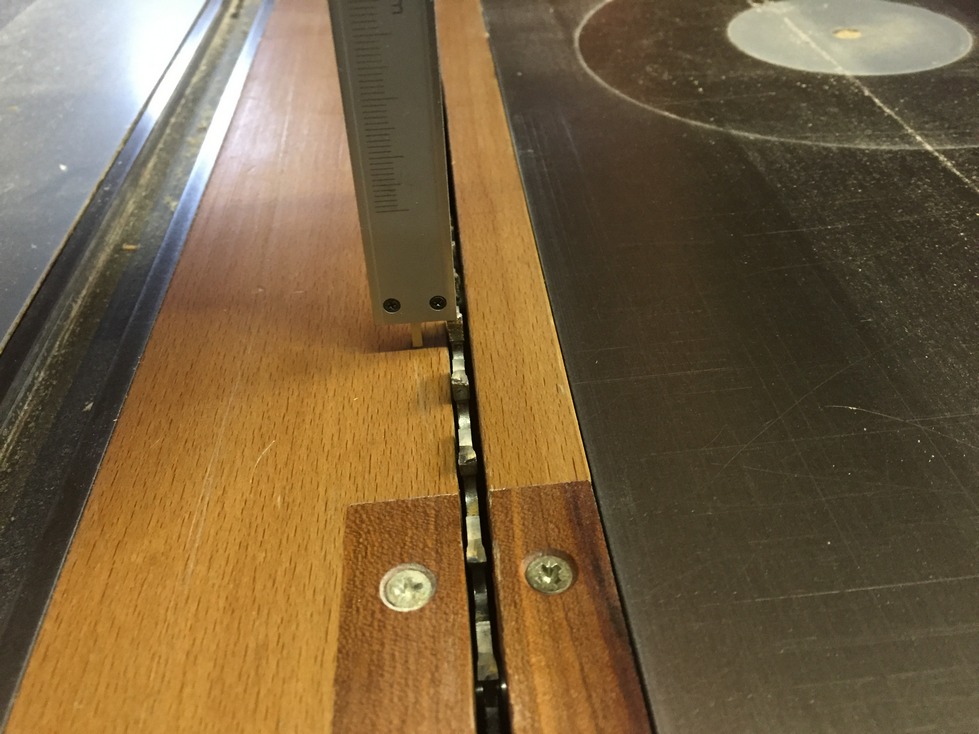
Reset the fence to 7mm and the height of the blade to 10mm and cut the other side of the rabbet. Easey-peasey.

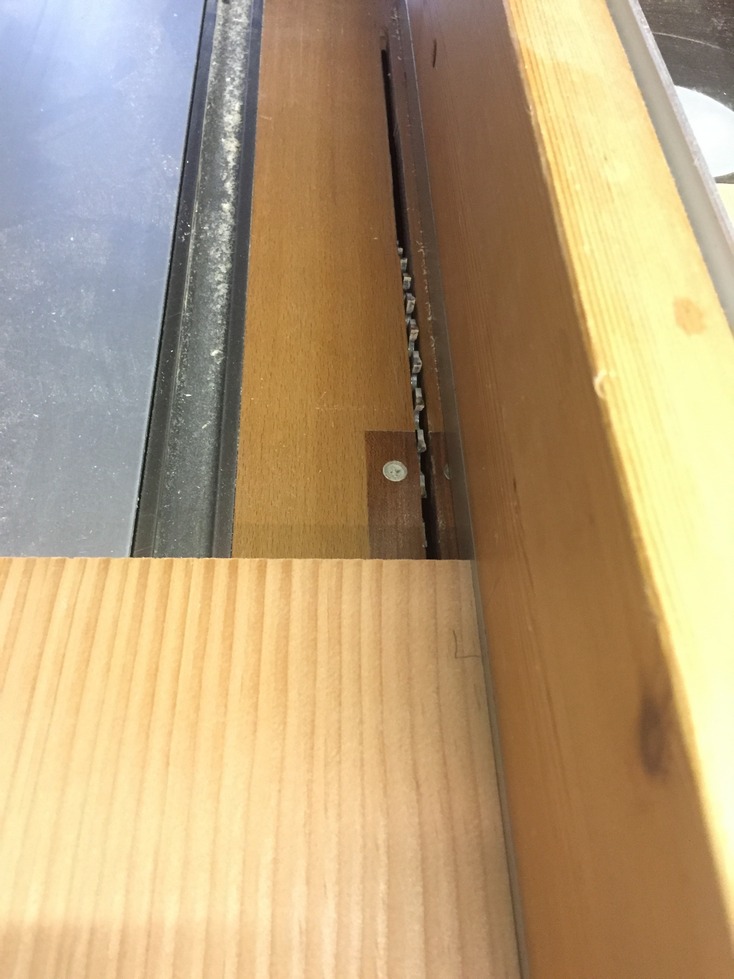
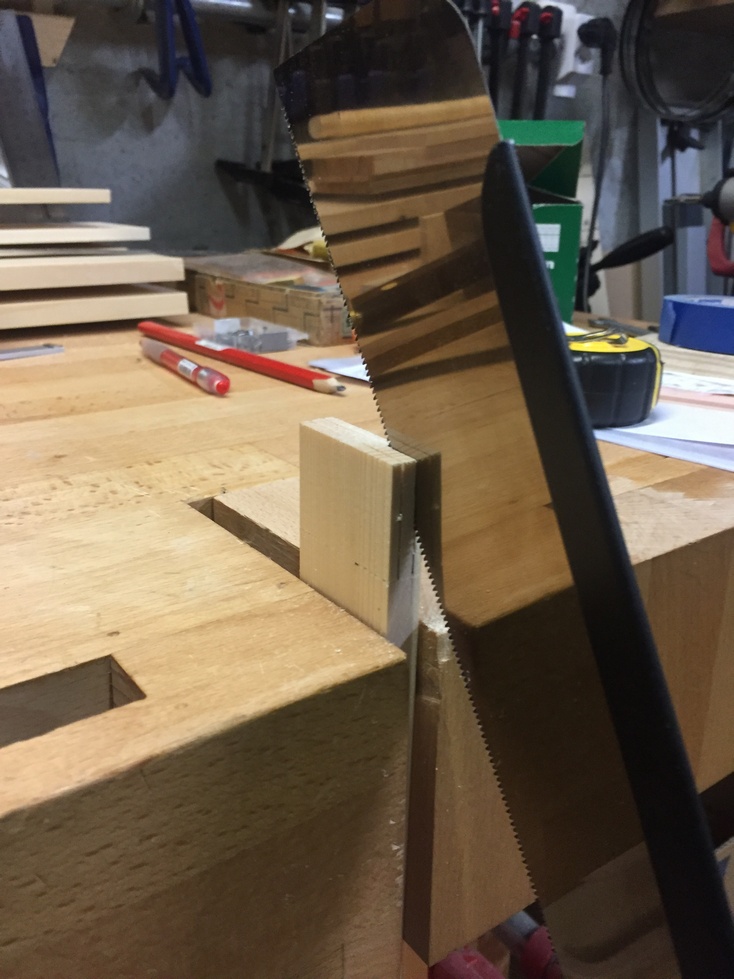
I can’t cut the top and bottom pieces this way because they need to be double-stopped rabbets. If I only had one piece to do I’d mark, scribe the line with a knife, chisel out the waste and use the router plane to clean it up. Instead, I use the power router.
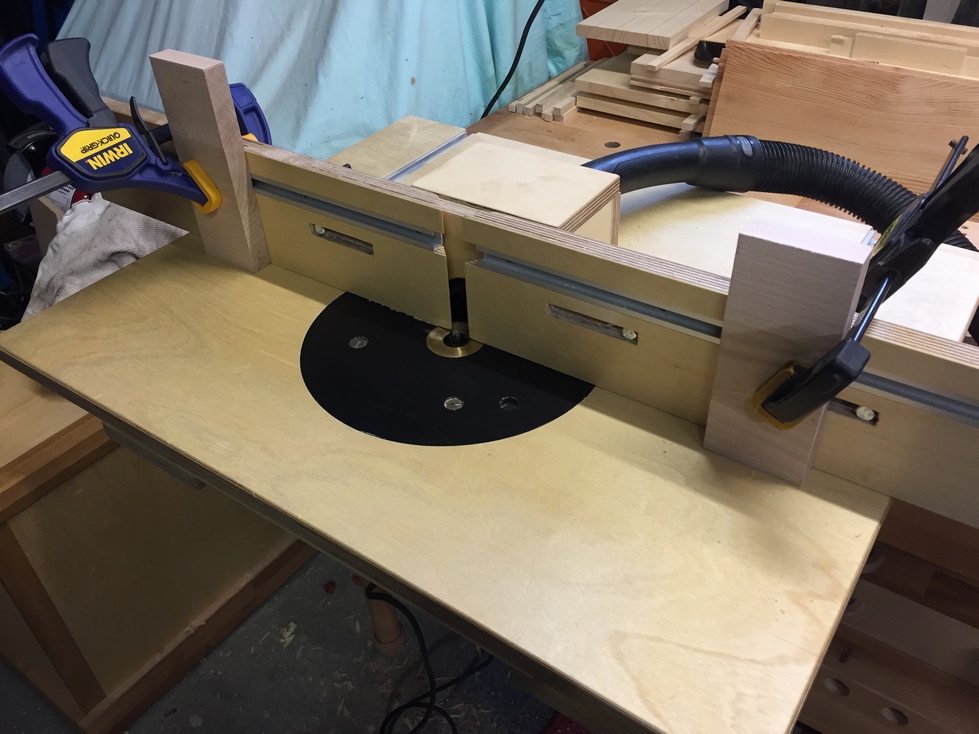
I don’t like the router, but will use it when it makes sense. Even when it makes sense, I try to use it in the router table. One of the most useful shop-made fixtures I’ve built is this bench-mounted router table that mounts in the face vise. Very handy, and when it’s not being used it goes up on a top shelf out of the way. I measure and clamp a stop on each end, set the height of the router bit and the depth of the fence and test with a piece of scrap.
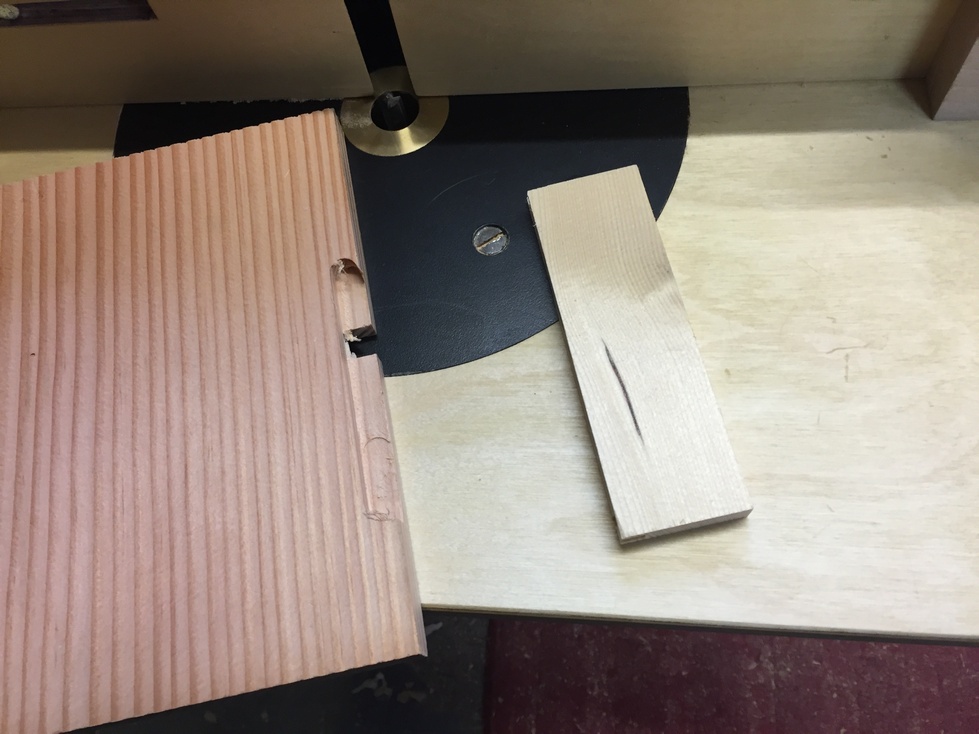
I then clean up the corners with a chisel.
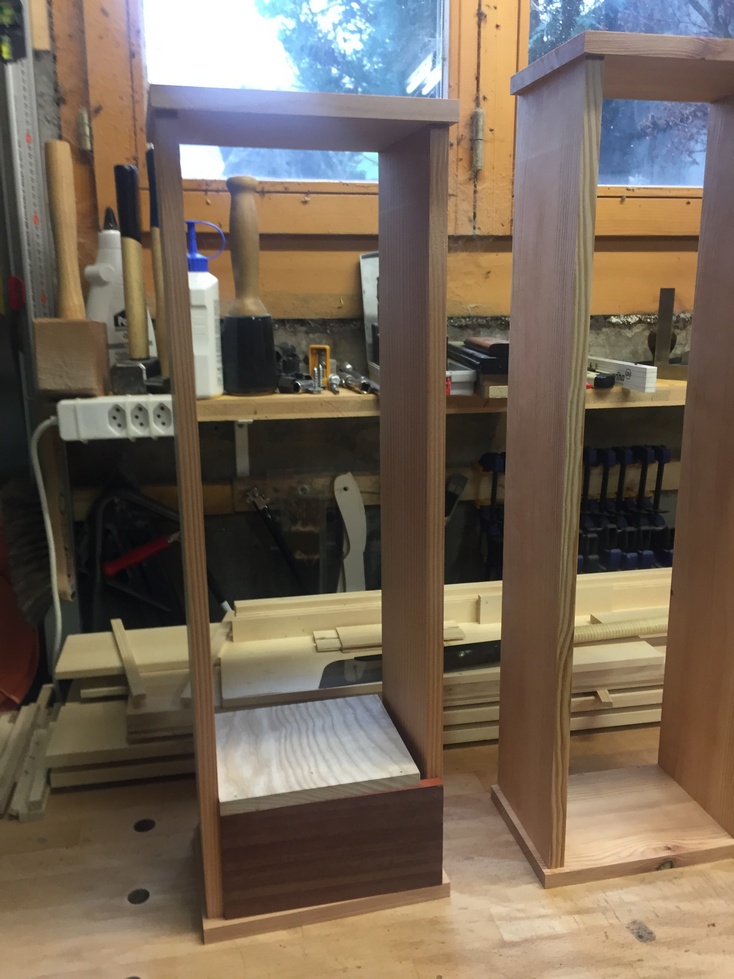
Previously, I made some mockups of the little shelf and drawer-front to help decide how high I wanted them. My good wife was enlisted and we decided that the same height would work for both cabinets. (very convenient 🙂 ).
The little shelf is 11mm thick so I mark the dado that will house it on all the side pieces, 10cm up from the bottom. A little blue tape wrapped around the trailing edge keeps tear-out from occurring when I run these through the tablesaw.

To save a little time, I set the stop on my crosscut fence so the blade is even with the top mark and I clamp a block to the rip fence and set it so the blade is even with the bottom mark. Now I can make both of these cuts on each piece in two quick passes.


After the waste in-between is roughed out, I need to clean up the bottom of these dados. Normally, the router plane would make quick work of this however, it’s at my son’s place. Hence, the chisel (Ha! I said “hence” 🙂 ).

After cutting the shelf pieces to final dimension I test fit them in the dados.


Now to make the backs. My stock is all ripped to 30mm wide and the stiles are cut to actual height. I use one of my marking gauges to scribe the depth of the mortise and the other guage to scribe the lines for the thickness of the mortise.


I like the sawing practice so I use my Dozuki to cut right on the line for all four stiles (8 joints). In the same way, I’ll cut the tenons on the rails except I’ll cut just on the outside of the line. That way a few passes with the block or shoulder plane will make it fit just right.

I cut the grooves for the panels on the inside edges of the rails and stiles, 7mm deep. This effectively removes 7mm from my rail tenons however, there is still plenty of tenon left to make this as strong as it needs to be.
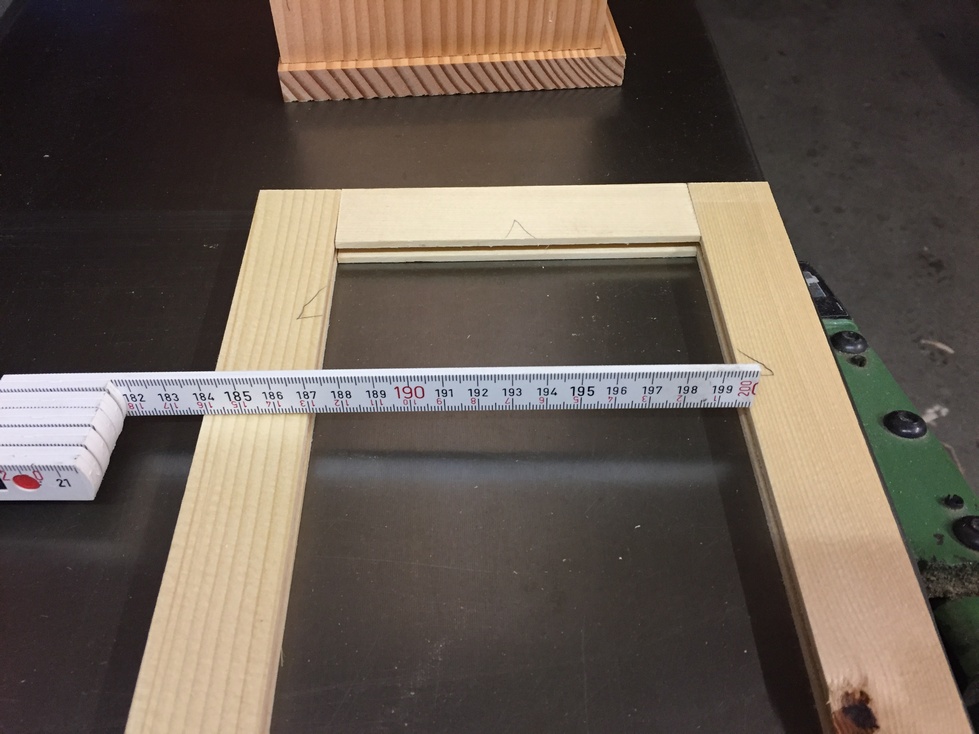
Now to cut the panels to final dimension (I want to have 3 panels across the back with the edges chamfered to simulate a lap joint). I start by dry-fitting the stiles and rails and measure in between the inside edges (132mm). Add 7mm on each side for the grooves (146mm) and add 3mm to each panel to account for the lap joint (155mm). With me so far?
Nope, here’s where my OCD kicks in. I think to myself (like it matters), that if I make all three panels the same width, and 7mm on each side is buried in the groove, they’ll look uneven. The horror.
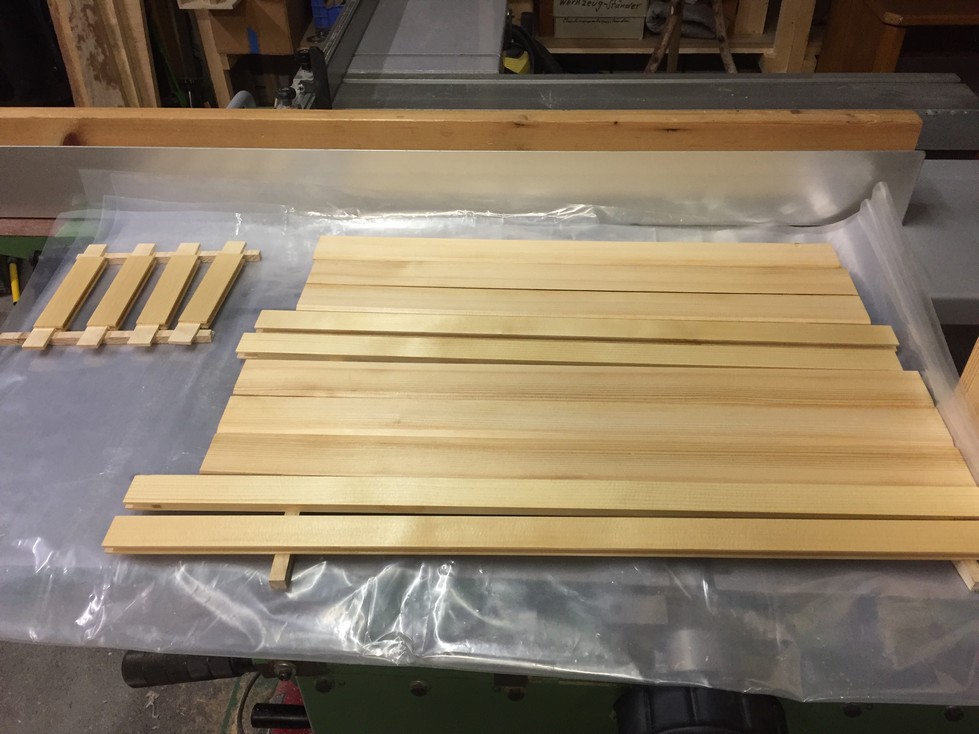
So now let’s do the math again (see below for reference). 132mm (between inside edges) divided by 3 panels gets me 44mm per panel. Add 3mm each for the lap joint “reveal” and I get 47mm per panel. Then if I add 7mm to each outside panel for the groove I get 2 panels at 54mm and one center panel at 47mm. And all is right with the world.

I haven’t forgotten to allow for expansion (I’m building this in the winter, so the panels will expand in the spring/summer) but I’m unsure about the reveals since I’ll be hand-planing them to fit. I’ll wait till all three are fitted and if necessary, shave 1-2mm off each outside edge.
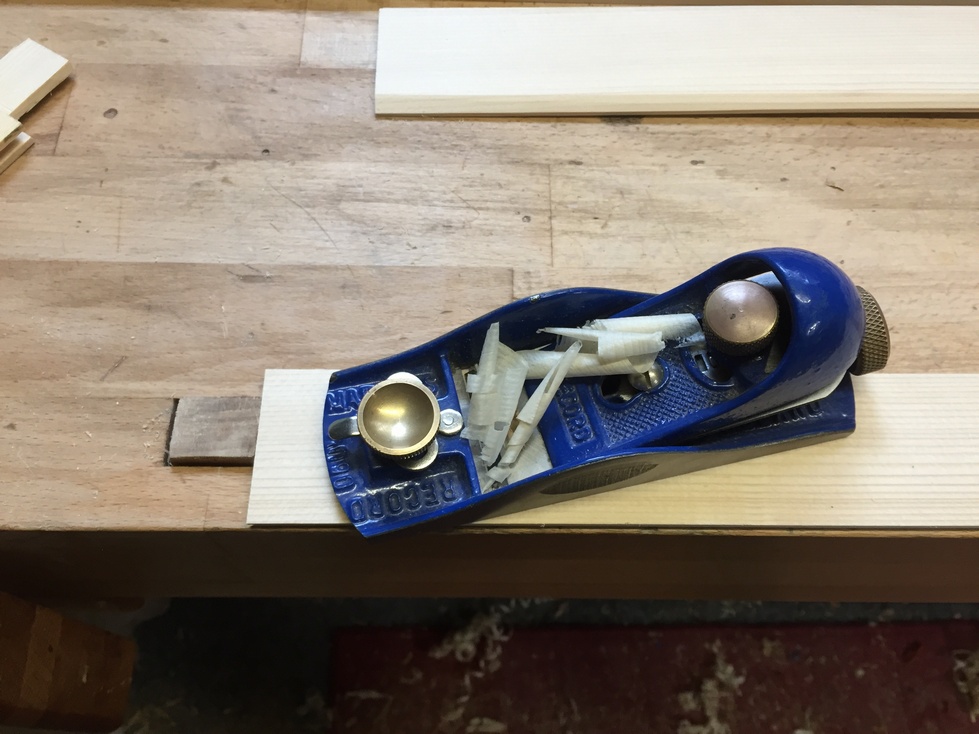
The panels are just a hair over 5mm thick. This was on purpose so that when I’m fitting them to the grooves, I can plane a smidgeon more off and get the fit nice. Yes, “hair” and “smidgeon” are accepted woodworking terms. Below I am shaving a bit off the ends so they fit into the rail grooves.
I arrange the panels so the best faces are showing and mark a carpenter’s triangle on them so I don’t get confused.

Now that I know which edges will mate together, I chamfer them, alternating edges so they fit together similar to shiplap.

And with a little bit of trial and error, the finished, dry-fit (still no glue) frame and panel:

Before I glue the frame, I think it would make sense to pre-finish the front side of the parts so a coat of oil on the top face of each part and I’m done for the evening. Tomorrow I can do the glue-up.
You know what that means….. A refreshing, cool, fermented hops beverage!
Next time: Shaping the drawer front and matching bottom/top pieces.
Brian Witzig
This was a fun one to read. Nice work!
It’s always nice to see a new blog but I never think your slacking with the blogging not coming on a weekly time frame.
Hope all is well! Don’t work too hard 🙂