
First, I’d like to wish everyone a Happy New Year and hope your holidays were as nice as mine. Lots of family and lots of good food and drink! And, after all the cake and cookies, I’m craving vegetables…….
I had a few days to putter around my garage and made some progress on the wall cabinets. I’ve cut the sides and top/bottoms to a tad over finished dimensions so I can now get a look at the final proportions.
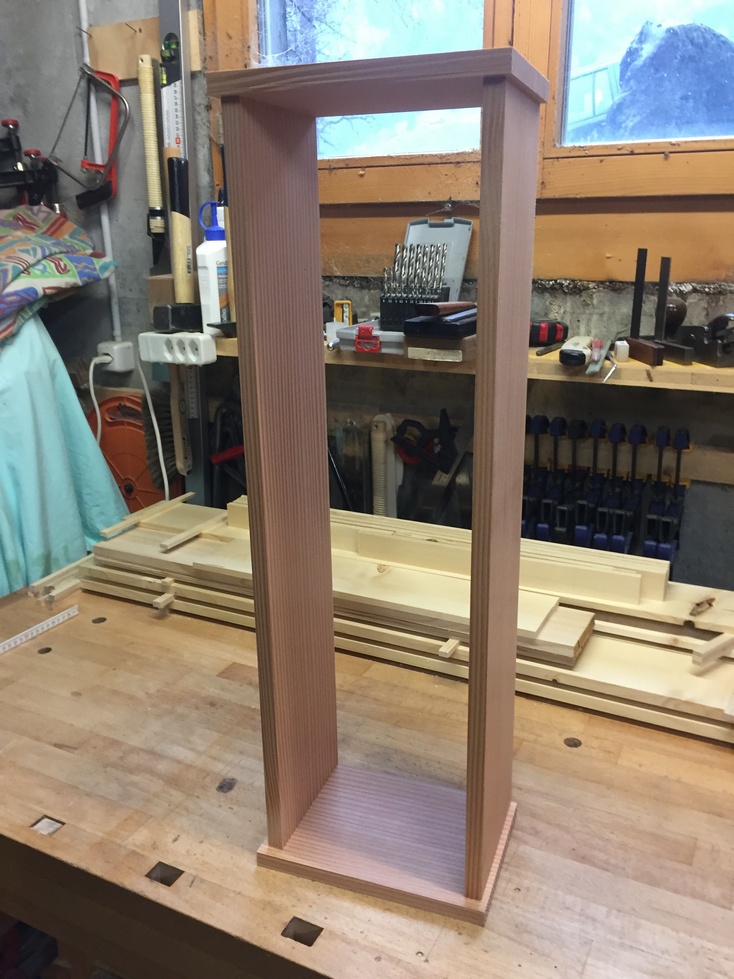
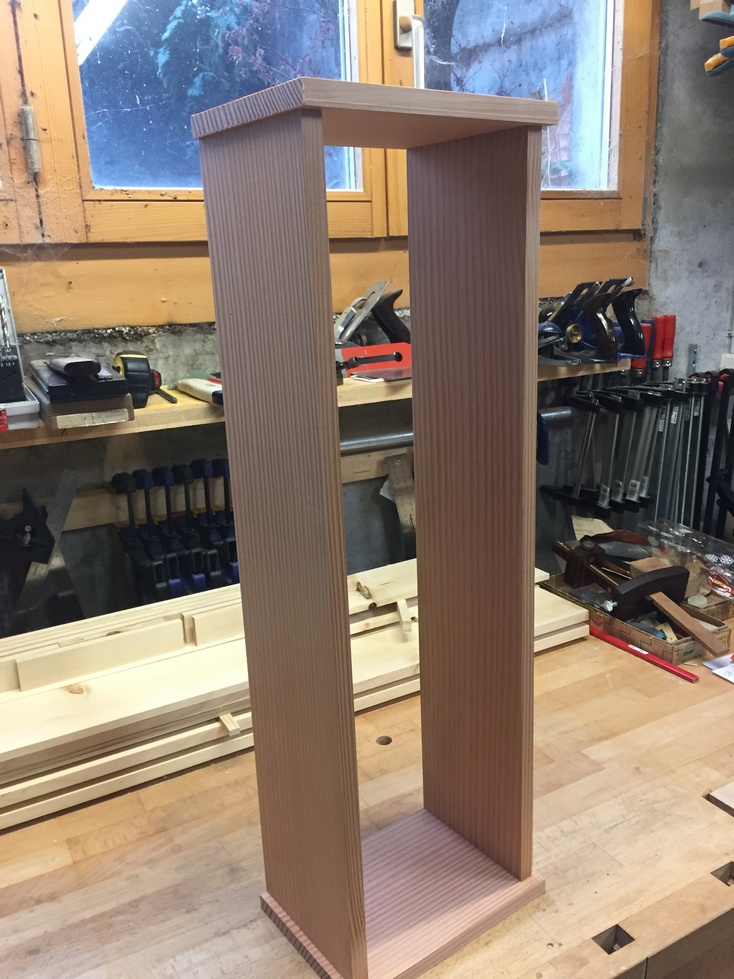
Thinking about joinery, it is sometimes difficult to decide how best to attach these pieces since the strongest joints sometimes impose what may be other unwanted features. For example, this is basically a box, and dovetails would be a strong joint to use between a side and a top or bottom however, I would then be stuck with a true box. I want the top and bottom to extend a little bit out from the sides (a “reveal” if you will) and if I dovetailed, I’d have to add an auxiliary top/bottom to achieve that effect. I would then have what (I think) would be a clunky looking cabinet when the effect I want is for something more delicate.
It is important to think about the use and/or abuse a piece will be subjected to. If this were going to be a foot locker or tool chest, I’d want those dovetails to make the strongest joint possible. Since this will be a decorative piece, hanging from a wall or sitting on top a larger piece of furniture, it won’t see much abuse and while I still want it to be strong (enough), I can consider some other joinery options.
Enter the humble dowel. I think a lot of woodworkers consider the dowel to be associated with factory produced furniture (and it is) and tend to shy away from it thinking that it’s kind of a cheat. Tage Frid, a traditionally trained furniture maker from Denmark, had a distinct prejudice against dowels but the context of most of his disdain was the use of dowels in areas where a much stronger joint was more appropriate. In addition, he felt dowels were many times used in joints where they were a detriment, like for gluing up a table top. Mr. Frid did in fact, use dowels occasionally and described their proper use however, for the type of work he did, my impression is that he didn’t use them very often. James Krenov on the other hand, another master craftsman who learned woodworking in Sweden, advocated the use of dowels where it makes sense, both structurally and aesthetically. If you can achieve a lighter nuance in a design by using dowels where a stronger joint is unnecessary, then they are fine. With one caveat: the dowel joinery must be done well and properly. Krenov was known for his wall cabinets and in many of his pieces, dowel joinery was used. He wrote a very descriptive and detailed section on dowel joinery in his book “The Fine Art of Cabinetmaking” that I take to heart when using dowels.
So, all that being said, with a side dimension of 14cm and thickness of 15mm, I decide to use 6 dowels per joint and space them closer together at the ends where a bit more strength is required. I procured a bag of 6mm pre-fluted dowels along with a piece of 6mm sold wood dowel stock.

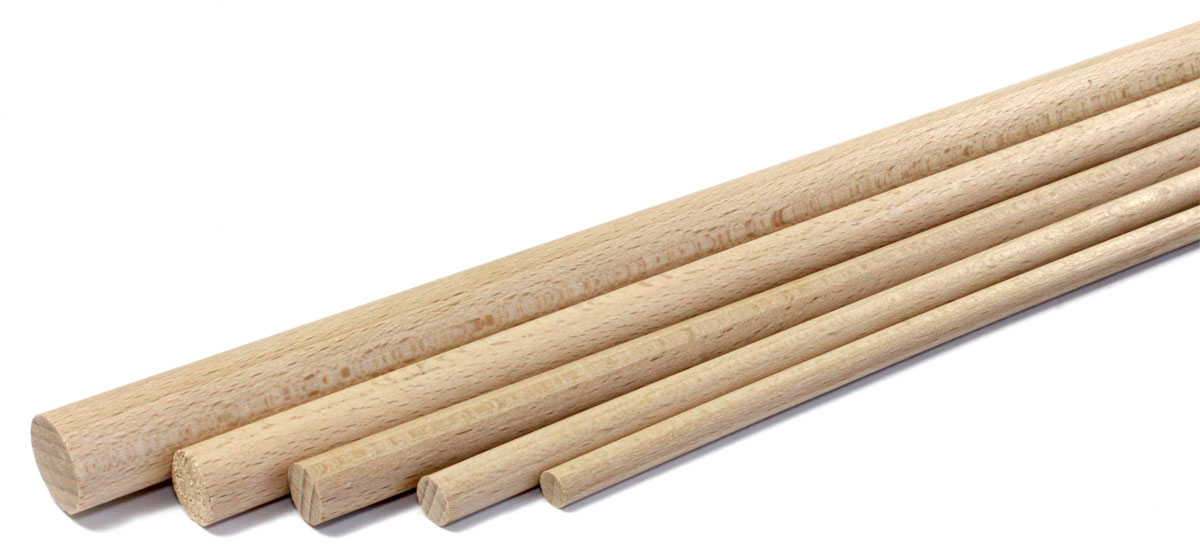
My thought was to be able to cut the length I needed after rasping the dowel rod but the 6mm dowel rod was actually closer to 6.5mm or more in diameter. Trying to sand a round dowel rod to size while keeping it round is an exercise in extreme frustration. The length of the pre-cut dowels was 30mm which is just fine so they won the prize.
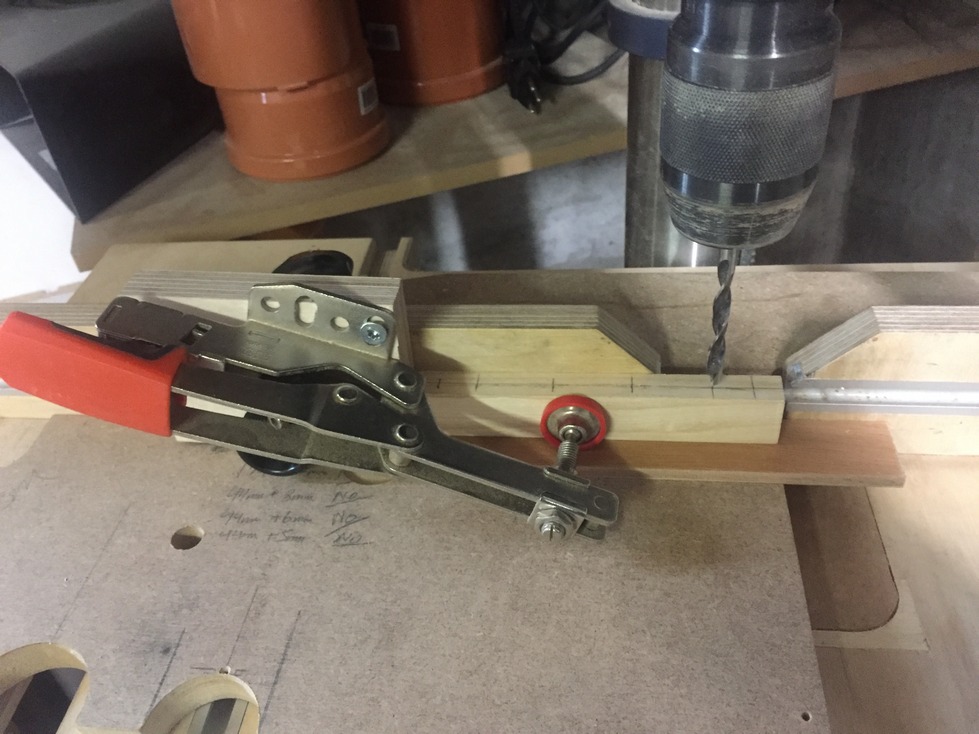
I started by making a hole cutting jig out of hardwood with the holes spaced according to plan. This is really a necessity because no matter how steady I try to be, if I drill without a jig then the holes are always a tiny bit big or wonky. Accuracy is the key so after marking a scrap piece of ash for guide holes, I drill them on the drill press, clamping before each hole is drilled. That way, I get as close as I can to a guide hole square to the jig.

Before actually drilling the holes in the end of the side pieces, I now crosscut them to finished length. For softwoods, I’ve found that if I want a nice clean cut all the way around with no splintering, it’s best if I wrap painter’s tape around the stock before cutting. Cheap insurance.

I have attached a thin piece to the end of the jig that extends both up and down. This is used to ensure the holes are all the same distance from the back edge of the sides and top/bottoms. You’ll notice that I marked “front” and “outside” on the jig; as long as I always keep the outside of the jig to the outside of the piece to be drilled, and the little hook flush against the back edge, the holes in the side will line up with the holes of the top/bottom.

I also drill a small hole in the middle for a nail to help hold the jig in place. Krenov was right when he said that you can’t expect to hold this in place by hand and still drill accurately. In addition to the nail, I also used a clamp and was glad I did.
This is a good time to state the obvious, but years ago, it wasn’t obvoious to me. If you’ve been woodworking, you’ll know about the benefits of brad-point drill bits.
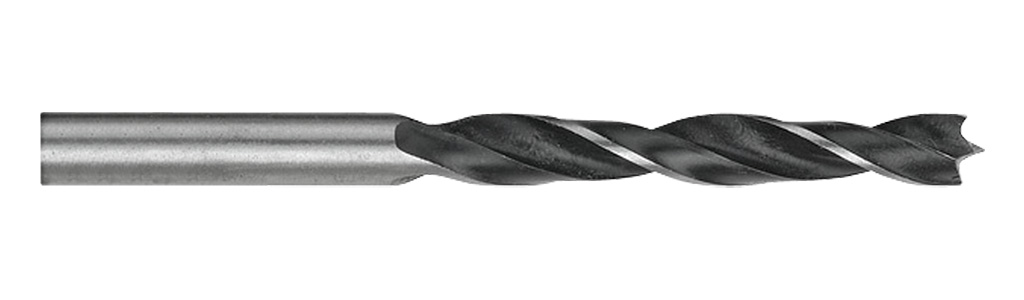
The spur in the center keeps the bit from wandering when you start drilling and the sharp edges ensure a nice clean hole. If I need to drill a hole for a screw (or loose fitting dowel 🙂 ) this bit is great. I also like them for the horizontal boring side of my machine because the stock to be drilled is always clamped down firmly. If, however, you want that nice clean hole in the end grain of a board, and you are using the above drilling jig for dowels, it seems that a standard twist bit is better.
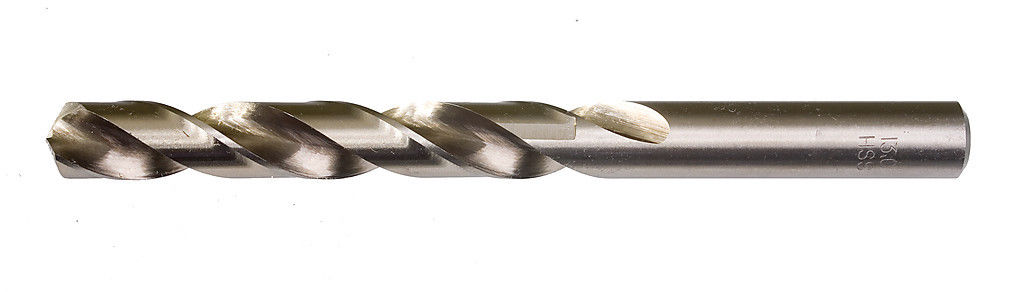
The brad point likes to pull itself down into the wood even more so than a twist bit and even when I start slowly, I take the chance of ruining the hole. When I use a twist bit in this same situation, I can start slowly and keep control. Sometimes end grain reacts in a freakish manner.
So I drill the first six holes and insert the dowels. Here is the result:

Now I setup to drill the matching holes in the bottom piece. Remember that reveal I want to have? I cut a piece of scrap to make a spacer and plane it down to the thickness of the reveal.


When I clamp the jig to the bottom or top, I use the spacer to ensure the side piece will be positioned correctly.

Important tip: when I was drilling into the end grain, the depth didn’t need to be so exact but when drilling into the bottom or top, one false move and the drill bit will go all the way through. Normally I would just use some painter’s tape to mark the depth on the bit but, as I’ve mentioned, sometimes a drill bit will pull itself into the wood. I need to drill a 12mm hole (and not a single mm more) into the top so I use another scrap piece of wood to act as a safety stop. My jig is 30mm tall plus the 12mm hole depth and I set the bit 42mm from tip to wood stop. This will prevent pulling of hair and gnashing of teeth (I have ruined pieces in the past by not using a drill stop). Yes, there are some shiny new store-bought drill stops available but I always have scraps lying around so never needed to buy yet another tool I’ll only use once in a while.

If I was really concerned with efficiency I would set my drill stop and do all the holes on top and bottom of both cabinets, then reset the depth and drill all the holes in 4 side pieces at once. Since I was a little cautious, I did one cabinet first and dry-fit the dowels (no glue yet) to see how it came out.

Again, caution pays off, because I looked closely at my jig and after 24 holes drilled, the hole guides are getting worn. I took 10 minutes to make a new jig but this time I made it an extra 10mm taller. With the extra height, it takes a lot longer to wear out. In fact, after the next 24 holes it was still working good. I wish I had some Ironwood laying around but Ash was the hardest wood I had scraps of.
Last but not least for this post, if you read a few of the chapters on the Sewing Center you would have noticed that I harped quite a bit about constructing for wood movement. For this wall cabinet, using dowels is safe because the grain of the sides, tops and bottoms all runs the same way and is of the same wood species. As these pieces move between summer and winter (very minor, due to being quarter-sawn and equally dry), their movement will all be “synchronized”.
Next time: frame and panel for the back.
Leave a Reply