
Gotta get my Groovethang on….
(Groovethang is actually a reference to a cover band out of St. Louis that does a great Steely Dan set. Quite good if you like SD).
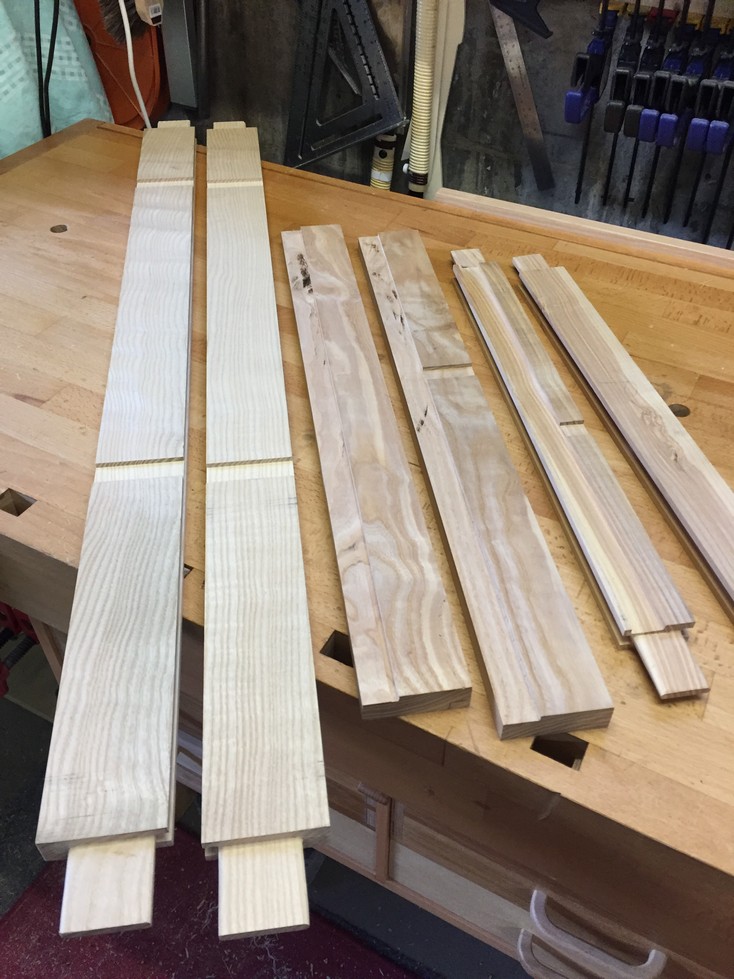
Now that all the mortise and tenon joints are finished (Phew!), it’s time to cut the grooves that will hold the panels.
In past projects, I’ve used a router to cut grooves (pain in the bum to set up properly) or a table-saw (fine for through grooves, but dangerous for stopped grooves). Now that I have a spindle moulder, also known as a shaper in the U.S., setup is quick and easy. While some people are leery of a spindle moulder, I think that in many ways it’s safer than the tablesaw for cutting grooves.
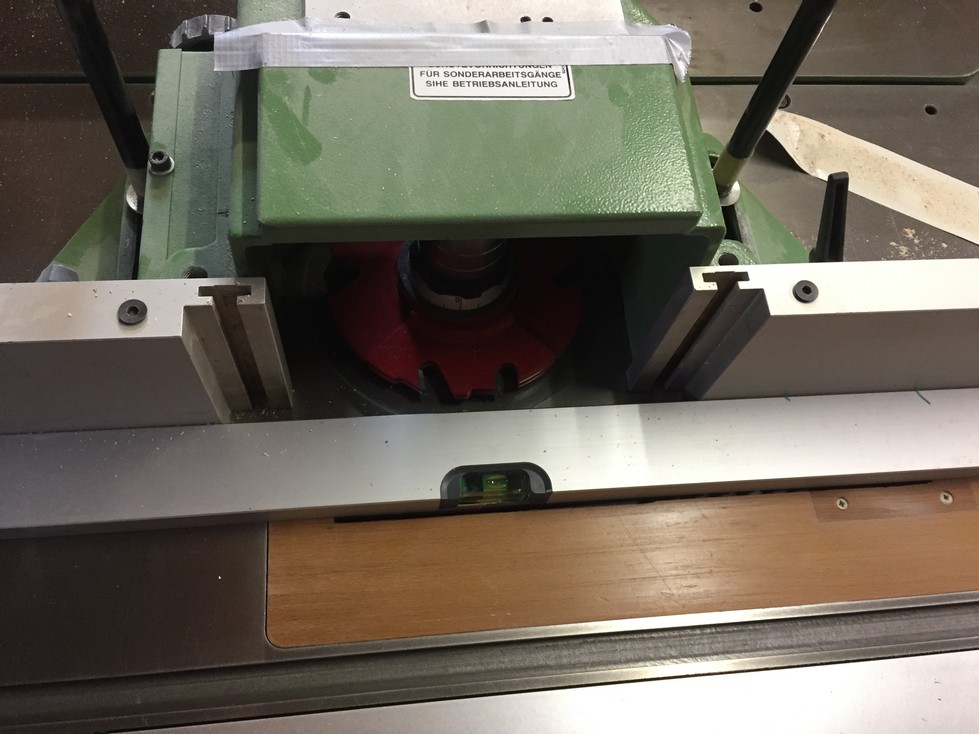
I’m very fortunate to have received some great quality cutters for the spindle moulder that is part of my combi-machine. In particular, this awesome, adjustable, slot cutter:
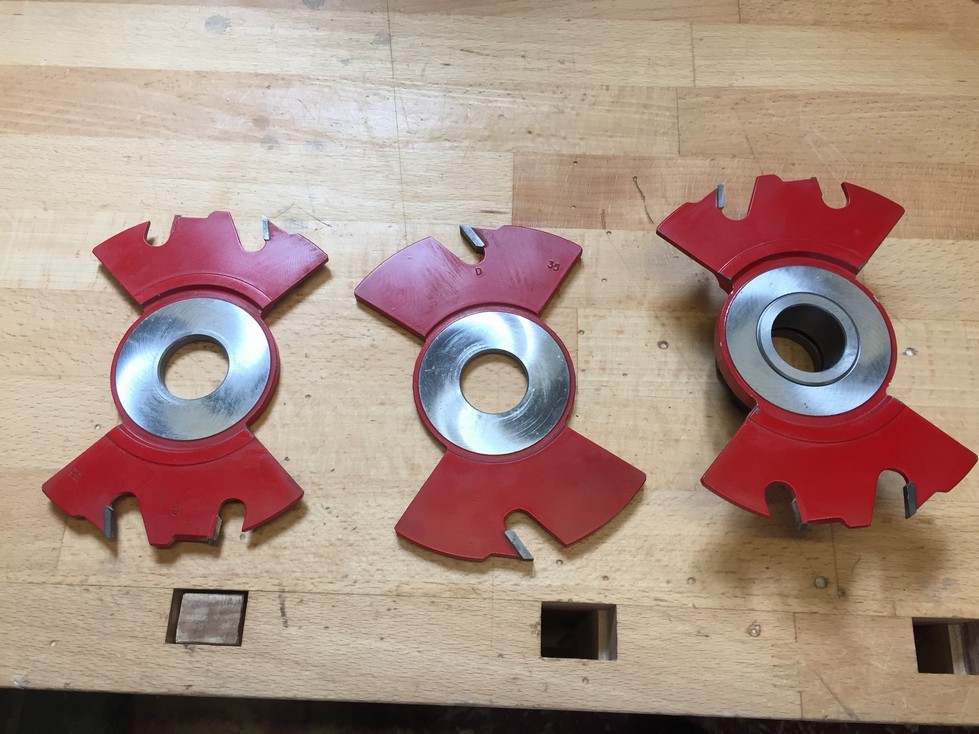
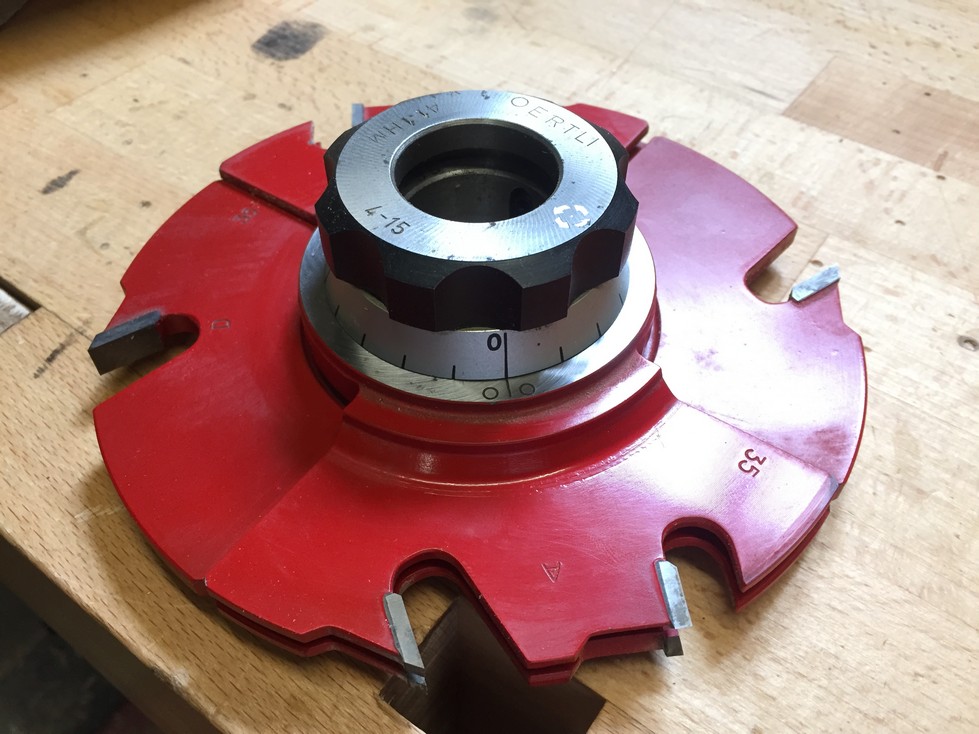
It can be adjusted to cut a groove from 4mm to 15mm and is infinitely adjustable, meaning that by rotating the dial on top, I can cut a groove 10.1mm if I want. A handy capability because even though the panels are all 10mm thick, if I cut a 10mm groove, they will fit too tightly. I set the cutter to 10.3mm for the test piece and then mount it on the spindle.
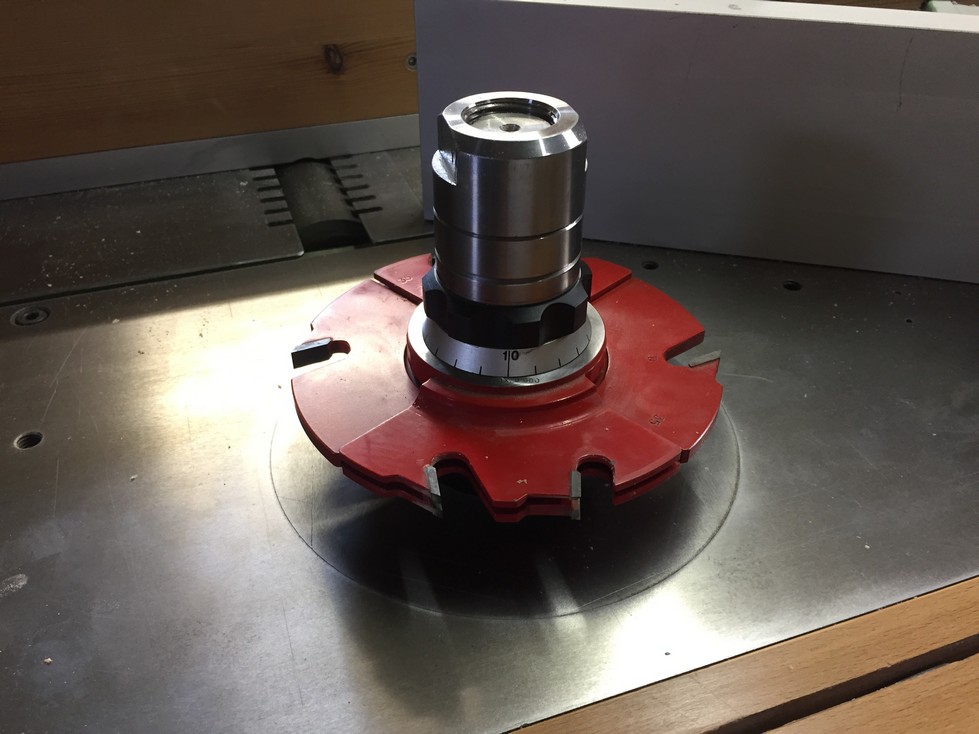 It is best to mount any cutter as low as possible onto the spindle and then use spacers to fill the extra space between the top of the cutter and the mounting nut.

I then grab the marking gauge for a scrap piece to setup the height of the cutter. I use the side of the gauge that has two pins, typically used to mark for mortises and set it as close to center as possible. A little pencil lead makes the marks easy to see so I can adjust the cutter up or down in order to line up on the marks.
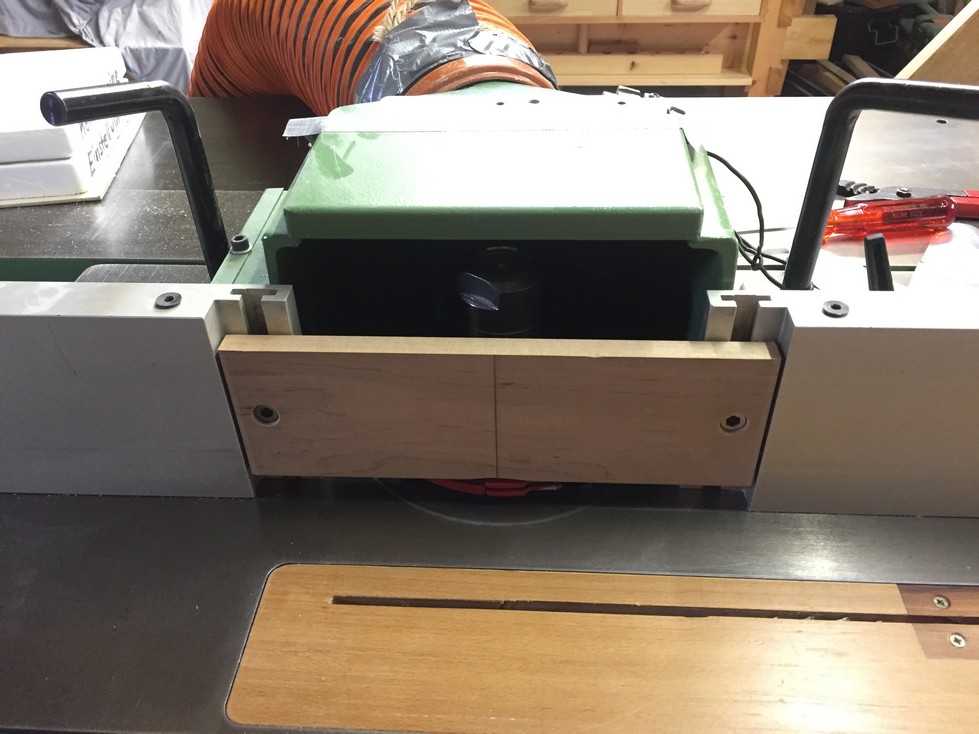
The hood and fence is then mounted to the table and I use a straight edge (in this case, a 1 meter aluminum level) to adjust the left fence so that it is exactly in line with the right fence. In some situations when cutting certain profiles on the edge of stock, it might be necessary to adjust the left fence further out than the right one however, for our purposes here, they should be even.
One of the tricks to minimizing danger on a spindle moulder is to limit access to the cutter as much as possible. Here I have installed a wooden guard and set its height to just a few millimeters over the top edge of the cutter. With the 23mm thick stock, this means that when I run a piece across the cutter, there is no chance of the piece getting pushed too far into the blade and causing kickback. Even more important, it keeps fingers away from the blade. Whoever said that a “real woodworker” has 9 fingers was an idiot……
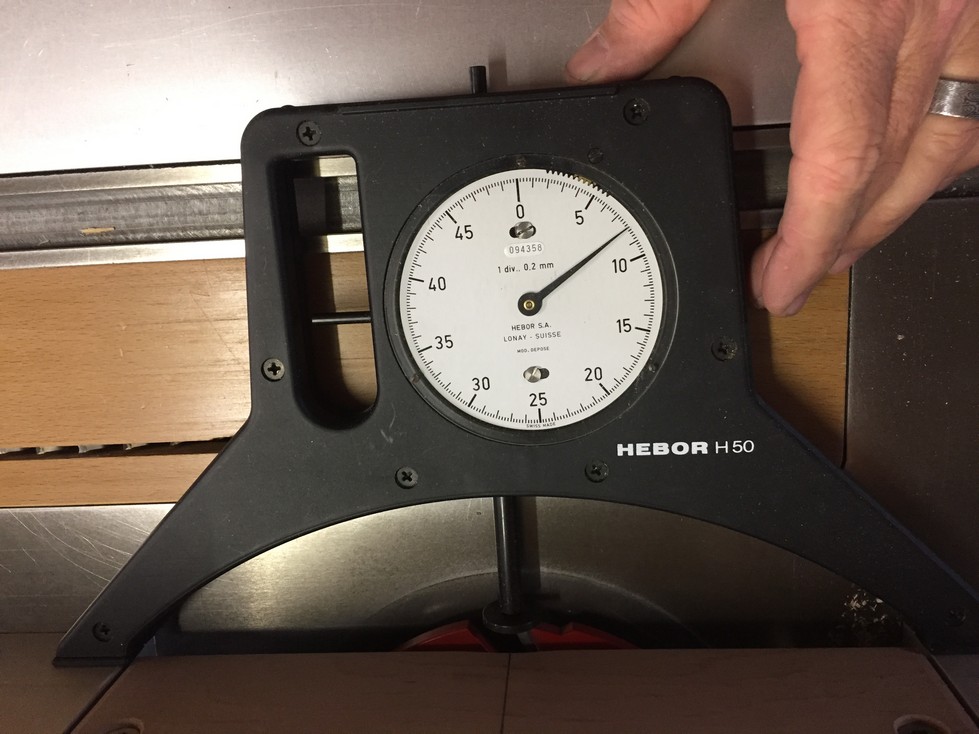
For cutting an exact 8mm deep groove, I have a very useful type of caliper. I set it against both sides of the fence with the measuring shaft against the blade at its furthest point and carefully slide the fence assembly in or out until the dial reads 8mm. This does away with at least 15 minutes of effort and 2 or 3 scrap pieces for trial and error.
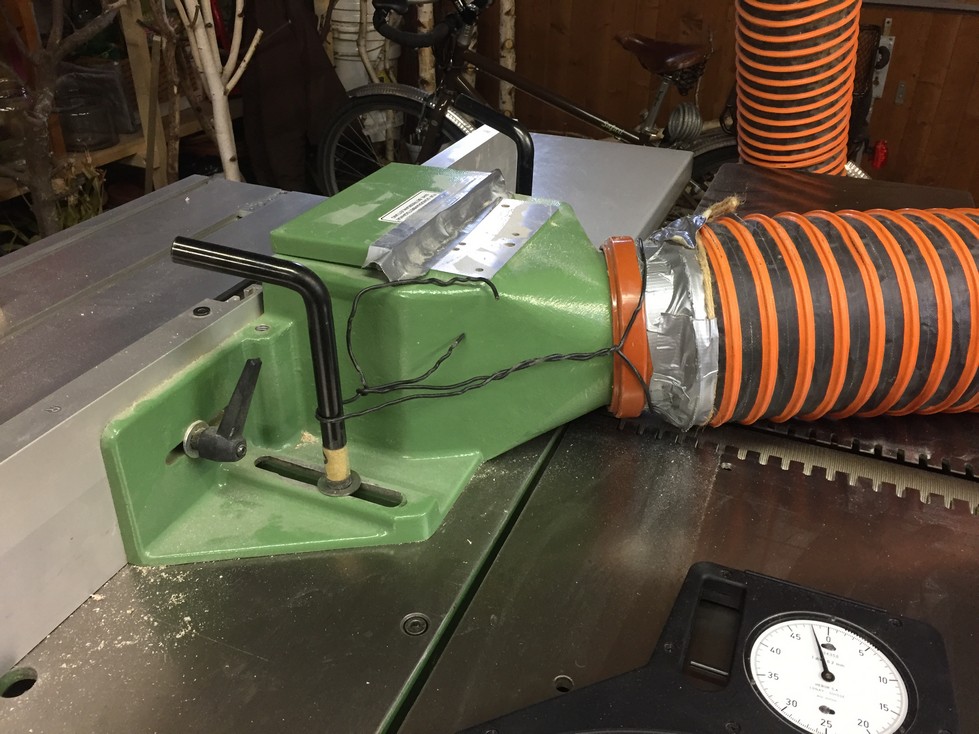 Finally, I attach my dust collection hose to the rear of the fence assembly. Dust collection is absolutely necessary when working with machines in a closed space like my garage.
Even though I’m confident in my setup, I still use a scrap piece for a trial cut.
The groove is very close to center. It’s close enough but if I wanted a groove to be exactly centered, I would flip the piece over and run it through the spindle moulder again. Similar to how my tenoning jig works, this would produce a perfectly centered groove, but maybe not one of exact width (10.3mm). What is most important is that every piece I run through is oriented the same way (face up or face down). This ensures that when the frame and panel is assembled, the grooves all line up with each other.
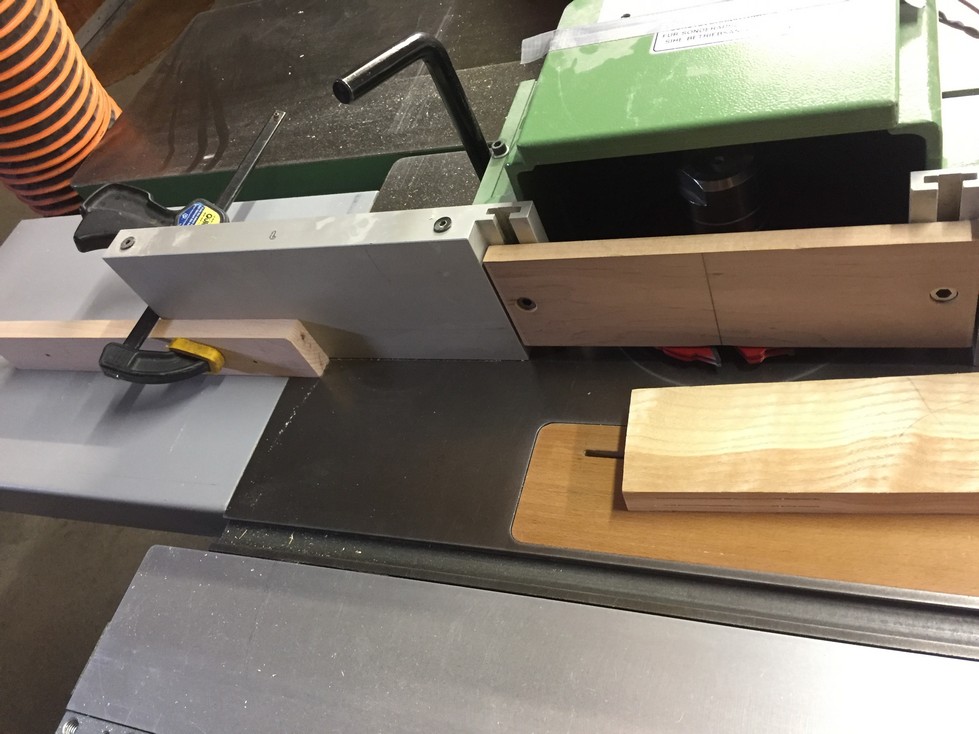
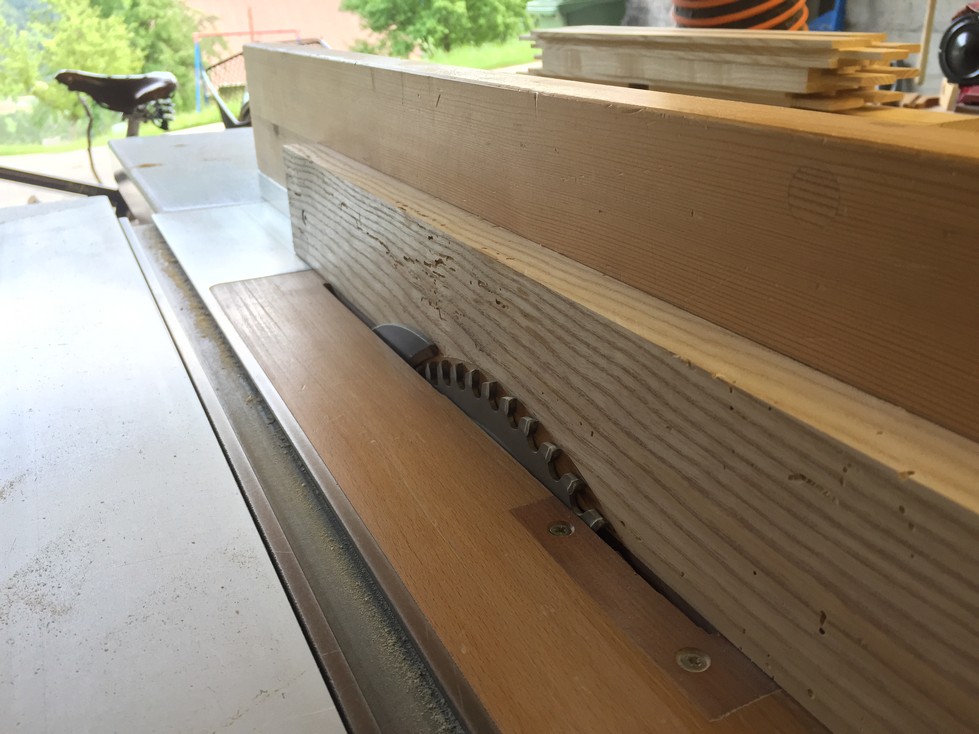
All of the rails (and center stiles of the doors and back) have continuous grooves end to end. Cutting the grooves doesn’t interfere with the tenons because the inside of the tenons are 8mm from the edge of the piece, the same depth as the groove. Here is a shot of one of the center stiles being fed through the moulder:
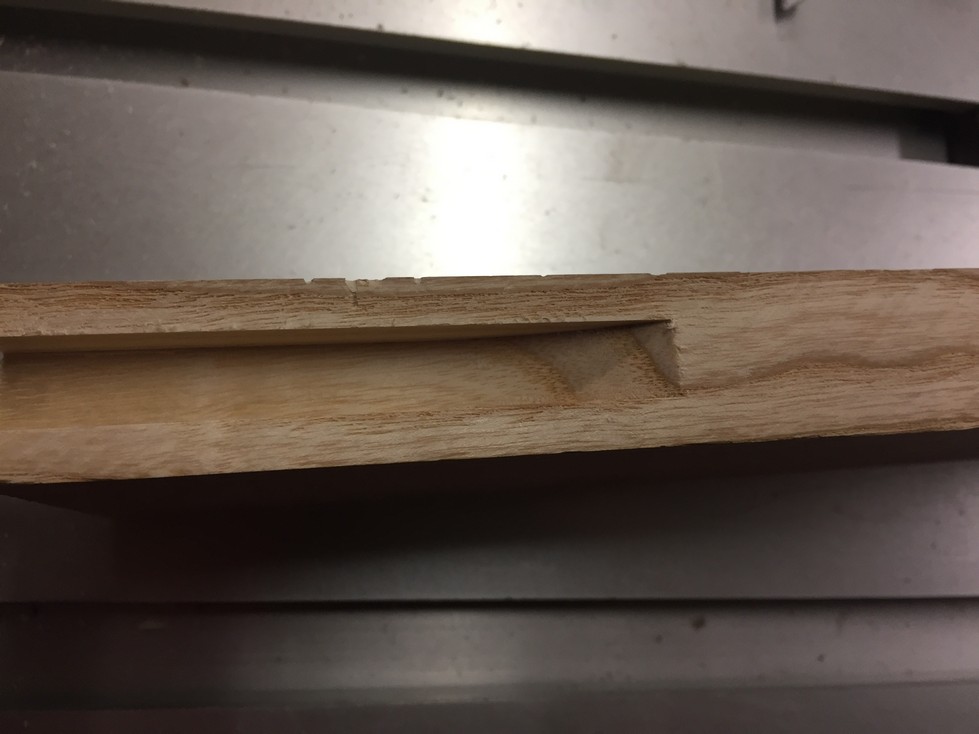
And the end result, a nice clean groove that a panel test-fits into without slop, yet not too tight.
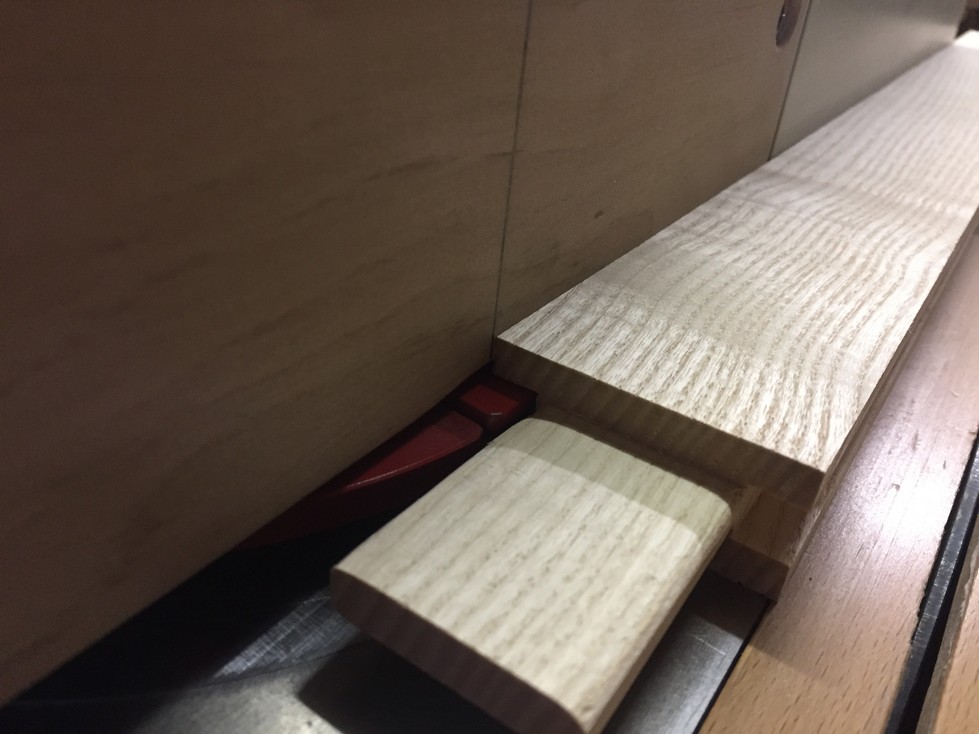
That was easy :-). It is a little more complicated for the main stiles. I could cut continuous grooves on these also but we would end up with a joint that is exposed to air. One on the top and one on the bottom. Here is an example called a “bridle joint”:

Depending on the situation and desired result, this is fine however, the joint might eventually fail and since I want this piece to last a very long time, I prefer to “enclose” the joint.
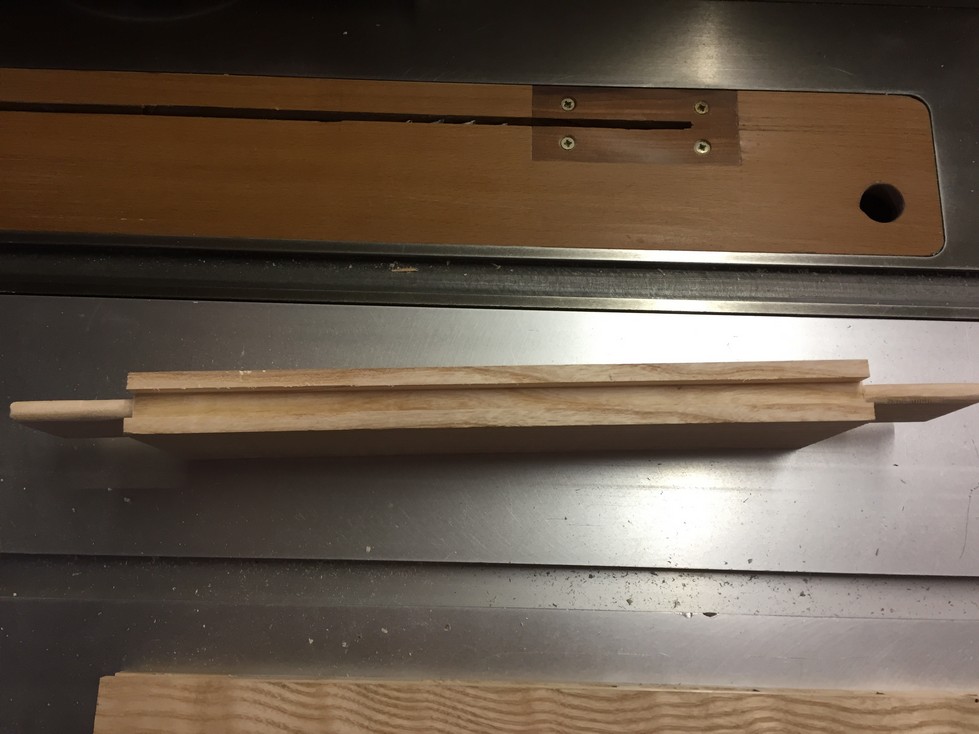
To achieve that, I want to cut the grooves up to, but not past, the far end of the mortise. This is called a “stopped groove”.
On the table saw, I would have to lower the piece onto a spinning blade with precarious support from the side fence. It can be done, and I have done it before, but the spindle moulder makes the operation safer and easier. Contrary to many popular beliefs, the spindle-moulder can be setup to provide for a fairly safe operation.
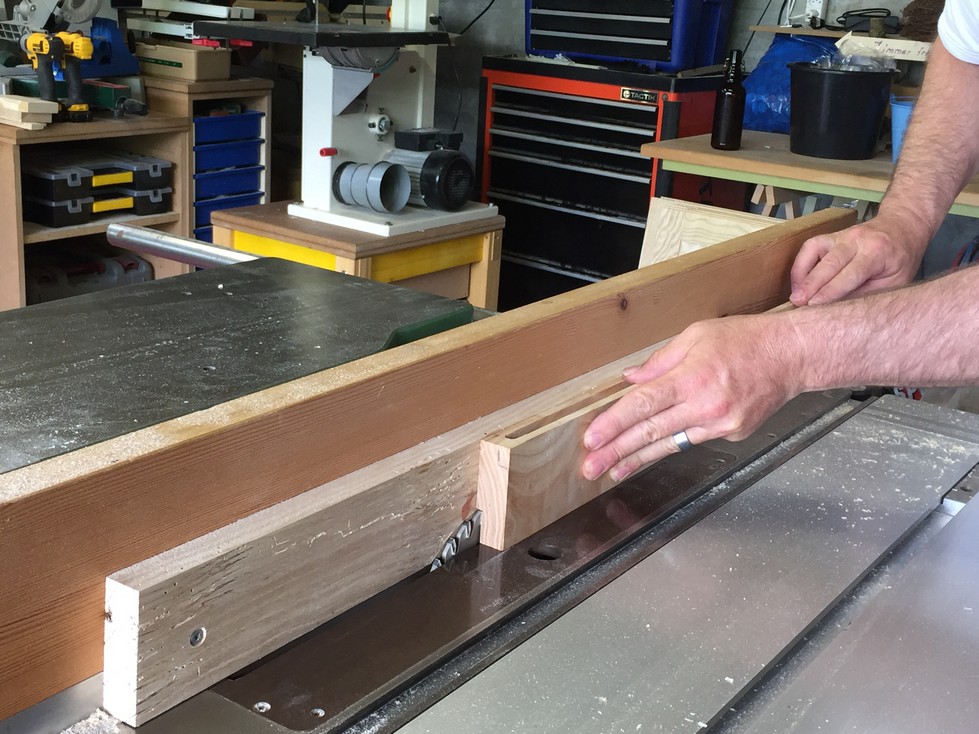
To set up for the stopped groove I measure from one mortise to the opposite end and clamp a stop on the right fence. I can set one end of the stile against the stop and, while holding the piece firmly against the table, rotate the other end into the blade without much fear of kick-back.
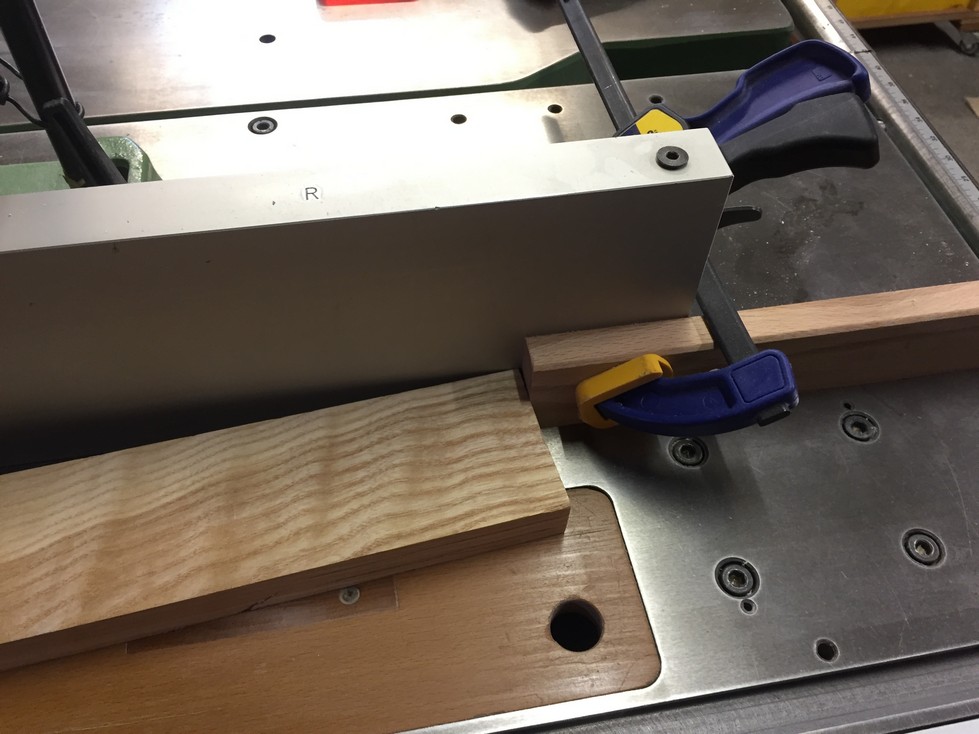
Another stop is clamped to the left side so that once I rotate the piece into the blade and against the fence, I can push it through until I hit the left stop. I then rotate the right end of the piece away from the blade and the cut is finished. Again, I ensure all the pieces are face up, just like I did for the rails.
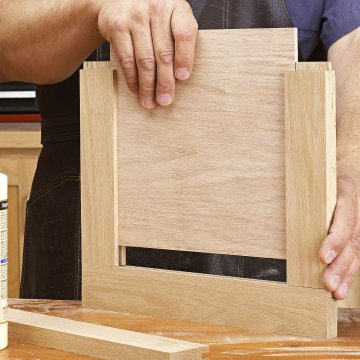
Now I can assemble the frames and measure from inside groove to inside groove to get an accurate dimension for each panel. The height measurement, which runs along the length of the grain, is critical because the panel will help provide stabilization and strength. Since wood does not move along the length of the grain, it is safe to cut this dimension (top to bottom) exactly. On the edges, I have to trim just a little bit in order for the panel to slide into the groove smoothly.
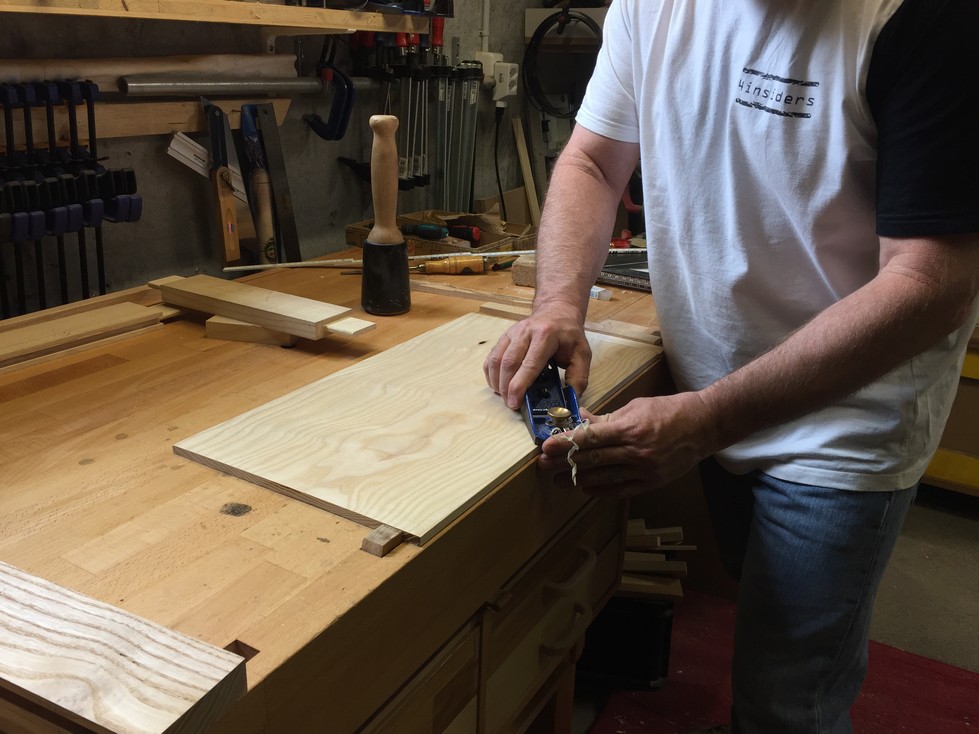

I test fit the panel and fine tune as necessary.
The width of the panel (left to right) must be considered carefully. Since wood will move across the grain I have to allow a bit of space for the panel to grow or shrink with changes in humidity. In practice, the humidity is low during the winter (panel will shrink a bit) and high in the summer (panel will grow a bit). It is the beginning of summer now and the humidity the last few days is pretty high (55% – 60%) so I am confident in leaving only a couple millimeters extra space on each end.
How much movement to expect from a particular piece of wood depends on a few factors. The change in relative humidity throughout the year, the species of wood (in this case, Ash), whether the piece is quartersawn or plainsawn, the current moisture content of the wood and how wide the panel is all contribute to the calculation. Here is a handy website to help figure all this out.
The center panel of the back fitted:
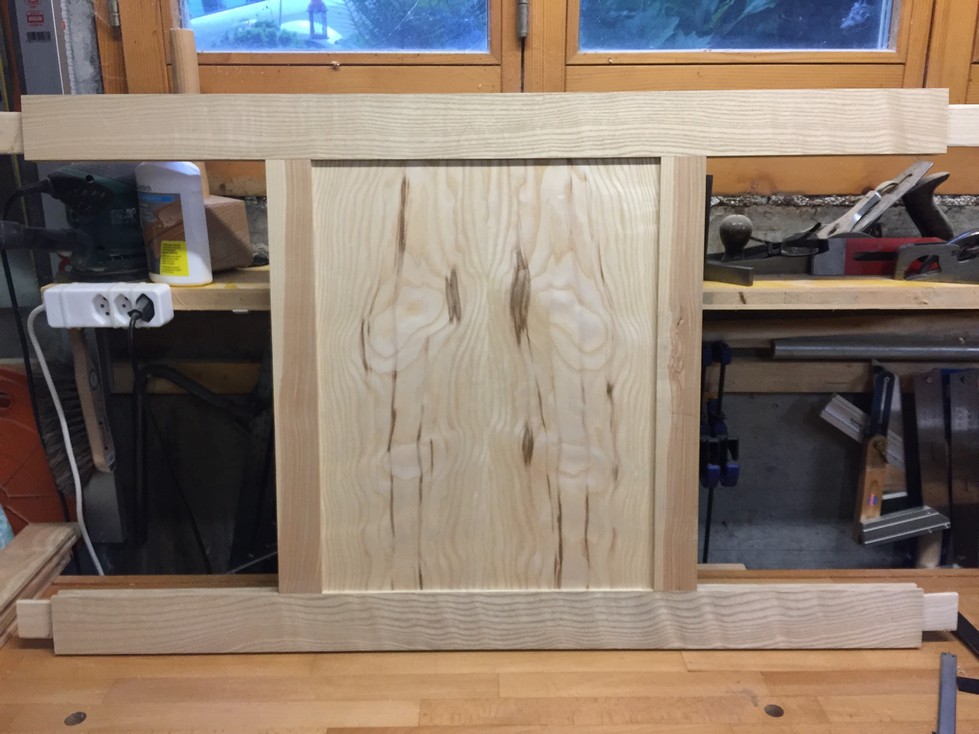
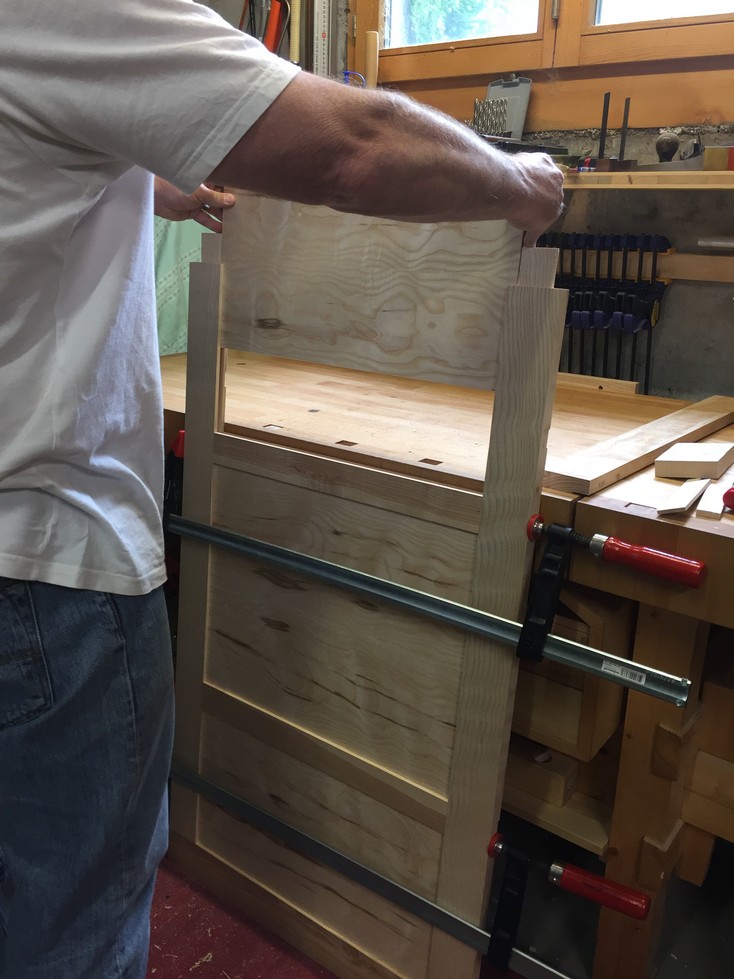
And then clamped so I can fit the outside panels.
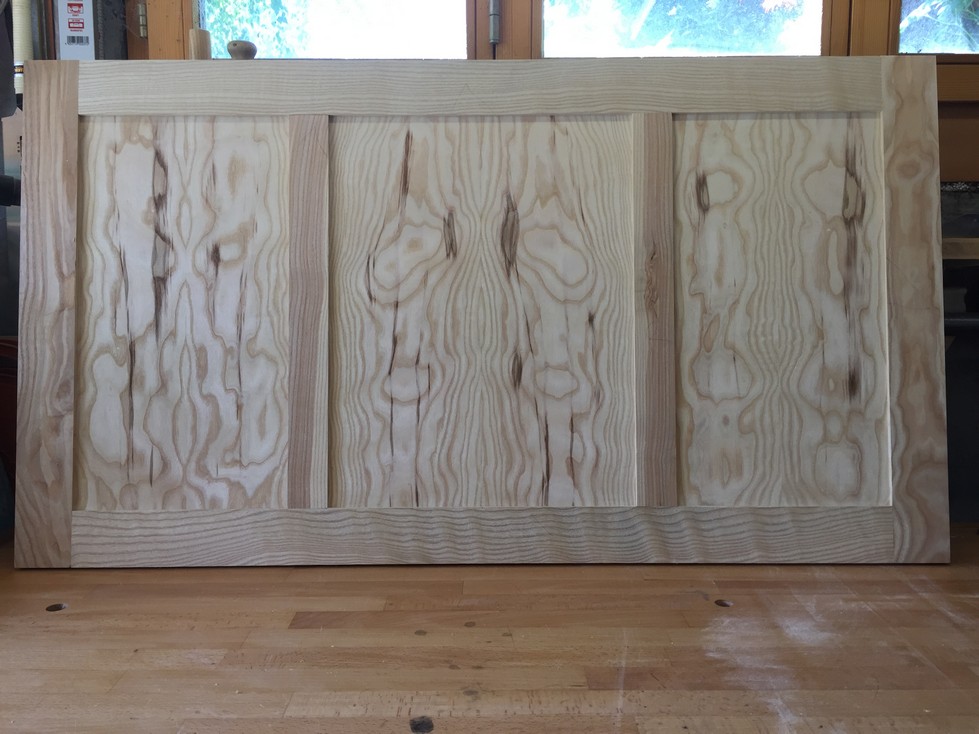
The final result:
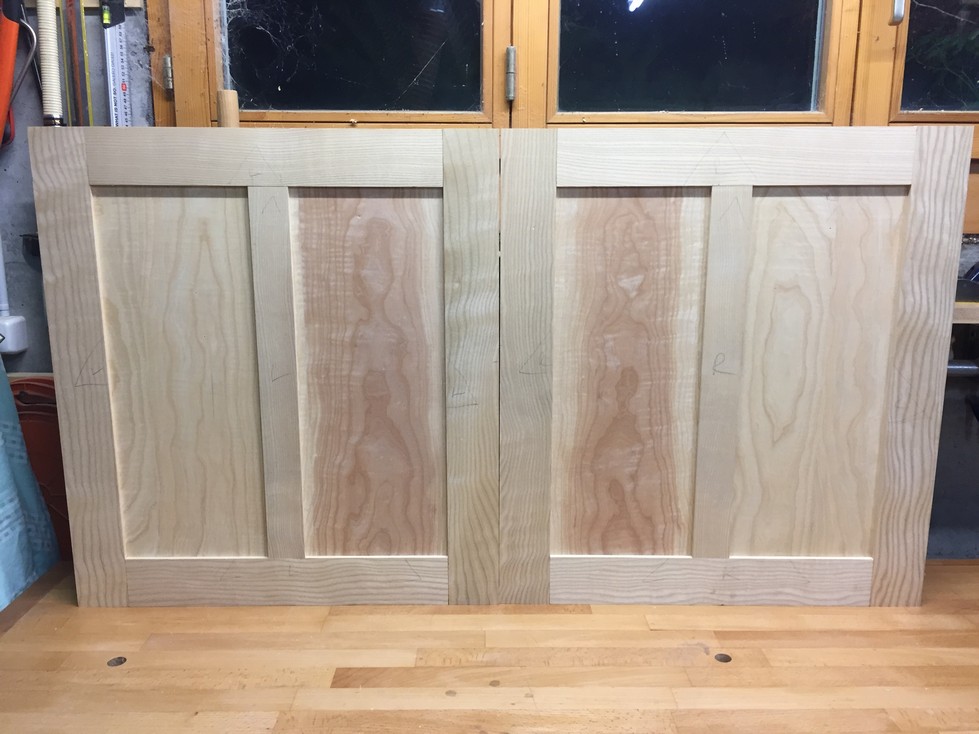
Here are the left and right doors:
I haven’t used any glue yet. Since there are dados and rabbets to cut still, it makes sense to cut these on the individual pieces rather than have to run a large frame and panel across a blade.
 A dado is a simply a groove that is cut across the grain and is typically wide and shallow to hold shelves and similar pieces. A rabbet (not to be confused with “rabbit” or “Hasenpfeffer” 🙂 ) is similar to a dado except it is located on the edge of a piece.
I’ll cut shallow rabbets and dados into the back piece in order to position the two left and right “pedestal” pieces. Also, I’ll cut dados on the right side pieces to house the shelf.
There are a few ways to cut dados and rabbets. I built a router jig a while back that makes dados relatively easy however, the table saw will be even easier for this step in the project. I mount a blade that has alternating bevel teeth followed by a square-ground tooth as a raker (this will leave a nice smooth, square cut) and raise it to approximately 3.5mm above the table. A few passes with a scrap piece and a minor adjustment gets me a 4mm deep cut.
Both the top and bottom rails of the back get two dados spaced exactly the same from each end. I use some painter’s tape to hold the pieces in position and cut the dados in both rails at the same time.


In order to cut dados for the right pedestal shelf, I insert the frame and panel into the dado on the back piece. Using the existing shelf dado on the back, I mark where to cut for the side pieces.
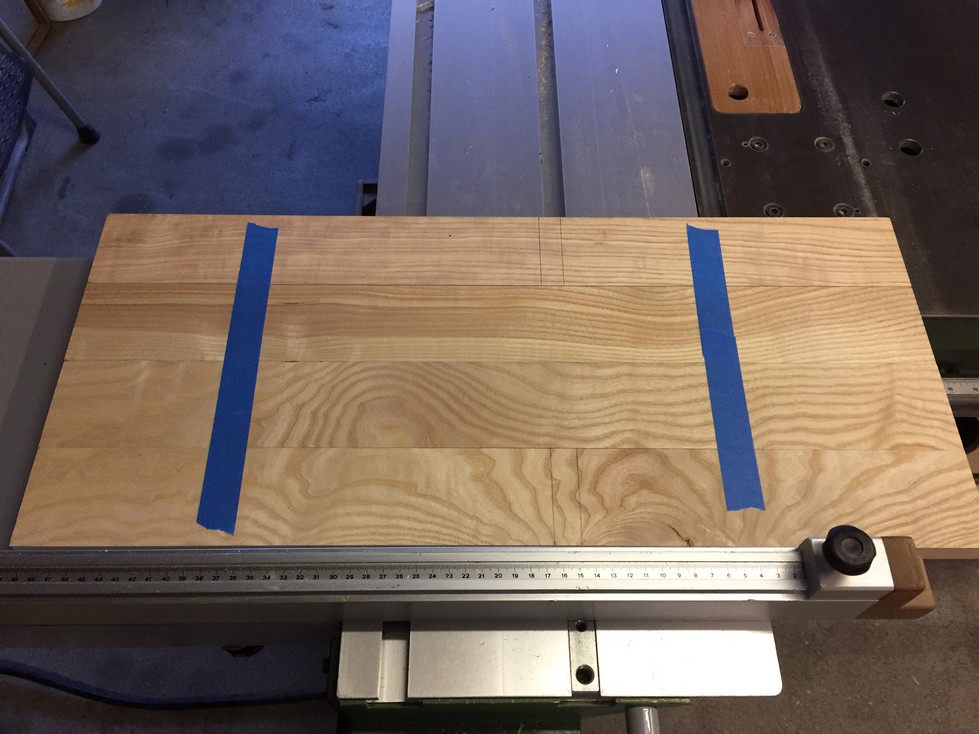
And tape all four stiles so I can cut all the dados at once. Efficient and accurate, all the cuts will be the exact same distance from the bottom and match the ones on the back.
The main stiles of the back will get rabbets on the outer edge and the top/bottom inner edges of the pedestal-pieces will also get rabbeted in order to hold stiffeners. The simplest way to do this is on the tablesaw with the same blade I have mounted. One way to cut rabbets is to adjust the fence 19mm away from the blade (stock is 23mm thick minus 4mm for the rabbet) and cut similar to this:
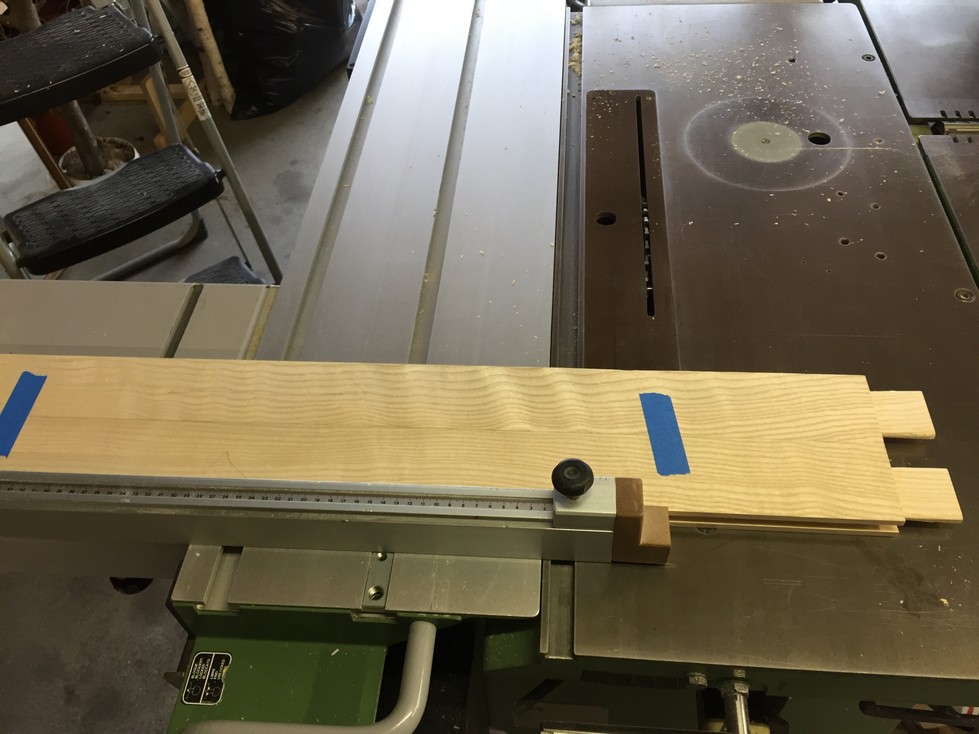
 However, I prefer to use a “sacrificial fence”, not only for safety, but accuracy. I mount a long scrap piece that is already square and flat to my existing fence and adjust it so the blade is flush with the side.
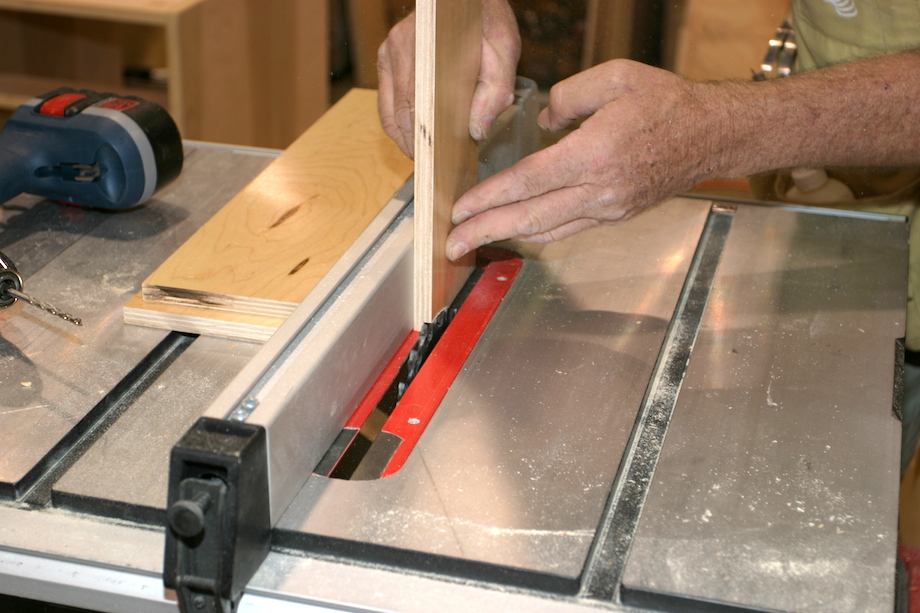
Now I can run the stile against the fence, keeping even pressure from top to bottom (not possible cutting it the other way), and my fingers are never even close to the blade. In addition, it’s much easier to get an accurate cut this way.
I raise the blade to 23mm (tested with scrap pieces) and because the teeth on my blade are 3mm wide, the first pass cuts a rabbet 23mm by 3mm.
I run the other stile through and then adjust the fence out 1mm. One more pass and I have 2 rabbets 4mm deep. Again, the mantra: “Cut all the pieces that need to be the same at the same time!” I could clamp the pedestal frames together and run the tops/bottoms through but those rabbets don’t need to be exactly the same as the ones I just cut. Because they are much smaller than the back piece, it will be better if I first glue those frames together and then cut them (all at the same time…).
All the back pieces are milled and almost ready for glue:
Speaking of glue, all the cuts that make sense to be done before the glue-up of the frame and panels are now complete. Next I’ll take care of a few tasks that are necessary to prepare for this event 🙂 . Bis bald! (Ciao for now).
Leave a Reply