
The Finish Line (Pun Intended)
I’m a happy guy. Why? ‘Cus I’ve got a happy wife :-).

This is the end-game and of course my most disliked part of any project is the last part: sanding and finishing.
In fact, I dislike sanding so much that I’ve been concentrating on my cutting tools a lot more in the last 5-7 years and while it’s rare that I can get any given surface perfect, I have been able to reduce quite a bit the amount of sanding necessary. By the way, don’t take that 5-7 years as a realistic timeframe, I’m still only a “weekend woodworker” until my company decides to pay me out till retirement 🙂 .
Of course, everyone’s definition of “perfect” is going to be different. My definition is basically “no detection of any flaw or remnant of a cutting tool no matter how you view the piece and in whatever light”. What I’ve come to realize is that the amount of extra time and effort necessary to achieve perfection (for me) is huge. And, that there are various stages of “good enough” that can be quite acceptable. If I have to get on my hands and knees and look at the table top at a 10 degree angle with the light glancing off of it just right in order to see an errant scraper mark, maybe I’m doing okay.
Also, I consider the use to which the piece will be made. This sewing table is going to have scissors, razor knives, pins, needles and other potentially scratch-worthy objects floating around on it. Finally, it is a work surface. With all that in mind, I’ll go as far as I can with my planes and scrapers without overdoing it.
Another reason for trying to kick the sanding habit is that a surface that has only been planed and/or scraped looks very different than one that has been sanded. It looks “cleaner”, and the grain looks sharper. Even the light reflects off a bit differently. It’s hard to tell in a photo but I can see the difference easily by eye.
So these are my weapons of choice for surfacing:
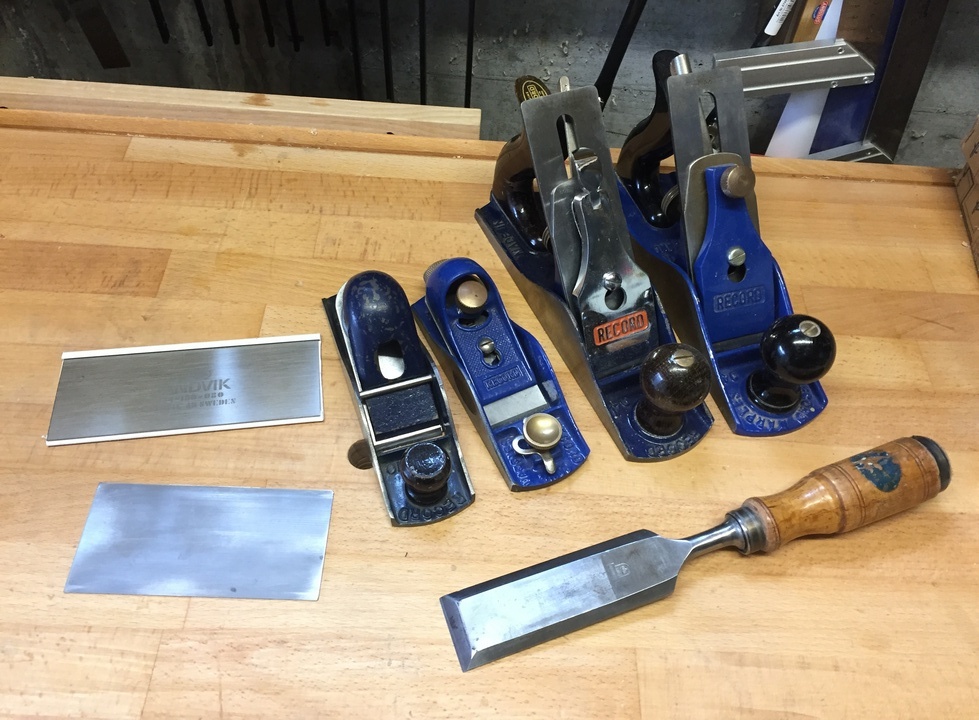
- The smoothing planes are my older Record #4 and to the right of it, a newer Record Marples (bought before I knew much about hand planes): I tune the older one for a very fine shaving and tight mouth while the newer one is tuned for fine shavings but with a slightly larger mouth (no ex-wife jokes please). I’ve become a believer in the “older hand planes are better” debate but that is a discussion for a different time…
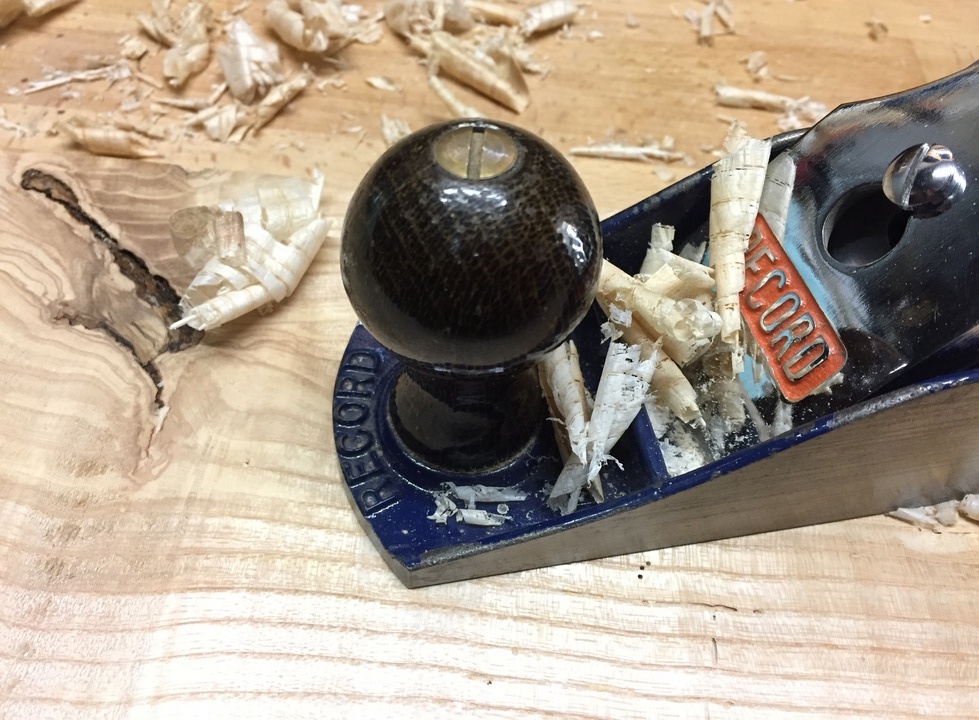
- Block plane on the left is an old Record #0110, standard angle, fixed mouth. A workhorse, I love this plane and use it all the time.
- Block plane on the right is a newer Record Marples #60 ½ low angle plane with adjustable mouth. This is the one I grab when shaving end grain.
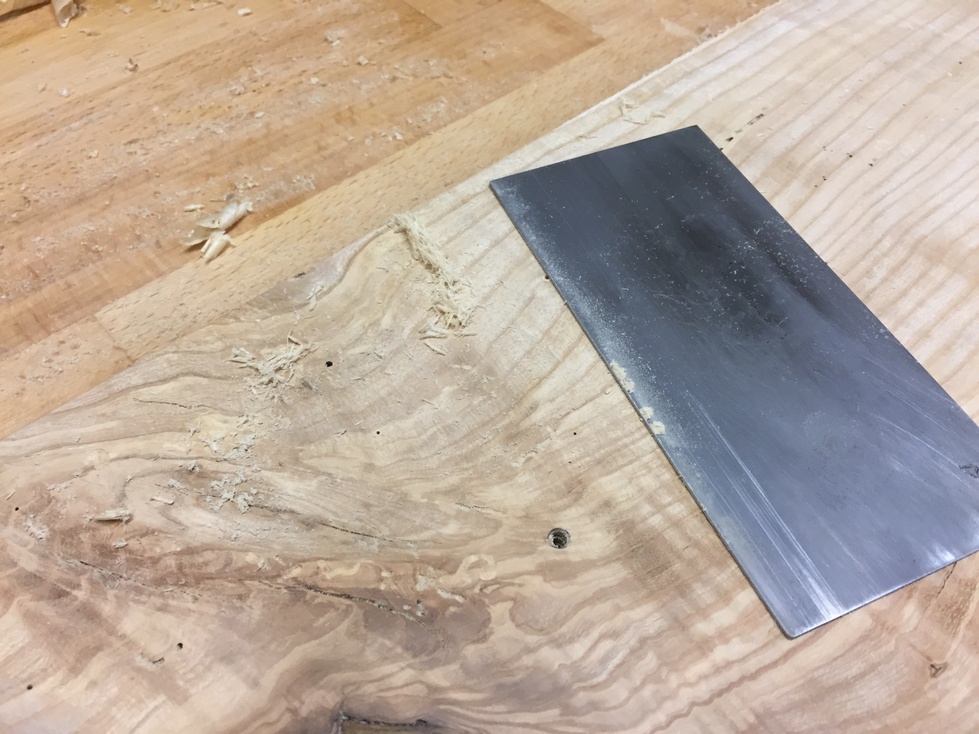
- A Sandvik scraper I was lucky to find on e-bay NOS (New Old Stock). Great quality steel, thicker than newer ones, easy to get a nice burr. Below that, my first scraper, bought before I knew anything about scrapers (see a trend?). Decent steel, thinner, and loses its burr quicker.
- Finally, an old Bahco chisel I only use for paring so it keeps its edge longer.
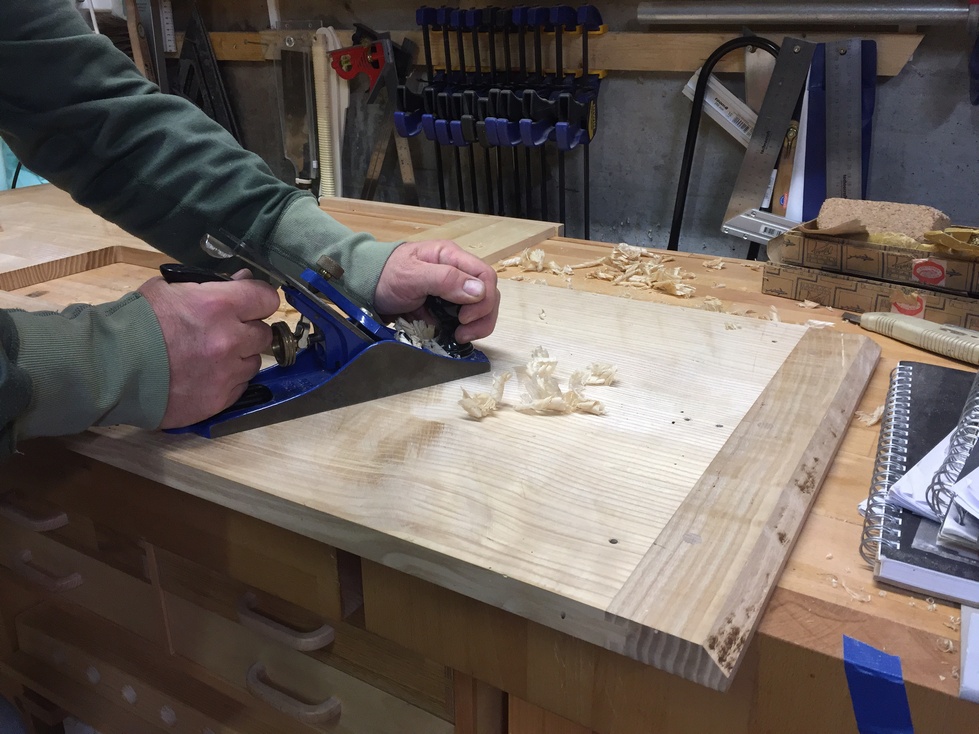
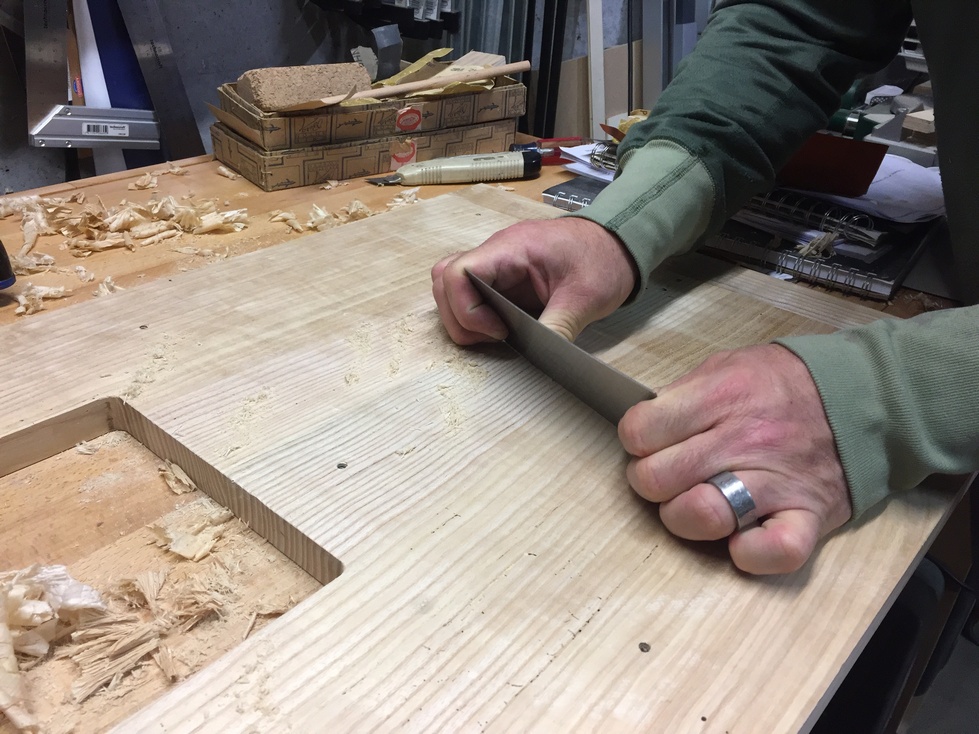
I like to warm-up a bit for smoothing, especially if the wood has some tricky grain like this ash. Monika thinks the knots look cool (and I do too) but with that comes some extra care. I’ll start by smoothing the bottom face of the table top and the bottom of the platform the machine rests on with the older Record #4 and then move on to the scraper. Before I do the top face, I’ll need to re-turn a burr onto the edges of the scraper but for now, I still get decent micro-shavings. I’m getting a feel for the grain and it seems that I have better luck planing at an angle across the knots and tricky parts.

I move on to the bottom side of the tabletop and use both #4 planes. The Marples is still cutting a thicker shaving than I want so I retract the blade a tiny bit.

I don’t like having to stop and sharpen just one plane iron so I use the Marples and Record alternately; the Marples for less tricky grain and the older Record for the knotted areas. When I need to stop and sharpen, I’ll do both at the same time and touch up the block planes while I’m at it.

Even though the bottom won’t be seen, I want it to be smooth. you never know when someone is going to reach their hand underneath the feel the wood there. Again, I could go overboard but a quick planing and scraping is plenty for the underside.
Even though the knots are cool, I don’t want any sewing material to get caught on rough edges. I’ve recently played around with some clear drying epoxy and decide to use it to fill the voids in knots. I try it first on a scrap piece just in case it’s going to react weird with this wood. Once I’m satisfied, I mix up enough to fill one knot at a time and slowly work it into the void. I’ve found that if you mix the epoxy slowly and fold it into itself instead of a rough whisk, you get very few, if any, bubbles in the void.
Also, it’s important to practice with whichever brand of epoxy you choose. I found that with the stuff I bought, I better not wait till it’s completely cured before slicing off the excess with my paring chisel or a block plane. I waited too long on the scrap piece and the plane iron would actually make the epoxy crumble and look like crap. So for this “5-minute” epoxy, I wait 20 minutes before planing off the excess. It’s still almost a hard-rubber-like consistency at that point. After about 30 minutes, a scraper works well to finish smoothing the area. Finally, I get a rag with some alcohol and wipe the area to see what it will look like with a finish applied:

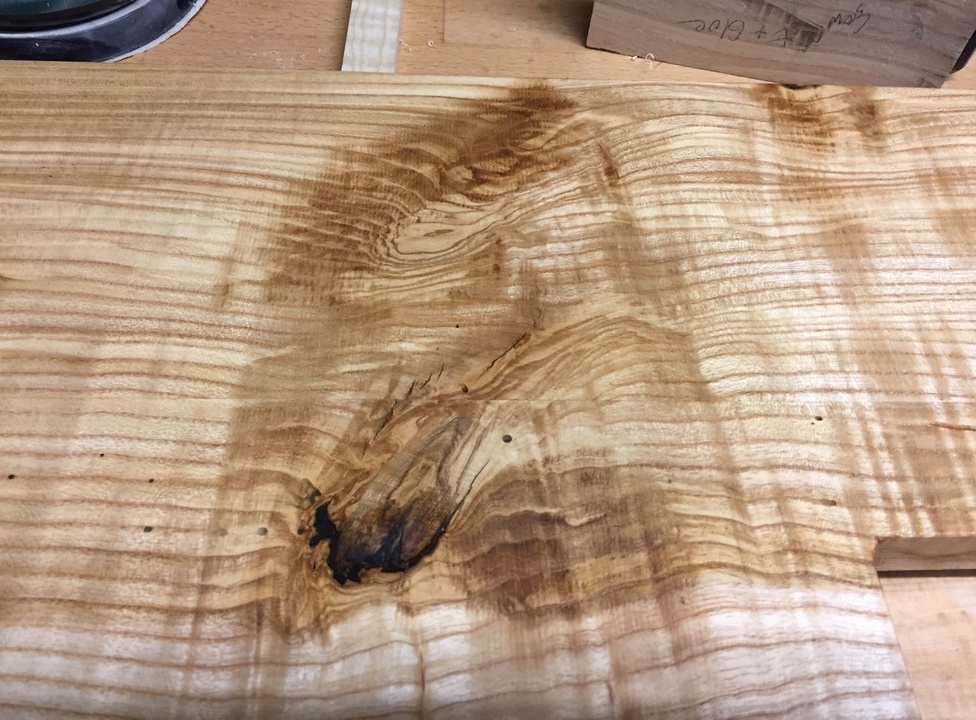
Also, I may have mentioned at some point that this is “wormy ash“. It had been sitting in a barn for a long time and been attacked by woodworm. Since hardwoods in Switzerland cost an arm and a testicle, and it was free, I couldn’t turn it down. During the stock preparation I did my best to cut around areas with worm holes but not always successfully. I then treated the remaining wormholes with a woodworm-icide. This still isn’t 100% certain, however, once the piece is in the house, if any emerge they’ll fly towards the window and die out. Again, my wife doesn’t mind the look of these holes but I want to fill them. I found that no matter which wood filler I tried or how I mixed glue and sawdust, I didn’t like the result. Finally, even though it was extra work, I used the epoxy to fill them and was fairly pleased with the result.


So at this point, I’ve done all the planing, scraping and sanding I intend. All the voids and holes are filled with epoxy and smoothed and I’ve looked over every surface one last time before breaking out the finishing materials. For about 10 years now I’ve used a few different recipes of “wiping varnish” on everything I’ve built. I like pieces that lend themselves to showing off the wood (I don’t like paint, although it has its purpose) and an oil really makes the grain pop. I also hate stress. A wiping varnish allows me to just flood the surface, wait a little while, and then wipe off any excess. No stress, no fuss, no runs. The downside is that it usually takes a few more coats to build up some protection but I can deal with that. I started with the “Maloof recipe” and typically only vary the amount of thinner added depending on the wood and the desired effect. The first application is mixed a little thinner for good penetration and the following coats are the standard recipe. “Standard” is a misnomer however, there’s a decent discussion on wiping varnish here.
Here are my current ingredients:
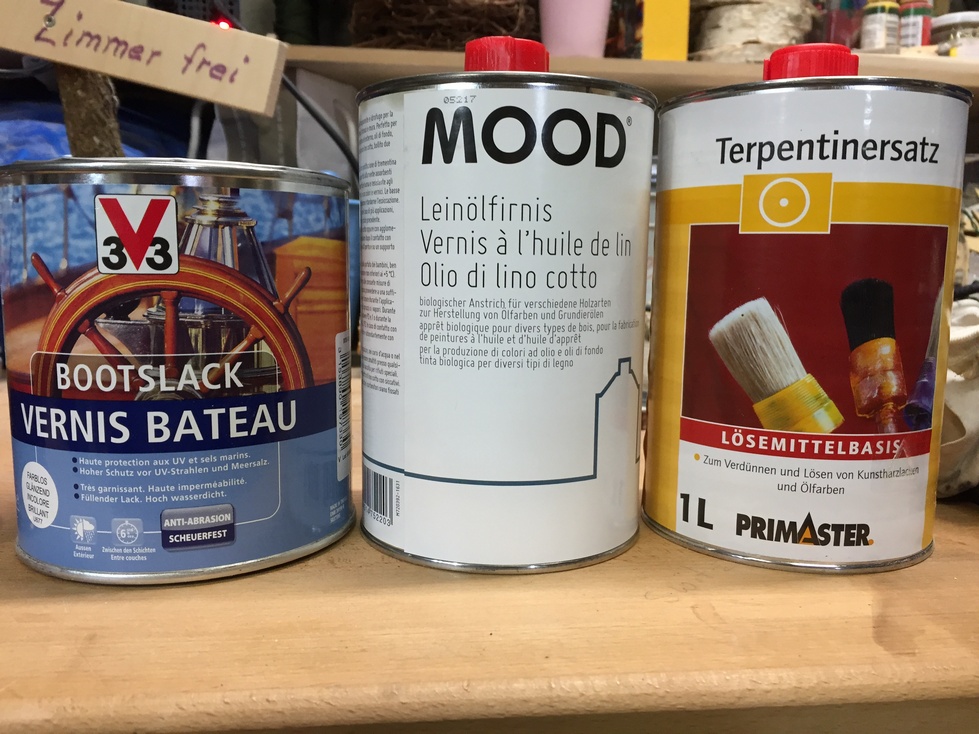
Bootslack is, you guessed it, what many of us call “spar varnish”. Leinölfirnis is boiled linseed oil and Terpentinersatz, contrary to what it looks like, is not really turpentine but a petroleum based alternative similar to mineral spirits. I’d prefer to use “pure gum turpentine” but that stuff is more expensive here than Johnny Walker Black.
The basic recipe is 1/3 of each by volume that I mix in peanut butter jars (Considering how mainstream “organic” products are in Switzerland, I’m surprised that they don’t carry the “100% peanuts” types here. I’m stuck with Jiffy which I won’t touch, so I have to bring it in from the U.S. whenever I travel or get it from my son stationed in Stuttgart).

If you’ve never mixed your own you should look into it. It’s very easy and you end up saving a lot of money over off the shelf oils. I pay about $40 for all three 1 liter cans above but 1 liter of a decent off-the-shelf oil varnish is about $33 per can. Anyway, measure the ingredients into your mixing jar, stir a bit, let sit for 10-15 minutes, stir again and you’re done. Any leftover oil will keep for quite a while.
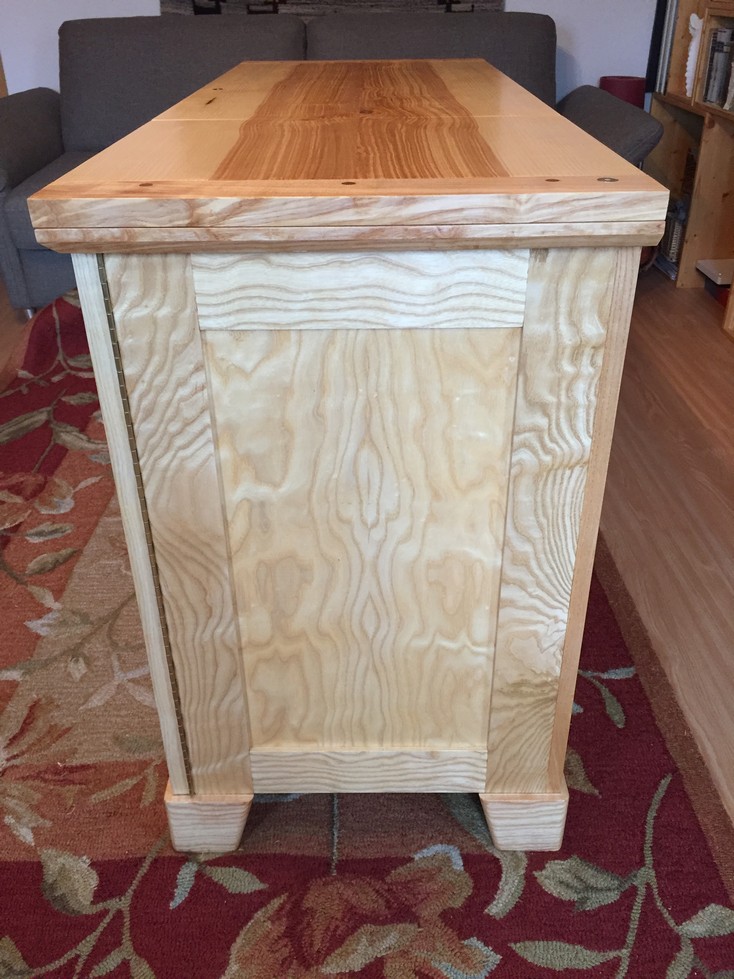
I like to oil the pieces separately if possible so I’ve disassembled down to the carcass and start there. In parallel, I’ll oil the top, doors, leaves, shelf, feet and drawers. For about a week, the garage is filled with pieces drying everywhere….


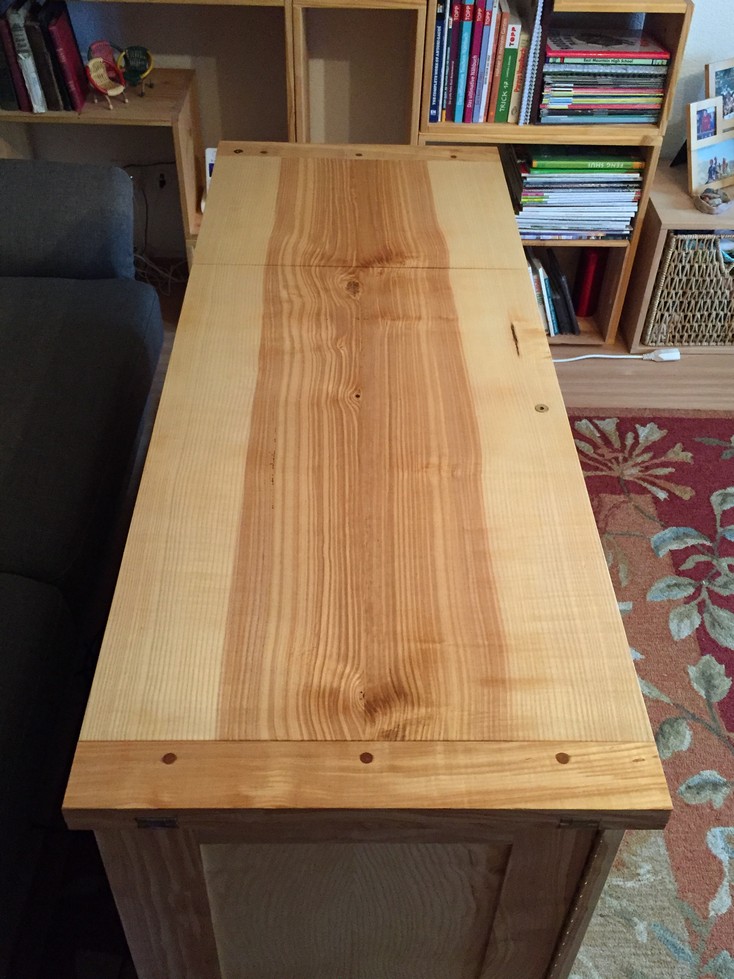
After the carcass is done, I mount the top again and by the way, I really like the way the epoxy filled voids look after a few coats of oil:


I usually wait a few days after the last coat of oil before applying any wax but that won’t prevent me from carrying the carcass and other pieces upstairs to the “sewing room” and assembling all the bits. It’s then that I remember I have no pull-knobs for the door. Off to the scrap pile, bandsaw, carving knife, little drum sander in the drill press and we’re good to go.

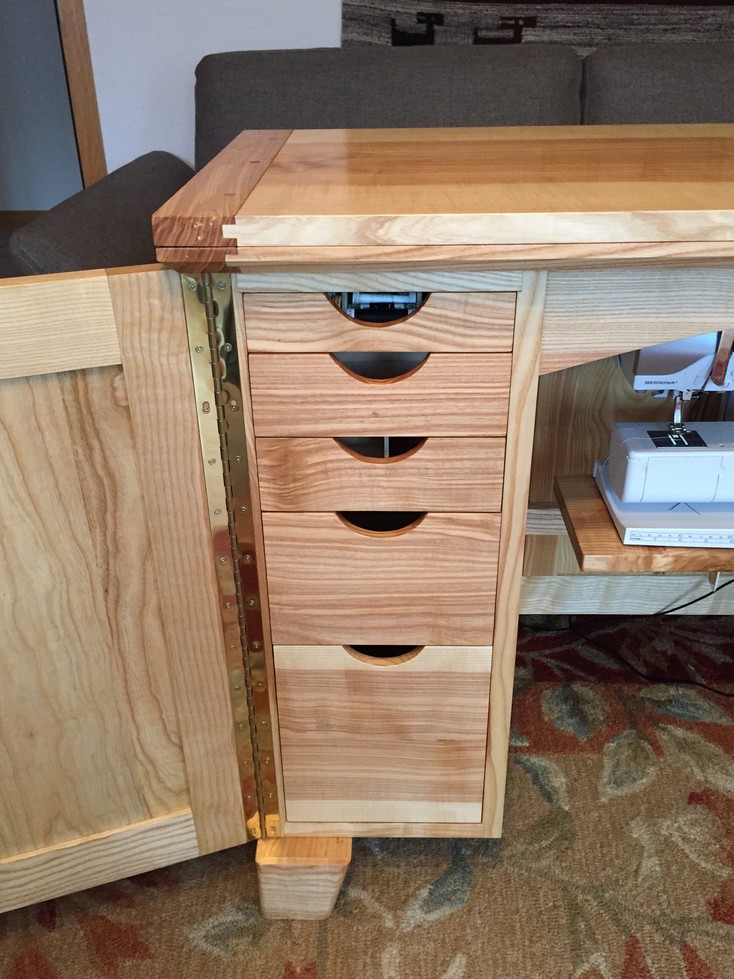
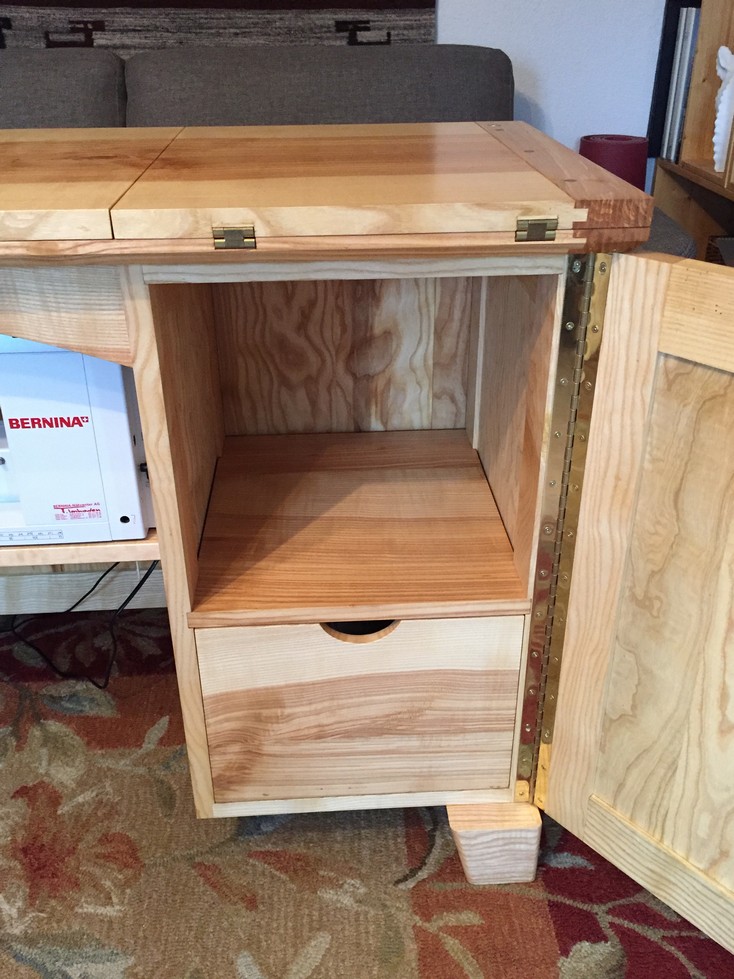
At long last, and only 5 ½ months late for my wife’s birthday, the finished product: (click on the thumbnails to enter the gallery)


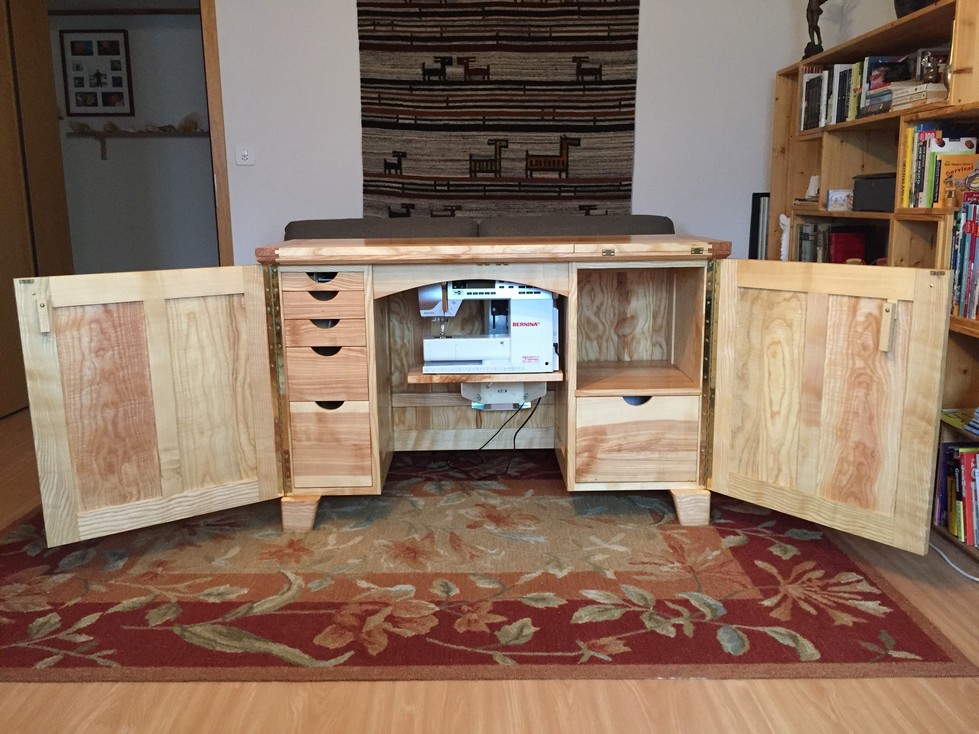


And put to immediate use making some little gnomes:

It’s been a long trip (about 10 months), and while there have been a few frustrating issues, like everything I build I always learn something new along the way and, I always love it.
If you have a partner that likes to sew and would like to build something similar to this cabinet, remember that it was originally designed by Jan Hale Svec for Wood Magazine, January 1997 issue. I encourage you to purchase the plans and/or that issue of Wood Magazine because they are very helpful even if you propose to make changes like I did.
This was the first major project I have blogged about and decided that I thoroughly enjoyed it (the project and the blogging). I am one of those people that are a bit structured and not so creative; I like to have a plan to start with. I think there may be others like me so my purpose was to take the “plan” a step further and drag the reader kicking and screaming through every part of the process. I’ve become a more confident woodworker/builder/tinkerer in part by having books, plans, articles and blogs to read during the last 30-odd years and this is my way of trying to give something back to the community that has helped me. I hope that it helps you!
Next project: A small, simple wall cabinet that won’t take the better part of a year to build 🙂
Leave a Reply