
The penultimate chapter, can you see the light?!!

Hi everybody! It’s been a while since my last post as I have been on business travel and not had a chance to do much woodworking for a while 🙁 . I have returned from a certain Middle Eastern country and since I didn’t say anything bad about the ruling party I still retain my freedom (if not my principles; hey, we all gotta pay the mortgage).
When last we gathered in my shop (I hesitate to call it a “garage” since that implies we might park a car in there), we had installed the top leaves and the sewing machine lift. Up till now, the idea of the machine raising and lowering effortlessly has been mere talk, or marketing to be precise. The proof was in the pudding and my good wife is very pleased with how nicely the lift works.
In chapter 10, we mounted the doors and trimmed them for nice positioning, but we didn’t install any of the other bits. First, I’m going to tackle the door catches. The catch consists of two parts, the “catch” and the “strike”. The catch is the piece with the silver balls (I asked for brass ones but they looked at me funny) and will mount to the underside of the top. The strike is the piece that is “caught” when pushed into the catch.

This is some very nice brass hardware from Rockler Woodworking (a completely un-solicited plug, but they carry a lot of good hardware for furniture and cabinet building). The easiest way (for me) is to mount the strike to the door first, and then use that to properly position the catch.
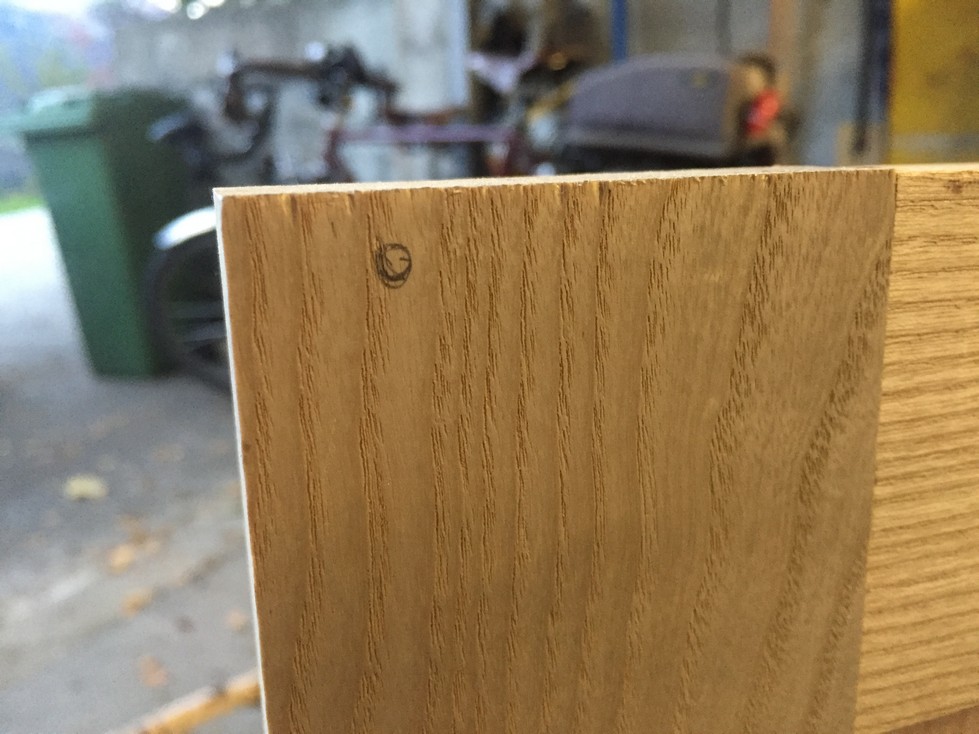
Below on the left, I have drawn an incredibly precise and perfect circle ( 🙂 ) to mark where the first pilot hole is to be drilled. Then, before marking for the second hole, I install the first screw. It took me a while to figure out that this order of events practically eliminates any error in positioning the second pilot hole (and a Vix bit helps a lot). Also, while positioning the brass hardware, I use steel screws. This saves the brass screws from errant screwdriver scratches and at the same time, allows the steel screws to cut threads in the wood, making it easier to install the brass screws later.
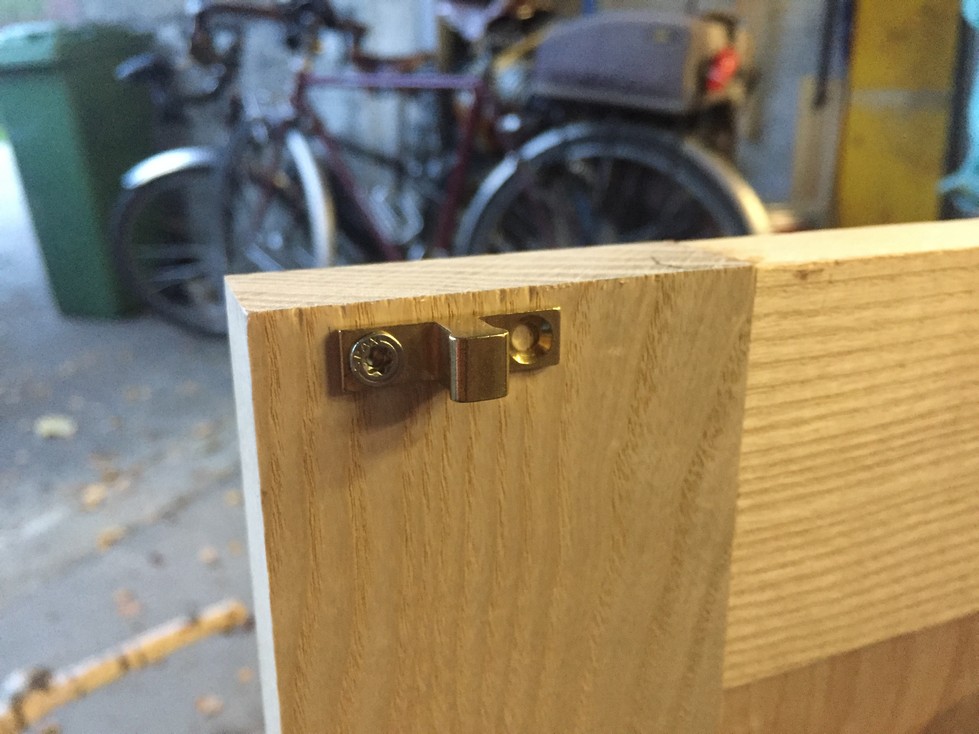
With the strike mounted, I attach the catch so that when I close the door, it is easy to mark the location on the underside of the top. And now, the catch is mounted.

I could have mounted it to the front of the apron which would have been a little easier however, I think the catches are less obtrusive here. Unless you bend down a little bit, you’d never see them.
With both catches and strikes installed and the doors closed up, I still have a nice, small, even gap between the doors.

I’ve noticed that the top of the apron is a tad higher than the top of the pedestals and so before the final door adjustment I need to fix this. If I install the doors with an even gap along the top, and then planed the apron flush, it would reduce the gap above the apron. Using my level as a straightedge and my #4 bench plane, I trim the top of the apron until flush. I learned early in my planing experience the importance of holding the work rigid. You’ll see in the photo at the right that I’ve positioned the carcass up against my workbench. It’s really amazing how much easier it is to plane well against an immovable object.


The gap along the top of the left door (in relation to the top) is nice and even however, the top of the right door needs a little planing in order to make an even gap (the bottom of both doors are flush to each other). My trusty block plane makes short work of the end grain of the stile. Christopher Schwarz said once that his block plane will be buried with him and I can totally relate to that. The block plane is so useful for many different tasks that it is by far my most utilized plane. Now to get a really nice one like the Lie Nielsen #60 ½ but since I already have two block planes and no router plane, that takes precedence for my next tool purchase (This could be a hint to the family as Christmas is just around the corner 🙂 ).

After a few tries, I’m happy with the gap:

It’s a small thing, but on the backside of the piano hinges I mark the orientation. It’s difficult enough to install these properly without mixing up left to right or bottom to top.

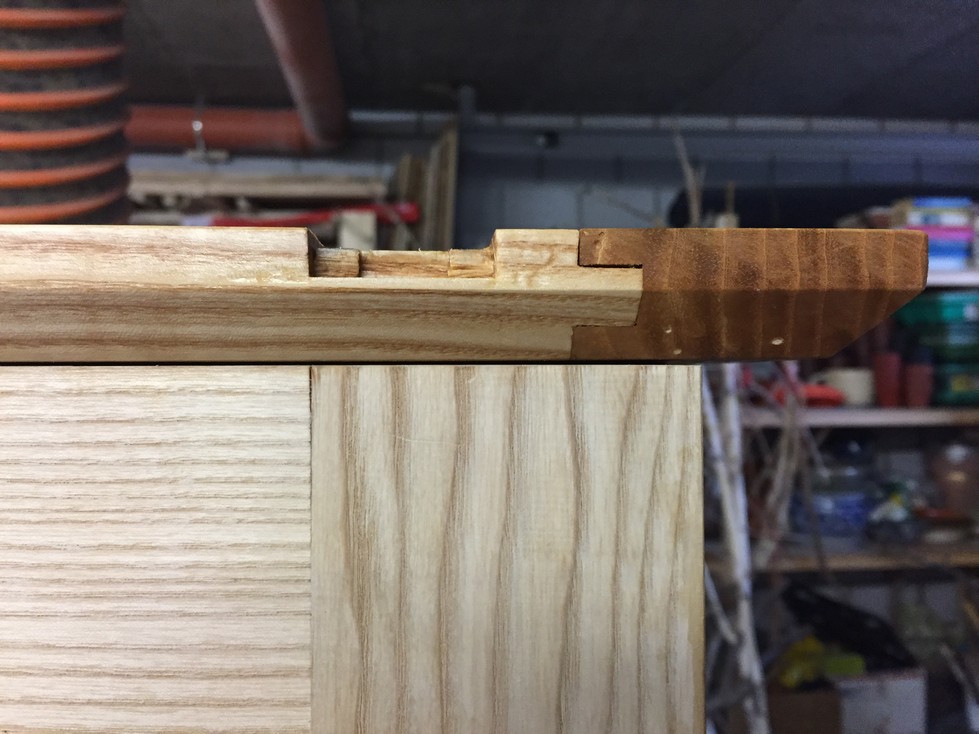
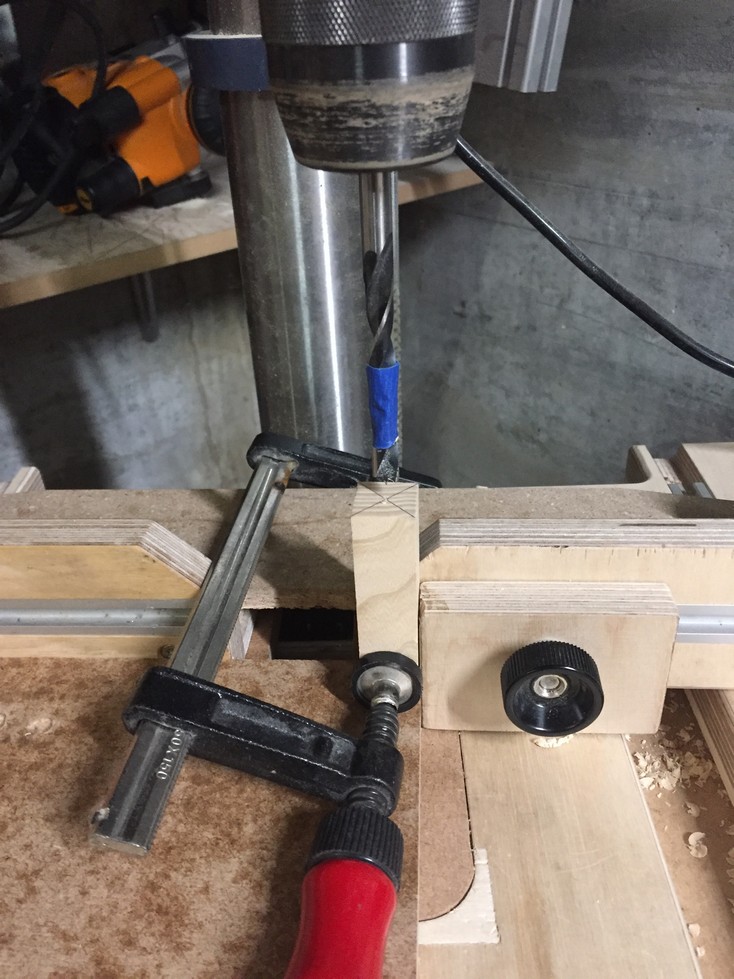
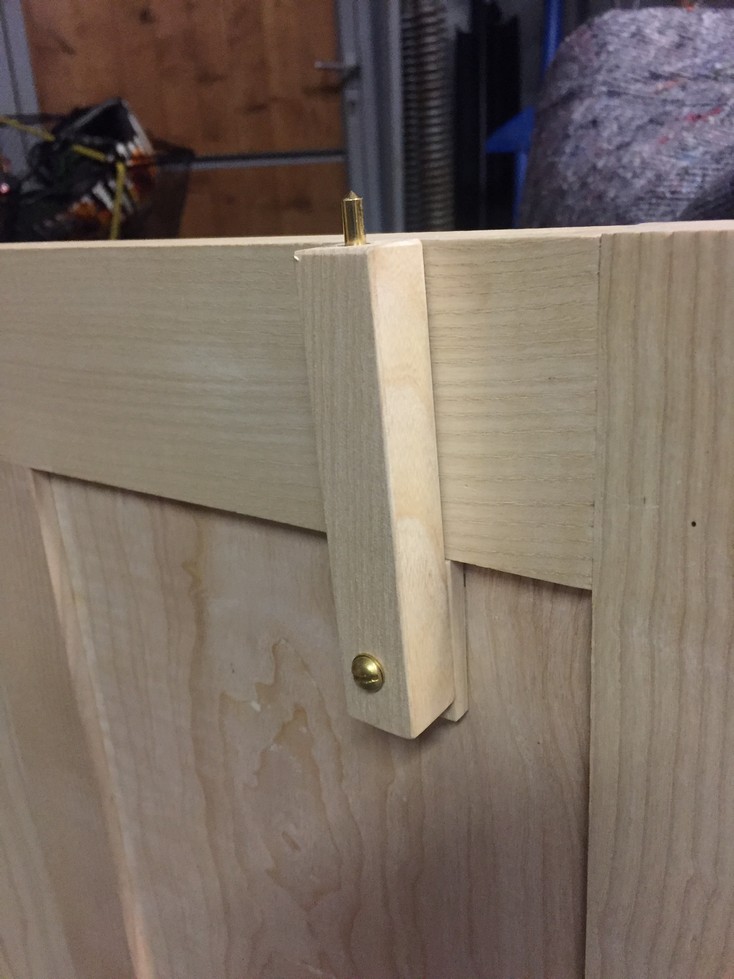
You’ll remember that when one of the top leaves are opened, they are held up by the top of the open door. If there was nothing to keep it in place, an errant toe kick could move the door and then the leaf would fall, probably cracking the hinge and ruining the wood in the process. In order for the top leaf to be held firmly when opened, I’ll make a swivel piece with a brass pin that will intersect with a matching sleeve.

I drill a hole in the top center of the swivel to house the pin:

….and a screw hole near the bottom to attach the swivel to the door.

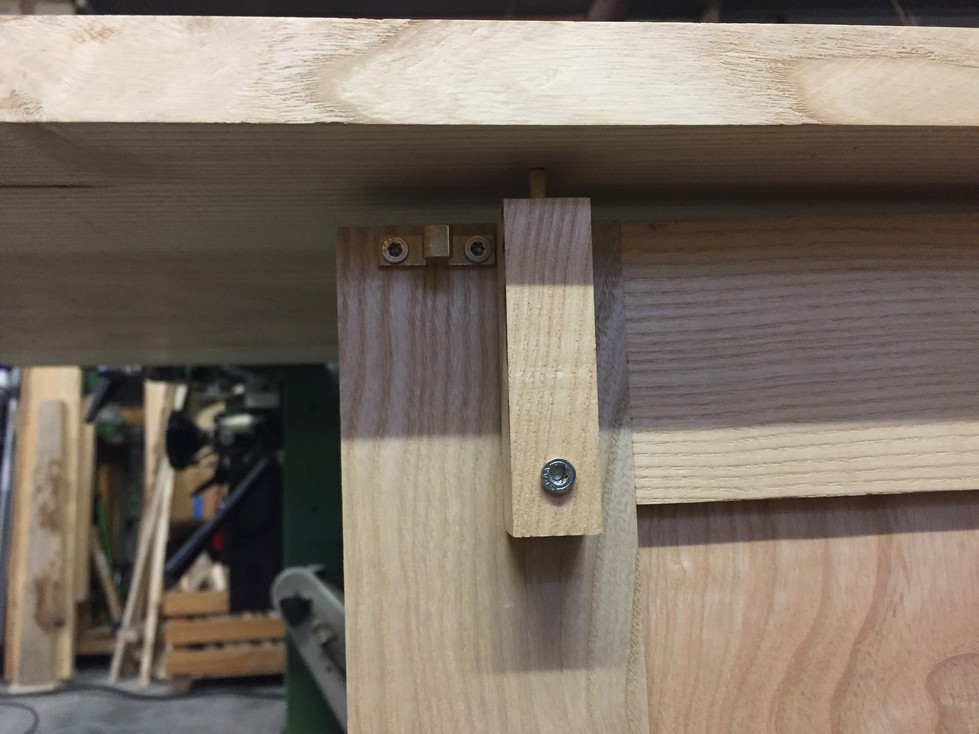
The pin will intersect with a sleeve in the top of the leaf. When closing up, the piece will rotate down out of the way allowing the door to close. I mount the swivel so that when fully upright, it is flush with the door strike. That way with one hand, you lift the leaf up and over while with the other hand, you position the swivel up against the strike without having to look at it. A small consideration, but this makes it easier to quickly open and lock the leaf.
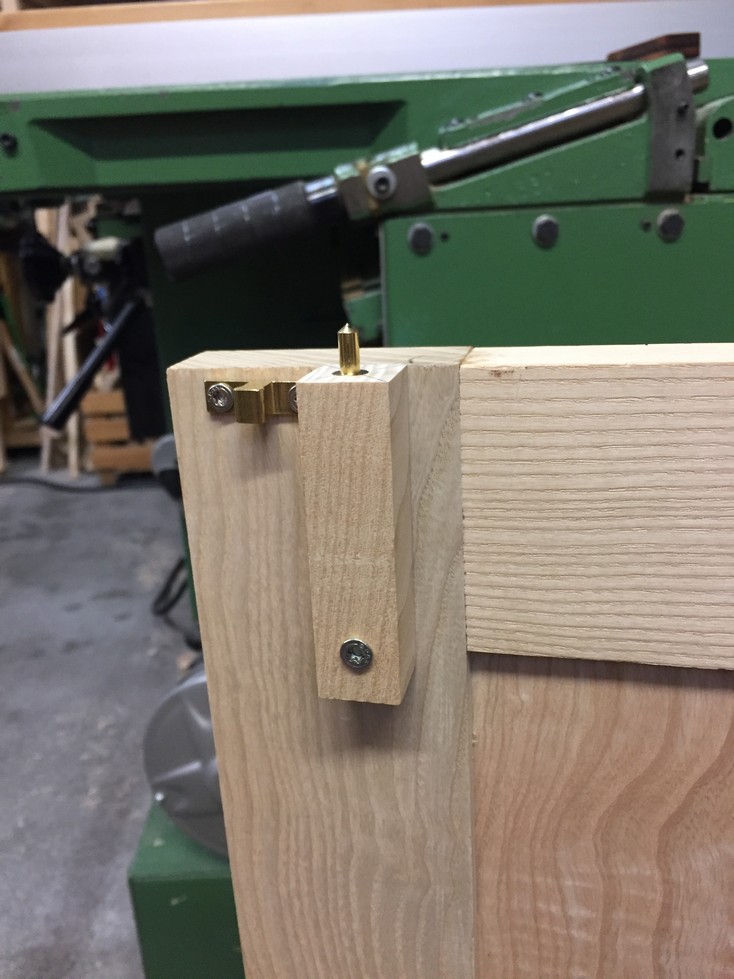

To accurately mark where to drill for the sleeve, I cover the top of the pin with black marker and rest the leaf on top of it such that the door is in the fully open position (180 degrees from closed). That leaves a mark exactly where I need to drill.
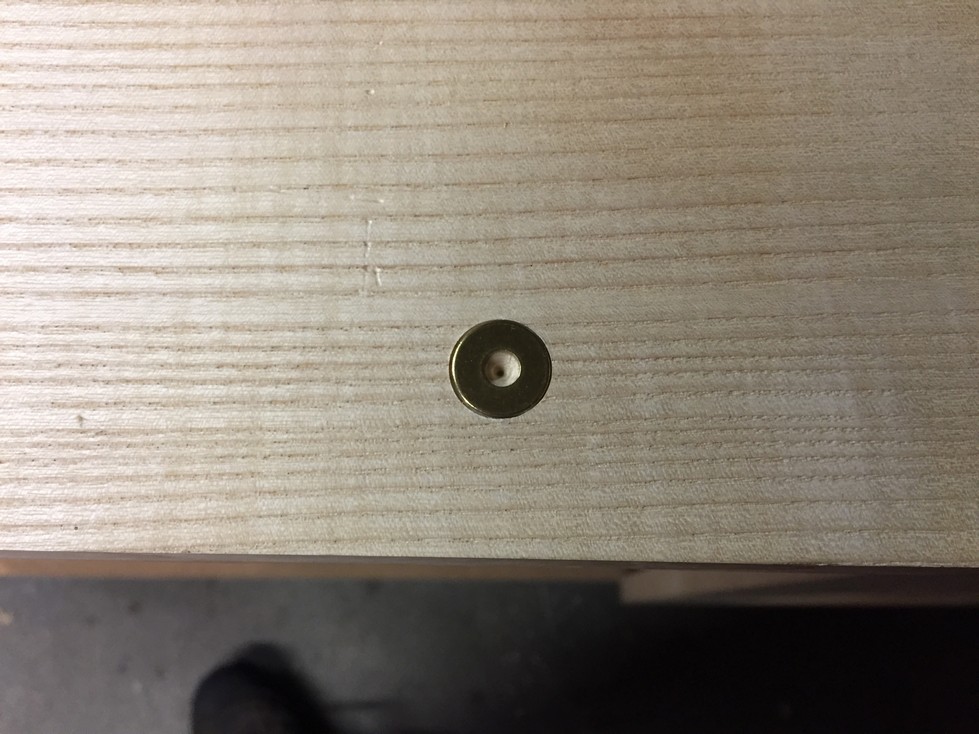
I drill for the sleeve and counter bore for a brass washer. I don’t want to insert the sleeve all the way just yet so I only ensure it will engage with the pin.

And now, for something unexpected. The left door is done and all I have to do is install the same swivel in the same way on the other door, right? Wrong. Because way back at the beginning, we increased the distance between the left and right pedestals, the doors don’t meet in the exact place as in the original design. In addition, the right leaf is shorter than the left one so the swivel needs to be mounted further away from the strike and not flush like the left door. This is fine however, even if the swivel is rotated 180 degrees down out of the way, it interferes with the apron and the door won’t close. I thought about this for a while and determined that if I lowered the swivel position a few centimeters, then that solved the problem. The only issue was I had to make the swivel a few centimeters longer in order to reach the top of the door. Oh, and now I would have to attach it to the floating panel. Aarghh. The floating panel is only 10mm thick and there is a 6mm reveal so I cut a 6mm thick scrap piece and glue it to the panel. Panel movement over the seasons won’t affect this and now I can bed the screw in at least 12mm of wood for strength.
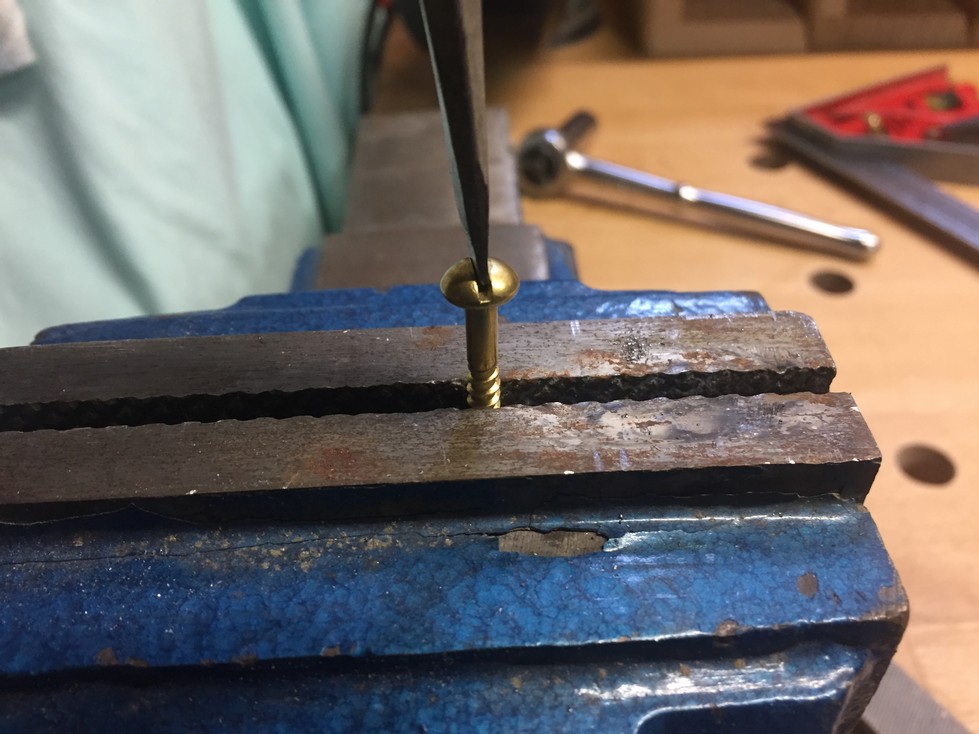
I used the actual brass screw for this test install and discovered that I didn’t have the right screwdriver. The brass screws I bought have a traditional slot for a common screwdriver however, most screwdrivers have a slight taper at the end. Although my #2 common just about fit, there was a danger of it slipping and causing boogerage to the nice brass screw so I filed it a bit on both sides to make it fit into the slot better. I still had to be careful about slippage though.

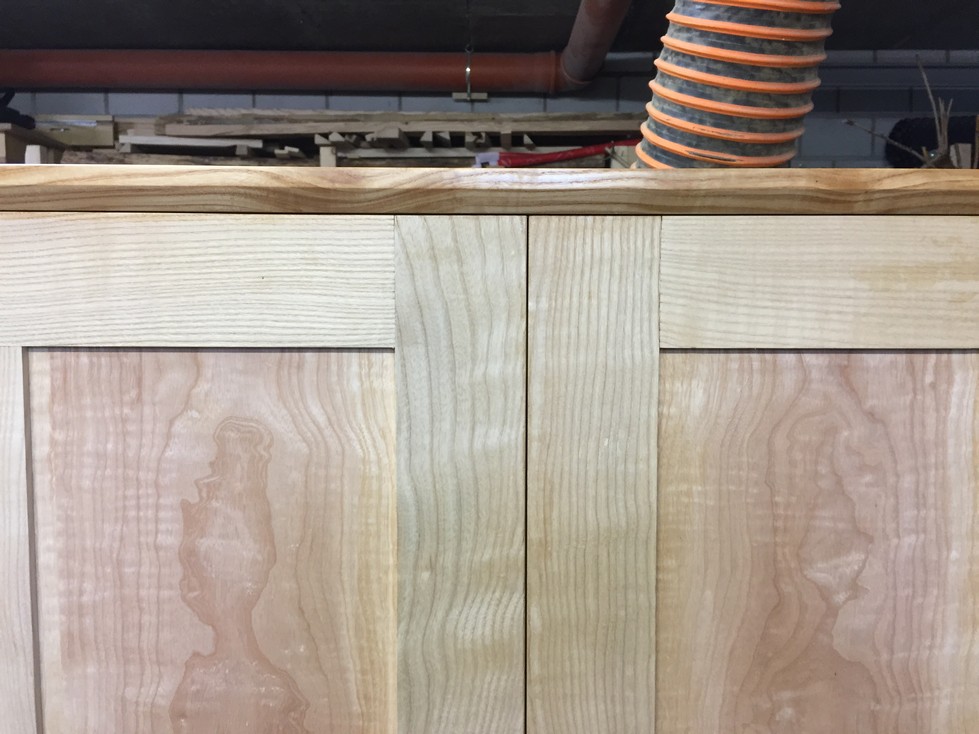
Next, I go over all the edges and corners and “soften” them by cutting a very small chamfer with the block plane.
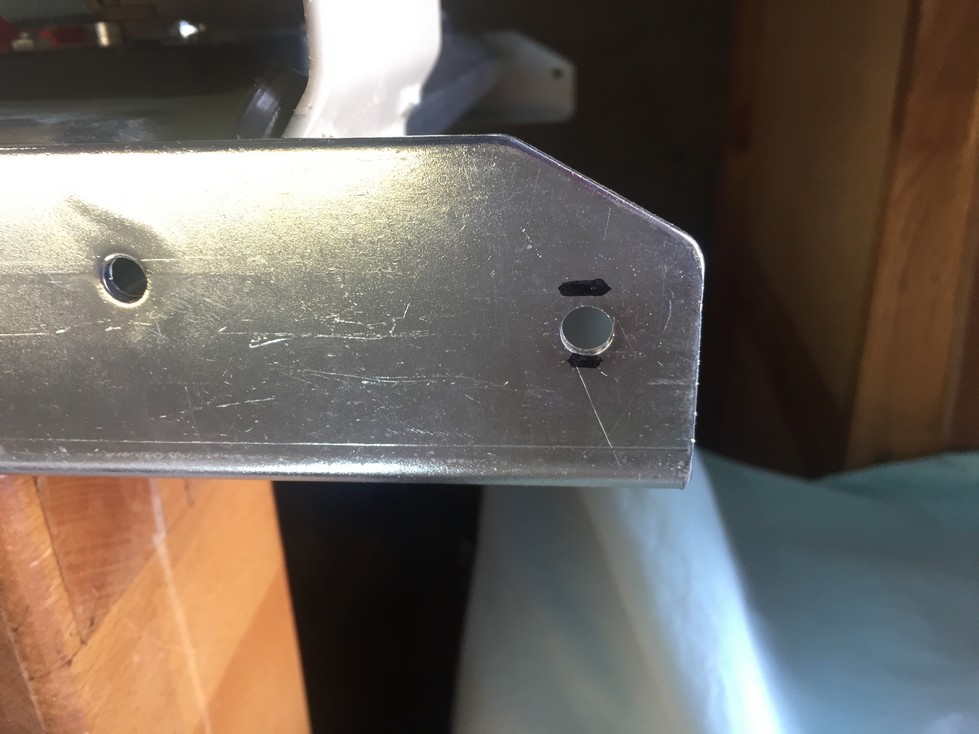
And finally, even though I won’t install the lift till the finishing is done (a wiping oil varnish), I do a little metal work on the top mounting holes. Again, we’re accounting for wood movement of the table top. The lifts’ main mounting points are to the back panel so if I blithely installed screws through the top bracket and into the top, seasonal movement would be a problem. To allow for movement, I make marks for a “slot” and use a round file to elongate the two mounting holes.
I’m sure something will come up, but for now I can’t think of anything else preventing me from the last stage: preparing all the surfaces for oil.
Next (and Last) Chapter: smoothing, scraping and sanding.
Leave a Reply