
Frame and Panels

Minus the pyramid shape on the top rail, this is a decent representation of what I’m after for the frame and panels. And the wood won’t be so dark…..
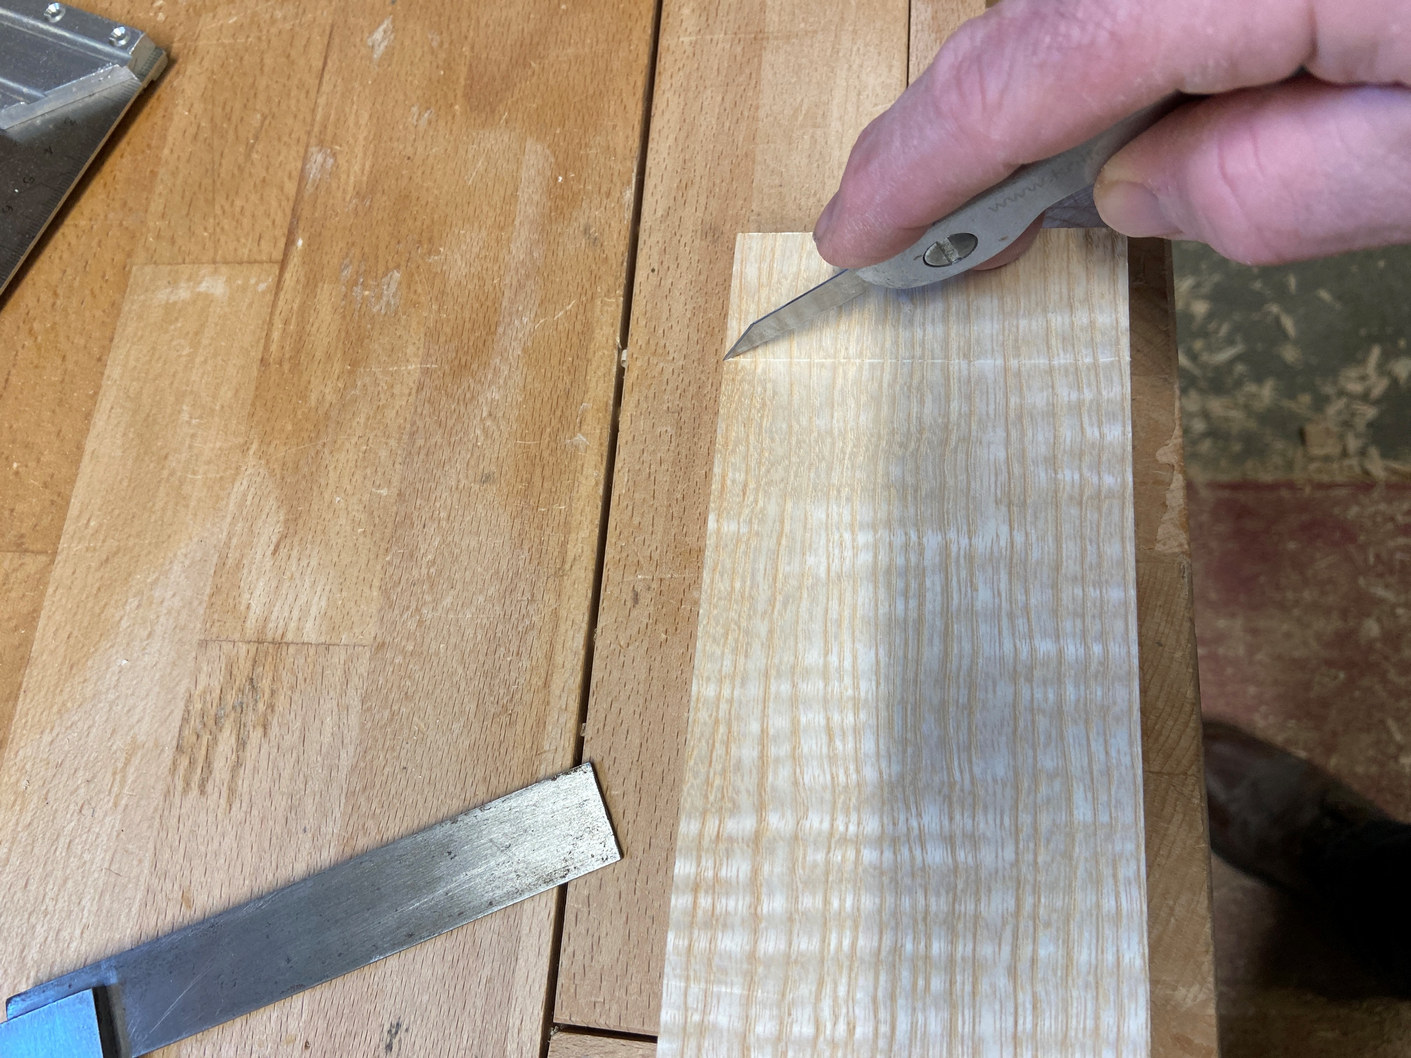
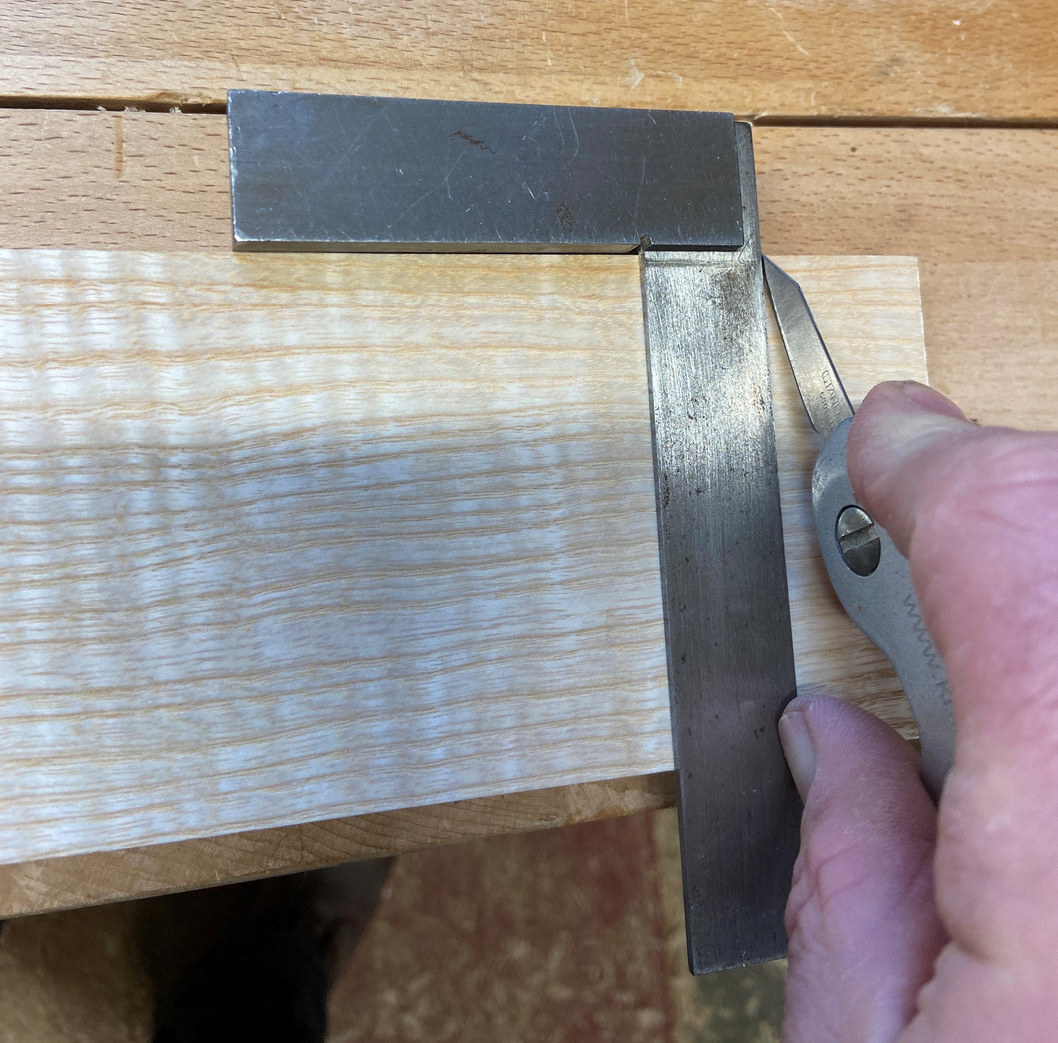
Previously, when drilling/chopping the mortises for the side rail joints, I also prepared all the frame and panel mortises so now I just have to cut the tenons. I crosscut each set of “like” parts at the same time so first, each of the 6 rails (4 for the headboard and 2 for the footboard) gets cut to exact length and the ends square. The tenons will all be 3cm long so I measure in from the end and make a knife mark. Using a square, I extend the mark across the board. The first few knife passes are very light followed by a couple with increased pressure. I then carry that mark around the 2 ends and other side of the piece.
First, I “show” the end of the rail to its corresponding mortise, line it up with the edge marks I made previously and make a pencil mark where the ends of the tenon will be. Then I pare a bit with a chisel along the scored line, this creates a clean knife-wall that I can saw the shoulders against.


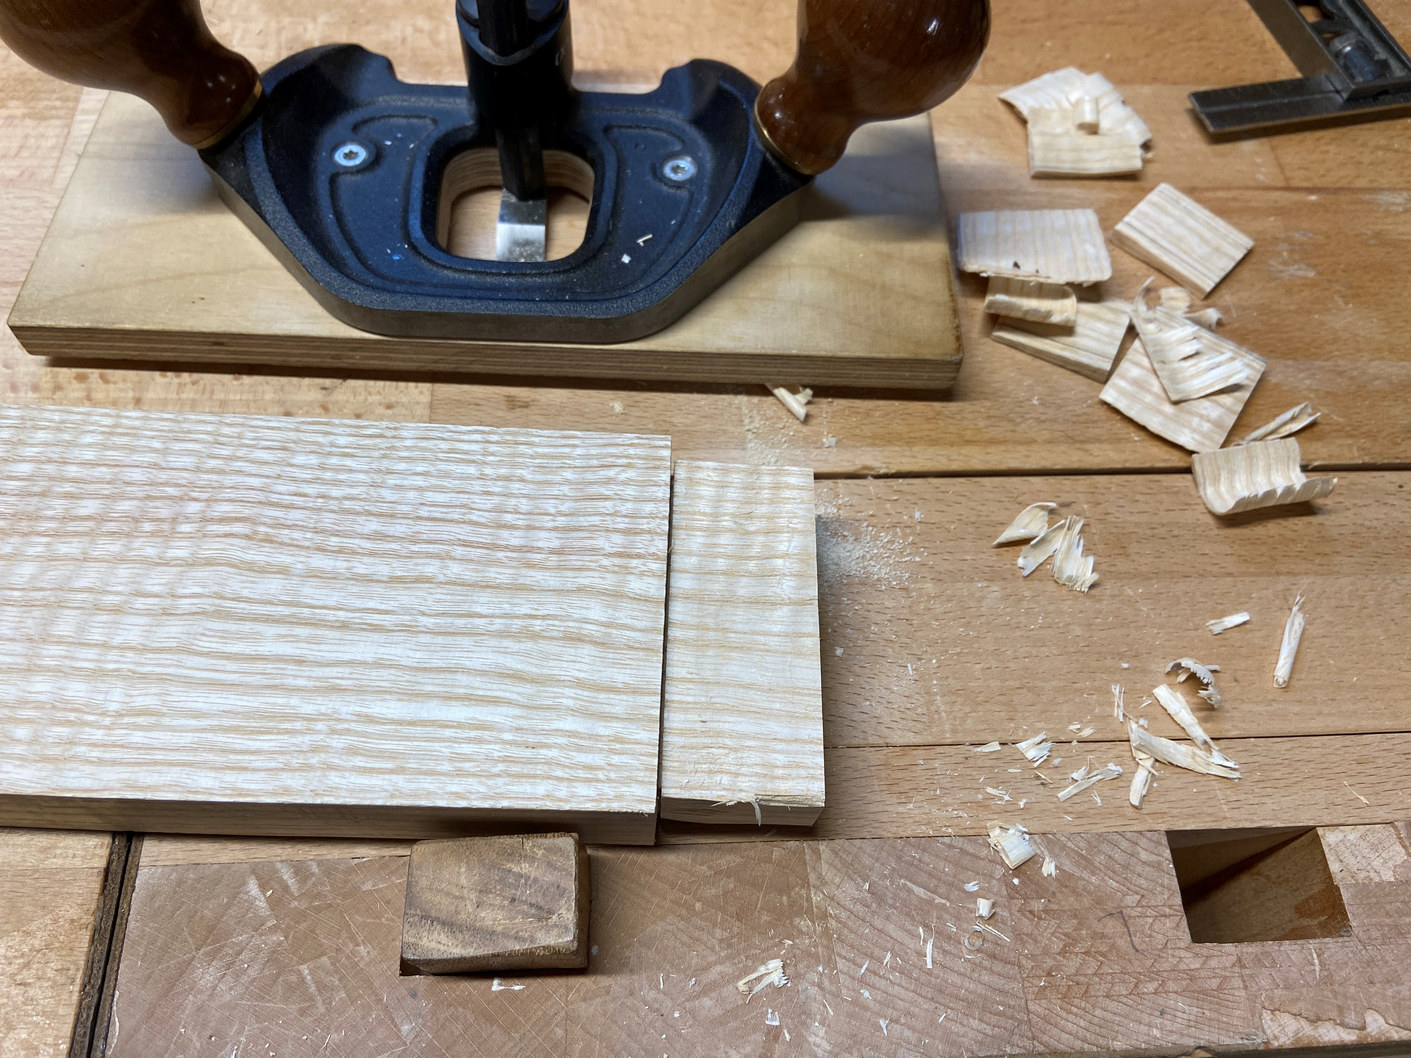
I chop and pare away most of the tenon waste and use the router plane to sneak up to just the right thickness to fit snugly in the mortise. Even though I drilled out the mortises to all the same width (10mm), every tenon should be fit individually to its mating mortise. The result should be a nice fitting mortise/tenon with the reference edge of the rail aligned with the mark on the leg.

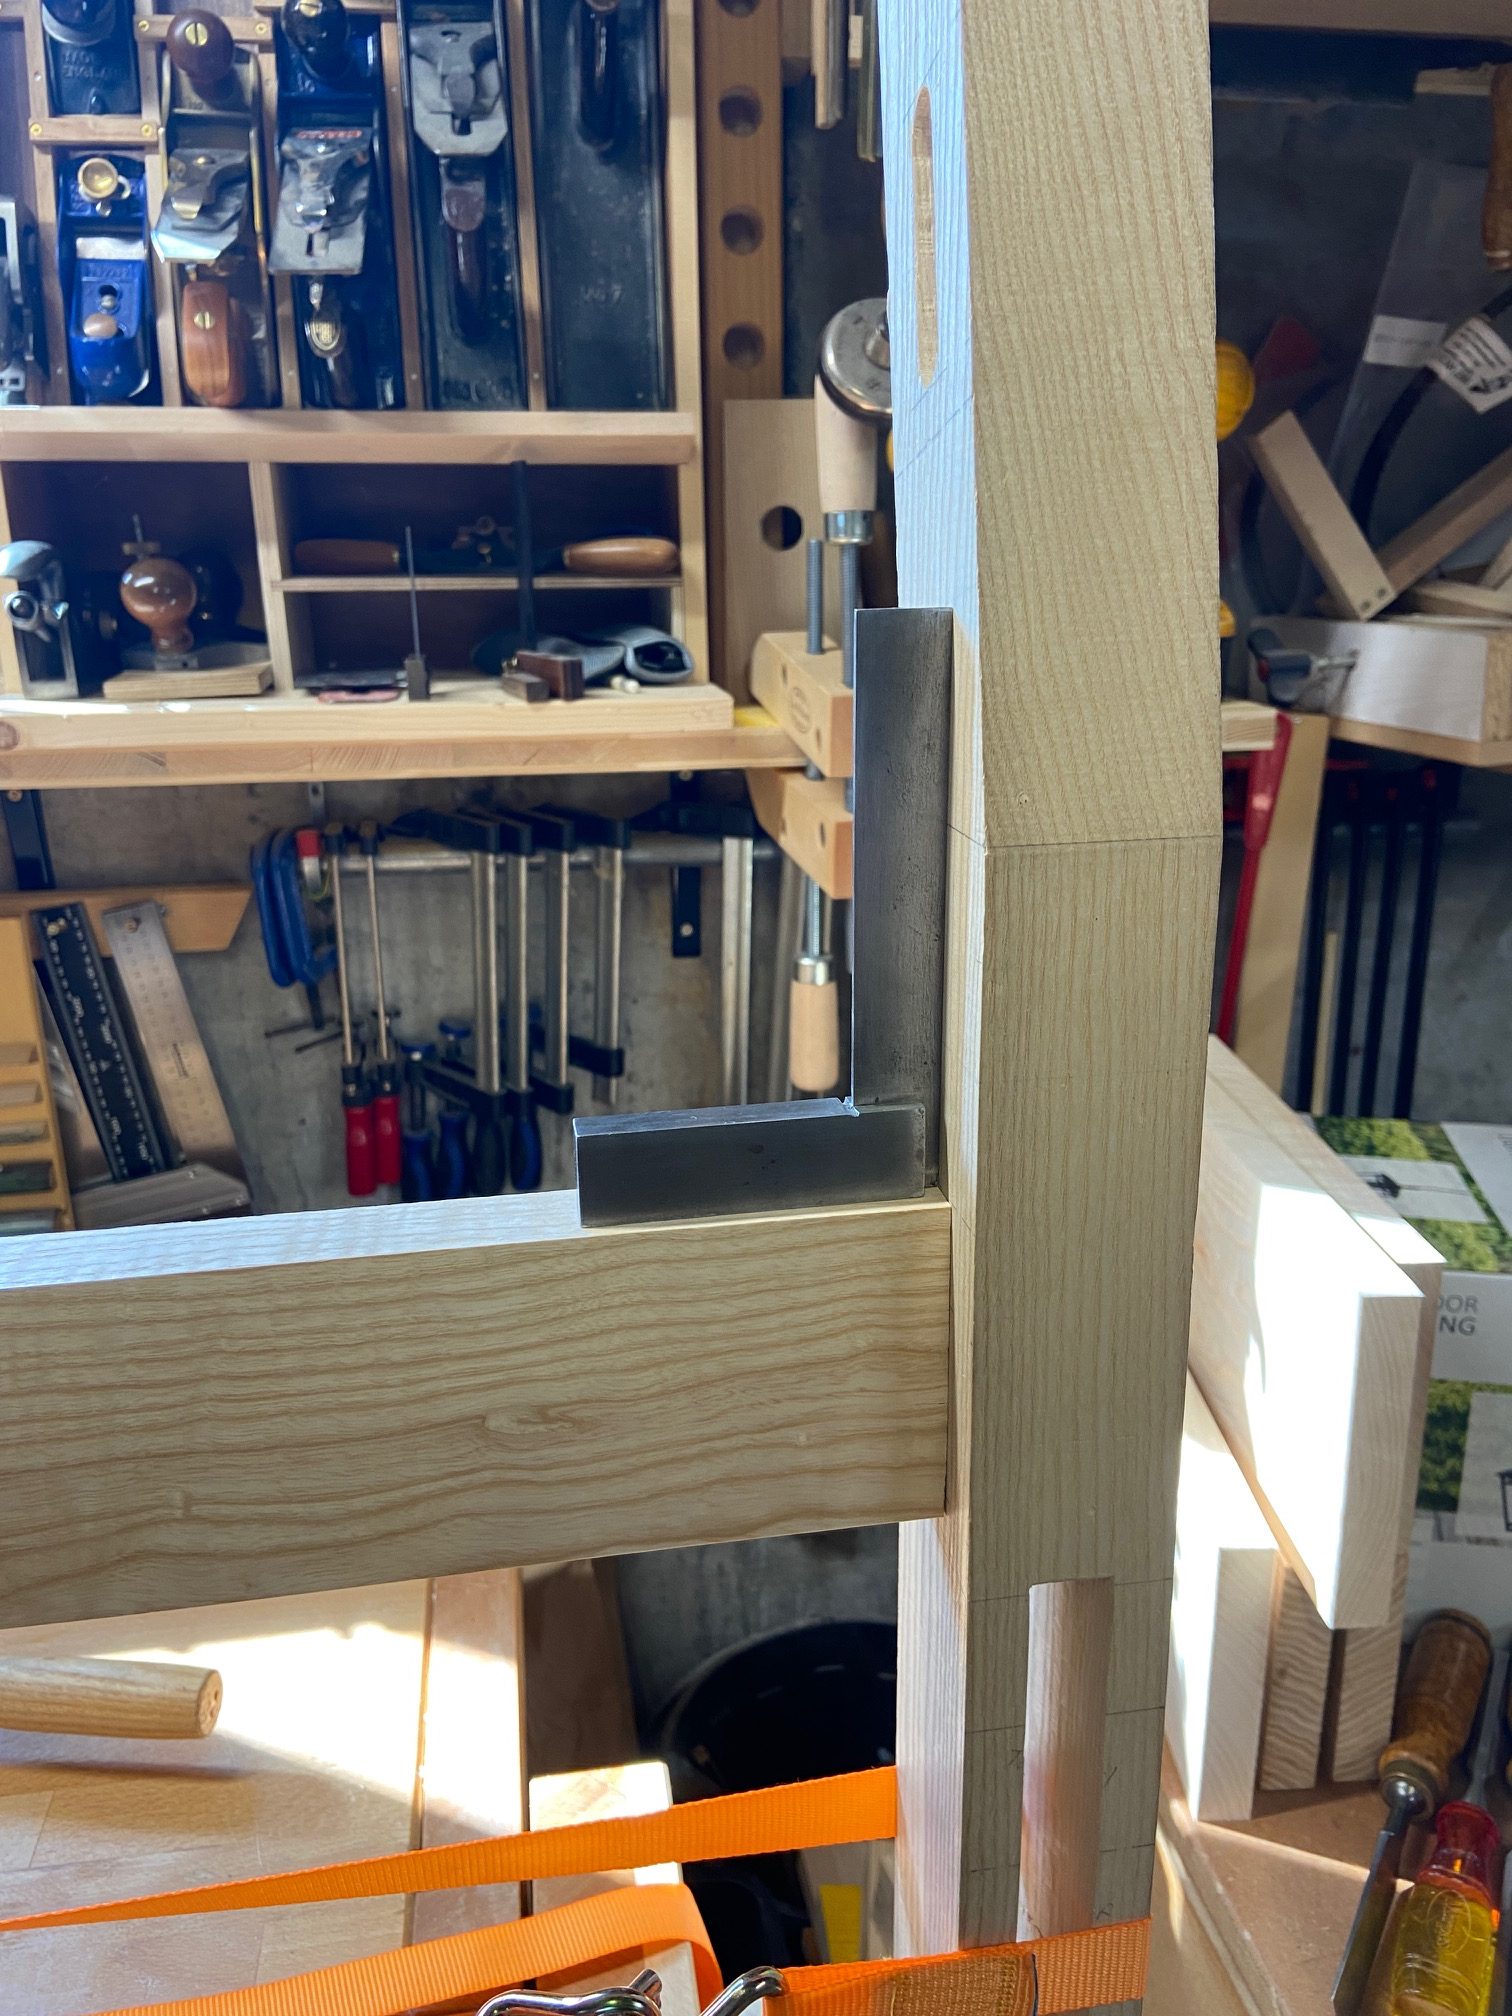
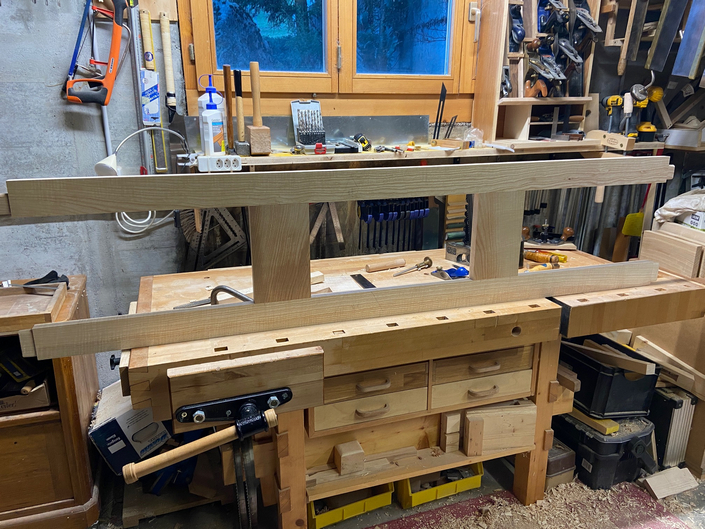
The first 2 rails completed are the lower set for the headboard and when I dry fit them and use a strap to cinch them tight, I’m gratified to find that they are both nicely square to the rear legs.

The other rails are similar and when they are finished, I can start working on the stiles (the vertical parts). It’s best to measure the height directly from the fitted assembly and then add 3cm on each end for the total length. In this case, the 2 stiles should be 259mm shoulder to shoulder. I could just cut them an even 260 but then I’d have to trim the tenons of one rail another millimeter.
The bottom part of the headboard has no panels but just two stiles for rigidity. I cut and fine-tune the stile tenons the same way I did with the rail tenons. It takes a little extra fiddling but in the end, the stiles measure 259mm from shoulder to shoulder, fit snugly and square.

 The remaining stiles for the top portion of headboard and for the footboard are done in similar fashion. A dry fit ensures that I’ve got all the joints fitted correctly and there are no gaps. At least none that will be noticed unless you look close :-).
Now I’m ready to glue up the panels. After arranging them to best visual advantage I mark them to ensure I don’t glue them up in the wrong orientation. The largest of the panels is 80cm wide and I’ve had good experience using my workbench top (or joiner table) as a flat reference with long narrow wedges instead of clamps. I lay down some thin plastic sheet to keep the glue off the workbench and use my planing stop to hold one end of the line of panels rigid. The first panel is flush against the stop and I apply enough Old Brown Glue to the edge of the next panel to give me some squeeze-out and I rub the joints together before aligning to my marks. The next four panels follow in the same manner and then the wedges to apply pressure.


I can glue up some shorter panels in the same way on the jointer table.
 I usually do this as the last action for the day so I can leave the panels overnight to cure and they are not in my way. It takes me 3 nights before all the panels are glued and each morning, I trim the majority of the squeeze-out. I’m in a planing mood so all but the final scraping is done now. Later, before oil is applied, I’ll be meticulous about preparing the surface.
 With the panels set aside for the time being, I prepare to cut the grooves in the rails/stiles. The finished panels came in at 12mm thick and so I plan a 12mm groove to house them. There are a lot of long grooves to cut so it makes sense to set up the shaper on the machine to do this. Before I was gifted the machine, I would probably have cut the grooves on the tablesaw and cleaned them up with the router plane. A lot of woodworkers would do this with a router or router table and I have also done this to good effect; I just don’t care for the router.
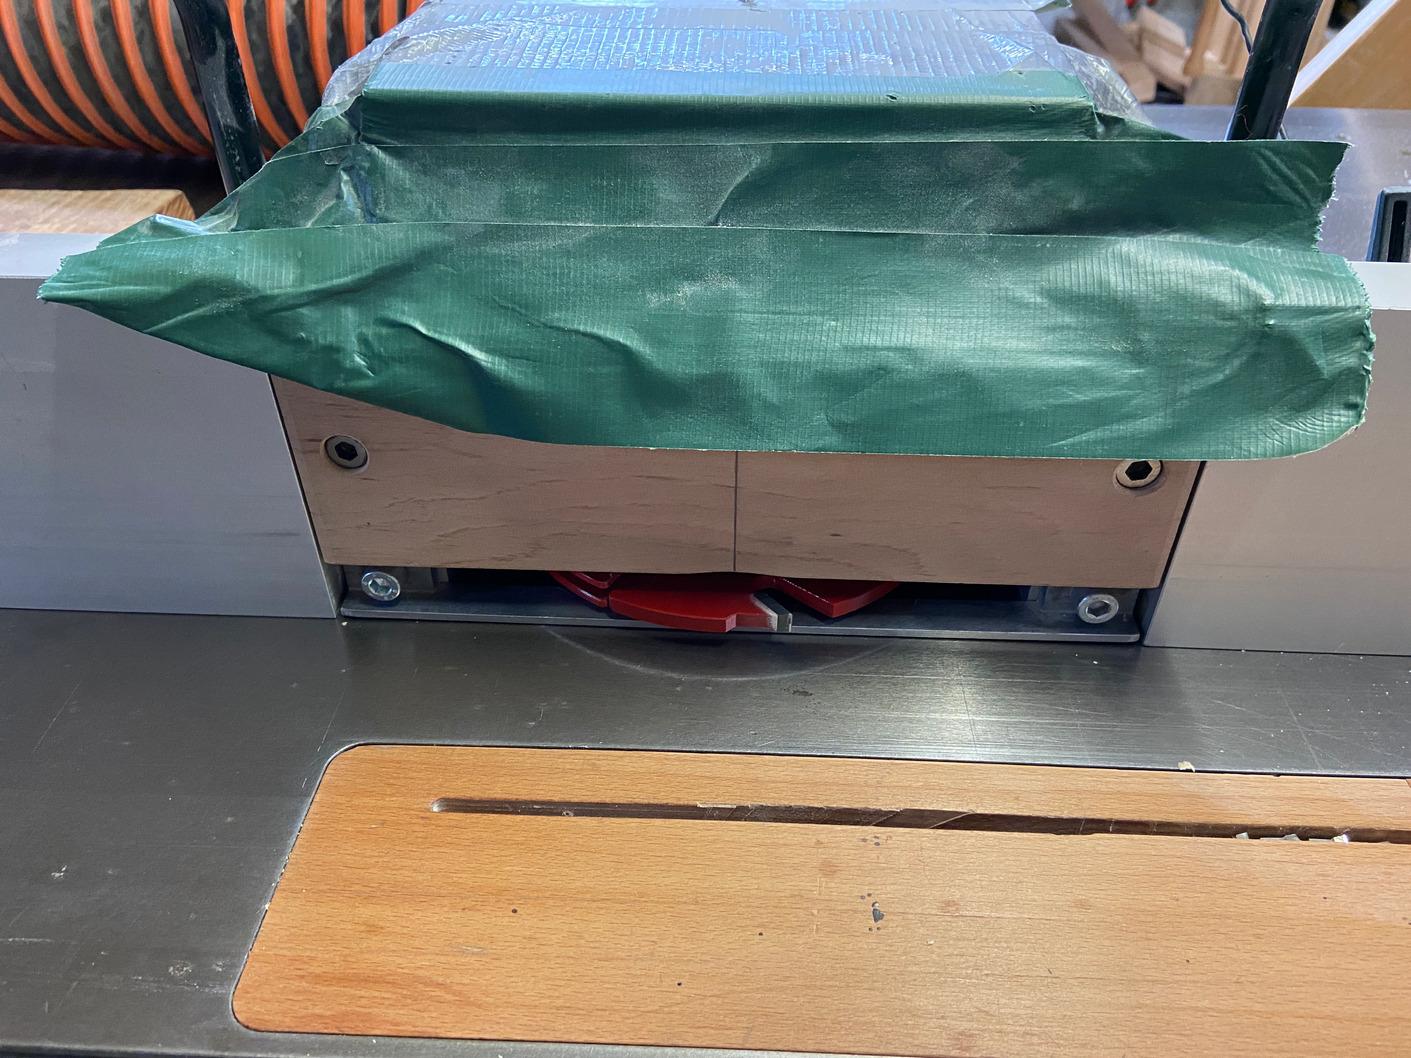
I mount the adjustable cutter and with a little trial and error, set it to cut just a hair under 12mm. A finger fence fits just under the cutter and a wooden auxiliary fence above; this ensures that both the bottom and top edge of the stock is supported and (more importantly) keeps my fingers well away from the cutter. The duct tape seals the opening above the cutter so all the dust is extracted.

I have the reference face on all the rails and stiles marked and when I run them through the machine I ensure the marks are always face down. It actually doesn’t matter, as long as they all get cut with the same face down.
With the protection of the fence, it is all fine to do this by hand for the short stiles. The long rails however, have a little bit of a bow in them and instead of trying to hold them flat to the table’s surface with my hands, I rig up a clunky looking contraption that will do this better.
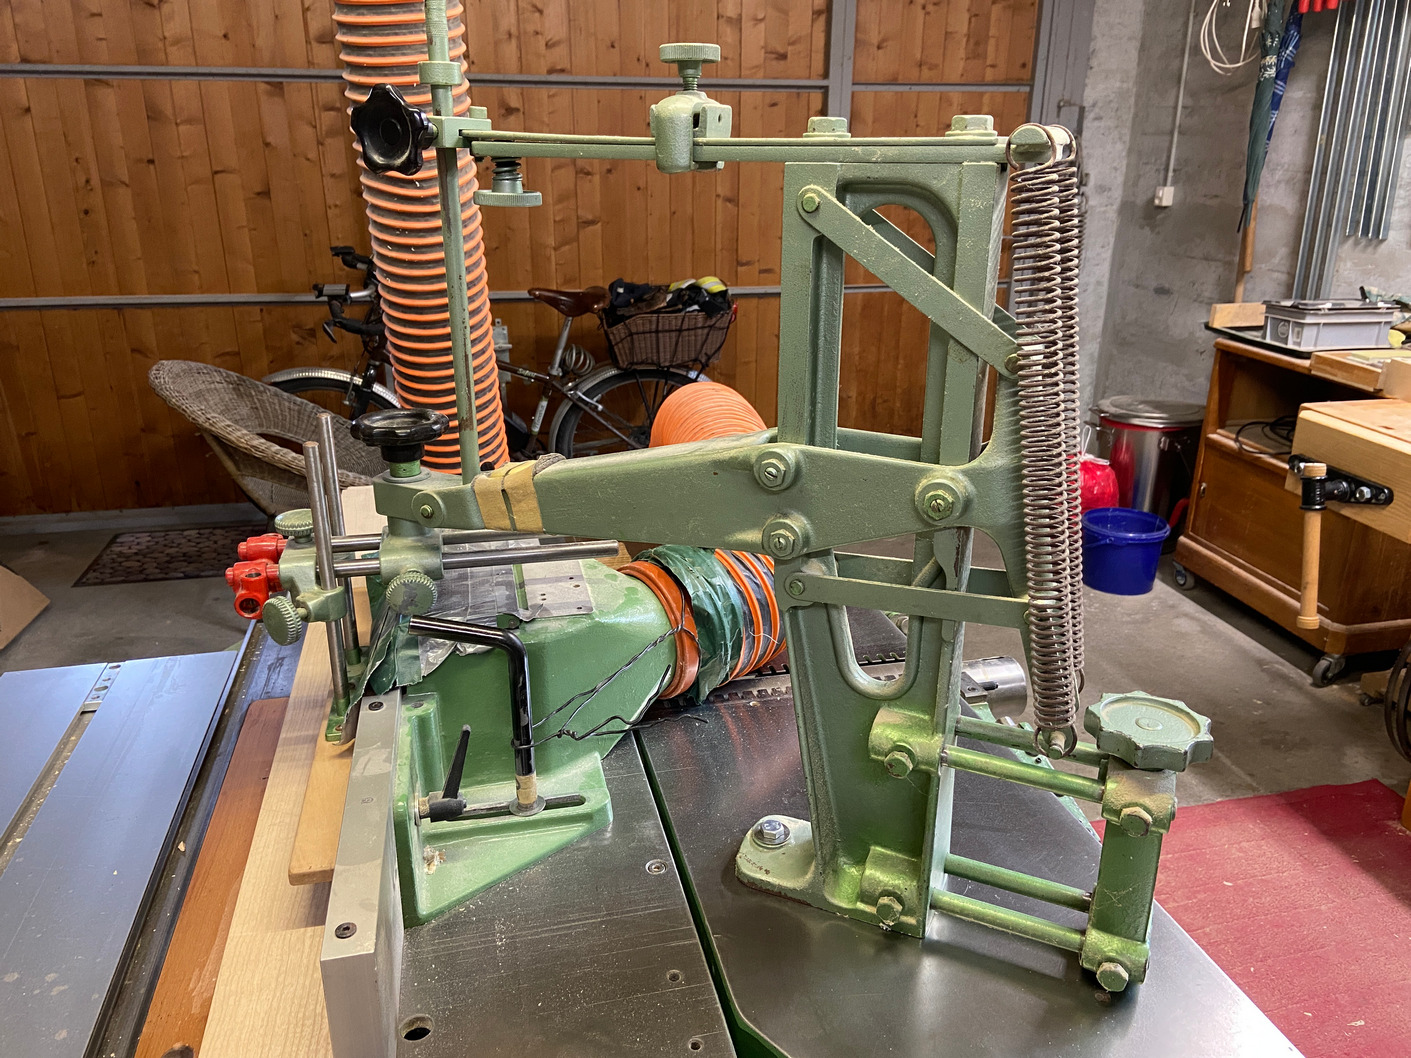

This monster, while heavy, is easy to mount with 2 bolts and does a couple things quite well. The first is to mount a top fence (or a “shoe”) that is snug enough to hold the rail flat to the table but still allow me to push it through without trouble. A little wax on the shoe helps. The other bit that I don’t need right now is an outside fence piece that mounts to the red part. This would keep the stock firmly against the main aluminium fence behind.
If I had cut the mortises for the stiles at 12mm, then I could just run the whole rail through from end to end. Since they are different (10mm), I don’t want to remove any material from mortises and so must begin and end the groove between mortises. It’s not as difficult as it sounds and the first step is to mark the points where the cutter begins and ends. The pics below are better at explaining this little trick.
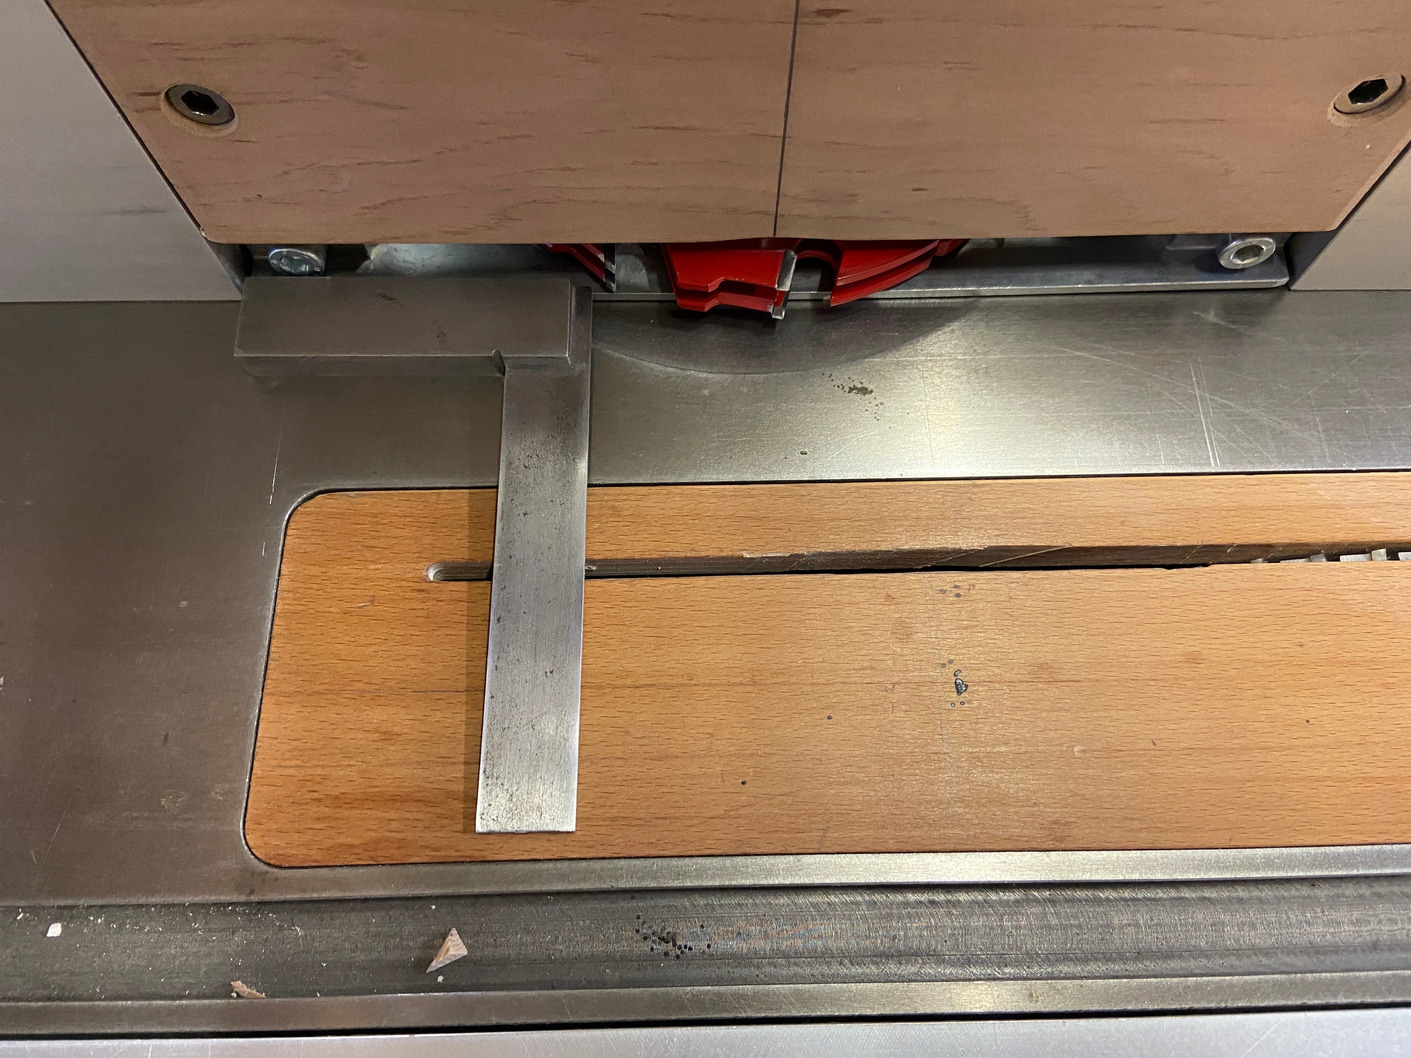

I have marked the rails where the mortises begin and end and when I cut the groove and reach the first mark, I slide the rail away from the cutter (the top shoe is removed in the picture for clarity). Move the rail forward so the second mark is past where the cutter ends and slide it in towards the cutter and against the fence to finish the cut.


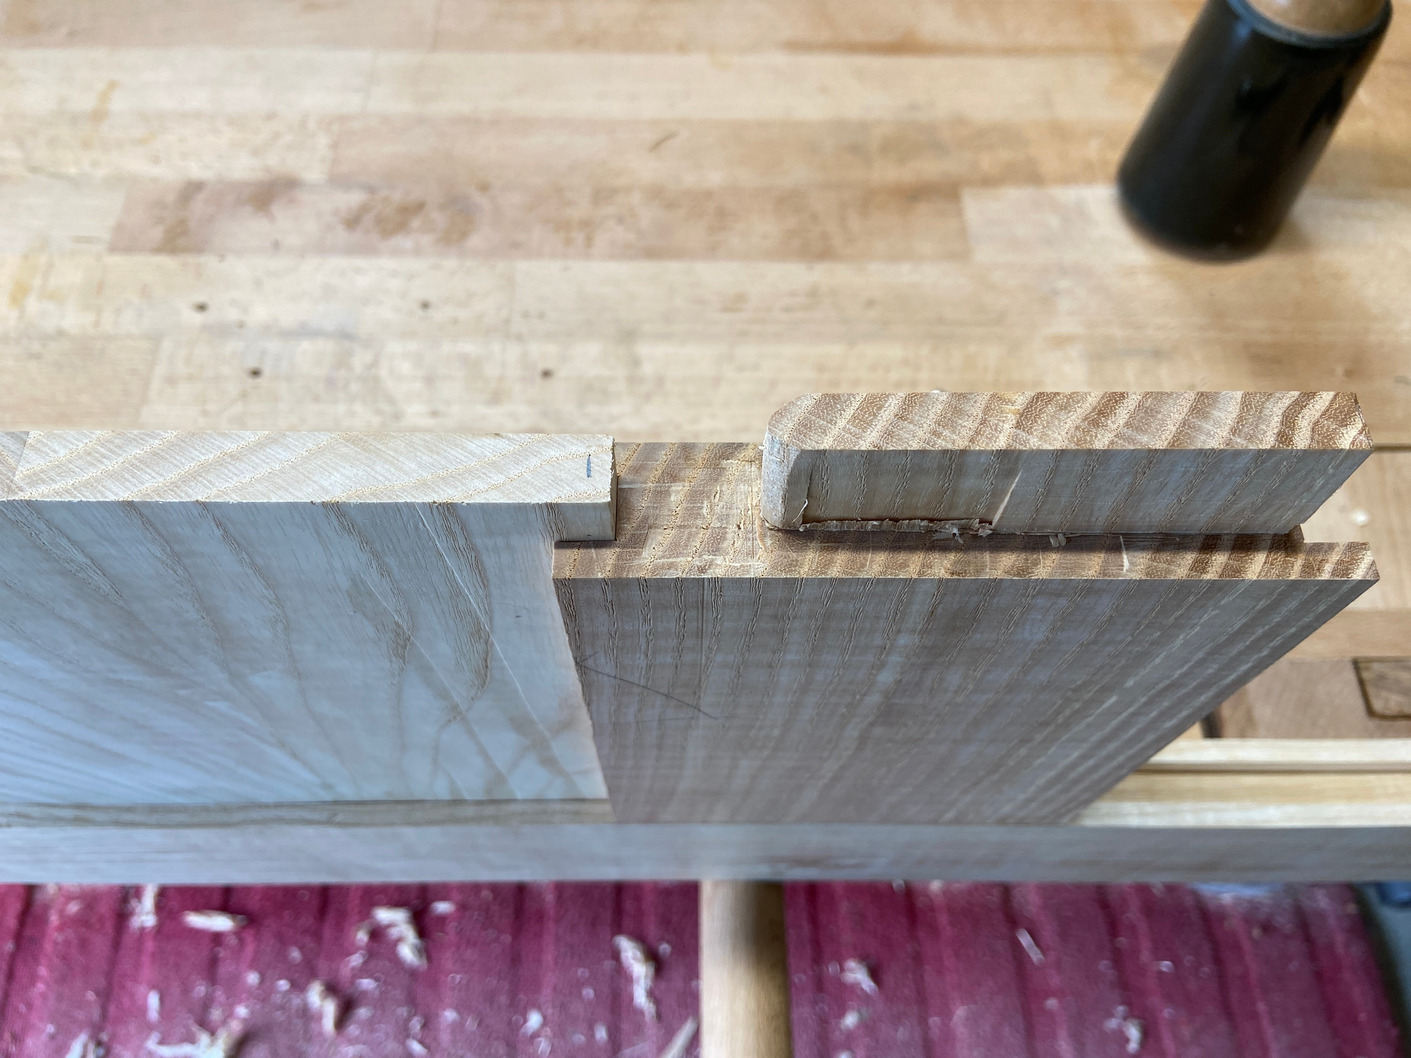
And below is the result. You can see the groove cut end and begin to each side of the mortises. After all the long rails are grooved, I square up the groove ends with chisels.


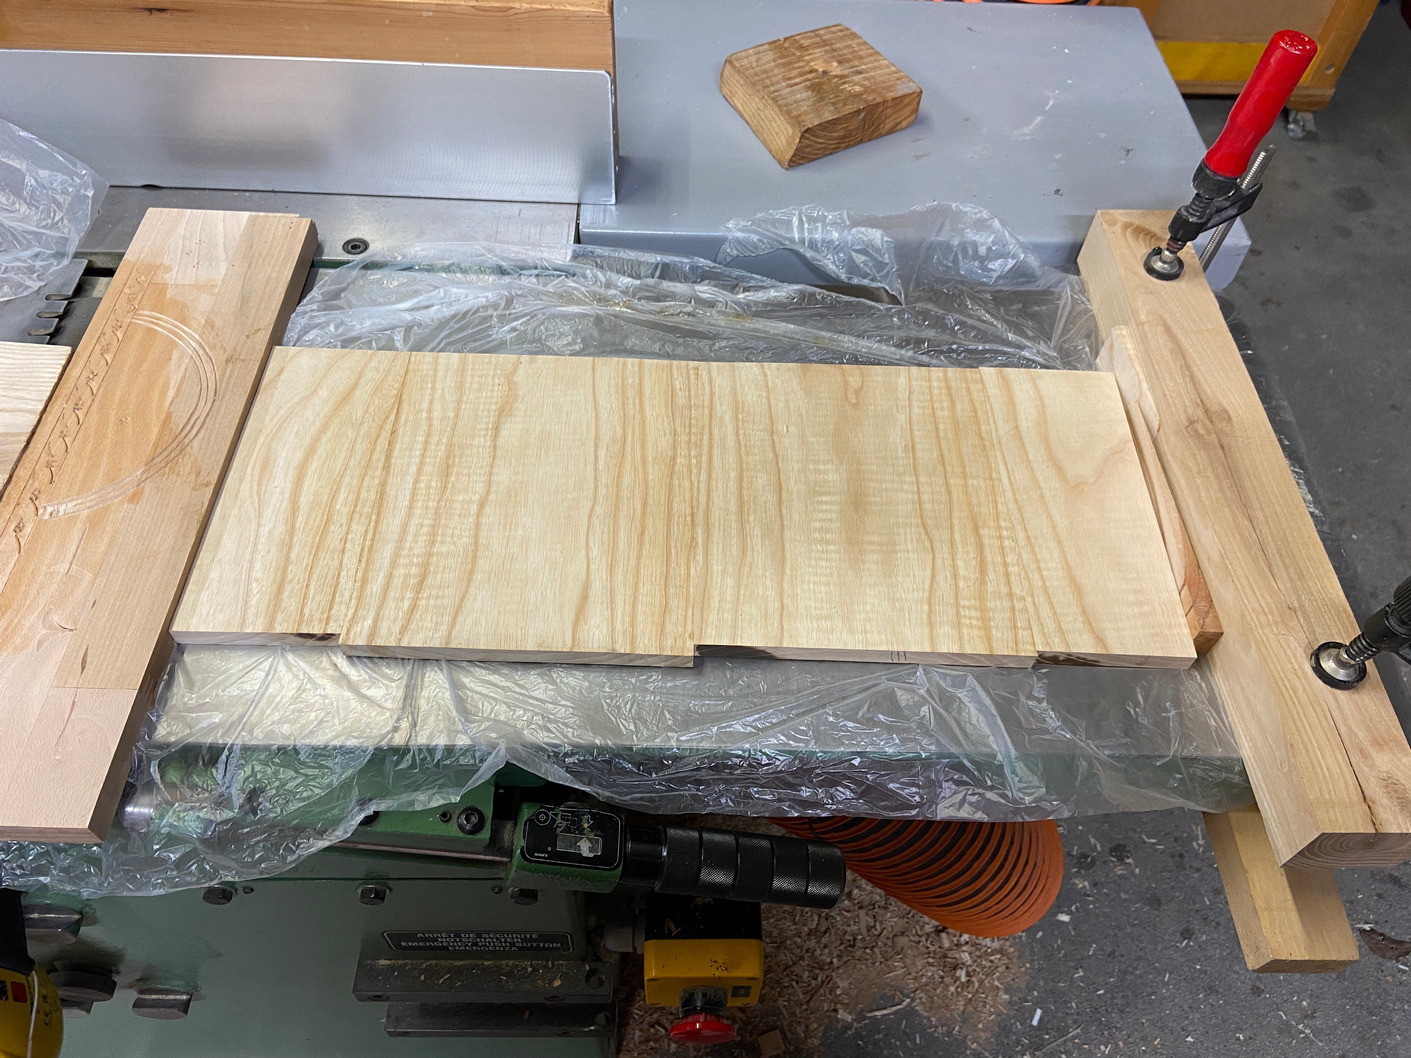
All the panels are cut to dimensioned width and to height + 2mm. All the grain runs vertical so the panels will only move horizontally with the seasons. This means that with a hand plane, I can creep up on the perfect fit between the top and bottom rails and the panels will add rigidity to the whole frame structure. The panels don’t quite fit into the grooves (this was on purpose) but a swipe or two along the edges fixes that.
I start by cutting to exact width and then depending on the environmental conditions (season) I’ll decide how much additional material to remove to allow for expansion. With this ash, I’ve experienced mostly contraction when moving a piece of furniture indoors however, I’ll always leave a few millimetres of expansion area in case of a really humid summer.
Once the panel is fitted to the rails and stiles, I’ve found that it is easier to get an exact fit (height) if I install the top rail and then measure the gap. Here I’ve got a little more than a millimeter gap, so a few passes with the jointer plane and the gap closes up and I know that the panel is snug to the top of the groove.
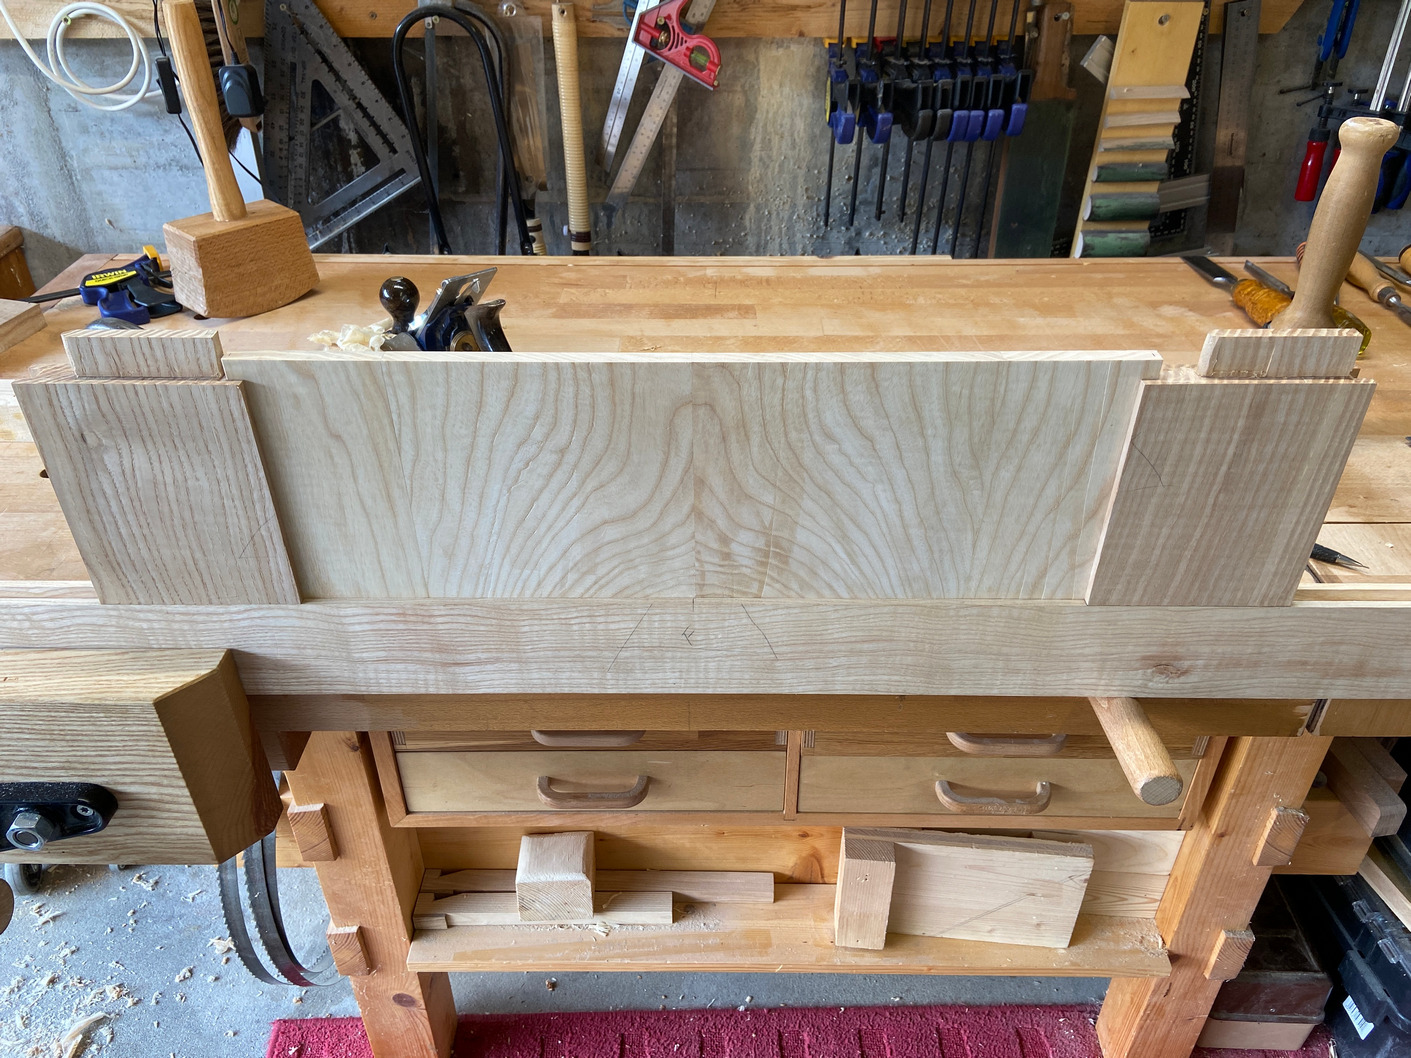
 This is the final dry-fit prior to glueing up the frames. The footboard:
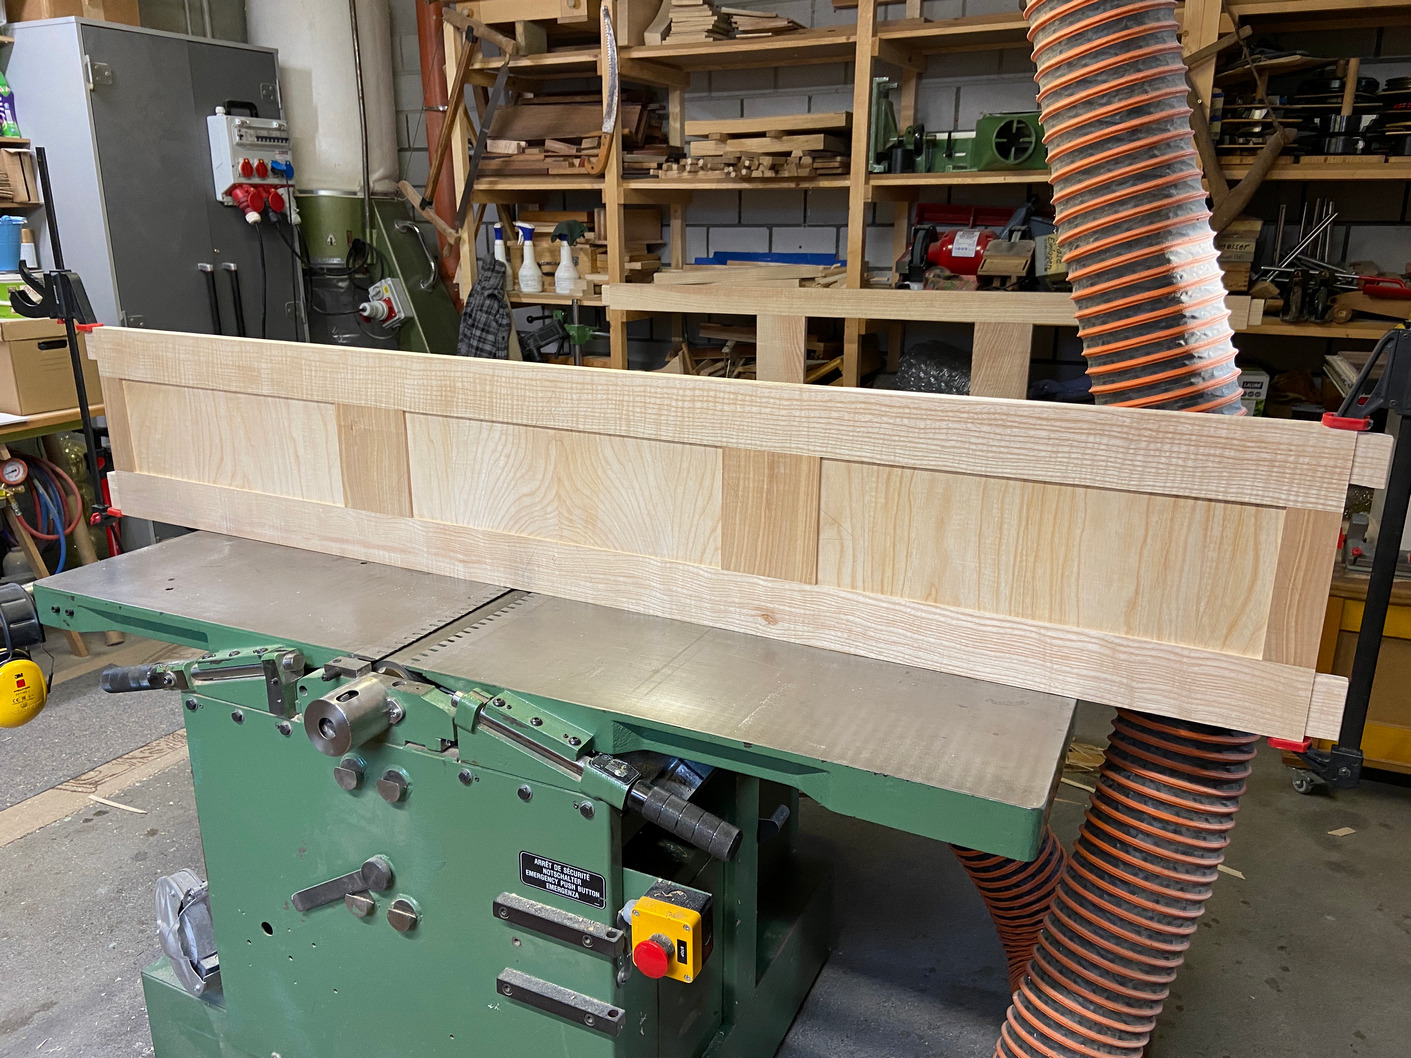 And the headboard:

Leave a Reply