
“Odd Bits and Finishing”

When I think of “Odd Bits” I usually think of the Metzgete in Switzerland, which is a short time in the Autumn where they specifically serve all the parts of the pig that aren’t considered “fine cuts”. Something I look forward to…… But that’s not why we’re here :-). There remain some last bits of construction on the bed before the end game of surface prep and oil/wax.
“End Game” is slightly misleading as it is easier (for me) to get a nicer look by pre-finishing the panels prior to assembly. That means 3 coats of oil as a base and then at least 1 coat of an oil/wax mixture followed by 2 coats of wax. The first time I oiled an assembled frame and panel structure I found it all but impossible to prevent the oil from wicking into the grooves that house the panels. The result is that the oil dries in the groove and acts like glue and when the panel contracts with the seasons, you get an unsightly line of hardened oil.
So now all my panels are pre-finished and in addition, I oil the narrow top surfaces of all the grooves so when/if some oil does get in there I can immediately wipe it with a dry cloth and worst case if it wicks a bit into the groove, it won’t stick to the waxed panel.
For the glue-up of all parts of this bed, I use Old Brown Glue or some of my stock of bone glue. I get a little more working time then with PVA and in case of future repairs, it can be reversed with a hot water soaked rag. Also, it’s easier to clean off any squeeze-out and is neutral with oil over it.
Before assembly, I plane and scrape to remove scratches and pencil marks. Anything that needs doing prior to final sanding, which happens after the glue cures.

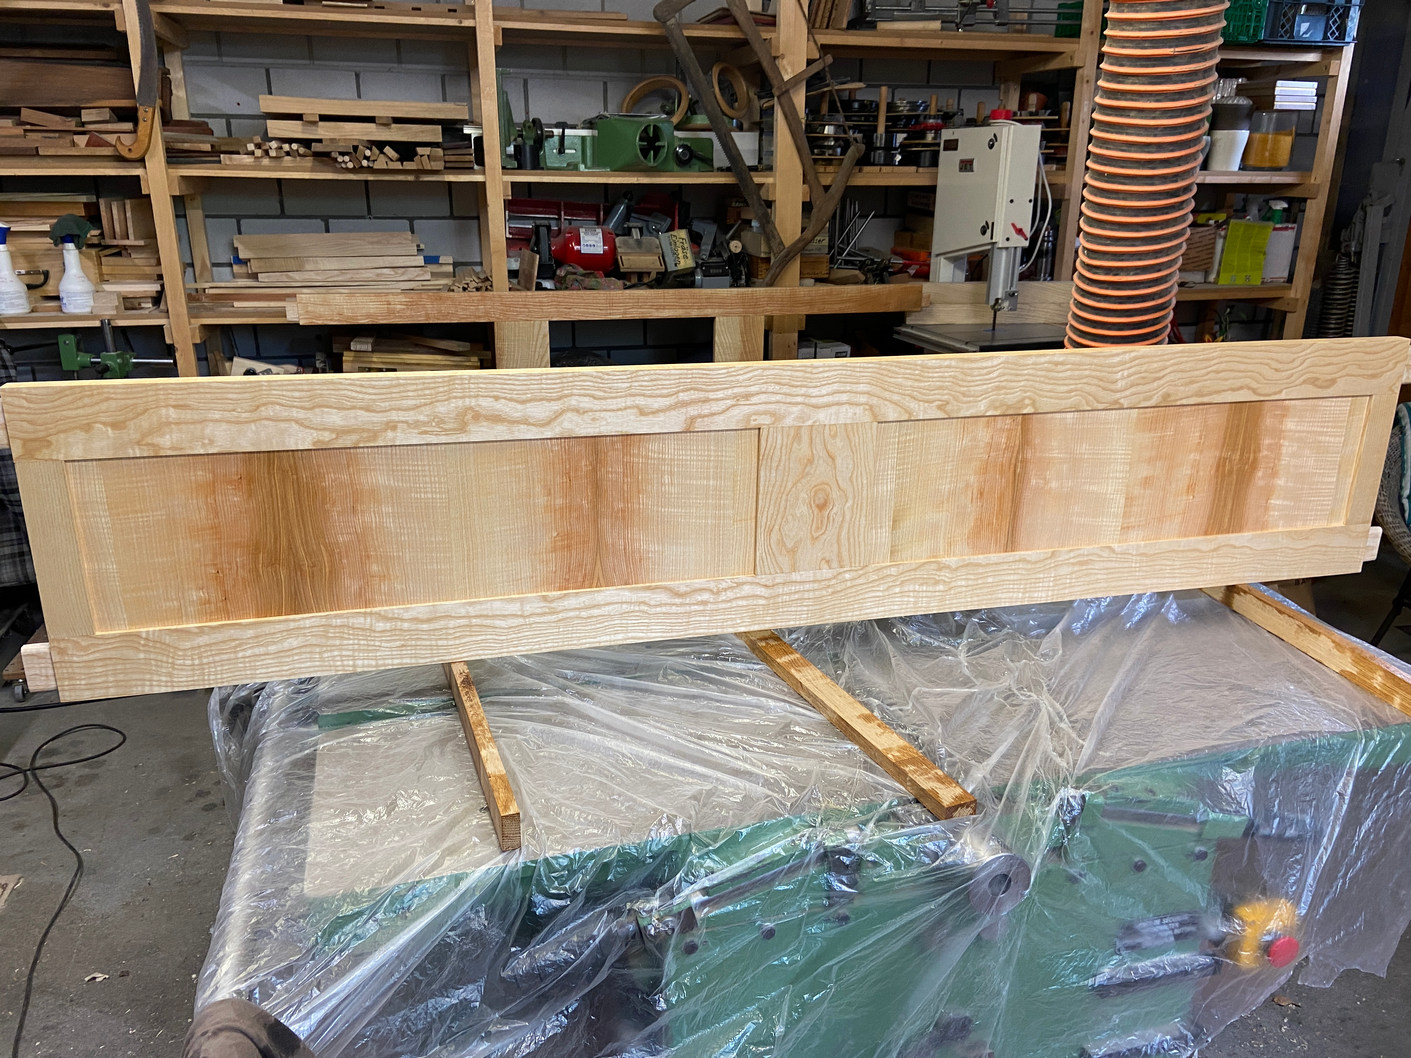
Here is the headboard in the clamps:

The next day I clean off squeeze-out, do a final inspection and sanding, and then it’s ready to finish oiling. I’m very careful not to get any oil on the end edge or tenons for when I attach the legs.
A side note on oil: I’ve begun using the Maloof recipes of oil and oil/wax and am impressed with the result. My go to mix is still equal parts boiled linseed oil, oil based varnish and mineral spirits. Because the Maloof method involves 2 different mixtures (3-4 coats of the first and 2 coats of the second), and because I can’t oil the entire bed in one sitting, I find it helpful to keep notes of which day I apply which mixture to which piece. Helps avoid confusion.
While the headboard/footboards are set aside to let the oil dry, I need to make some supporting pieces to be mounted to the side rails. These will support the slats (Lattenrost) on each side. In addition, there will be 3 cross members with feet to support the middle of the bed. I mark the centers for each cross member, clamp and screw the supports in place and transfer those center marks to the supports. I also label each support so I don’t confuse where they go later.
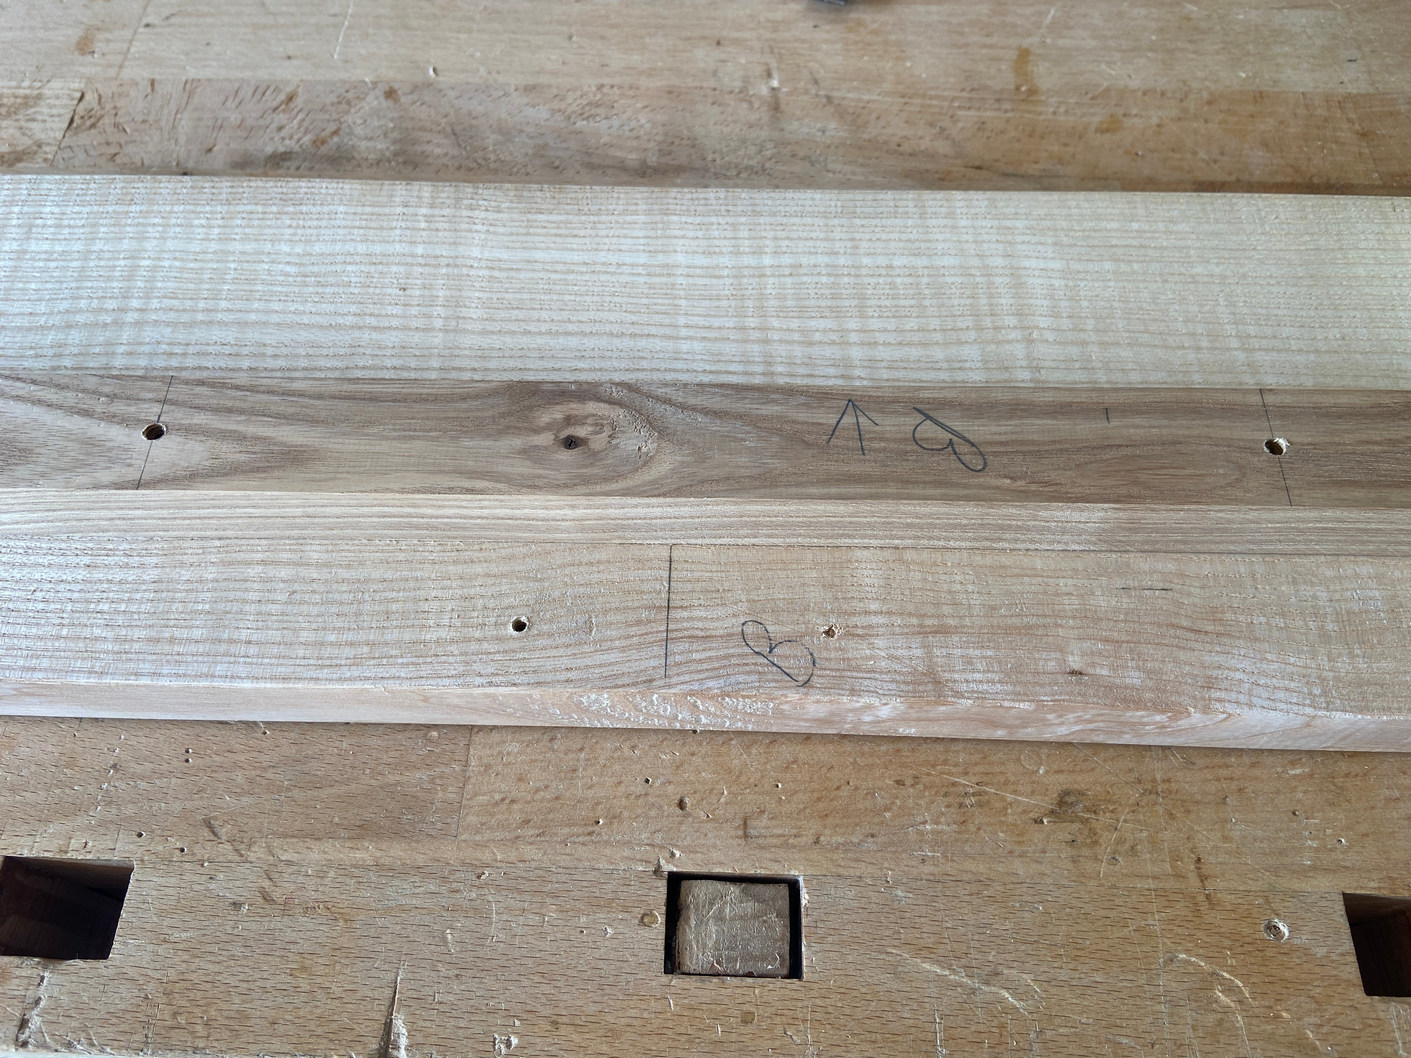
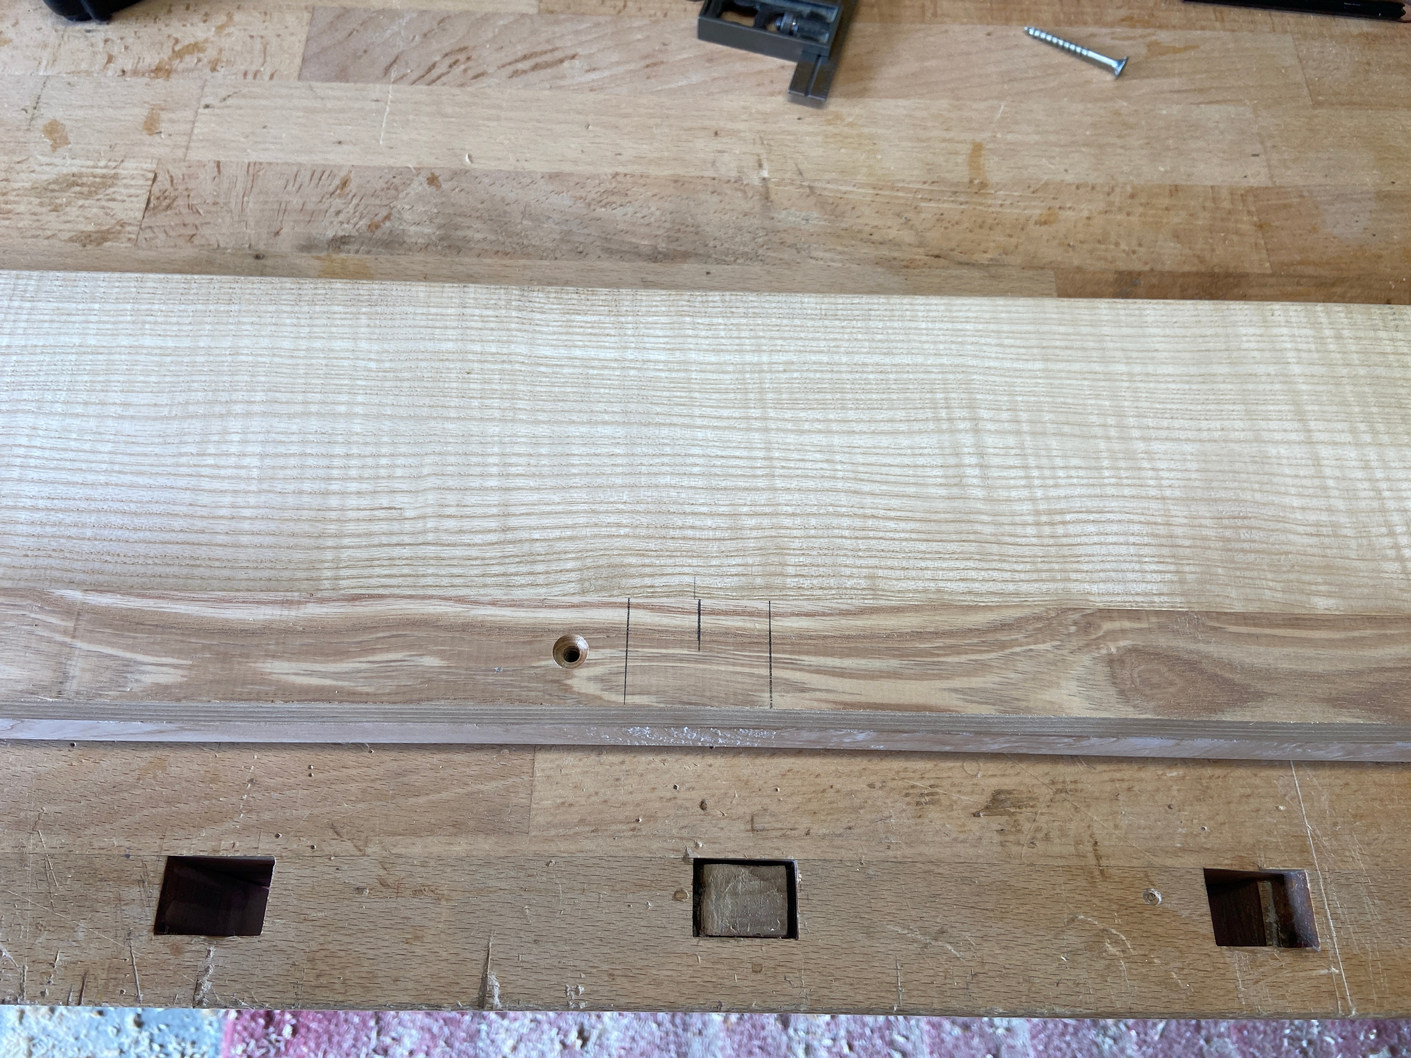
That’s all on one side rail. When it’s complete, I put the other rail up against it and transfer the marks so the ends of the cross members are even with each other from left to right side of the bed.

Now I can oil the side rails and while they are drying, I figure out how I want to mount the cross members to the supports. I could make wooden cross members but angle-iron is commonly used. In addition, I can still make wooden feet and it will be simple to attach them to angle-iron. Now, off to the Hornbach (Big Orange Box Store)…..
I decide to cut a groove in the top of the support wide enough to accept the end of the angle iron (Actually, what’s in the picture below is not true angle iron but more of a corner bracket material. The thickness is about 1.7mm so it is strong enough.). In turn, I cut out a vertical portion the same width as the support.

I have a few long strips of leftover wood about 10-12 mm thick and so I plane them all to even thickness and then screw them to the top of the angle bracket to 1) add more stiffness and support and 2) to provide a nice wooden contact for the slat assemblies.

By now I’ve gotten 3-4 coats of oil on all the pieces and now it’s time to glue up the legs to the frame and panels. A last dry assembly highlighted a couple small tweaks that needed to be made while I heat up my glue. The footboard is the simplest so I start with that. Apply glue to one side of the frame plus the tenons, then the mortises in the leg and assemble. Then the next side and a simple ratchet strap applies enough pressure while the glue sets overnight. a couple thin scraps of pine on each end over a rag prevents the strap from digging into the leg.

The headboard is more complicated and I’ll need extra time to get everything assembled so I take a wet rag and go over the tenons and likewise, a small brush to moisten the inside of the mortises. This will extend the working time of the hide glue. In the photo below, I have the HB mounted upside down clamped in the face vise and supported on the other end by a clamped piece of scrap. I start by applying a long pipe clamp to the top of the HB (bottom in the photo), then a ratchet strap at the middle and finally another pipe clamp at the top. The next day any squeeze-out of the hide glue is easily cleaned up with a rag soaked in hot water and a toothbrush.

So now a quick assembly of the bedframe in order to check the fit of the cross members (I sent this photo to Naomi and told her my machine could sleep in her bed).

And when that’s verified, I cut some small legs from scraps and mount adjustable feet to the bottoms. These get screwed to the bracket from the side and the cross members are done.

Some elbow grease applied to 2 coats of wax on all the parts and everything gets wrapped up in blankets for the trip to Naomi’s apartment. The bed is assembled in its new home and a happy client shows her approval! 🙂


Leave a Reply