
Or is it death by prep? Okay, the really fun part of the project is mostly done but unlike the majority of the pieces I build (that only get oil and wax), this one is getting dye, stain, oil and wax. Yes, dye and stain…..
 After the basic design was agreed with the client, the most difficult decision to make was regarding coloring. The room where this cabinet will be residing is such that a darker color for the piece is desired. Normally, I would have suggested starting with a darker wood such as walnut however, that would have affected both the price and the lead-time. Obviously walnut is more expensive but more importantly, I didn’t have any suitable stock that was ready. This usually requires a trip to the sawmill where even the kiln dried lumber may have a moisture content that is too high to begin work immediately.
The answer of course, was to move forward with the ash and apply a coloring to achieve the desired effect. As I am not very experienced with dye/stain, I did quite a bit of research and made many sample pieces for the client to examine. BTW, a great book on finishing is this one by Bob Flexner who also writes and blogs for Popular Woodworking magazine.
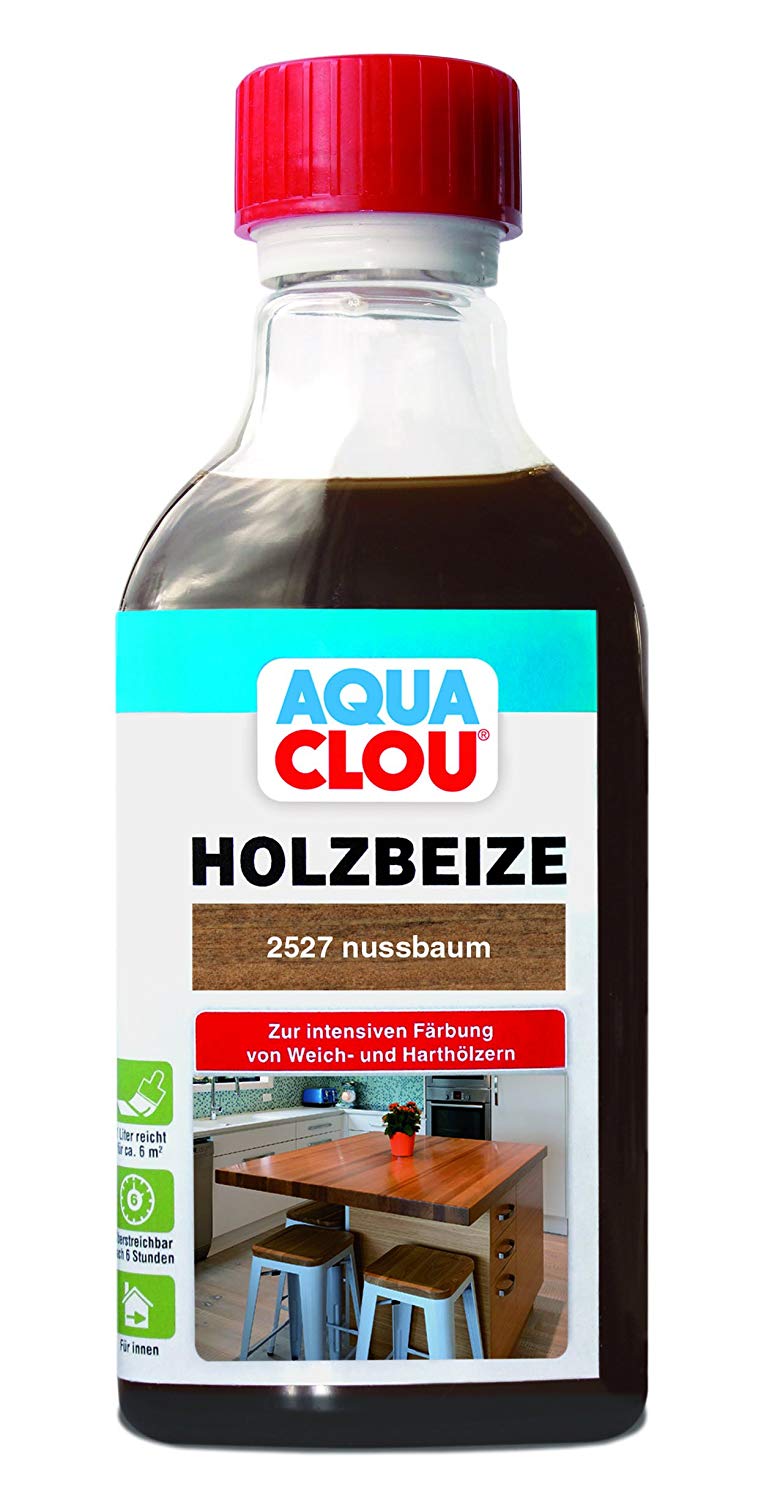
I started with a few water-based dyes but these alone tended to look too muddy on ash. We ended up with a pre-mixed, water-based dye from Aqua Clou. I’m not endorsing this product, but it worked better than the aniline dyes that were available locally (I’m sure I could have found one on-line that was better).
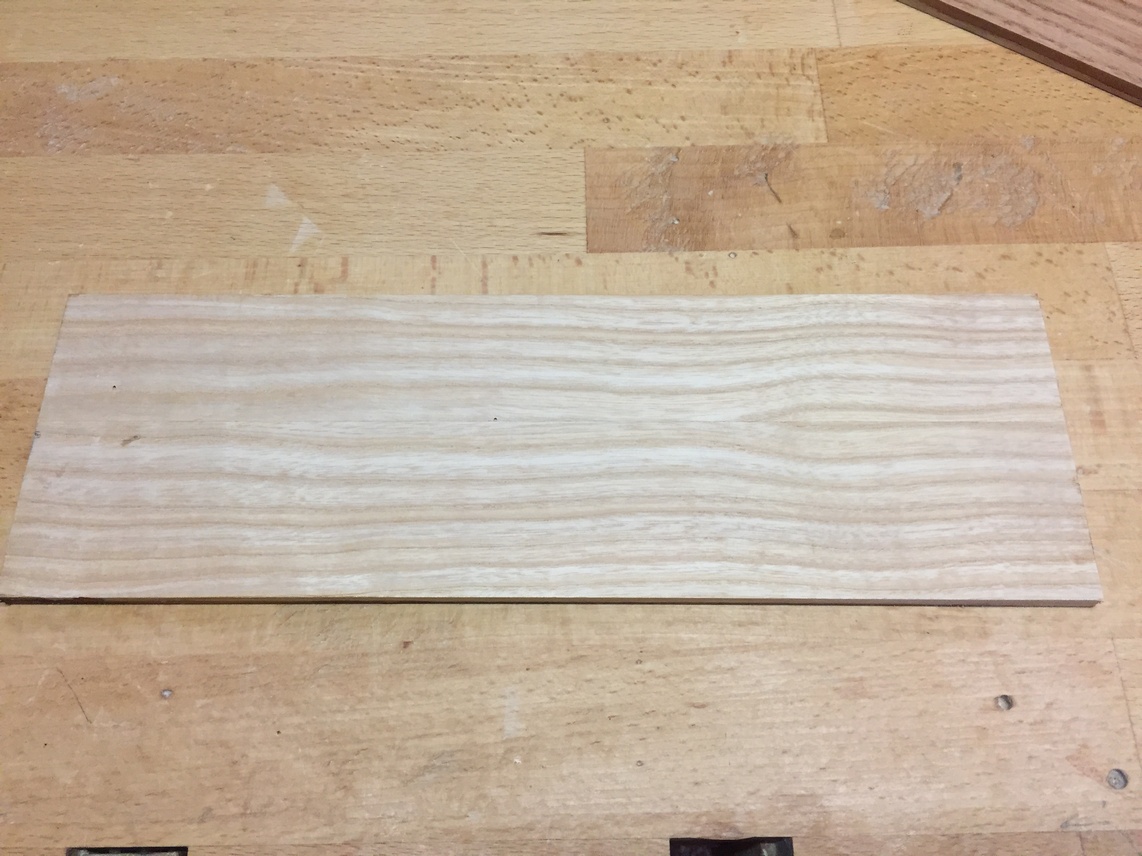
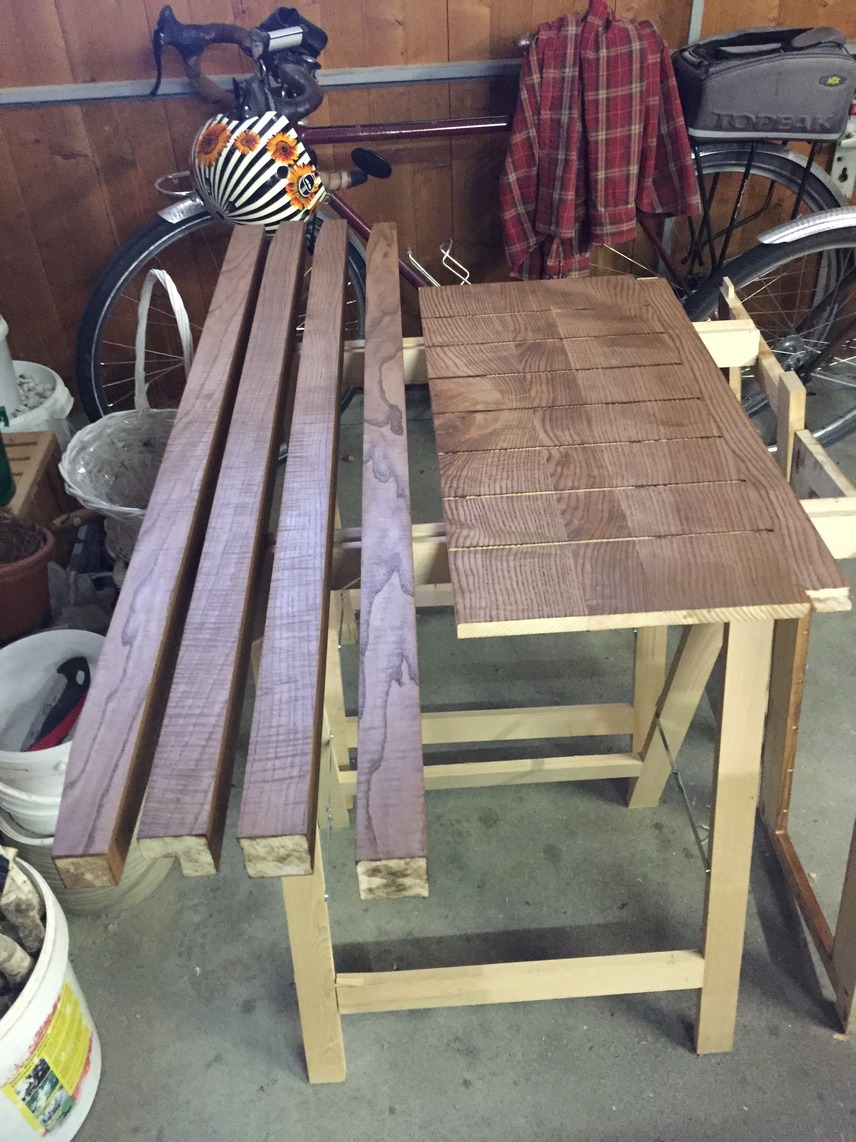
Here is a sample piece before and after the dye:

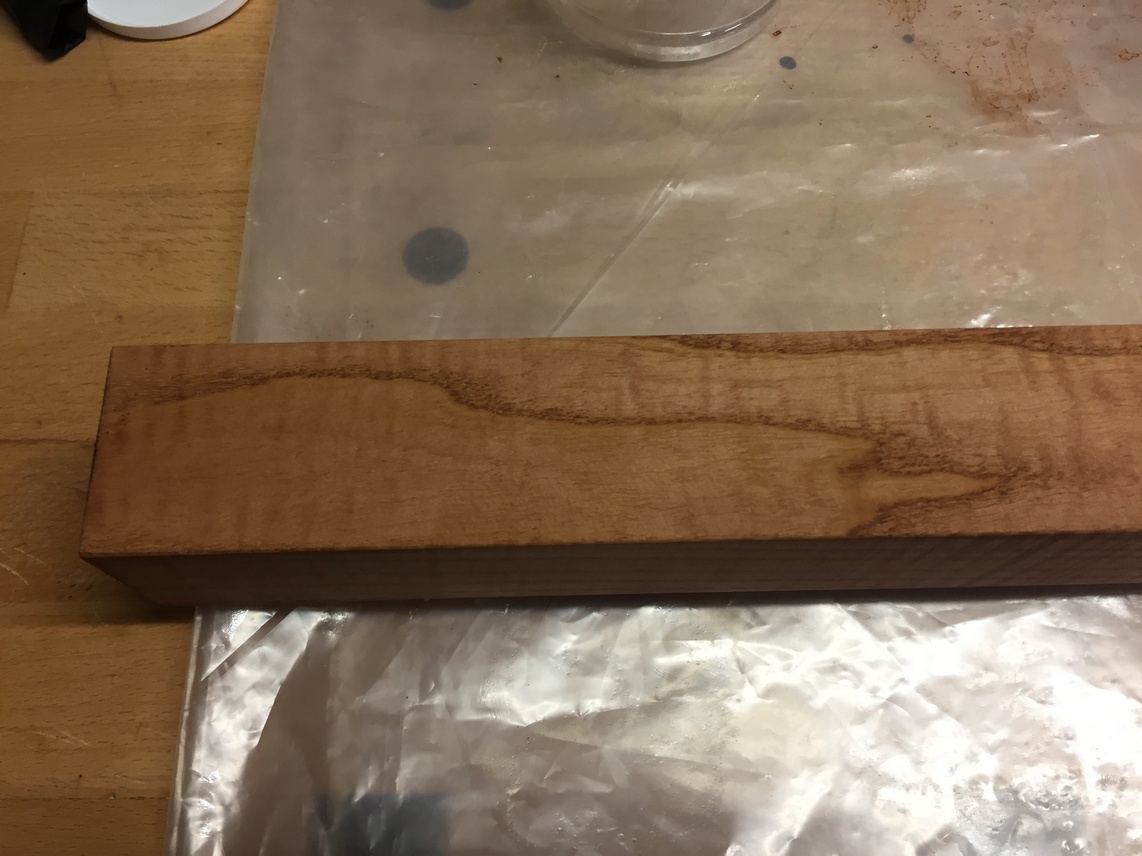
That actually looked pretty good to me however, different pieces, depending on how they were cut, will dye differently. Sometimes it comes out darker that you wish, even though you apply it and wipe it off immediately like I did. Here is the top of one leg before and after the dye:

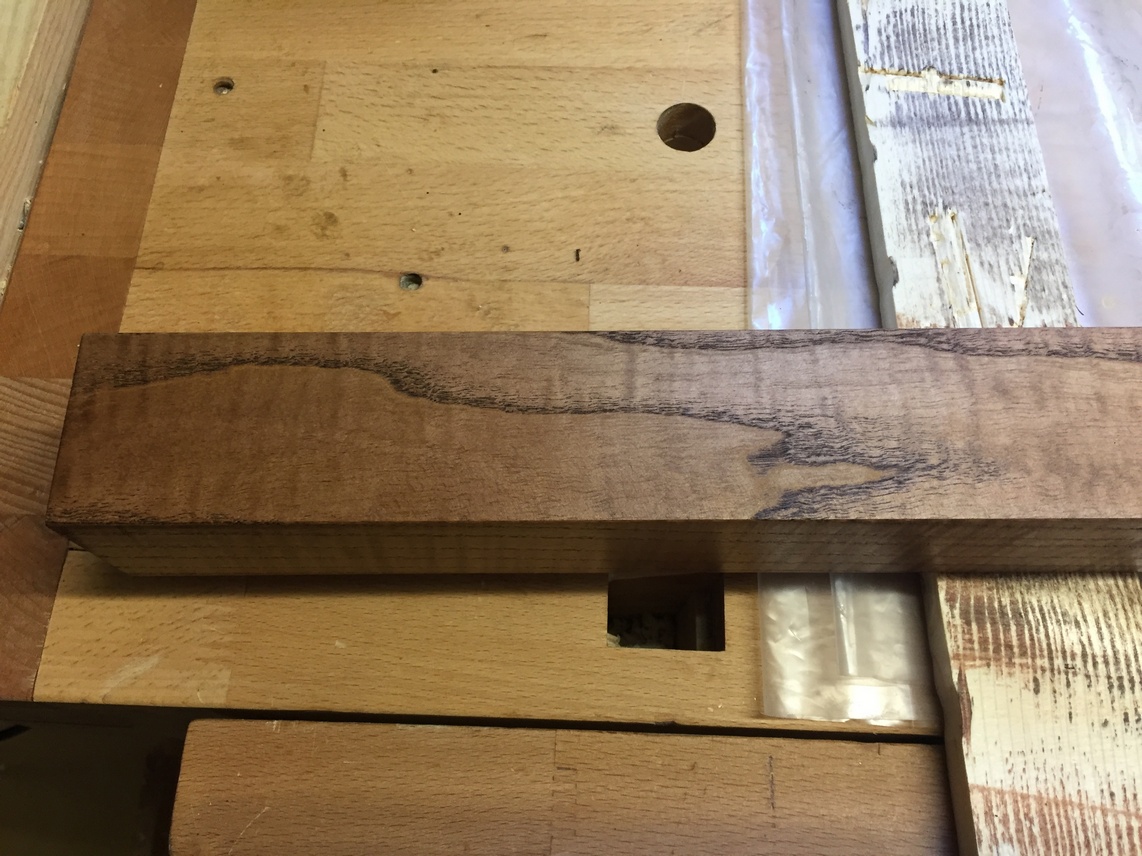
We wanted the grain to “pop” a little more and so after at least a day to dry, I followed the dye with a wenge colored oil-based stain that filled the grain but could be mostly wiped away from the surrounding areas. This is what I used:

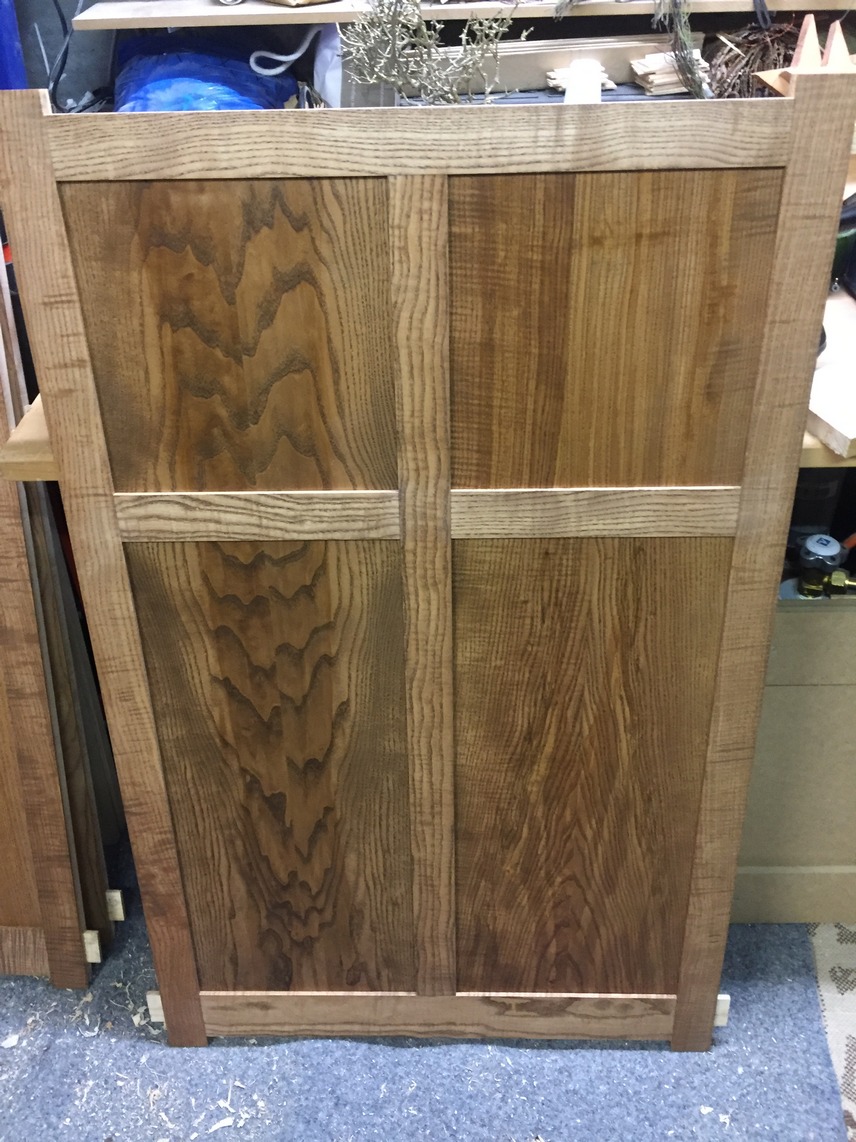
Here is the same piece after the wenge oil stain was applied, rubbed in and wiped off right after:
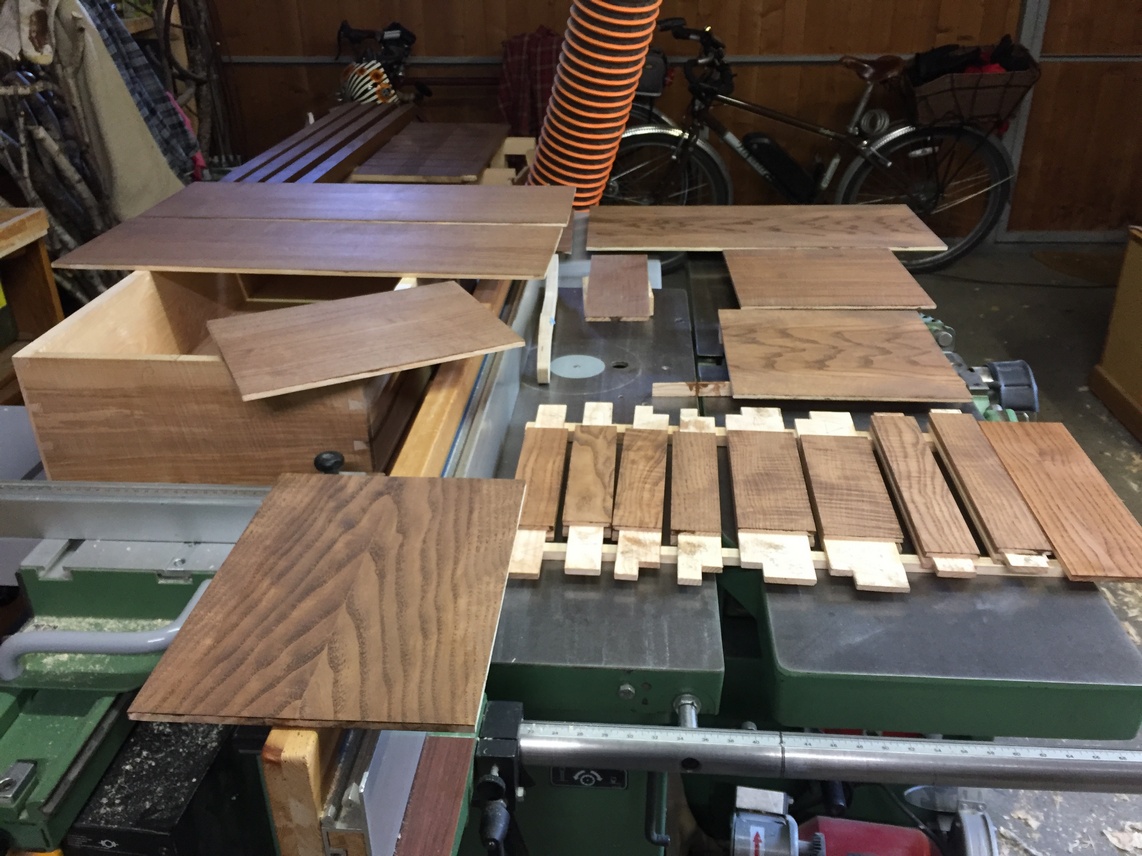
This was acceptable however, I now had to think about how to implement the dye/stain while minimizing the extra effort. Obviously, for this particular cabinet, dying and staining after it was built would be a nightmare so with some forethought I decided on a decent sequence of events. Remember that up to this point only the web-frame for the drawer and top frame have been glued. Everything else is still in pieces. These are some of the considerations:
- I won’t dye the interior except the bottle cubbies.
- The panels (sides, back and doors) need to be completely finished (dye/stain/oil) before I glue-up the frames.
- The water-based dye will raise the grain so a pre-raising with distilled water will save me some trouble. (the plain-sawn panels are more susceptible so I may not need to pre-raise the grain on the frame pieces).
- Glue will adhere to wood that has been dyed with a water-base but not to wood that has been stained with an oil-base therefore, I have to be careful to mask off glue areas from any oil-stain.
- With the exception of the panels, the top-coat of oil can be applied after assembly. Also, the interior surfaces can also be oiled after the carcass is glued together.
With all this in mind, I decide to dye/stain everything possible prior to glue-up and that brings me to the prep stage (yay). Here are the steps:
- Go over every surface that will be visible and remove all the pencil marks I have made (I grumble to myself and promise to not make so many marks on the next project).
- Any surface in need of smooth planing gets touched by a freshly sharpened plane iron.
- I turn new burrs on the edges of both my scrapers and scrape all the surfaces, both inside and out. During this process, I always hold the piece I’m scraping up to the light and turn it every which way in order to detect scratches or saw marks I might have missed.
- Surfaces to be dyed/stained get sanded up to 180 grit with my vacuum attachment on a random orbit sander. I follow that with just the vacuum hose going over the wood to remove any dust particles from the grain.
- On each of the panels, I take a rag soaked in distilled water and wet down the surfaces. This raises the grain and when dry, I sand (lightly, by hand) with 180 grit again.
- By the way, I figured out after the fact that this particular water-based dye doesn’t raise the grain very much so on the frames, legs etc, I didn’t pre-raise with water, I only lightly sanded after the dye dried overnight.
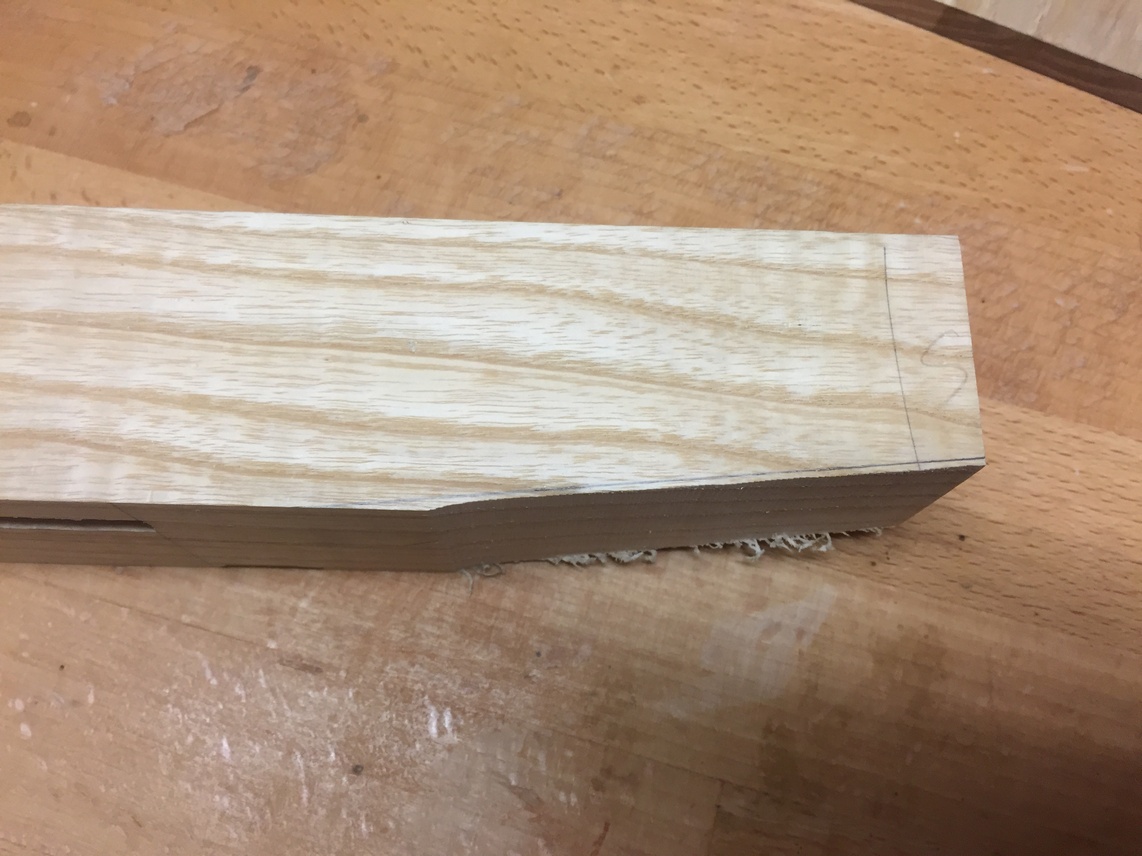
During the prep I realized that I hadn’t cut the angles on the feet yet. On the two inside faces of each foot, I plan on cutting a large chamfer to relieve some of the “chunky-look”. I made a template out of scrap and use it to mark the cut on the bottom of each leg and then bandsaw just on the outside of the line.

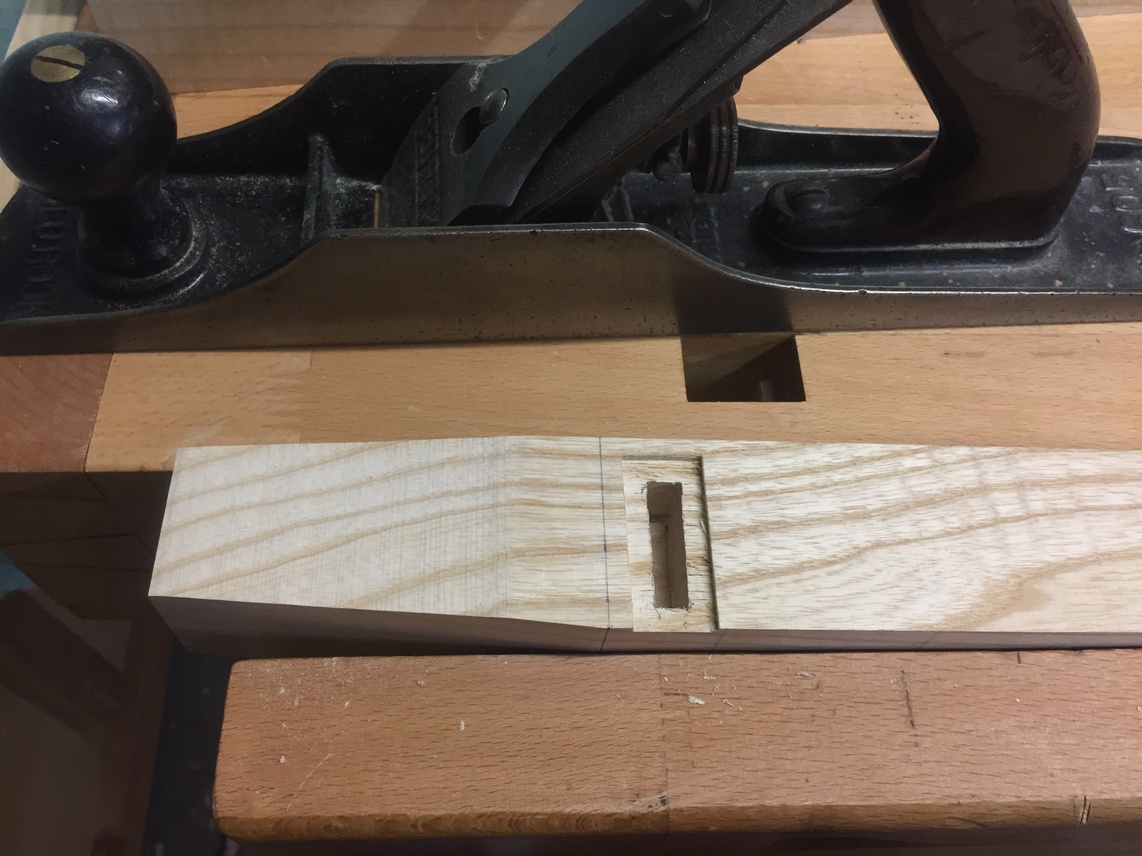
Then with the jack, I plane up to the line cleaning the saw marks. A smooth plane follows.
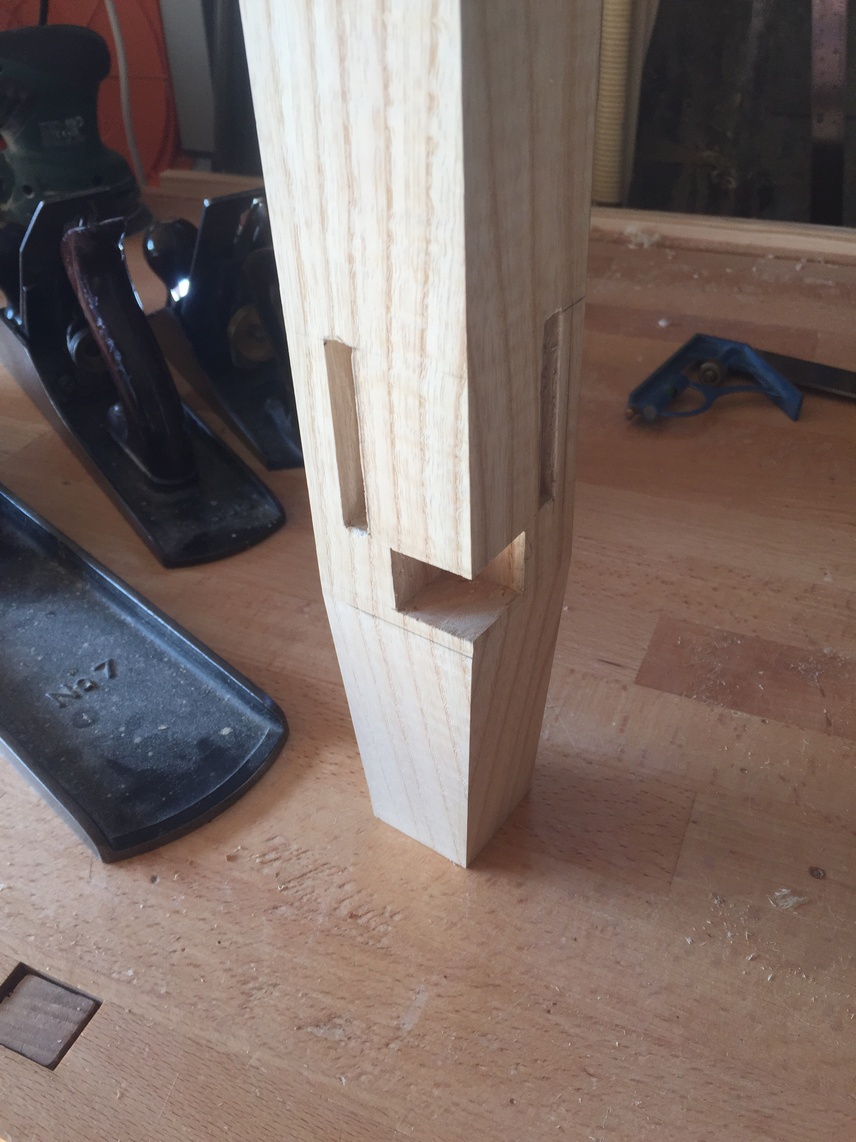
Lastly, I put a small chamfer on all 4 edges of each leg’s bottom. This prevents any wood from splitting if the cabinet is dragged across a floor.
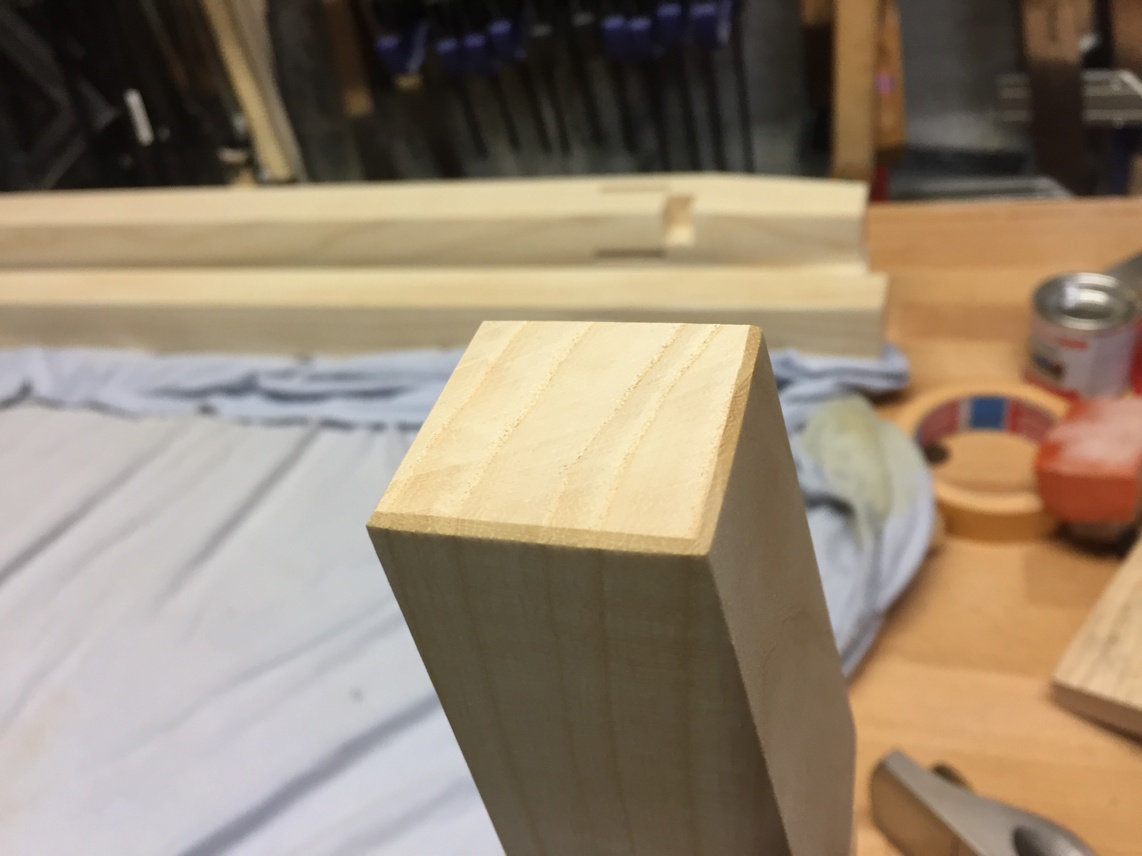
At this point, everything has been planed, scraped, and sanded and is ready for color.
I’ve tried to make this process as easy as possible for myself. By taking the time to practice on scraps, I’ve determined that I don’t have to take great care in the application, or wait some unknown period of time for just the right effect. With the dye, I use a rag to wipe a good amount onto the piece and immediately grab another rag to wipe off the excess. Wait overnight for it to completely dry and repeat the same with the stain. Wipe on, wipe off. Maybe I’ll be able to learn karate after this….
Another day for the stain to dry.

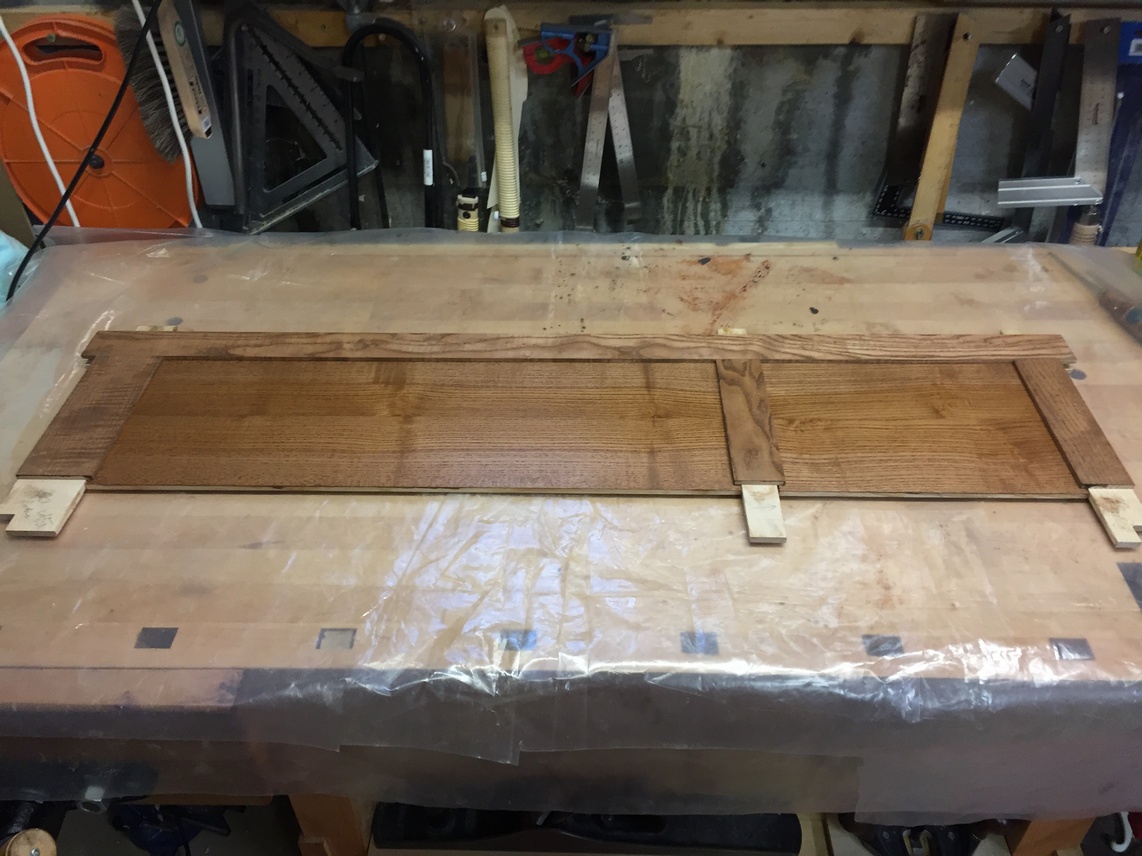
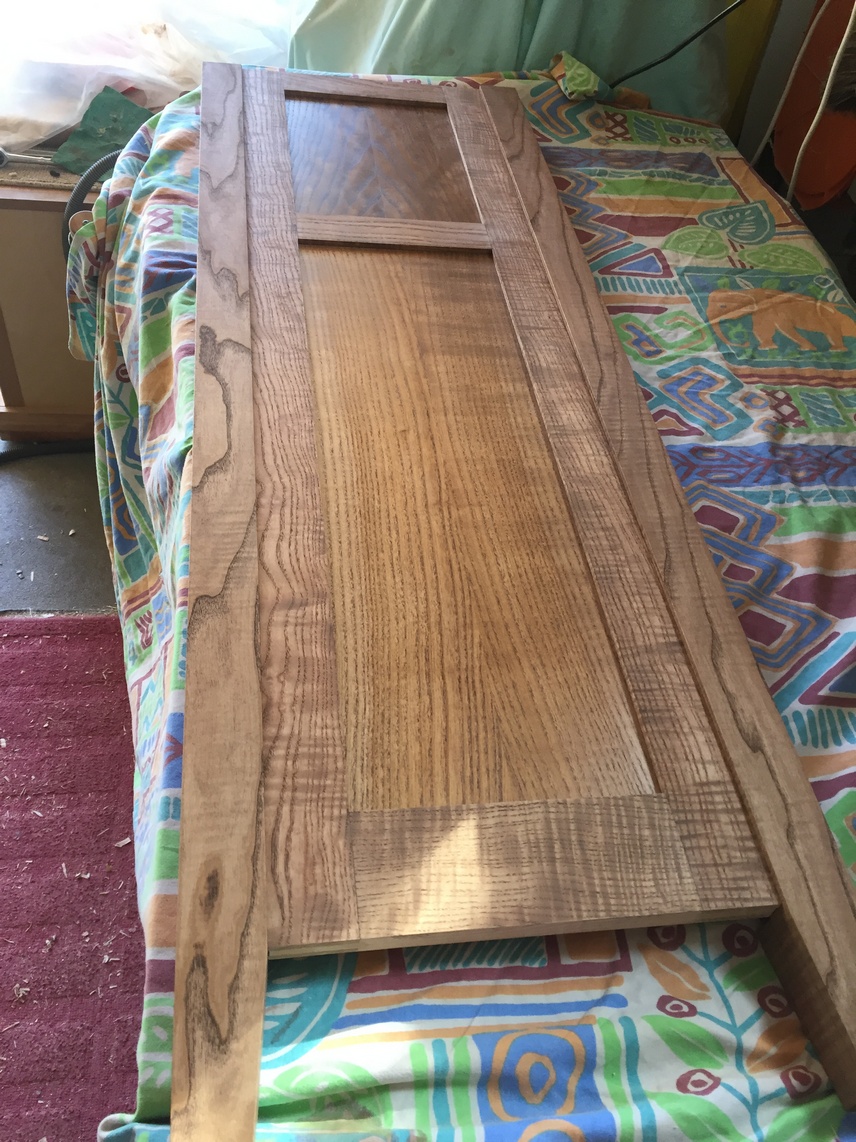
As I mentioned earlier, the panels have to be completely finished before I glue together the frames. Not only will this prevent unsightly lines when the panels contract, but if I try to oil the panels while installed in their frames, it is inevitable that some oil will seep into the groove and solidify like glue. So I oil the panels now with the “Maloof recipe” (1/3 each boiled linseed oil, white spirit, and oil-based varnish) which is also very easy. Rag it on liberally, wait about 5-10 minutes, and wipe off the excess. In the picture below, it’s wet and looks shiny but after drying, it will be more of a low-sheen.

With the panels completely finished (and with a coat of wax to boot) and the other pieces dyed/stained, I finally get to start gluing things together. Except for special exceptions, I typically use only 3 types of glue. For most non-furniture applications, or places where I don’t have to worry about a glue line, I use yellow glue (Aliphatic resin) which sets up quickly and has a long shelf life. For furniture applications I have recently been using animal glue wherever possible, specifically, bone glue. Three aspects I really love about animal glues is 1) depending on the wood, the glue line if visible after cure, virtually disappears after an application of oil 2) clean up is super easy with a rag dampened with warm water, even after full cure and 3) if you make a mistake, you can apply heat and water to dissolve the bond and take the glued pieces apart. When I have a complicated glue-up or a lot of surface to cover, I like plastic resin glue (aka urea-formaldehyde) as it has a long working time, both in the mixing container and in the wood joints.
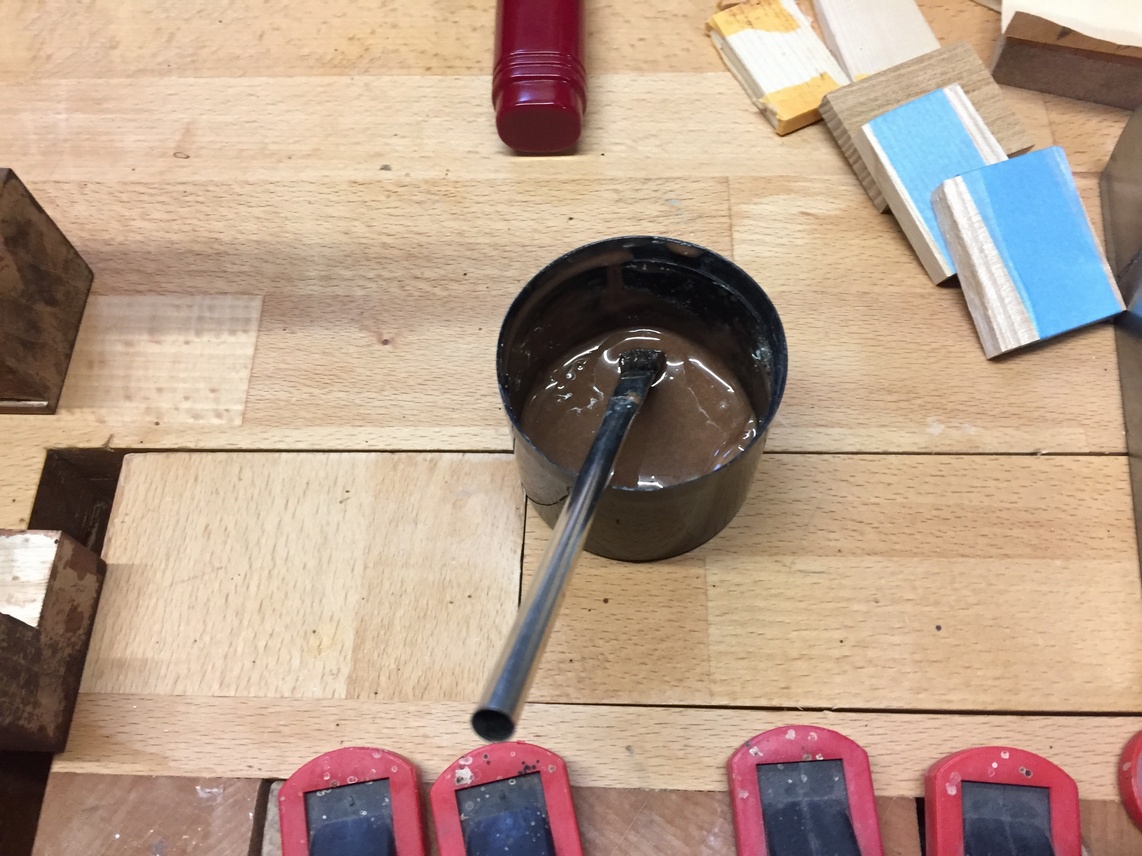
For the bone glue, you start with granules of bone glue in a glass jar and fill with water to just cover them. Then you have to let it sit overnight.

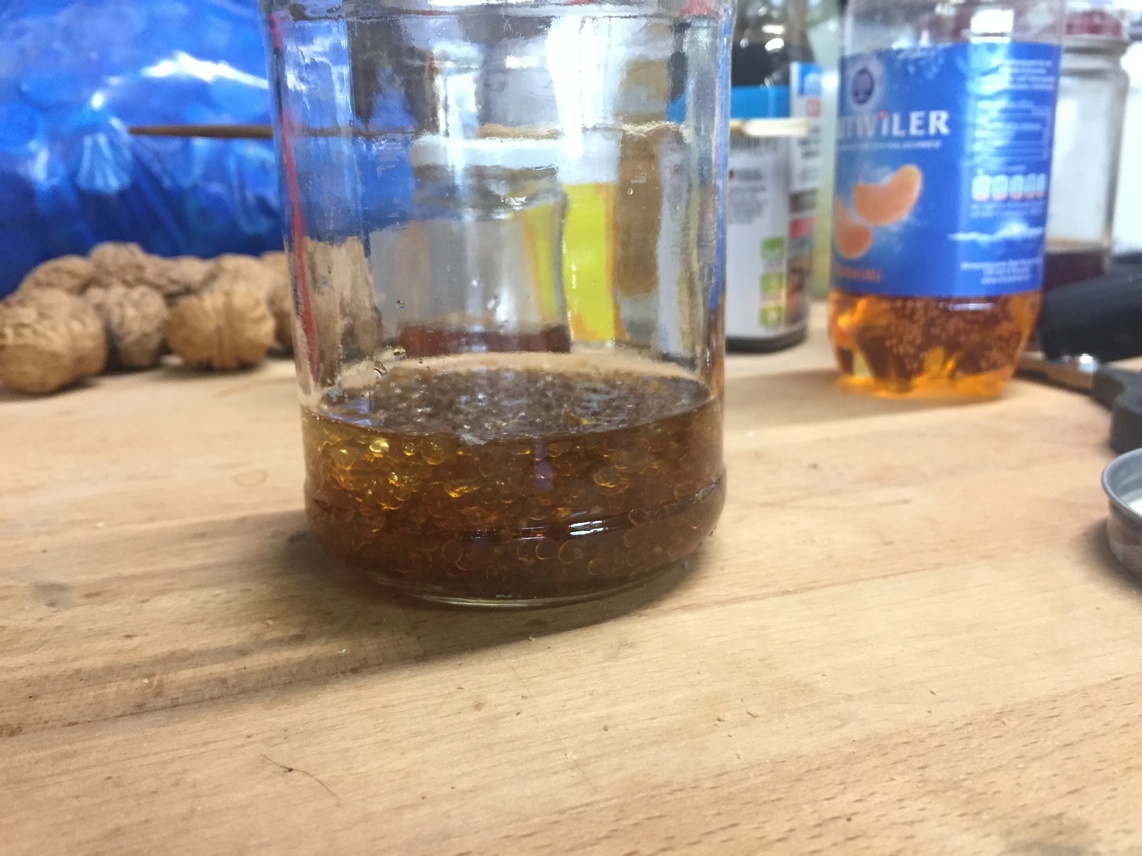
The next day, you heat the mixture in a double boiler or a pot of water with something at the bottom to keep the jar of glue suspended. Never let the glue come to a boil as it will ruin its properties. In fact, I rarely even let the water come to a boil but keep it at about 64 degrees Celsius. When there is a bit of foam starting to form in the glue, it’s ready to use.

Bone glue does set fairly quickly but unlike yellow glue, it doesn’t immediately “grab” and allows for some adjustment of the pieces after assembly. This makes it perfect for gluing frames together. I start with one stile and two rails, insert the panels, and then glue on the other stile. Once it’s all together, I double-check for square, adjust if necessary and leave the assembly clamped for a few hours.
The result, two sides and a back. By the way, except for the panels, I haven’t applied the oil topcoat yet. I decided I could do that more easily after glue up, especially since an errant oil spot could affect glue adhesion.

With the frame/panels glued, I can cut off the “horns” and plane them flush with the rails.


Now I’ll glue up the side frames with the legs. Since the area for glue application is much greater, and I need more time to apply it and position the pieces for clamping, I use the plastic resin glue. It comes as a powder that you add to water and mix.

Spread the glue along the outside of the stile (not on the tenons) and in the mortises. By not applying it to the tenons, you prevent a lot of squeeze-out.

By the way, due to the height of the bottom panel, I can’t clamp the legs to the stiles in the middle with any force. Remember that I left about 3mm of growth space on either side of the panel so if I clamp hard in the middle, the stiles will bow inwards. To prevent that, I cut a scrap piece that fits between the stiles and prevents them from bowing. One of those tips that they never tell you about…..

The resin glue also cleans up easily with a warm wet rag but you have to do it before it cures or you’ll be sorry. I flip over the clamped assembly and clean the squeeze-out from the inside also. I like the contrast between the dyed legs and the natural wood and will file this away in my brain for a future project.

While those assemblies are curing, I take care of a few last dyeing tasks. First, the drawer front will be dyed/stained and since the rest of the drawer won’t be, I stain the end grain where the pins will mate with the side dovetails. This will offer a nice contrast after the drawer is complete.


Finally, most of the inside back panel will not be seen however, the top where the wine bottles will be kept, needs to be colored. That way anyone looking in an empty slot isn’t horrified with the lack of stain 🙂 .

Well, that’s about it for turning my fingers brown. The next chapter will see this starting to look like furniture!
By the way, if sawdust is “man-glitter” then a paper towel and tape is a “Band-aid”:

Leave a Reply