After a brief foray into a coffee table project for my son, I come back to the pieces I have rough milled into parts for a liquor cabinet. A good feeling for how the wood is acclimating and how it might further move can be determined a week or two after the first rough dimensioning.
I take each piece and put it on a flat surface to check for twist, cups, warp etc. and I’m happy to say that most of the pieces have only moved a very small amount. This tells me that I’m unlikely to get any big surprises after final dimensioning (thickness, length and width). There are a few that moved more than I liked and I have marked these for another interim milling, meaning I’ll joint and plane them a 2nd time and let them sit again before the final milling. With the others, and luckily all the frame and panel parts are in this group, I’m satisfied to mill them to finished dimensions and start on the joinery, mostly mortise and tenons.
Even so, for the frames that make up the sides and back of the cabinet, if they moved a little more there would be no harm done as these will be tenoned into the leg pieces. For the doors, I am uber-careful about further movement. When the door parts had sat in the garage for about a week, I moved them up into the office for another week to see what kind of effect the change in atmosphere would have.
There was very little movement so I planed the door stiles and rails to within 2mm of final thickness and ripped them within 2mm of final width. They’ll go back up to the office for another week and then back to the garage until I’m ready to build the doors. In this manner, I try to eliminate the possibility of the doors twisting with any further change in environment.
Before I start thinking about the 22 mortise and tenon joints to cut for the sides and back, I want to prepare the panels so they are ready for fitment when I’ve got the frames done. The panels are thinner (about 7-8mm) and so only need a few days to sit after I’ve resawed them. Remember that all this wood started out fairly dry already having sat protected for many years. If it had come from a sawmill, I might have to wait months or even years depending on the moisture content. Something to think about before purchasing rough sawn planks; it’s good to have a moisture meter in your pocket at the lumberyard (https://www.thearchitectsguide.com/articles/best-moisture-meter).
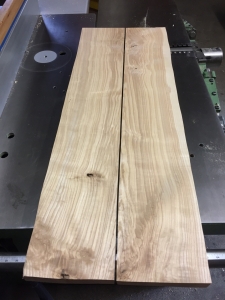
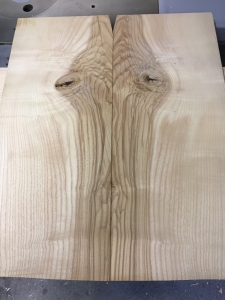
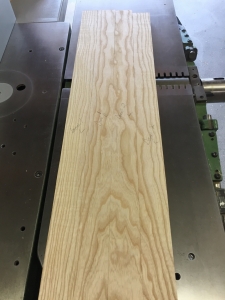
I enjoy trying to see what figure the wood will produce for panels however it also can be frustrating. The below plank has some interesting grain:
However, this “flitch” was sawn right through the pith. The pith is the very center of the log and is also very weak compared to the surrounding wood. A panel that includes the pith is almost certainly going to crack.
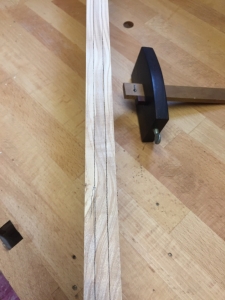
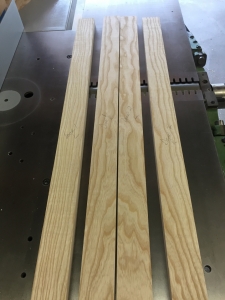
Below is another example. The thing I do at this point is to mark the center of the pith on both ends of the plank, draw a line between the two, and rip the board lengthwise.
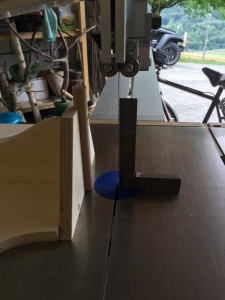
I actually make two cuts, removing about 15mm of the pith. Now instead of gluing the halves back together, I’ll resaw each in order to achieve a bookmatch. I can get three panels by resawing and hope that at least one of the two possible pairs will look cool enough for use. I joint a face and mark the edge for the two cuts, ensure that my bandsaw blade is square to the table, and clamp my resawing jig in the proper position.
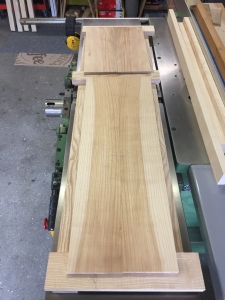
I’m fairly lucky to get two book-matched pairs. Here is one of them plus a shorter piece. These will become one of the sides.
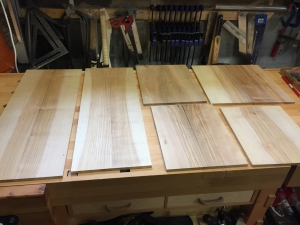
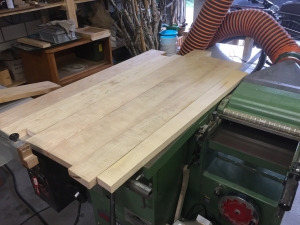
After cutting closer to actual width and length, I’ve got panel candidates for both the left and right sides of the cabinet. Using the rail and stile pieces, I try to get an idea what the final assembly will look like when it’s finished.
Sometimes, you get some funny pieces. I’ll save these for when I want to build an “Alien” cabinet:
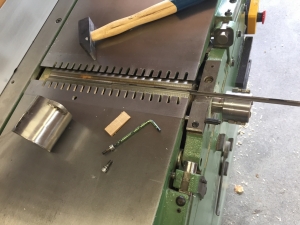
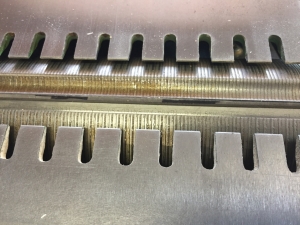
After all the potential panel pieces are cut, I switch blades on my jointer/planer and install a newer blade. I’ve mentioned before how much I like the Tersa knives mainly for their ease of replacement. From start to finish I can replace both blades in less than a minute. This is a massive boon when you want to keep a pair of knives pristine for only the final surfacing and don’t have to worry about taking 20 minutes for every change-out (like my jointer in Albuquerque). As such, I have a pair that are only good for rough planing, a pair for thicknessing almost to final, and the newest pair of knives for the last planing. I mark them with a black marker to tell the difference.
I took a chance on a different model# knife for this project that has a slightly higher cutting angle. This is better for hardwoods when you want to minimize any tearout (as claimed by Tersa, but I always take manufacturer’s marketing info with a grain of salt). In this case, I’m very pleased with the new knives (and operator skill in planing still plays an important part 🙂 ) and will keep them squirreled away for only final machine surfacing. Actual final surfacing is usually done with my smoothing plane and scraper.
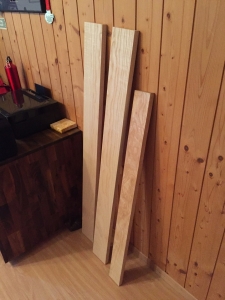
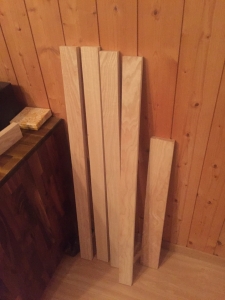
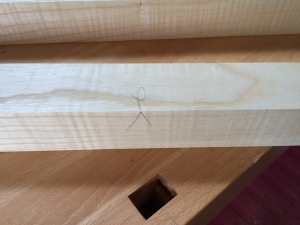
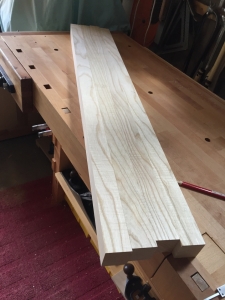
With the new blades installed, I decide on the “show surfaces” of each piece and run them across the jointer followed by squaring of the adjacent side. I mark the show surface with a little squiggly mark that points to a “V” on the squared side. That way, if I plane off one side, I always know where the other is square to. Below are the legs at final dimensions and each marked.
I’m always thinking about how the grain is going to look before I commit to cutting length and width. Here I’ve decided to take the door stiles (two each left and right) from the same plank because I like the grain pattern. I’ll use the two center pieces for the left door/right stile and the right door/left stile; that way when the doors are in the closed position, the nice pattern is apparent. The outside stiles are not so critical but I think maybe some people will notice the match, at least subliminally.
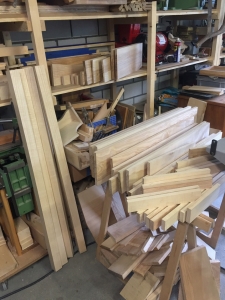
When setting up for final thicknessing, I’ll group similar parts together and do them all at the same time. In this case, the rails and stiles for both sides and back get done at once so they are all exactly the same thickness. I’ll do the same for the bottom, shelf and horizontal frame members. The door pieces will wait, and although it would have been easier to mill them the same as the sides and back, I don’t want chunky looking doors so these will be a bit thinner than the other frame and panels.
Almost ready for the chisels…..
Next episode: Frame and Panels





Leave a Reply