
So I wanted to make my son Alan a coffee table out of wicker but he declined….. (sorry, private joke 🙂 ). He did like the idea of using recycled barn wood like I just did with Bruce’s Trestle Table and I figured I had enough left without having to raid the pile of timbers again so we decided on a simple, common design such as this, but not quite as beefy:

There will also be a shallow drawer to hold some magazines, a laptop etc. This is a project I’m doing in parallel with the Liquor Cabinet as the wood for that one acclimates.After some discussion, these are the dimensions we decided on: 130cm long by 55cm wide by 50cm high.
Everything about this will be straightforward, drawbored, mortise and tenon joinery except for the drawer. Like the trestle table, there will be assorted cracks, a few wormholes and/or other blemishes that will get filled with epoxy after treatment with Boron Ultra 12. “Character”.
Like with any project, rough dimensioning of all the parts comes first. In this case, the leftover wood from the barn timbers has had plenty of time to acclimate. Even so, I don’t like to take chances and I’ll leave the parts for a few days and then take them to final dimensions.

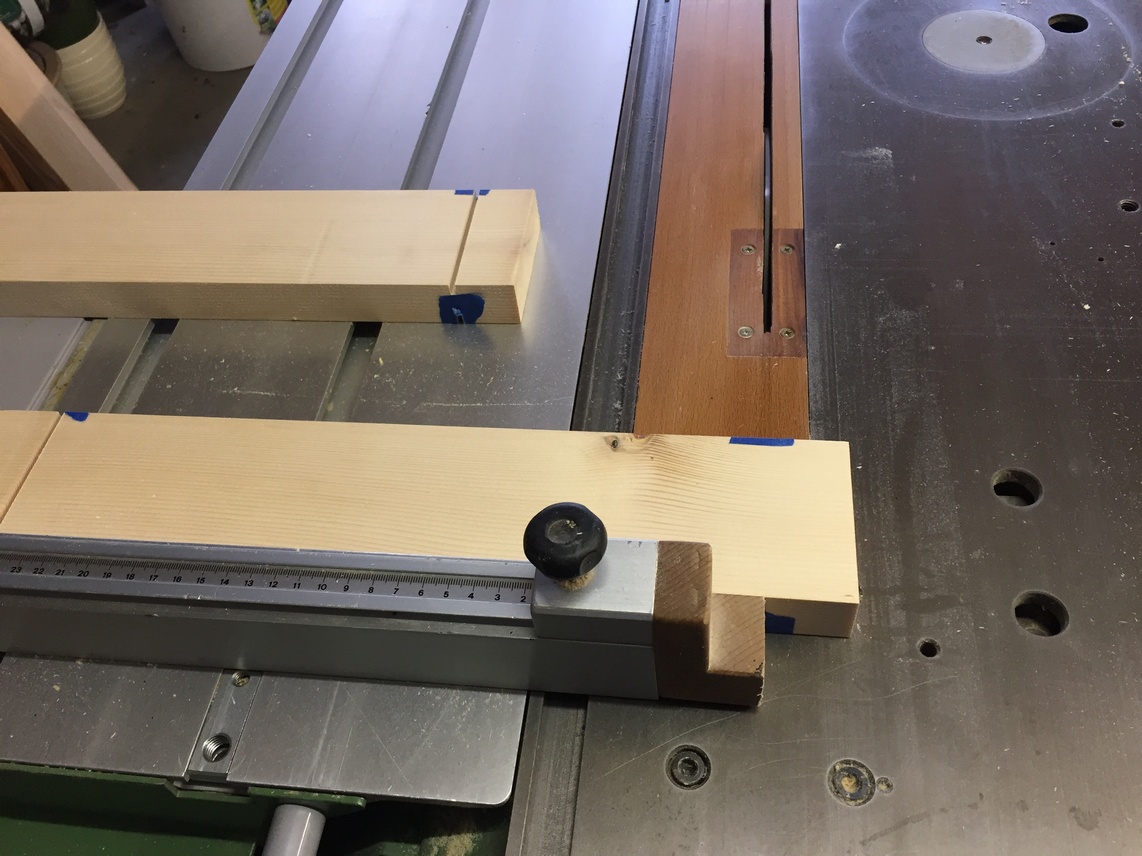
This very old pine splinters quite easily and so I use blue painter’s tape while cutting to reduce the likelihood. After squaring one end of all the pieces, I cut the final lengths using the stop on my fence to ensure they are all exactly the same.
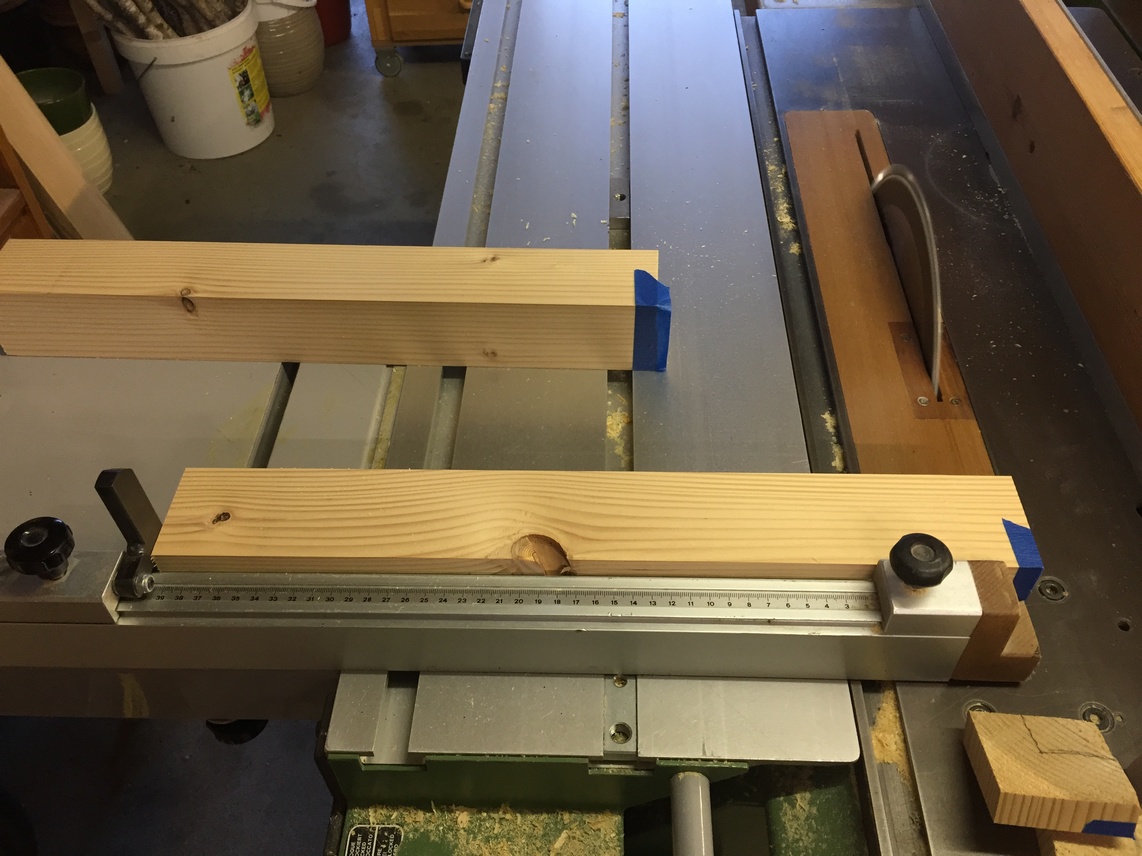
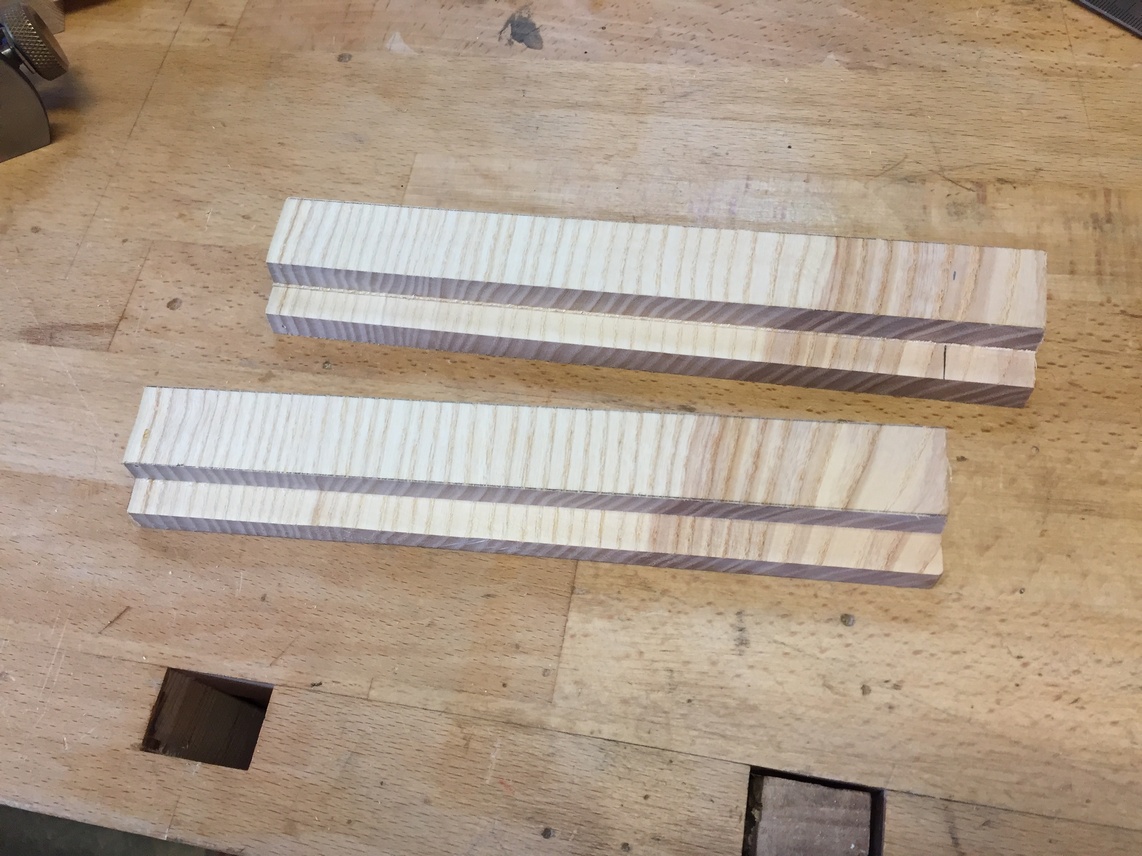
Legs, short and long aprons; cut to finished dimensions. The top pieces are rough cut and are set aside till I’m done with the base.

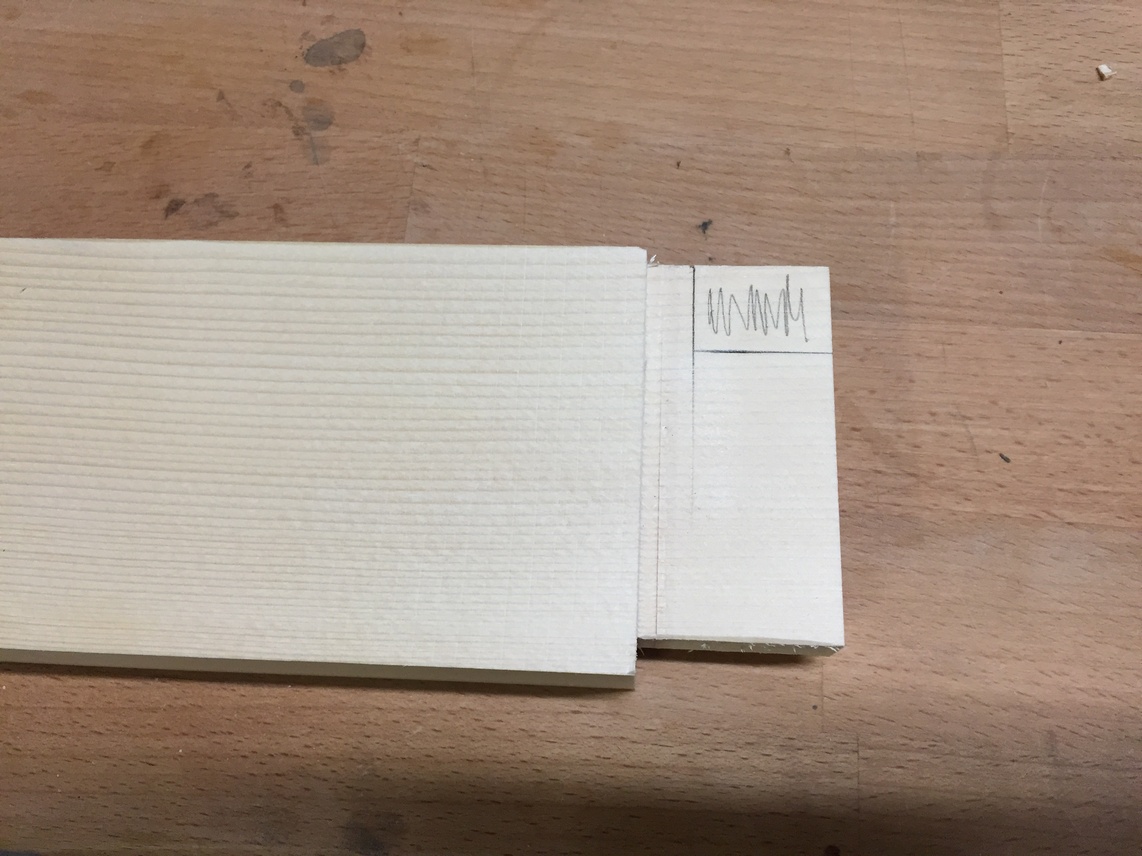
In order to calculate the tenon length I mark the locations on the top of one leg. In this case, I can cut a 35mm tenon without the two of them interfering with each other.

I set the blade height the same as the depth of the tenon shoulders and cut on 2 sides and 1 edge. The other edge will be flush with the top of the leg.
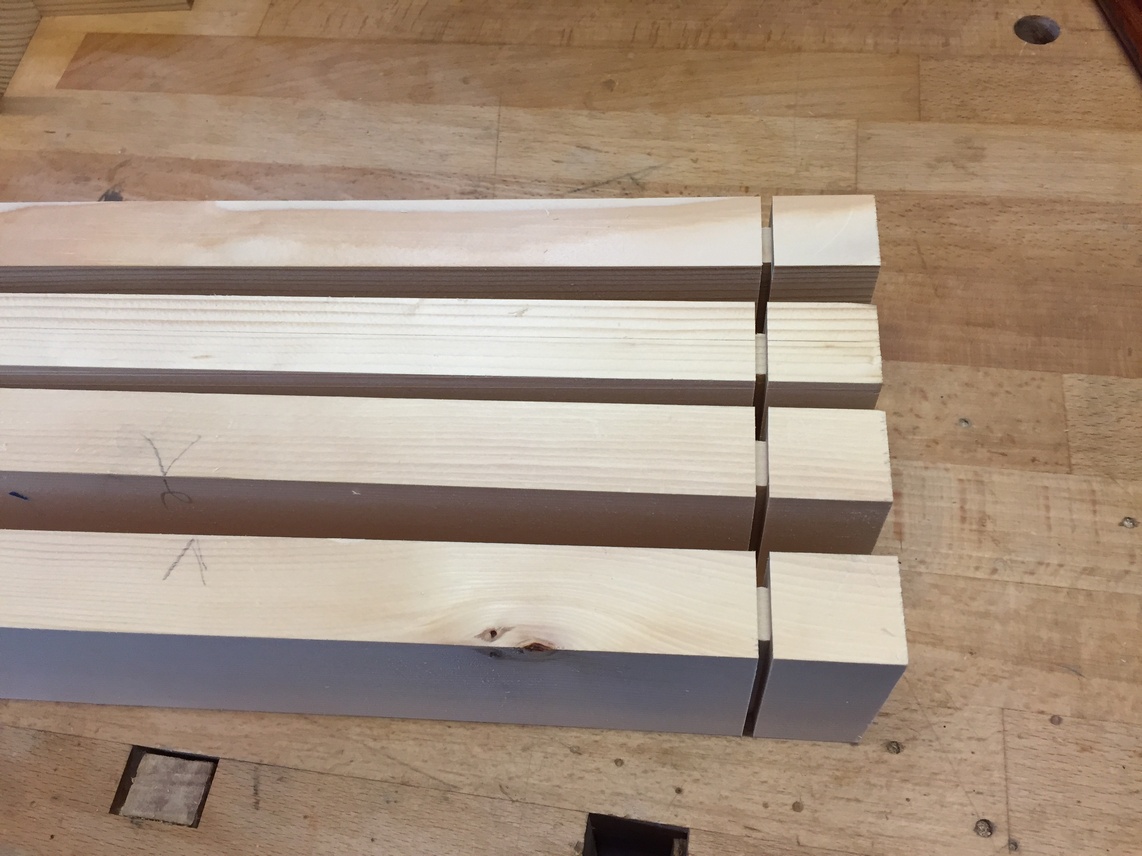
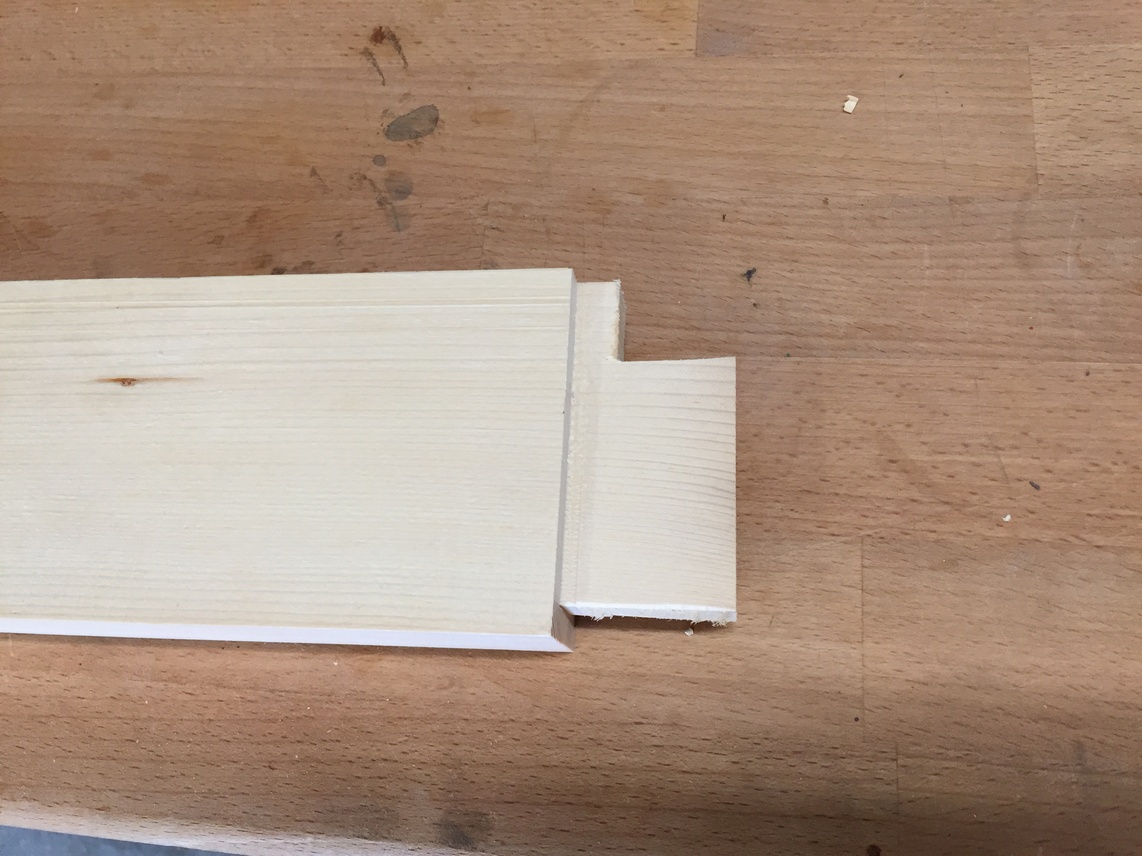
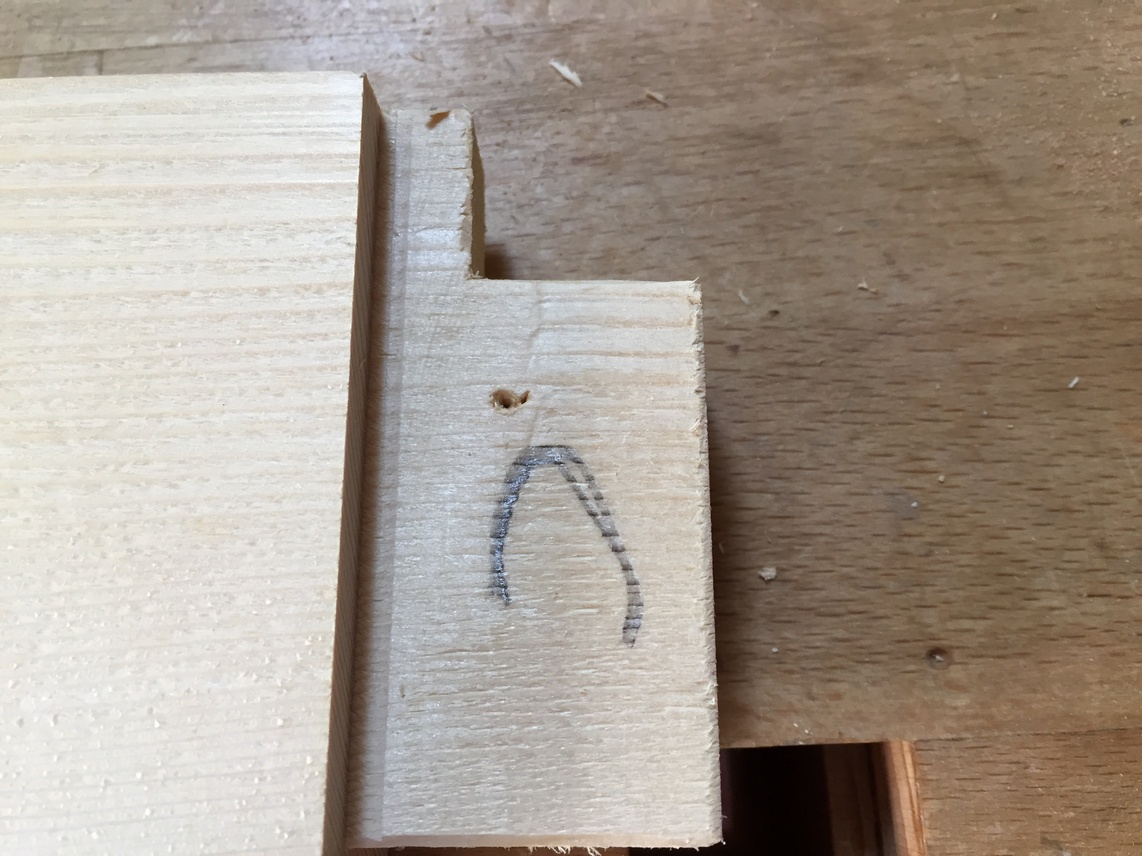
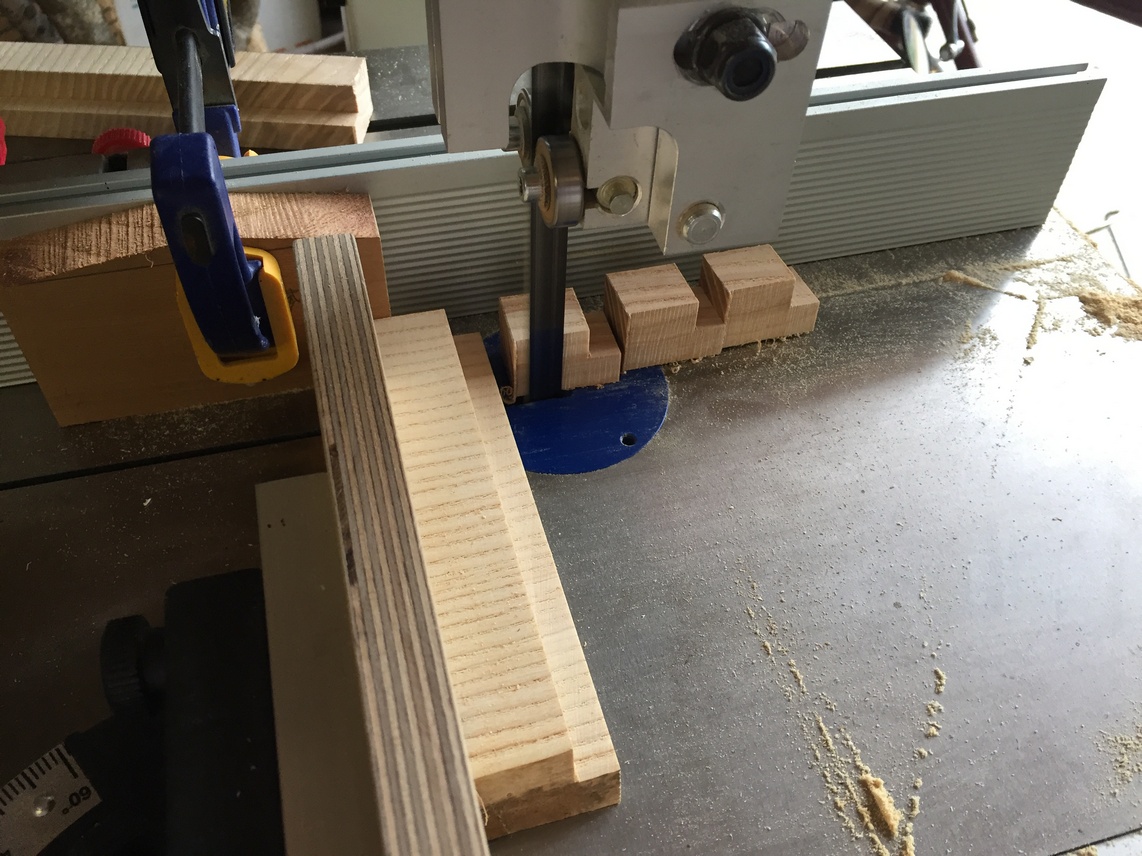
With the cheeks cut off, I can mark for the haunch. This strengthens against twist and yet doesn’t weaken the leg due to the short section.

A stop block clamped to the bandsaw fence and I can cut all the haunches without worrying I might slip into the rest of the leg.

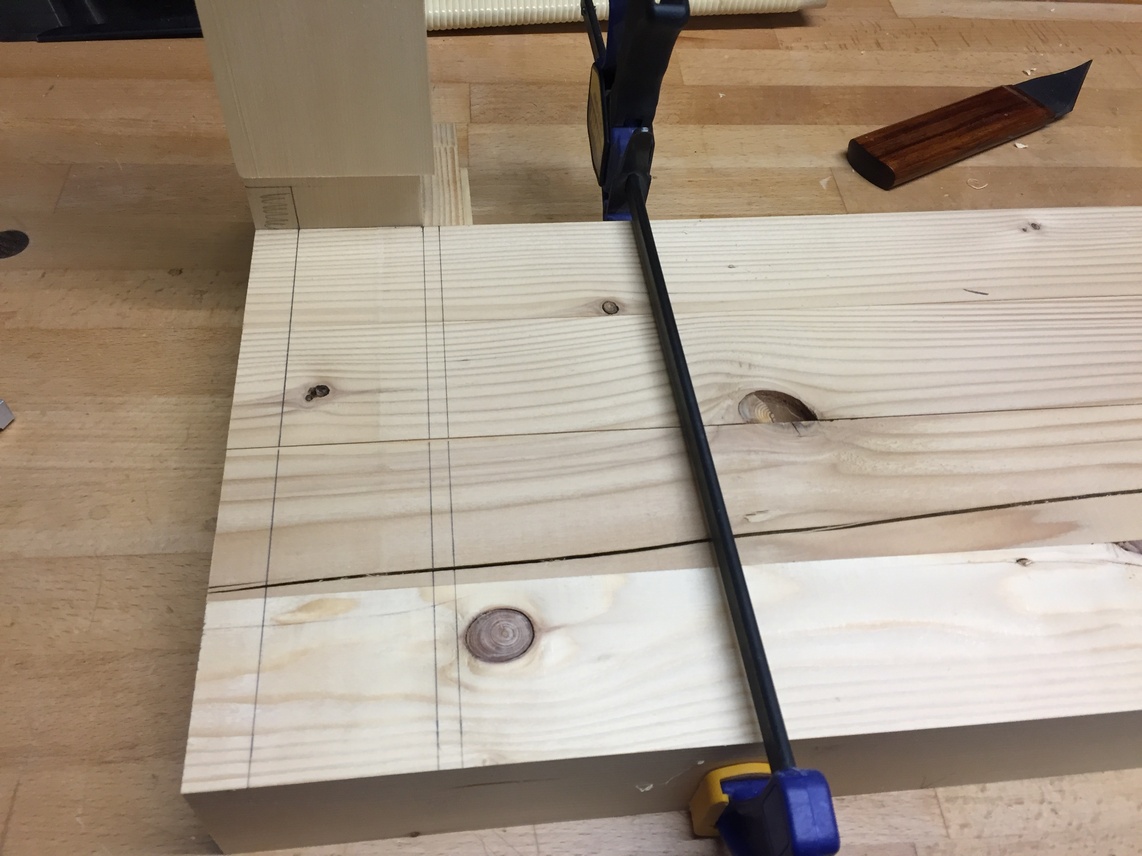
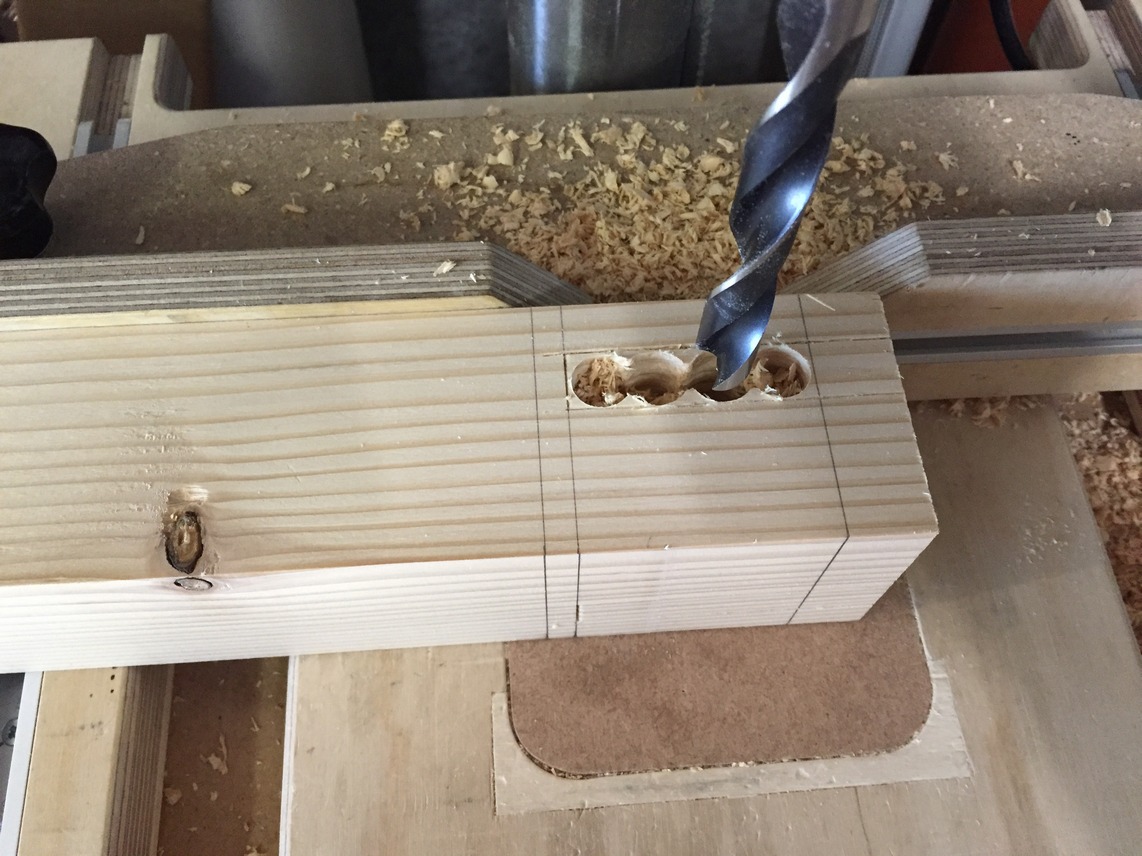
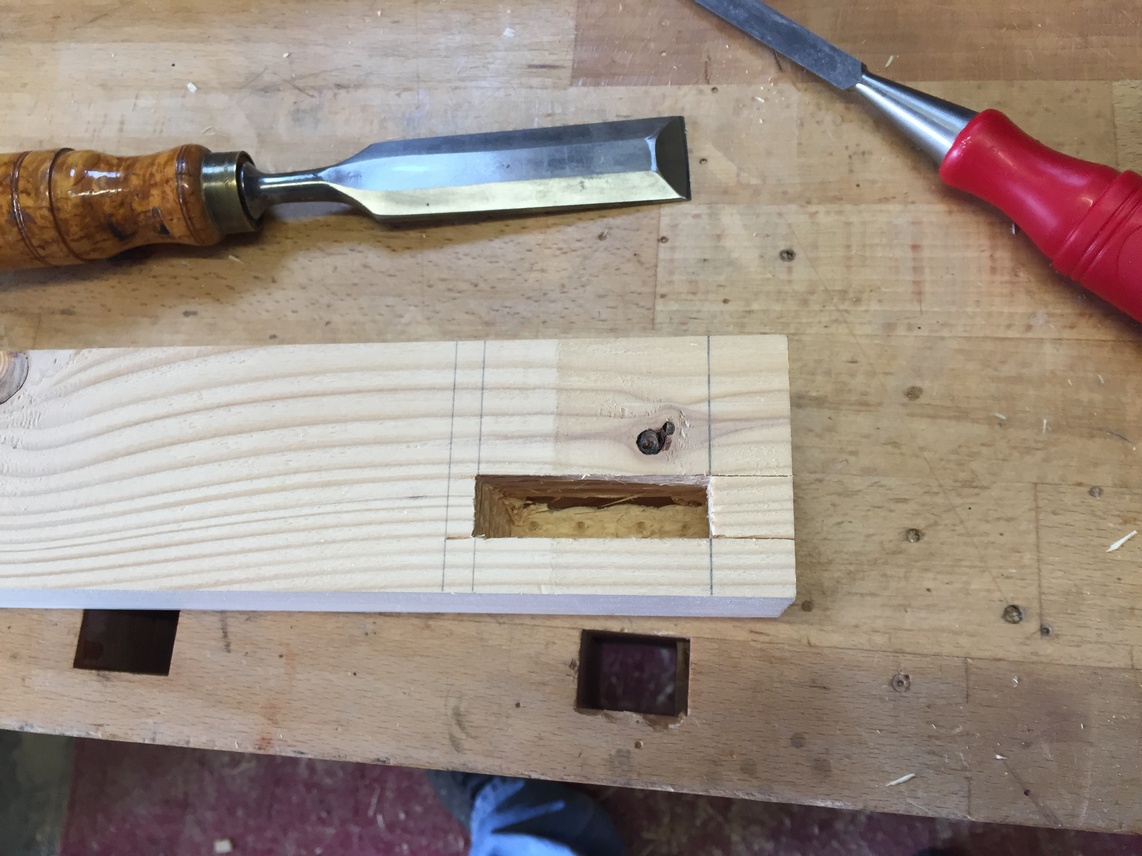
Clamping the legs together with their ends flush, I can mark the positions for the mortises all at once. A mortise gauge scribes for the walls and then the bulk of the waste is drilled out prior to chiseling.
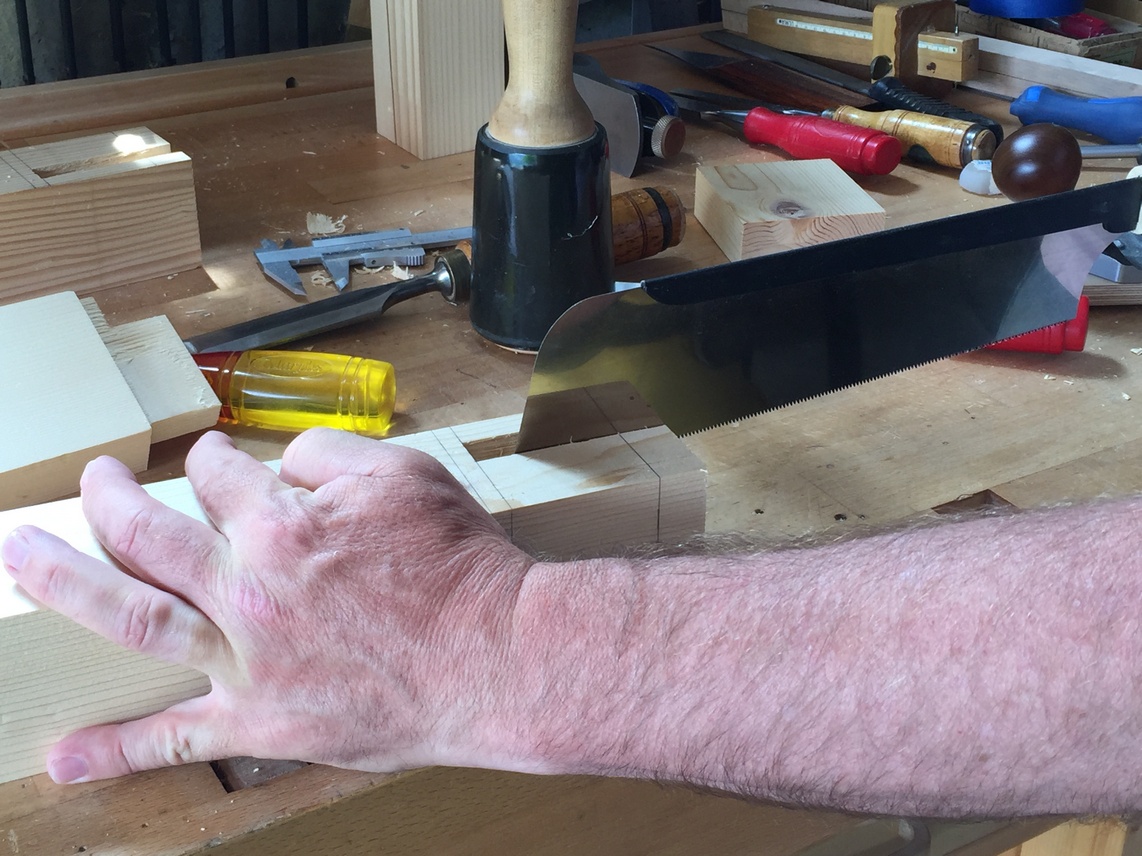
I leave the haunch section until I’ve chiseled out the rest of the mortise which is full depth. I can lever the chisel against that section if needed. Then, I saw down on each side of the haunch section and 2 – 3 gentle whacks with the chisel will produce the haunch mortise.
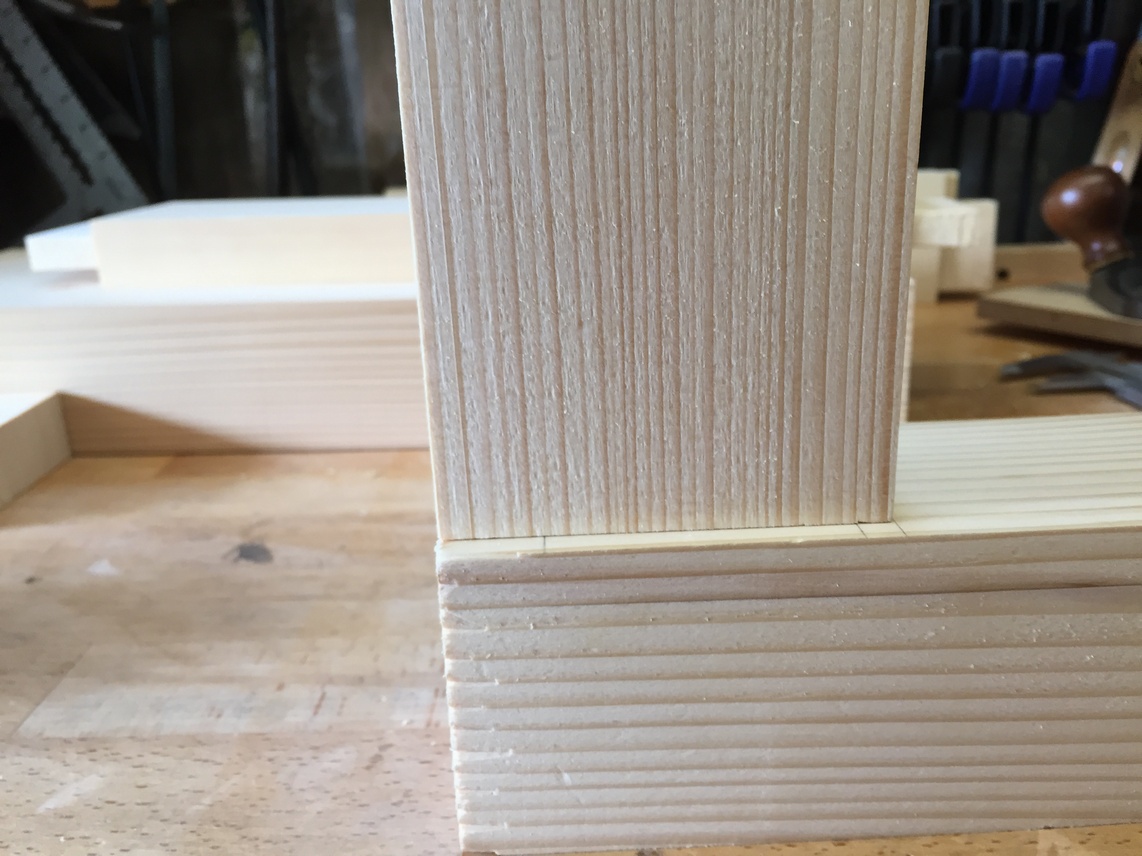
By angling the tenon into the mortise first from one side, and then from the other, I can check the thickness of the tenon without worrying if a tight fit might be due to the width. I purposely cut my tenons a hair thick so I can creep up on the perfect fit using the router plane.

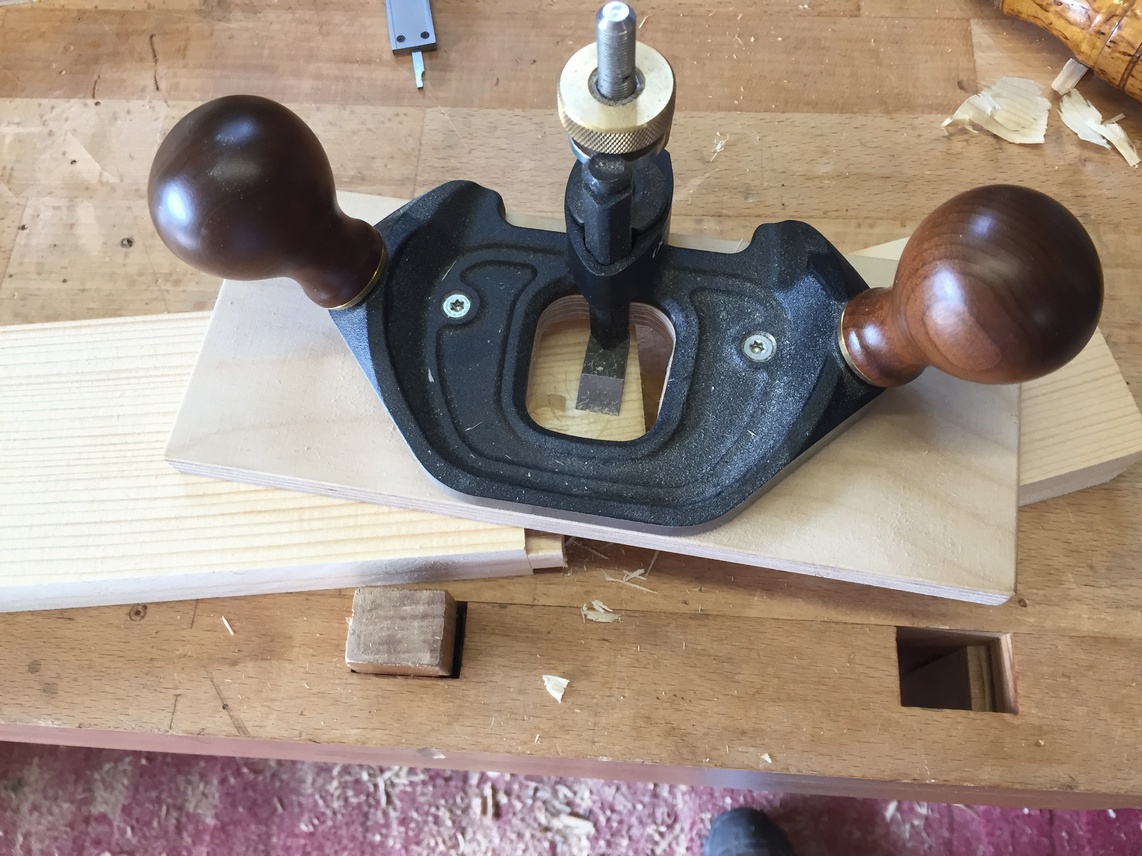
I’m pretty happy with this fit.

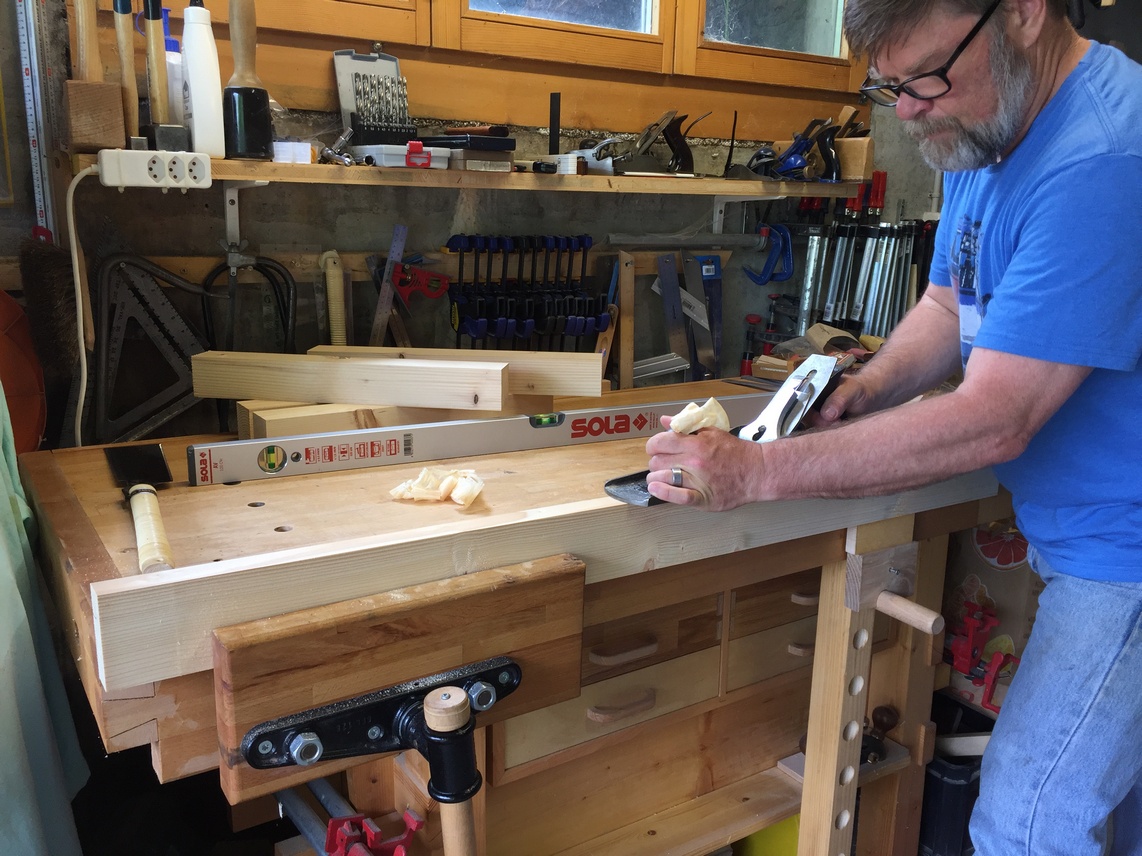
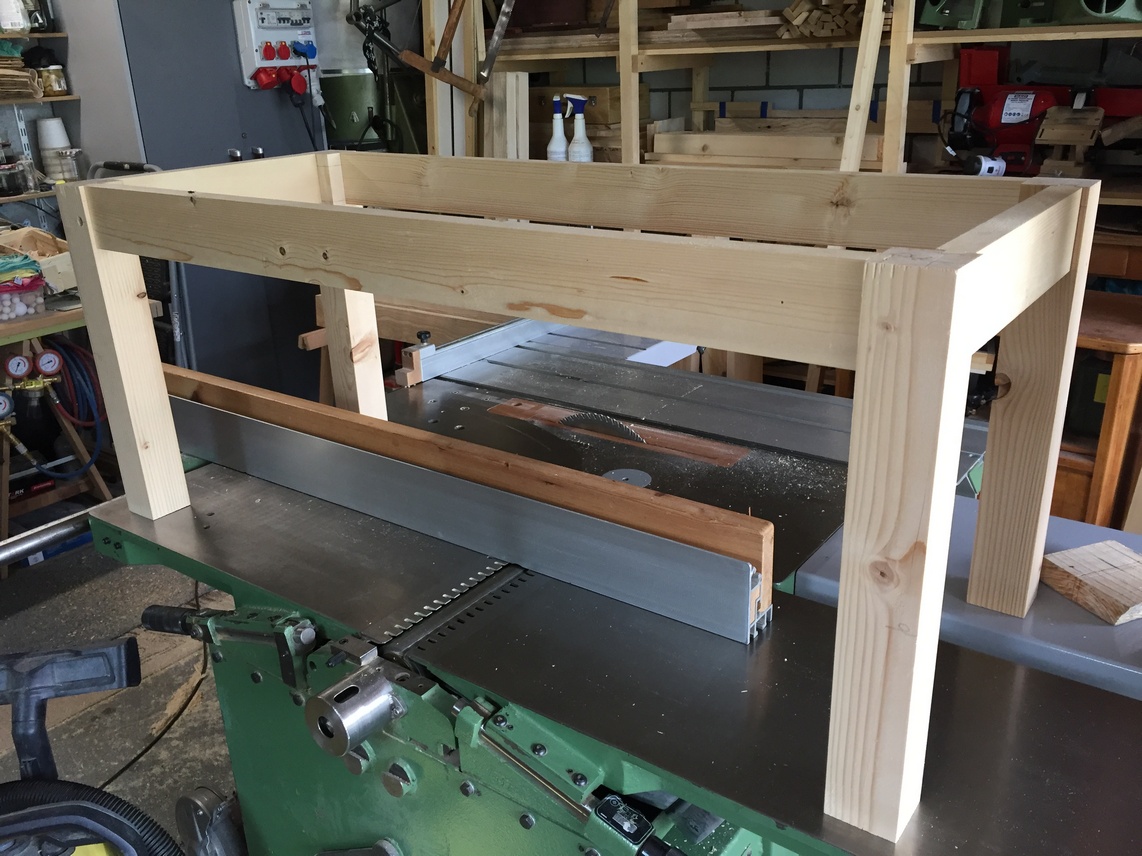
With all the joints finished, I can do a first dry-fit. Laying a piece for the top on one edge gives me some perspective. I think I may bevel the bottom of the top pieces so the table doesn’t look so chunky and also put a slight taper on the inside edges of each leg to give the whole thing a little balance. I’ll run this idea by my partner with the “good eye” and see if she approves. 🙂

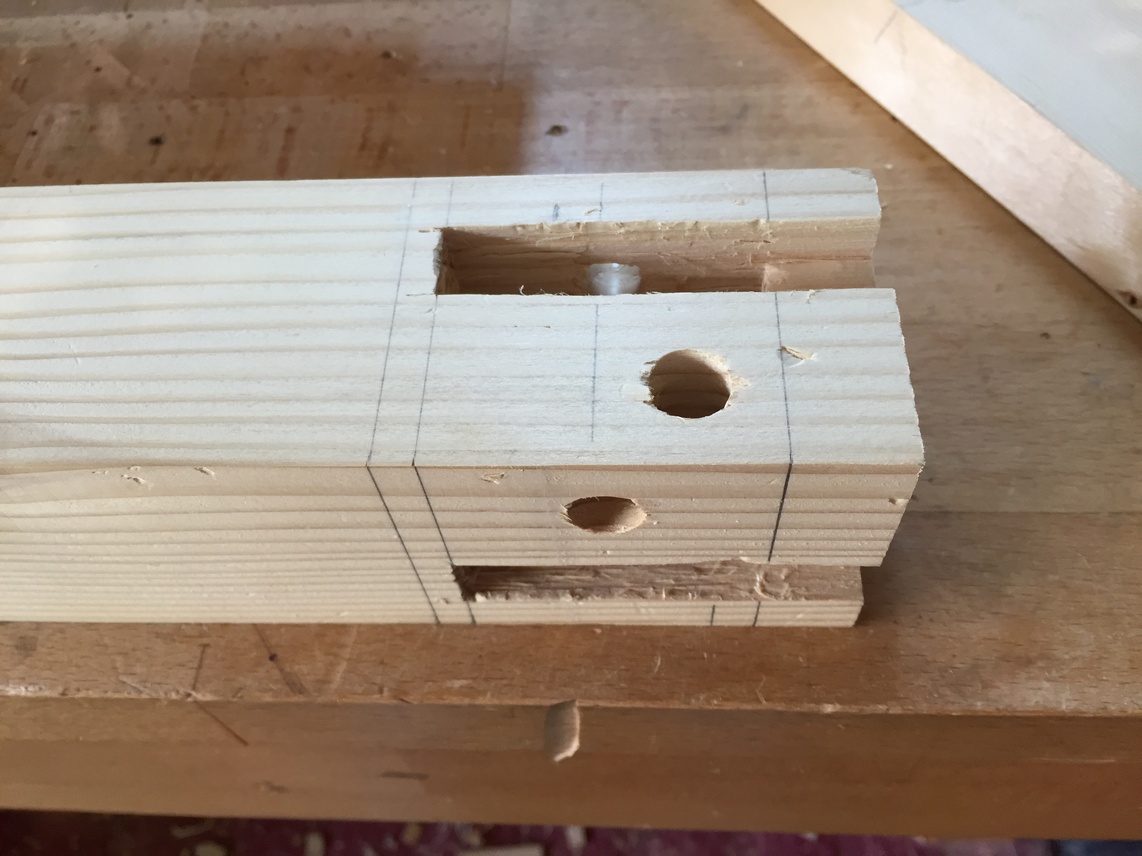
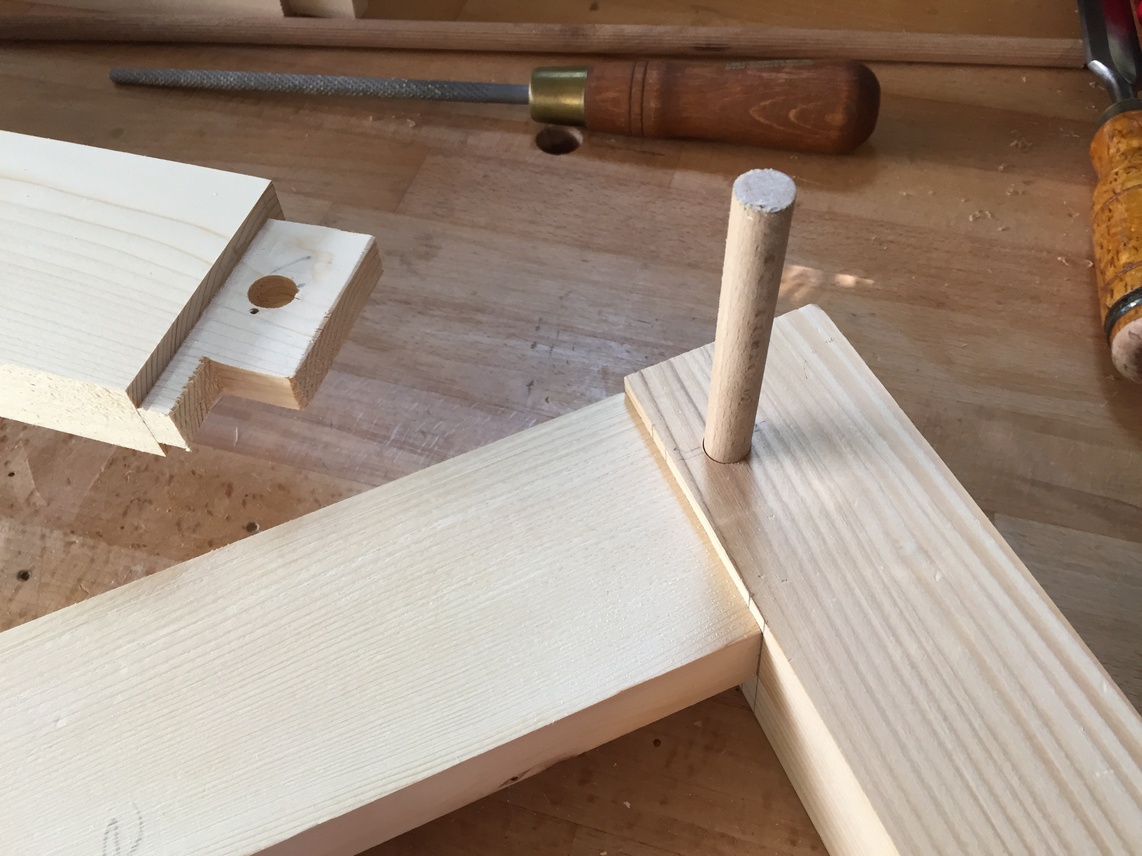
I will be drawboring these mortise/tenons for additional strength. It’s obvious from the picture below left that if I don’t stagger the bore holes they’ll conflict with each other (a lesson I learned the hard way once upon a time). An easy way to prevent blow out inside the mortise is to plane a scrap of wood to fit into the space while drilling.
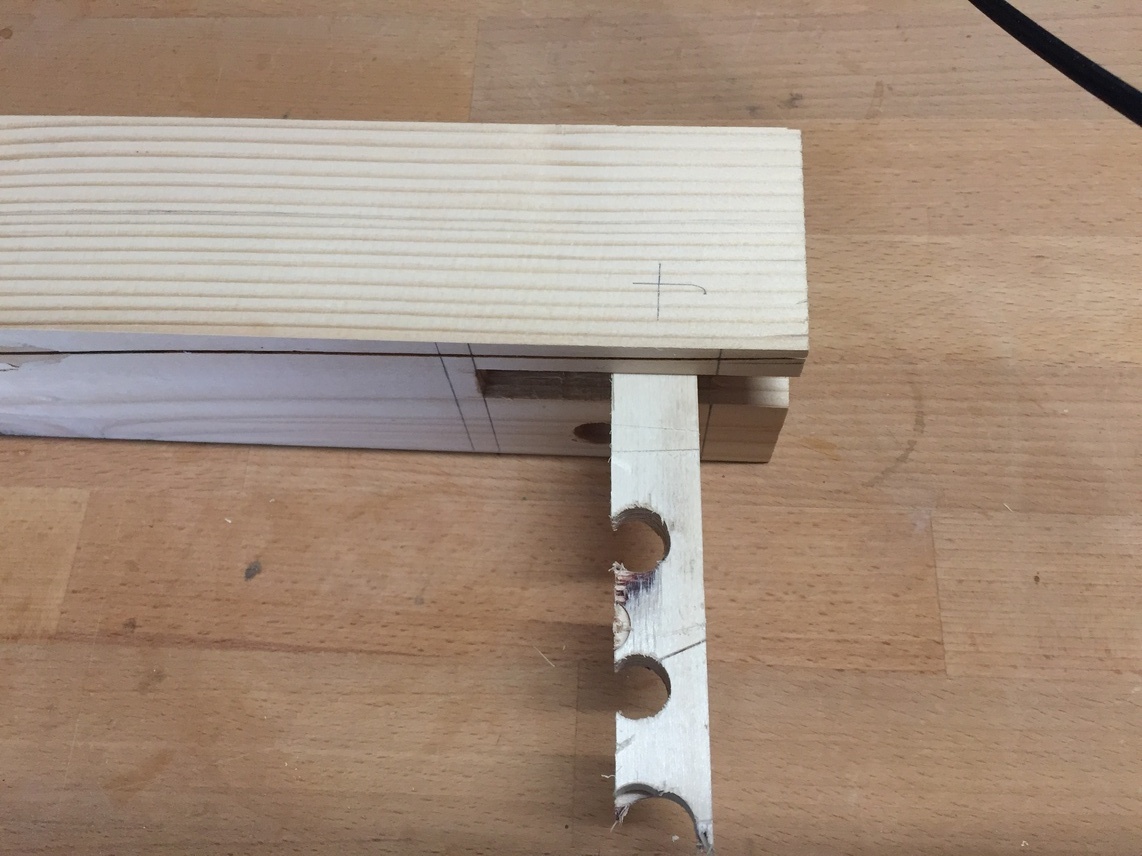
After drilling the holes in the mortise, Insert the tenon and, using the same center point drill bit, make a mark on the tenon. Don’t drill the hole in the tenon on this spot! Instead, make a mark about 1.5mm closer to the shoulder. Because the holes will be slightly offset, when the peg is inserted it will draw the joint tighter.

Most dowel stock I’ve purchased is a tad thicker than advertised (better than thinner) so a bit of sanding is always necessary for a snug, but not tight, fit. One day, I’ll get a piece of scrap steel and drill holes in it to use as a dowel plate.
I’m too tired to start on the next stage (the drawer) but before I call it a night, I make the “furniture buttons” that I will need to attach the top. Typically, a short grain cutoff is a good candidate and I have a piece of ash that is suitable. The buttons are L-shaped and will attach to the underside of the top with screws while the tongue engages a small mortise in the apron. This is one method that allows the top to expand and contract with the seasons while keeping it flat.
Cut a rabbet along the width of the cutoff, saw it off, and using a stop block on the bandsaw cut the buttons off along the grain. This makes for a strong button not prone to splitting.

Next step: the drawer and frame.
Leave a Reply