
“When is it going to start looking like furniture?”
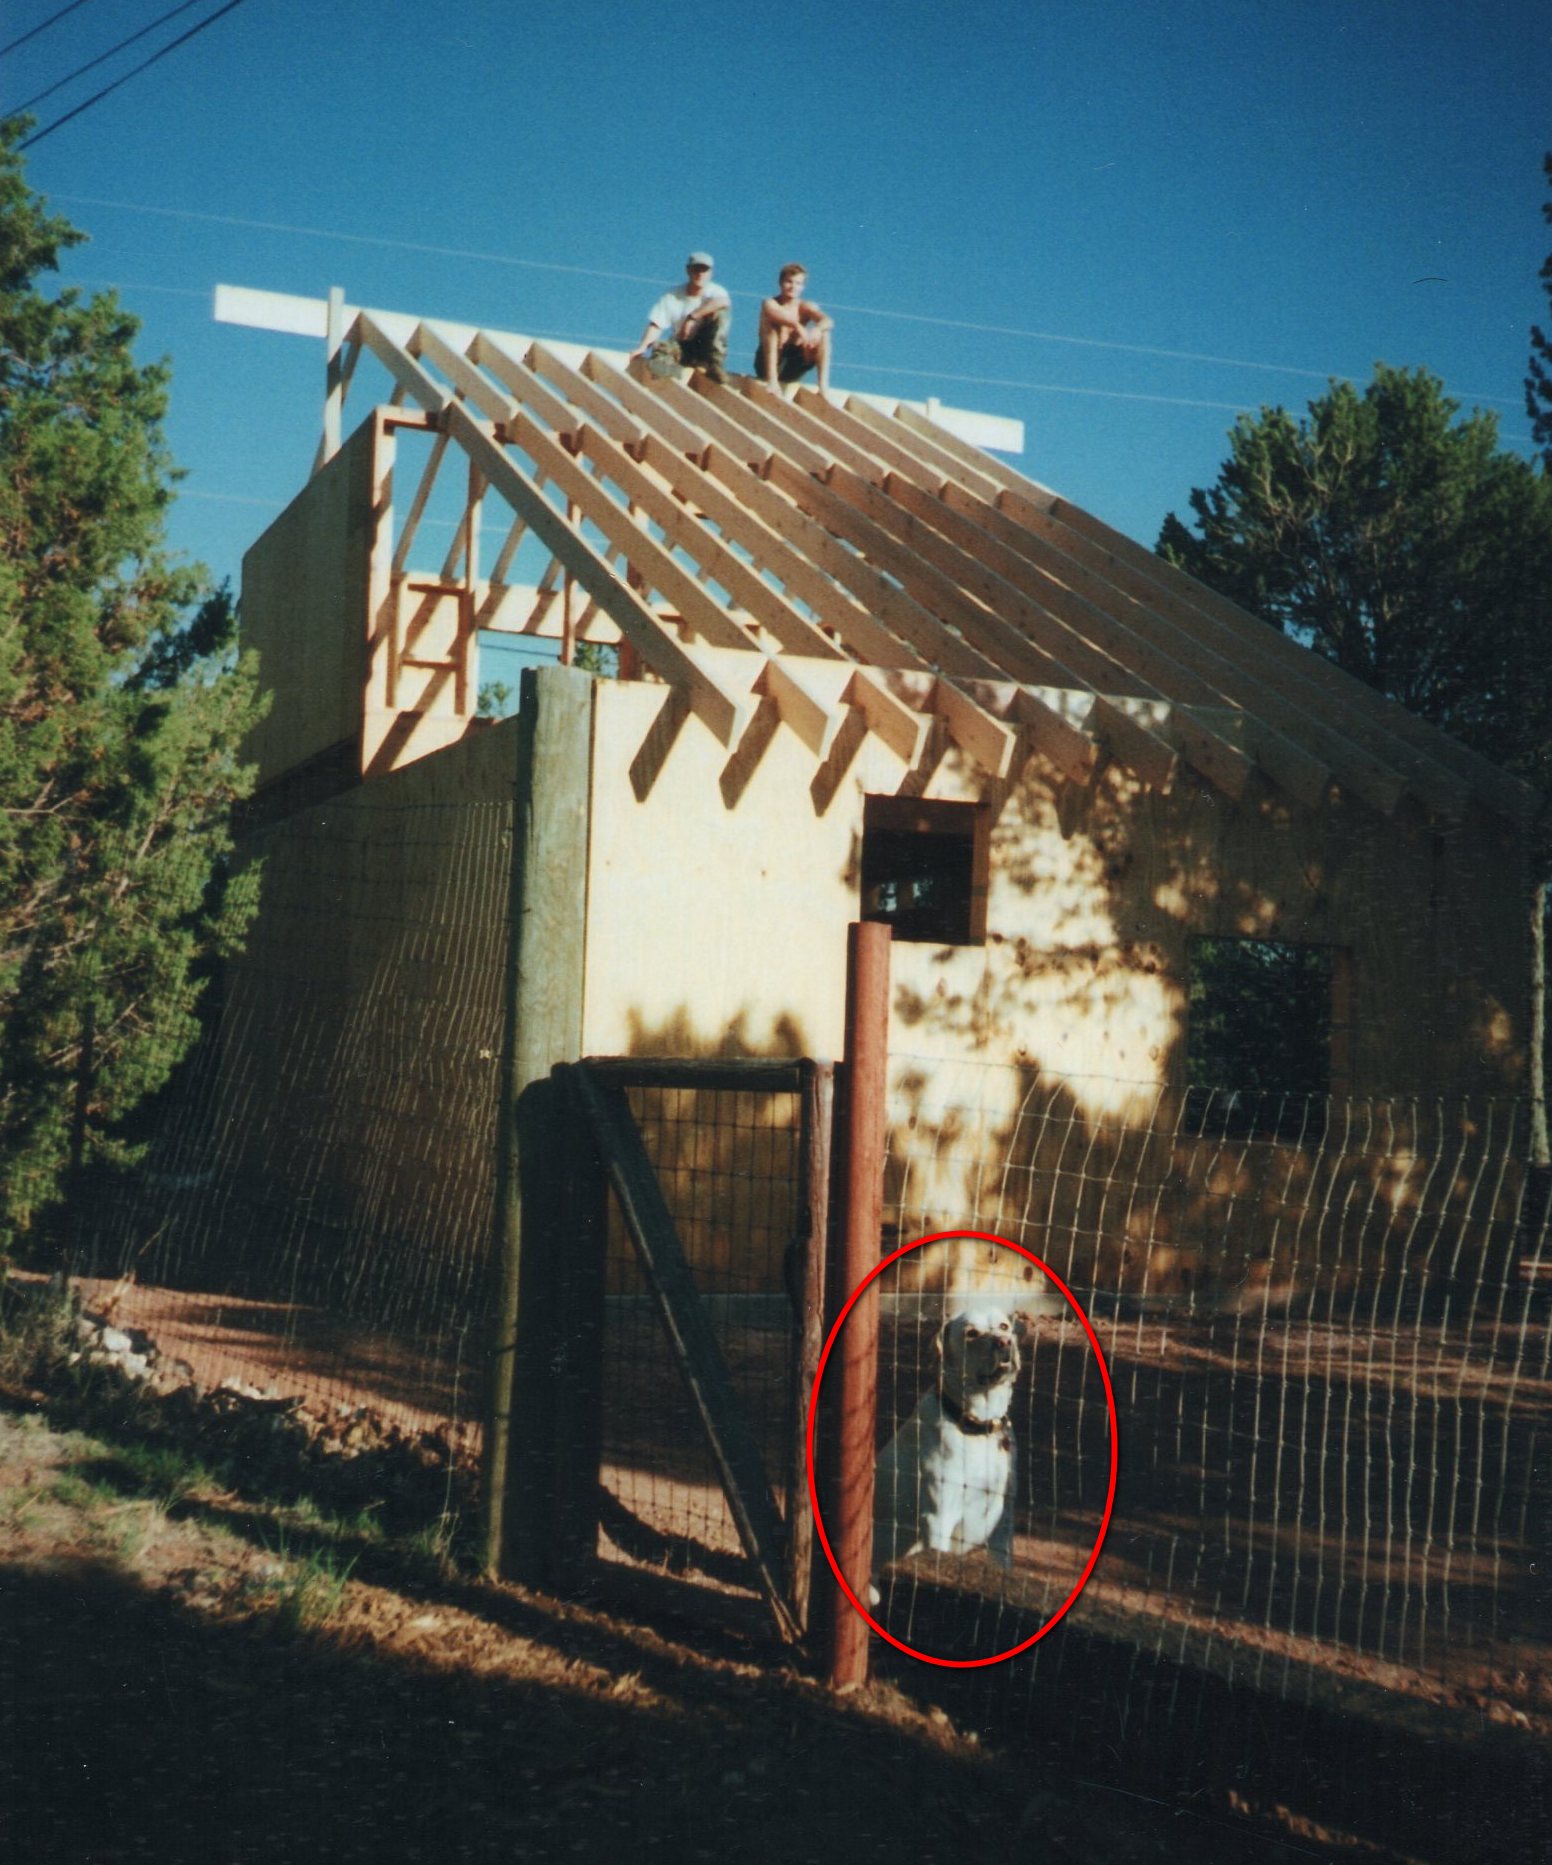
Kind of like framing a house, this is an exciting part of the build process for me, when “whatever it is” begins to look like “what it’s supposed to be”. Too bad we don’t have our faithful companion Luna to help, she always offered a comforting “bark” when I hit my thumb with a hammer…. (I realize now that they have been seriously over-bred, but honestly, I never met a Labrador I didn’t like!).
And now: back to our regularly scheduled furniture.
It’s time again to take stock of what has been done, and more importantly, what can be done before we apply more glue. As mentioned in chapter 6, pocket screws are great for dry-fitting parts to be glued in order to ensure things are going together the way they should (and square) or to help with measuring/marking for other components.
With that in mind, I use clamps to hold each panel square in its groove along the back panel. I have found that this is a good practice before driving home any screws because often times, a piece may move when a screw is driven in.
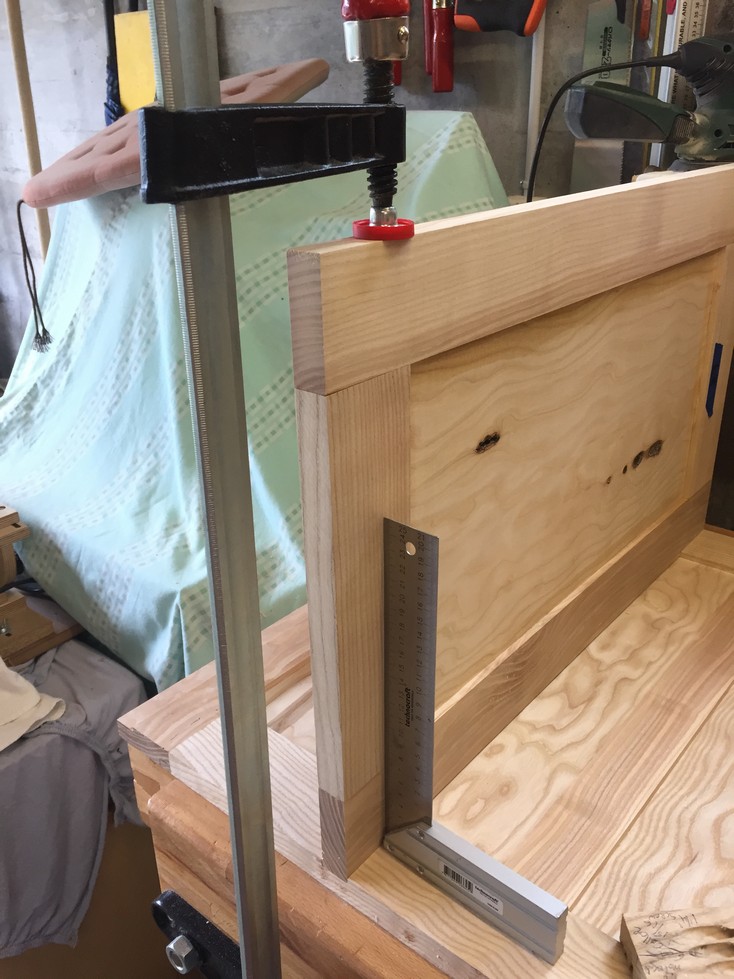
Since the panel fits snugly into the groove, it’s not going to move side to side however, the stress of driving the screw is likely to pull it out of square. Clamping it first helps ensure the panel stays square while the screw is driven in (and after).
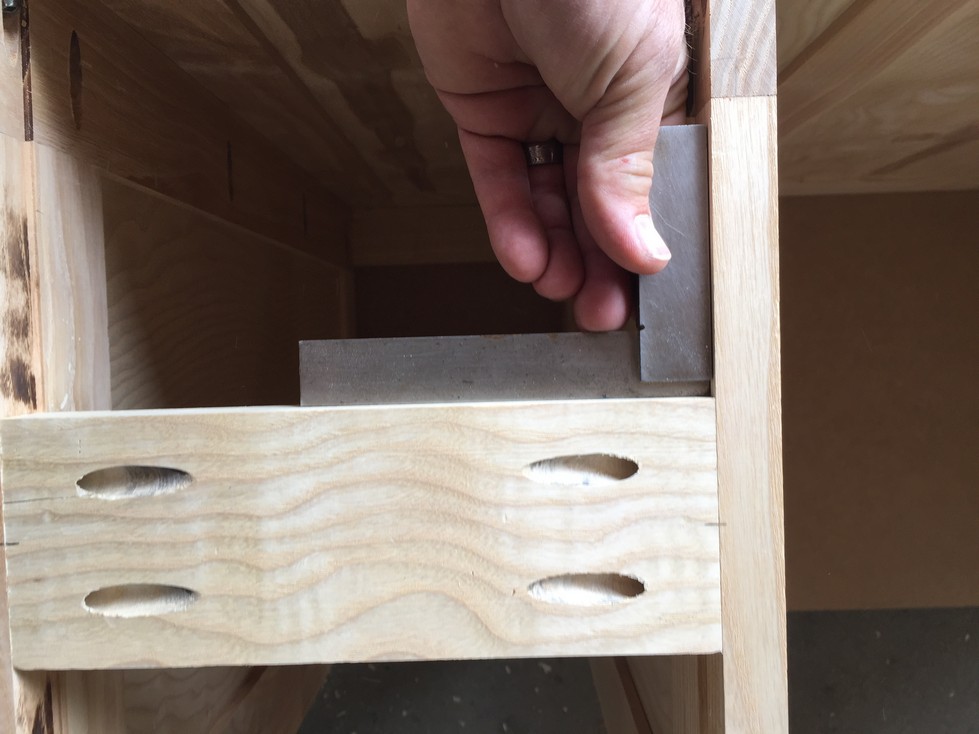
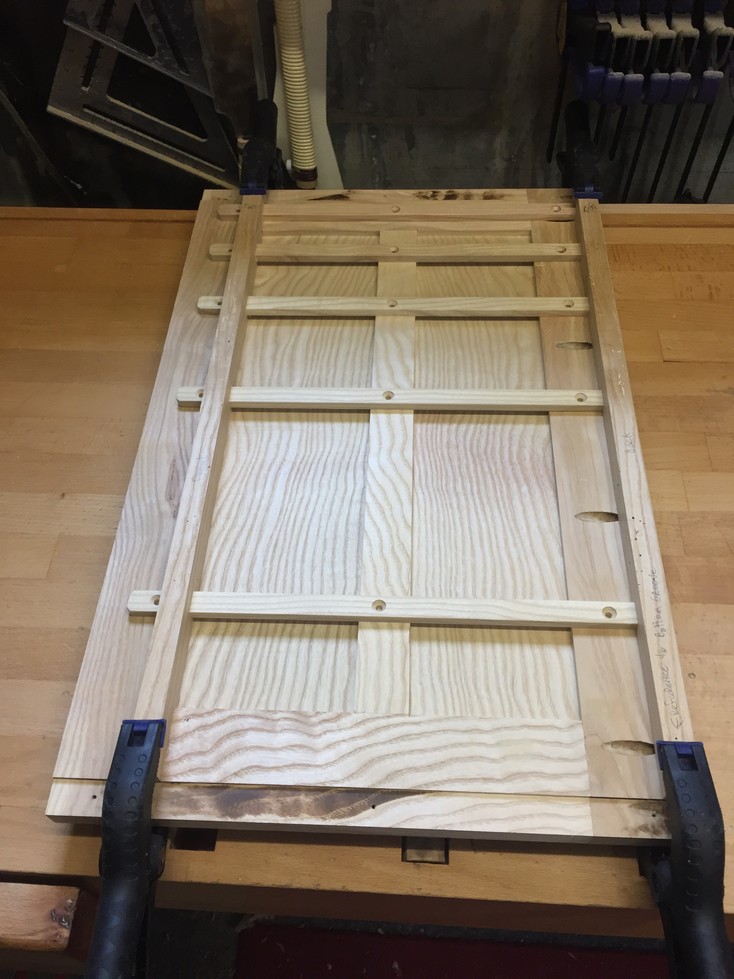
Here all 4 side panels have been attached with pocket screws and each panel has been checked for square.

While the case is on its back, I lay the door assemblies in position. Everything lines up nicely, the corners of the doors all meet at the corners of the panels, right where they are supposed to, and there are no gaps where the doors meet in the middle. I’m very happy about this and I can set aside the doors for later with no worries. If either of them needed to be “tweaked”, this would have been the time to do it, not when I’m ready to install hinges and hang the doors.


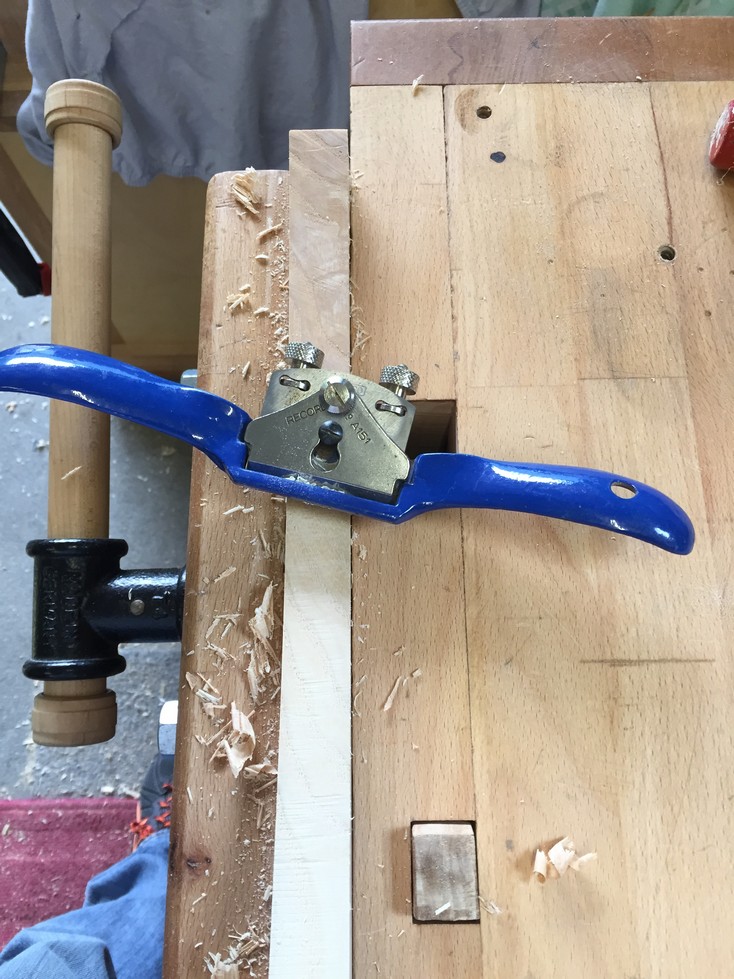
Previously, I cut the dados and other grooves on the back panel pieces in order to hold the side panels. I also cut a dado that will hold the shelf in the right pedestal. Now I’ll cut rabbets into the inside ends (top and bottom) of each of the 4 side panels. The reason I didn’t do this before is because it is easier to cut these rabbets once the panels are glued together, otherwise I would have had to cut the rails and then the ends of each of the stiles separately. Since the side panels are not huge like the back, they are easy to handle and I decide to cut the rabbets on the table saw.
The frame of each side panel is 23mm thick and I need a 4mm rabbet on each. A logical thought might be to set my fence 19mm from the blade and then cut however, I really don’t like this type of operation because it is difficult to control without a high fence attachment and can be dangerous. Instead, I install a “sacrificial” fence made of a scrap piece and then adjust it so that it is right next to the blade.

I can now run the end of the panel right up against the sacrificial fence and my 3mm blade will cut a 3mm rabbet. I set the blade to be 23mm high and that is how wide the rabbet will be. The advantages to this method are 1) I can apply firm even pressure to the panel while cutting and 2) the panel itself becomes my “safety guard”. Since the blade is now on the inside of the cut, the panel stays between my hands and the blade.

Specific Safety Disclaimer: I am not recommending this method to anyone else, this is the way I do it and I’m comfortable with this operation. There are a number of other, safer ways to cut a rabbet including the spindle moulder (panel is flat on the table and is run through the blade horizontally), a router (panel is clamped to the workbench and the router is run along the panel), or even a rabbet plane (hand plane designed to cut rabbets). As with all the operations I perform in these articles, it is up to you to decide what method you are most comfortable using. At least I’m wearing eye-protection 🙂 .
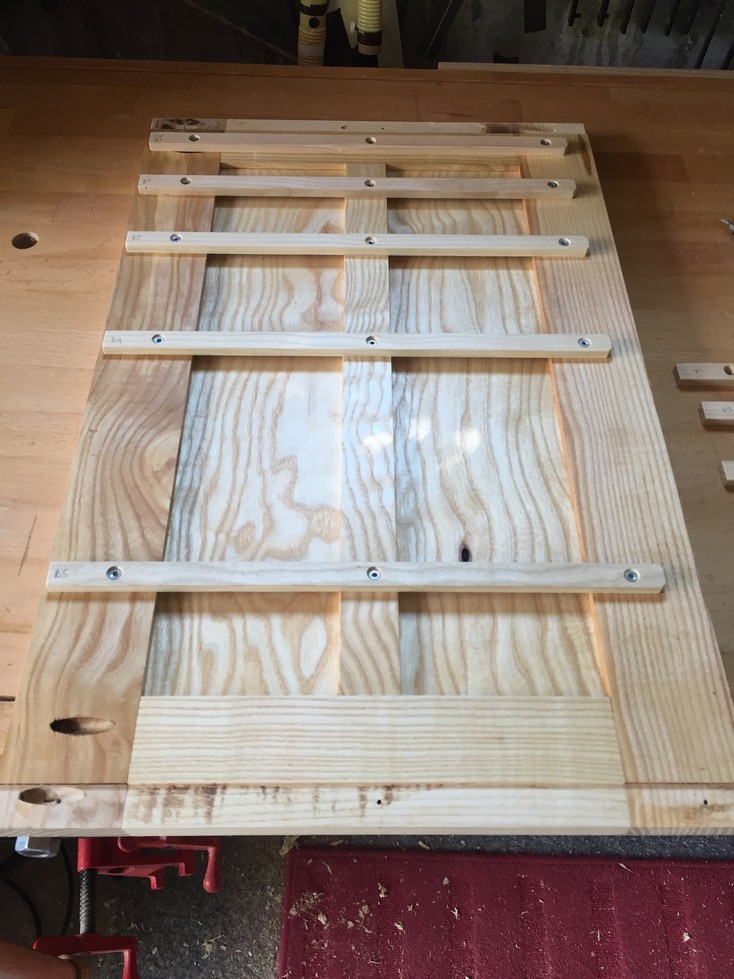
These rabbets will allow me to easily position stiffeners, pieces of stock that add strength and rigidity to each the left and right pedestal sections. I’ll attach three at the top and three at the bottom and use pocket screws/glue to hold them. I can use glue on these because they are not wide enough to be a concern for wood movement due to changes in humidity. If I were to use a full panel here, I would screw and glue the front only and then drill slotted holes for the remainder to allow the panel to expand and contract. By the way, the pocket screws remain unseen because they face the floor at the bottom, and will be hidden above by the top.


And yes, square stock installed square to a square panel keeps everything square. Don’t worry, a future project will be a carved chair and nothing on it will be square. Not sure how I’m going to sleep at night……
Here is the case with all 12 stiffeners installed (no glue yet).

In order to make the shelf for the right side pedestal, I glue three pieces of quarter-sawn stock together and then smooth the top with a hand plane. Even though quarter-sawn won’t move as much as plain-sawn wood, I will still only glue and screw the shelf in at the front so the rest of the shelf can move as it needs to within the dado.


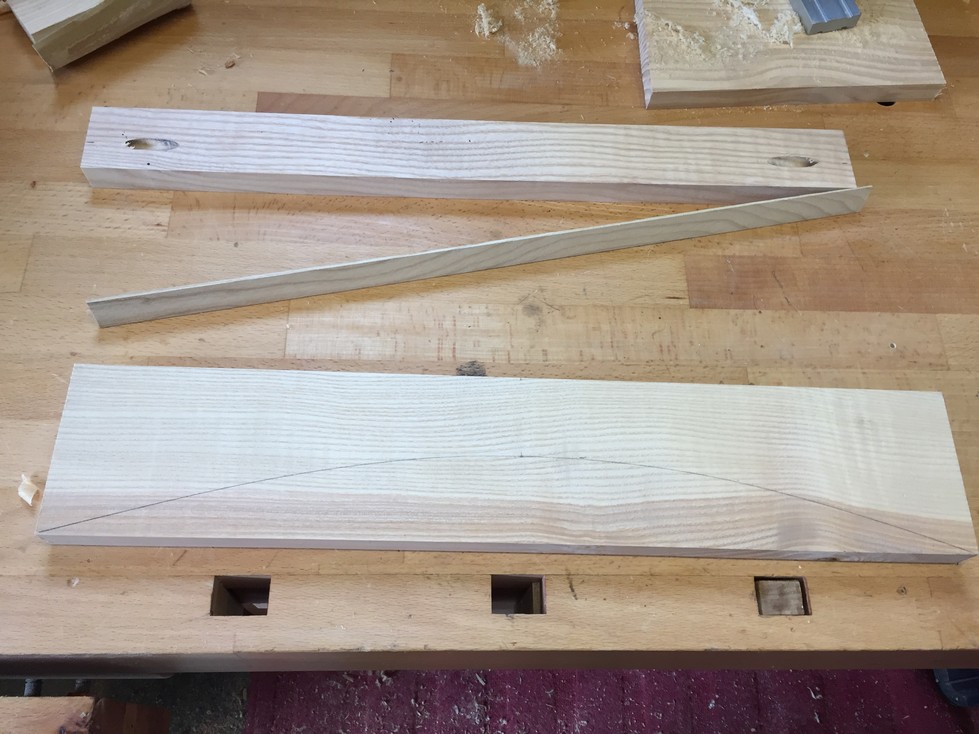
Next, I cut the pieces I need to make the knee-hole apron and test fit them in the case:


Before attaching the two pieces together, I use a thin piece of wood, bent into an arc and held at the corners of the stock, while my good wife draws a nice semi-circle. I’ll use the bandsaw and cut to this line.

A spokeshave cleans up the saw marks and then I glue the two pieces together. This subassembly will provide a lot of strength between the pedestals.

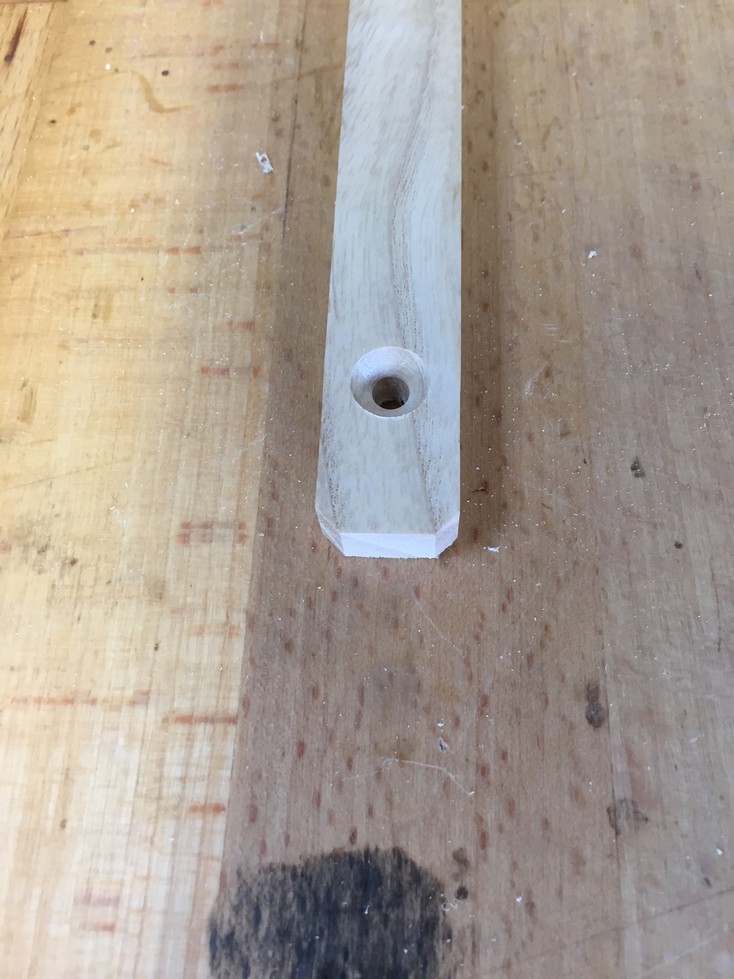
One last bit before I’m ready to glue the side panels to the back panel is to cut drawer runners and install them on the inside of the panels. This is a lot easier to do now then later. I have six drawers to do, so that means 12 runners.
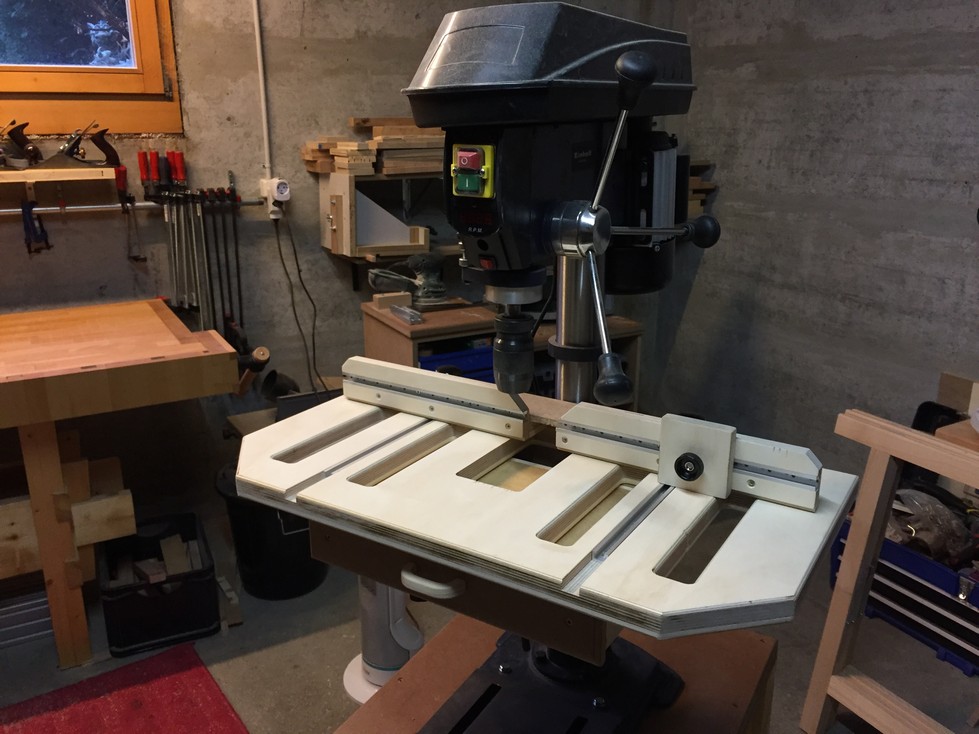
By this point, I have plenty of off-cuts and scrap pieces so I mill the runners from those and then drill counter-sunk pilot holes for the screws.


Incidentally, this drill press table is one I built from an article in “Shop Notes” Magazine #94. It doesn’t look as spiffy as the one in the article but it was mostly scrap plywood and only a few pieces of hardware I had to buy. Like the drill press in general, I wondered how I ever managed to get along without this. Between the adjustable fence, stops, tool drawer and built in dust collection port, this accessory to the drill press is amazingly helpful. “If you have the means, I highly recommend picking one up” (name that movie reference 🙂 ).

I cut chamfers on the front of each of the drawer runners and then sand them all to 150 grit. These won’t be glued, only screwed, and they won’t get oil either, only wax. Over time, any finish other than wax may cause the drawer to stick, or at best, not slide as smoothly.
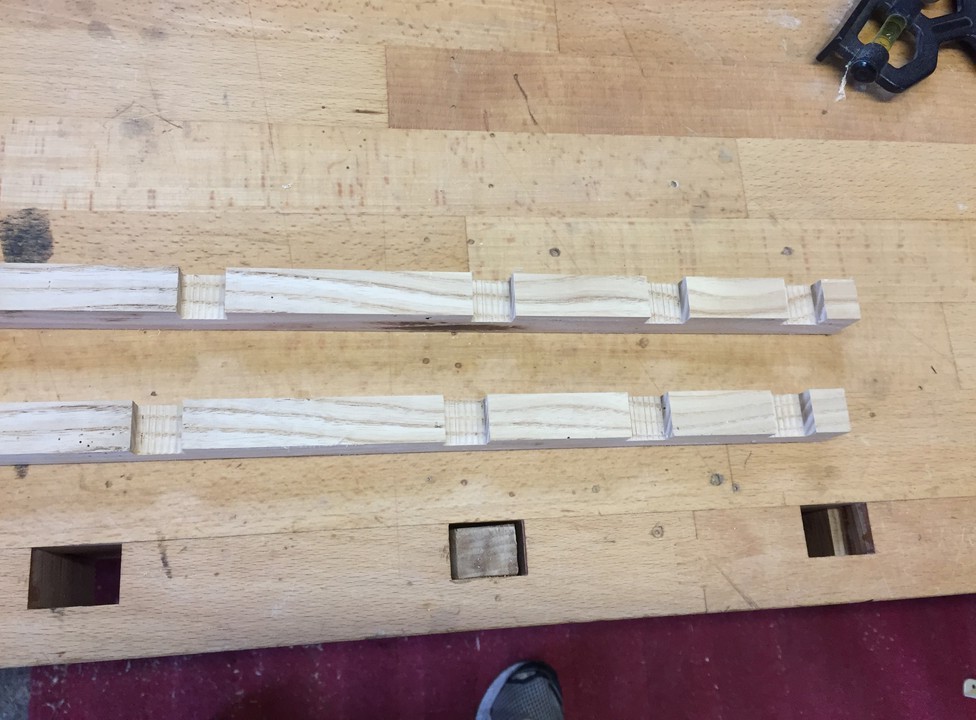
 A great way to ensure all the runners are installed evenly spaced, and in the exact same position on both left and right sides, is to use a jig. I take a piece of scrap, crosscut dados the same width as the runners, space them according to the plan and then rip the piece lengthwise.

Now I can clamp the two jigs in place with each end flush with the top of the panel and install the screws, thereby ensuring accurate placement of the runners. You’ll notice that there is a new vertical piece in the middle of the panel now. It’s a “muntin”, and although it looks like a stile it is only a thin piece installed on the inside of the panel in order to allow the screws from the center of the runners to have something to grab onto. The runner screws do not protrude into the panel behind and the muntins are only glued at the top and bottom to the rails; the panel needs to move freely.
I take this opportunity to sand each of the panels to 120 grit both inside and outside. An old sheet underneath while I’m sanding prevents any unwanted marks caused by the vibration of the sander.

Finally, I pre-finish the inside of the panels with oil and install the runners. Again, it’s a lot easier to do this now.
More planning for things that would be easier to do before glue, I decide to make the support members for the sewing machine lift and get them pre-fitted. I turn the case upside down and put the lift (also upside down) in place so I can mark where the supports need to be mounted. Not only is this easier than trying to hold the lift in place right-side up, my rolling platform has been reinforced to stay flat so provides a straight edge reference.

The upper support will get mounted to the top rail of the back panel so that’s no problem, but the lower support, like the muntin above, can only be mounted at the ends to the stiles of the side panels. I can’t mount it to the center panel section which needs to move freely. Pocket screws are really handy here. I’m not installing the supports yet but now that they are cut to size, test-fitted and sanded, they are ready for installation after I apply oil. These supports won’t be glued into place; just in case sometime in the future the lift has to be replaced and the new one needs to be mounted differently.
I may be forgetting something, but I’m pretty confident that I’ve done everything that makes sense before permanently gluing the panels and stiffeners together. I disassemble everything and reassemble using glue and screws on the panels and all the stiffeners. For now, I mount the knee-hole apron only with screws until the lift is installed and adjusted properly. Also, I only use screws on the right pedestal shelf because it may be helpful to remove it while tweaking the drawer below it.

We may not know what it is yet, but it does look like a piece of furniture. Hopefully someday, someone will say “That old sewing table? Yeah, my great-great-grandfather made that back when you still had to communicate with phones held in your hand! Sheesh…”
Next Chapter: time to “hitch-up our drawers…”
Leave a Reply