
Mounting doors, a little easier than horses……

Mounting the doors is going to take a little bit of careful preparation. Not only is this a critical step (for me) but I’ll be cutting a shallow rabbet in each of the doors and I want to be absolutely sure everything is going to come out right before I do that.
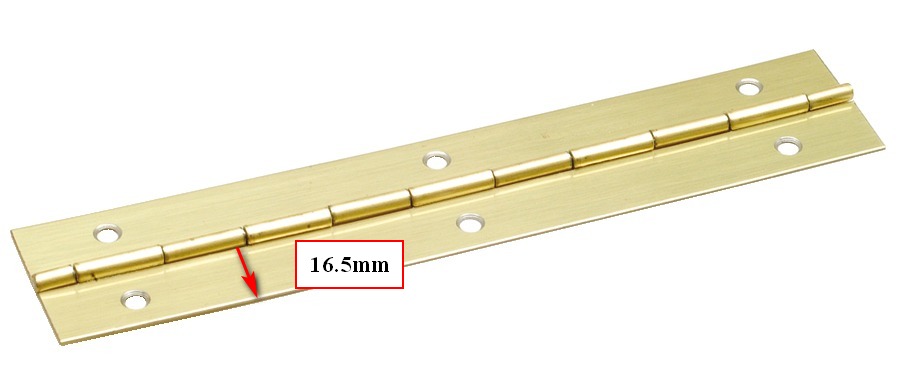
I’m using piano hinges to mount the doors so I measure from the knuckle (the part of the hinge that houses the pin) to the outside edge.It’s about 16.5mm so I set the tablesaw blade height to 16mm and attach my sacrificial fence. You might remember from an earlier chapter that this method allows me to cut a shallow rabbet in a piece of wood accurately and, more importantly, safely. Since I want to cut a 3mm deep rabbet (it’s a lucky coincidence that my sawblade is 3mm thick) I adjust the fence till the sacrificial piece is just touching the sawblade. Now I can run the test piece up against the fence, keeping steady pressure, and there is no danger of the piece wobbling (causing a kick-back, possible injury, and ruining the piece) or of my fingers getting close to the blade.

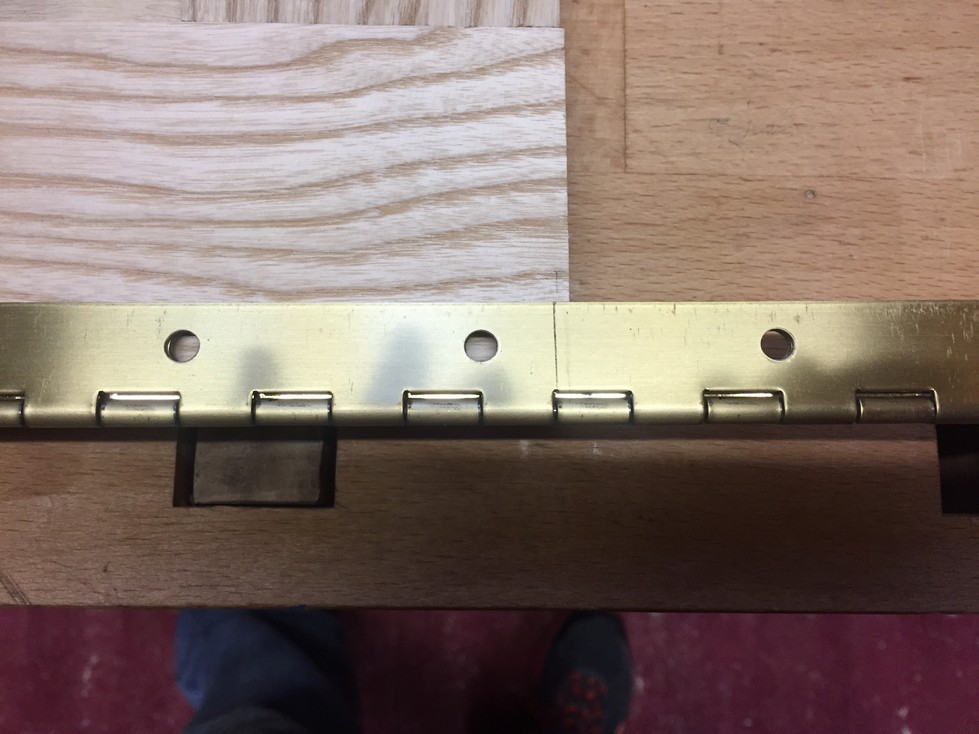
So my plan is to have one half of the hinge in this rabbet on the door and the other half mounted directly to the front edge of the case (no rabbet). To simulate how this will fit, I mount the hinge on the scrap piece flush up to the edge of the rabbet and also to another scrap piece flat against its side.
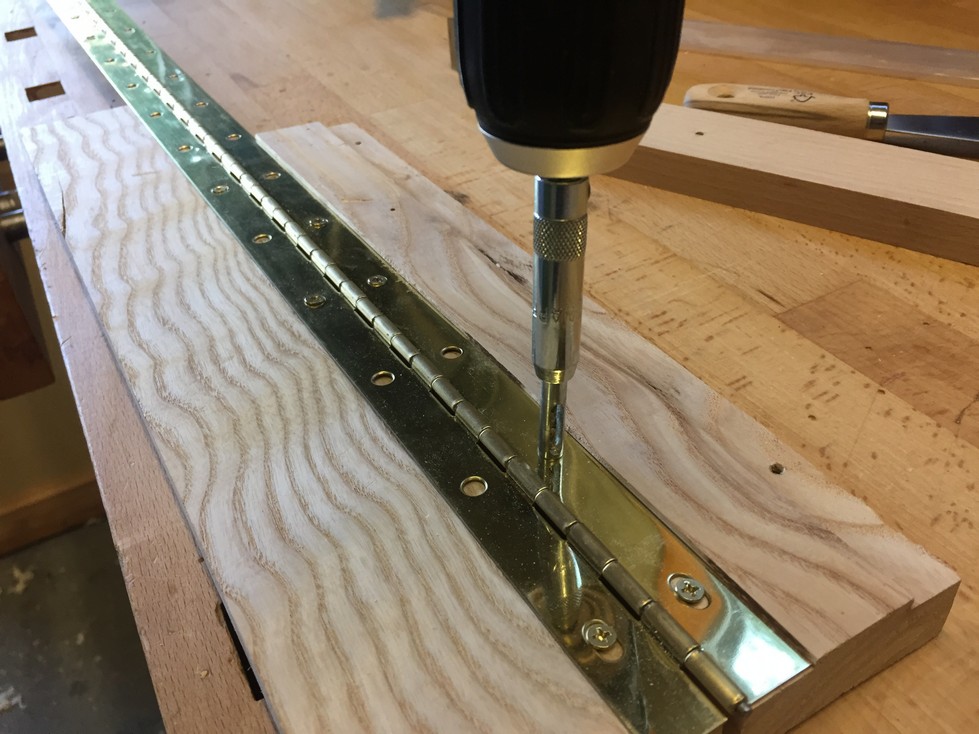
A really handy tool is a Vix bit. It is a self-centering bit that saves a lot of time laying out where to drill pilot holes for the hinge screws. Just position the hinge and the Vix bit centers itself in the screw hole of the hinge allowing you to drill the pilot hole right in the center. A good sequence would be to drill for the first screw and install that screw, move to the other end of the hinge and drill for that screw and install. Now the two screws hold the hinge secure enough to drill all the other pilot holes in-between. For now, I only drill for three screws (additional one in the center) until I am confident of the hinge placement on the actual door and case.
When I flip the test piece over, simulating closing of the door, I have about a 2mm gap left which is just what I want. If I wanted a smaller gap, I would go back to the saw and cut a 4mm deep rabbet. A larger gap would require only a 1 or 2mm deep rabbet.

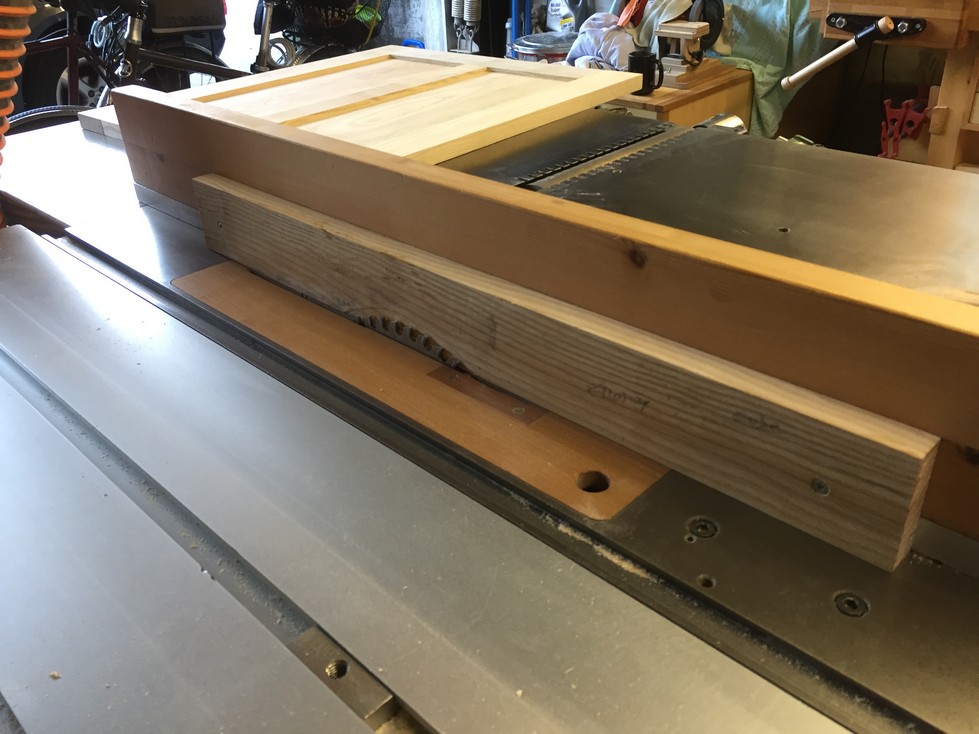
Having confirmed the proper depth for the hinge rabbet, I cut the first door. The picture is a little dark however, you can still see that I can hold the outer stile of the door flush against the sacrificial fence. In the worst case if the door wobbled, it would be physically impossible for the saw blade to ruin the door. I would just have to make another pass keeping the door steady.
If I cut the rabbet with the door between the fence and the blade as below, I wouldn’t be able to keep pressure at the low point and if the door wobbled, it could get ruined. Not to mention the danger to my fingers.

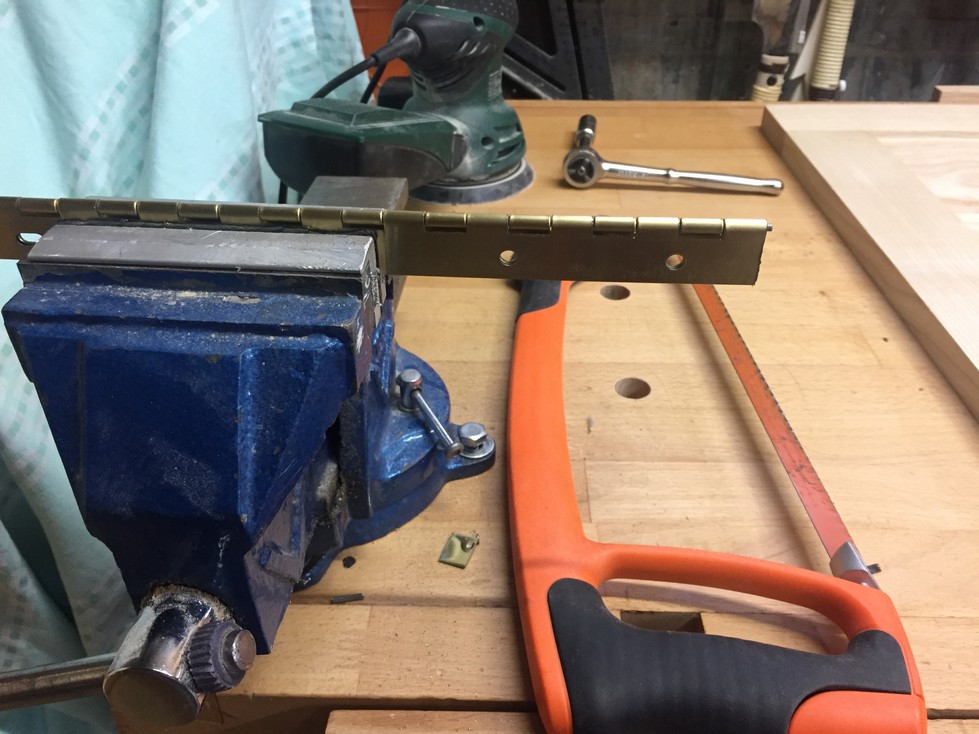
Now I get to inject a little metalworking into this wood project. The hinges are 36 inches long and need to be cut to proper length. I line up the end of the hinge to the top end of the door, with a few millimetres to spare.

And then mark the other end at the closest knuckle available. I’m lucky as there is a pre-drilled hole close to the end.
With the vise mounted to my workbench I can use a hacksaw to cut the hinge. Using the same careful sawing method as I use in wood, I’m able to cut the hinge square enough that only a little bit of filing is necessary to touch up the cut and smooth the jagged edge.
I’m paranoid about drilling the first holes so I use a scrap piece to clamp the hinge in position before drilling a pilot hole at each end.
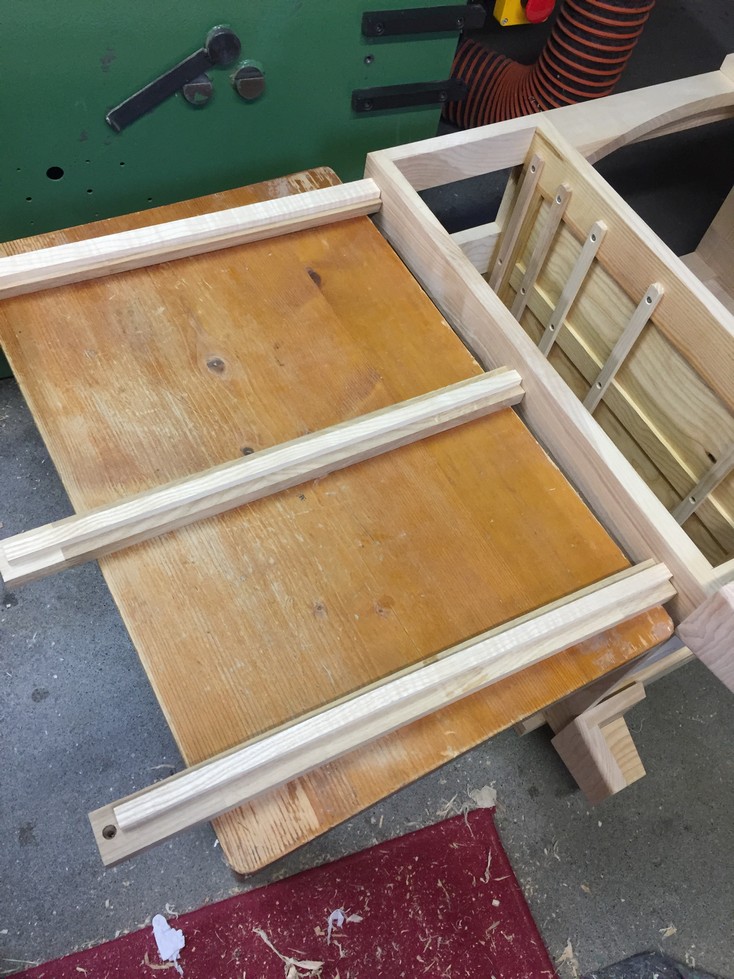
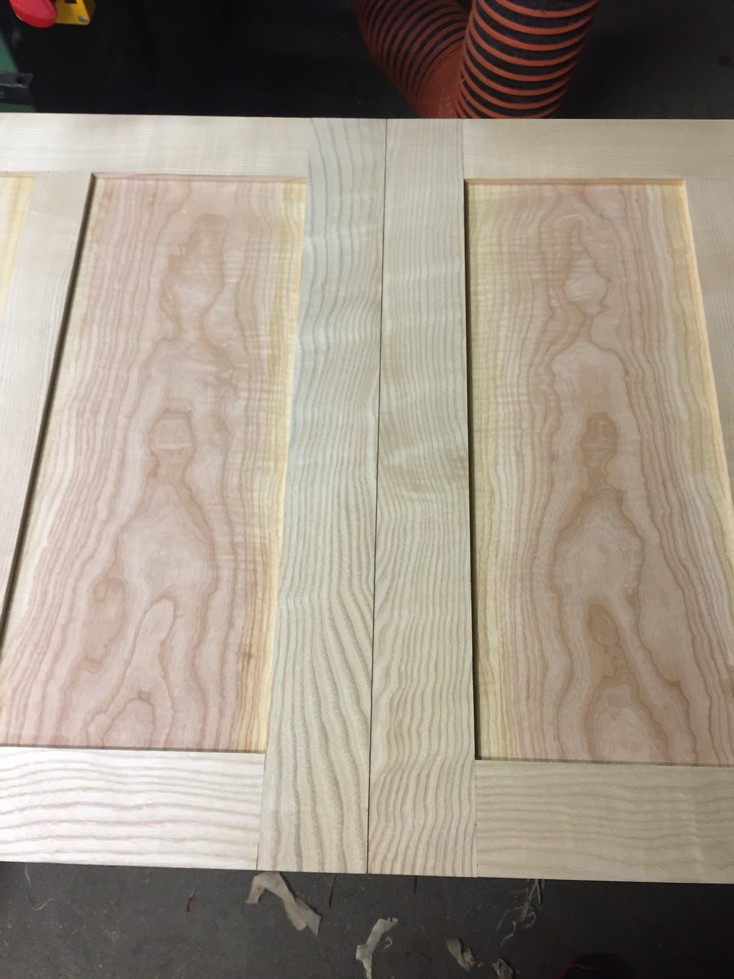
Once the hinge is mounted with two screws, I lay the case on its back and both doors in place flush against each other. Similar to the drawers, I will initially mount the doors with no gap between them so I have a little margin for error. If necessary, I can fine tune the edges with a plane to achieve a consistent gap.
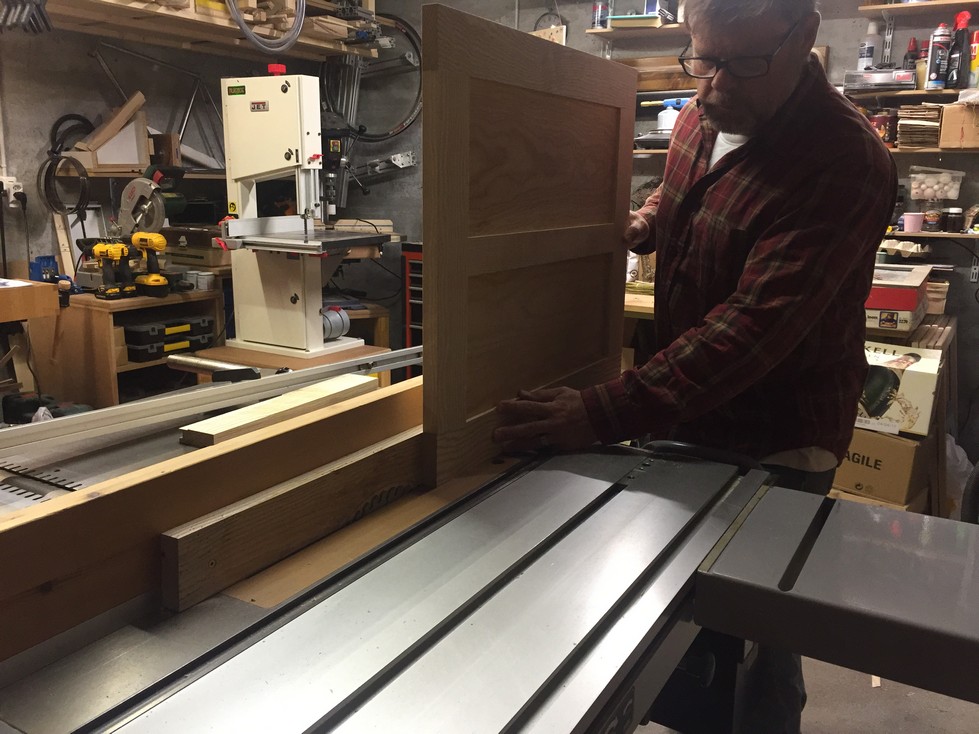
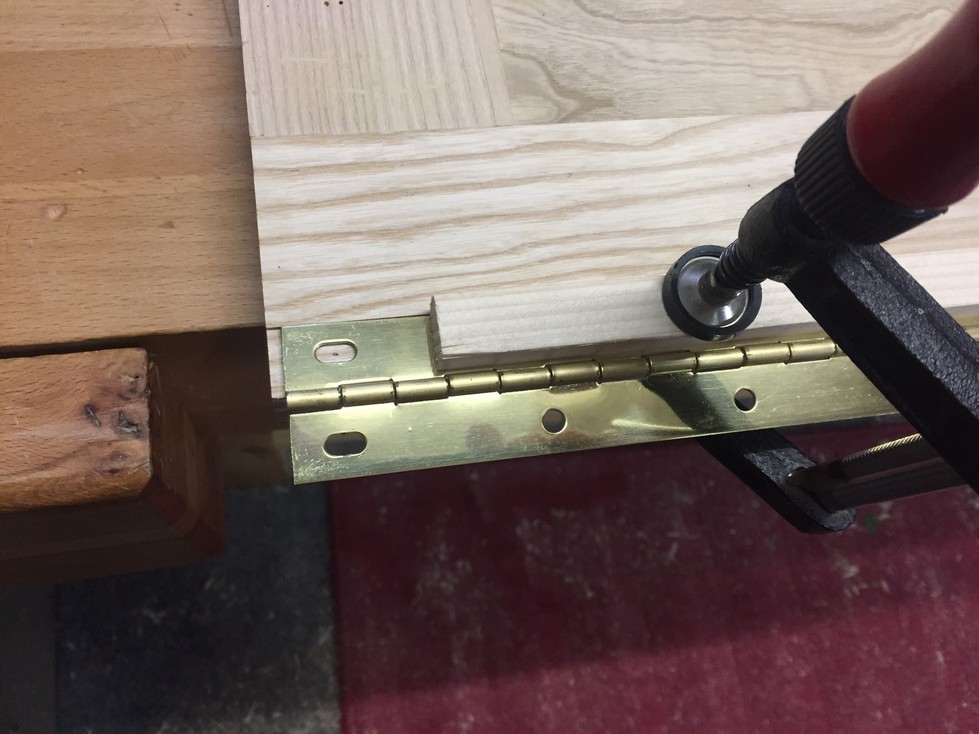
Putting both doors into position helps to ensure they are located just right before I mark where to mount the hinge on the case. To make the door easier to mount, I set a little table next to the case with a few spacers to bring it up to the same height as the front of the case.
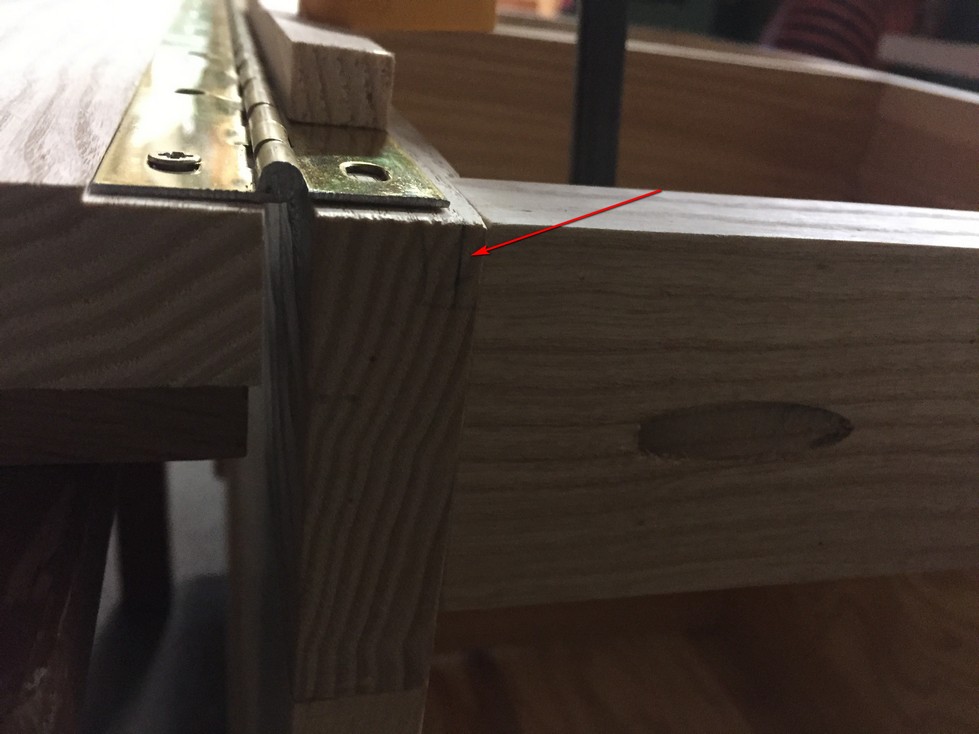
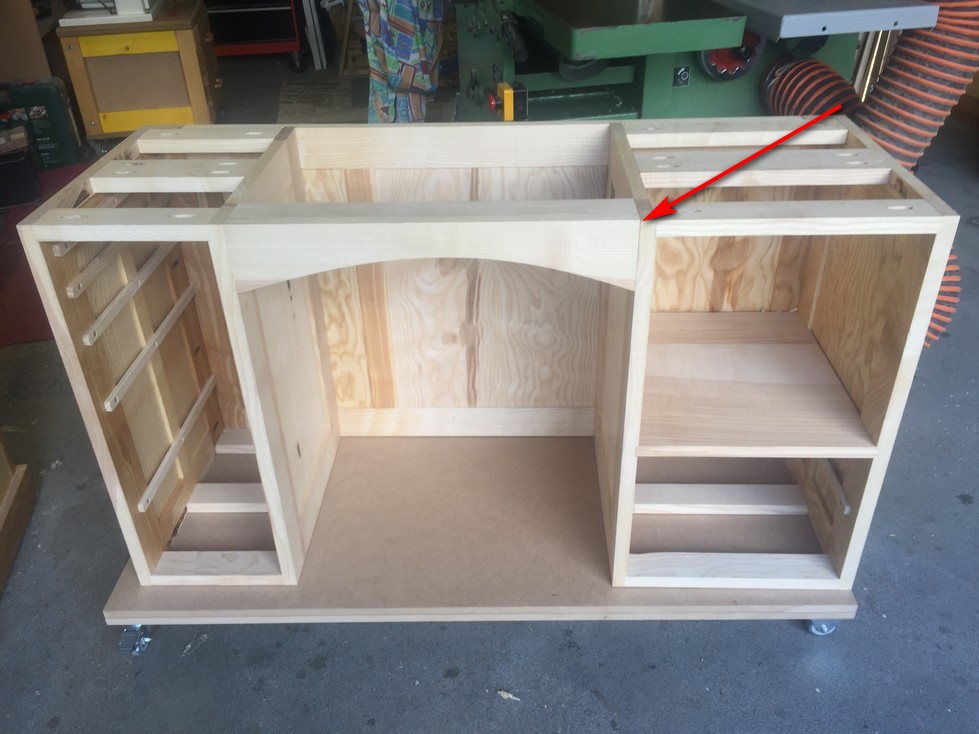
Now with the door laying on the spacers (in the open position), I line up the edge of the hinge with the mark I made earlier. It’s hard to see but the arrow points to it.
Again, a scrap piece is used to help clamp the hinge in place while I use my level as a straight edge to check alignment of the open door with the top of the case.
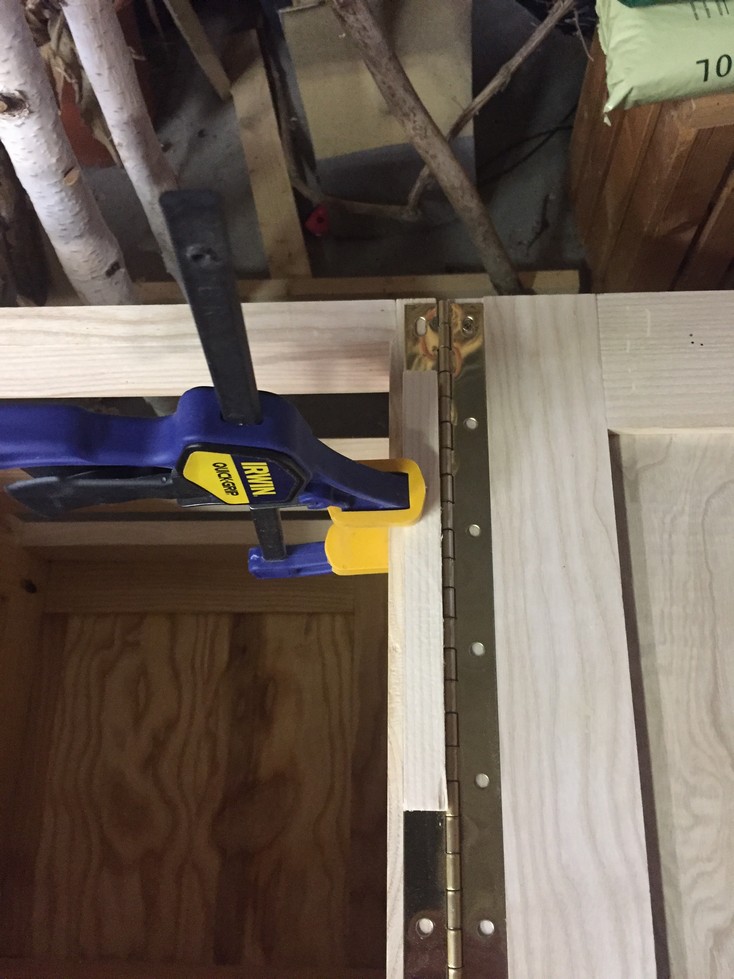
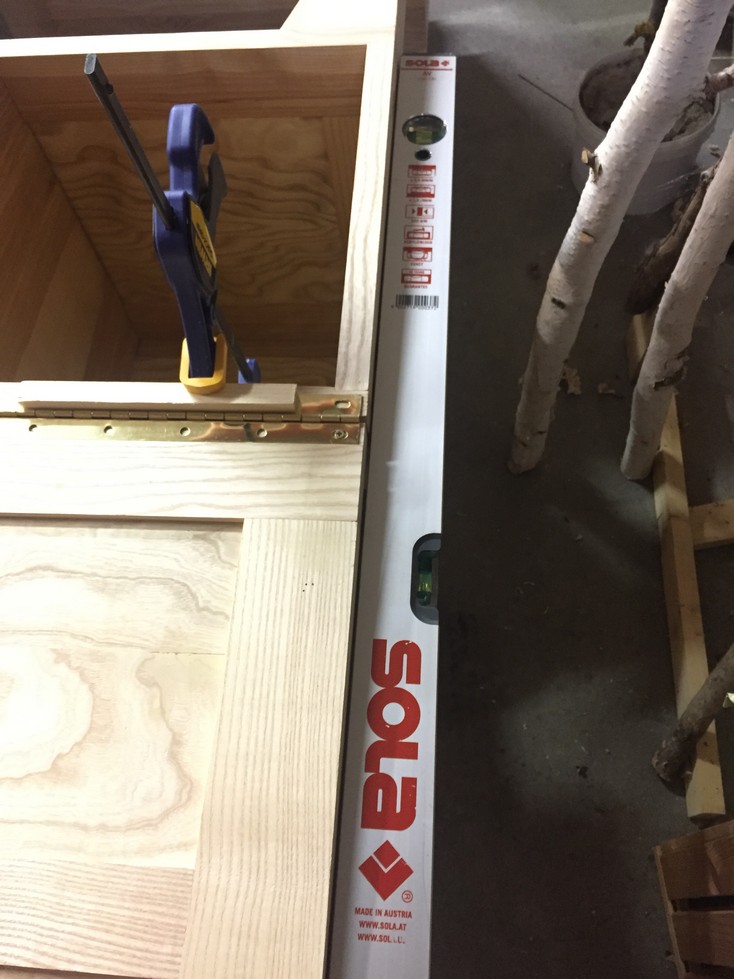
Once the position is as good as I can get it, I use a second clamp to completely secure the hinge and drill a pilot hole at the top and bottom.

Two screws to hold the hinge in position and I remove the clamps to close the door. The moment of truth:
No gap at the top and only a very tiny gap at the bottom. This is good enough for now because it’s better to get the second door mounted before making any more minor adjustments.
It’s a good thing I didn’t cut the rabbet on the second door yet because it is a little over 1mm too wide. I shave off the little bit of excess until the door is flush with the case side and only then do I cut the rabbet for the hinge.
The previous steps are all repeated for the second door and I need to make only one tweak in its hinge position in order to make it square and flush to the first door. Happy with the door mounting, I remove them and cut 2mm off the bottom of each so there is a little gap between the door and the top of the feet. Even though I expect to also cut a bit off the door tops, this should wait until after I’ve installed the table top.

I also want to wait until both of the table tops are installed and hinged before marking for the support pins and the door catches. However, while thinking about the door hardware I discover a mistake, a perfect example of why I always wait till the last possible moment to apply glue!
You’ll remember that I built up the “knee apron” and installed it flush to the front of the case with pocket screws:
Luckily, I didn’t glue it yet because if the apron is flush to the front of the case, there is no room for the door catches or the support pins. The apron should be located approximately 10mm back from the front of the case. Phew, disaster averted! Incidentally, if I had already glued it, I could have cut two small mortises into the apron to house the catch however, it would be a problem to mount them without using some type of adhesive. Another option would have been to mount them on the underside of the apron. That would have worked better but looked awful when the doors are opened.
So great, I unscrew the apron and locate it further back:

Now when the door is closed, the catch will be flush with the front of the apron. The catches will be mounted to the underside of the top and so when the doors are open, they will still be visible, but unobtrusive.

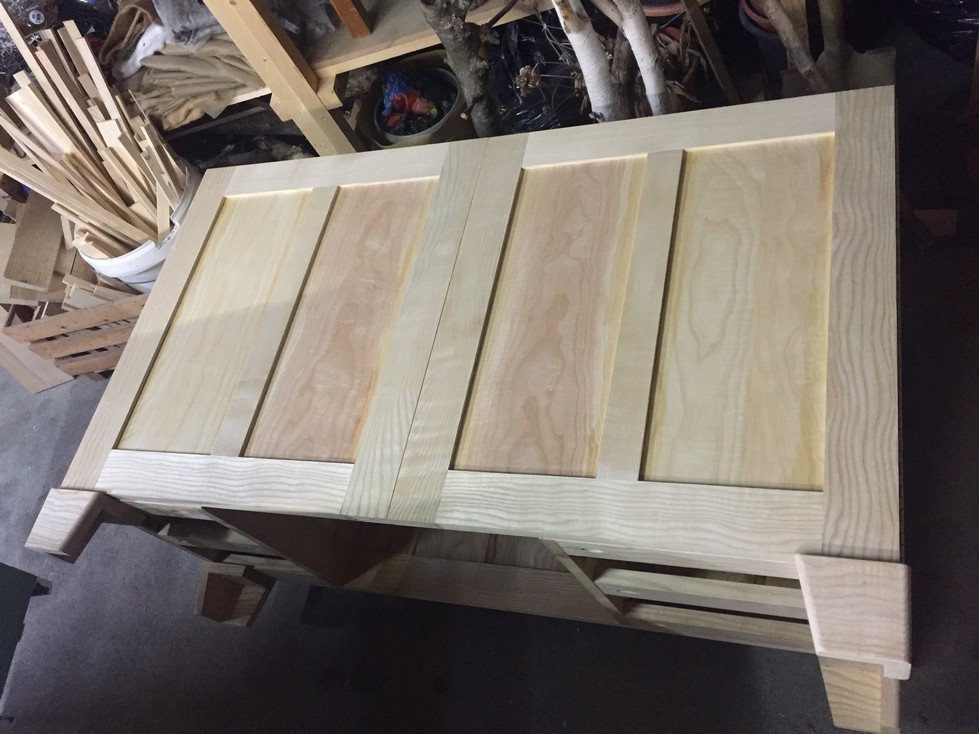
This is what it’s looking like so far:

Next Chapter: Table Top with Hinged Extensions
Leave a Reply