
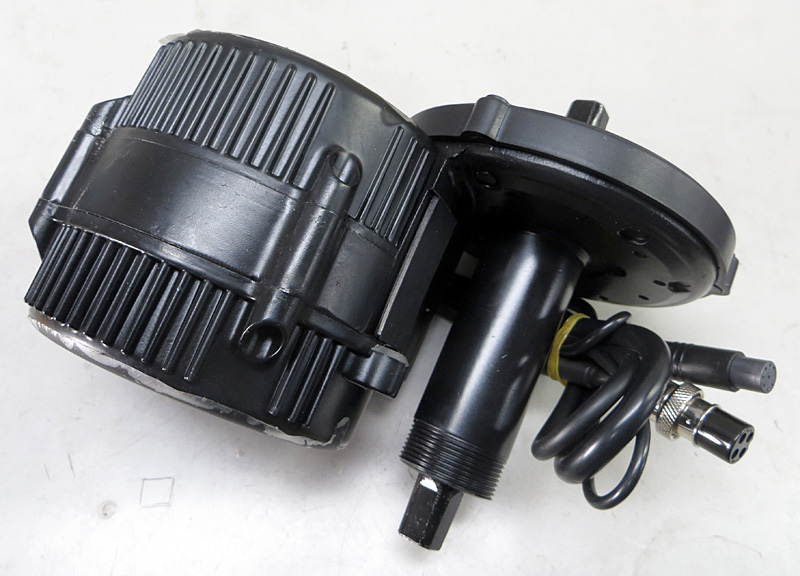
These bad boys are getting mounted to my wife´s bicycle, if I can get them here….
Getting everything to Switzerland was the next challenge. I could have shipped the motor kit and battery directly to my house but that would have cost about $260 in shipping and $330 in import duties. As luck would have it, my son in the Army had just received orders to Stuttgart, Germany….
I had the motor shipped to my son in North Carolina ($35) and he brought it over with his household goods. Unfortunately, the battery is considered hazardous material due to the Lithium Ion cells. If a battery is over 300Wh, it has to be shipped with big HazMat labels. 
As HazMat, the Army would not ship it for him so I had no choice but to send it by the normal route, land and sea. California –New Jersey – Amsterdam – Germany and then a friend I work with brought it to me in Switzerland. Battery shipping $120, import duty in Amsterdam $110. By the time I got everything to my garage in Switzerland, the total outlay was a little over $1,000 but I have a motor that is more powerful than XX% of the mainstream e-bikes offered here. I’ll have to tell Monika not to pass up any police cars on her way home.

Chances are small that my wife would be doing this right next to the police…… but away from the eyes of law and order? Who knows. 🙂
Update: I’ve recently found a couple sites in Germany and Austria that sell Bafang kits and parts so they are available in the EU, just not as inexpensive as in the U.S., especially considering the import duties.
There are really a LOT of great blogs, forums, and websites out there specific to building e-bikes so I’m not going to try and do a better job then they at explaining the process. What I will do, is attempt to give my audience the benefit of the lessons learned during my particular project. For detailed information, here are some of my sources:
- A blogger named Karl Gesslein has a massive site with loads of great information. I would say that this was my “go to” source for 80% of what I’ve learned about e-bikes so far and he has very detailed articles on builds and testing related to the Bafang motors and accessories. Highly recommended. The ElectricBike-blog.
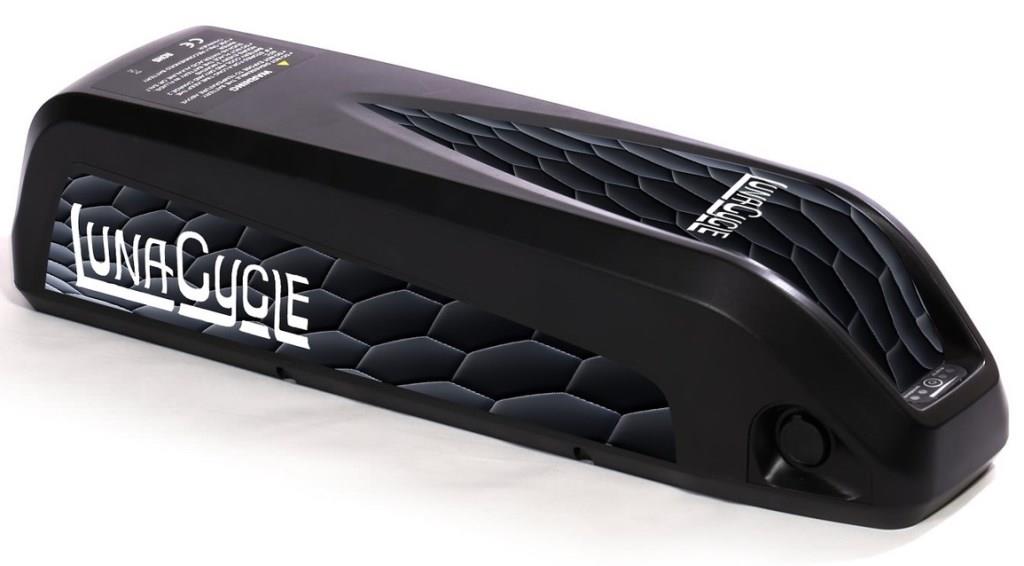
- Obviously, the Luna Cycle website is a good place to check out kits and parts. They also run a blog and look like they have a great support network, although I haven’t had to use it so far.
- One of the most comprehensive forums (websites where people from all over the world get together to talk about all things “e-bike”) I came across was Endless Sphere. There is almost too much information for the occasional e-bike build (this, coming from an information junkie…) however, just about any question can be answered by searching the forum.
Make sure the candidate bicycle is ready to receive the conversion. (Time to get our hands dirty….)
Like a good friend of mine in Albuquerque is fond of saying, “Anything worth doing is worth OVERdoing”. Truer words never said….
- Wheels and Tires: Sorry, gonna get on my soapbox a bit. You’ll see a lot of advertisements such as “designed specifically for e-bikes” or “e-bike ready” usually with a high price tag.
 (This means ready for 25 km/h.
  )
)
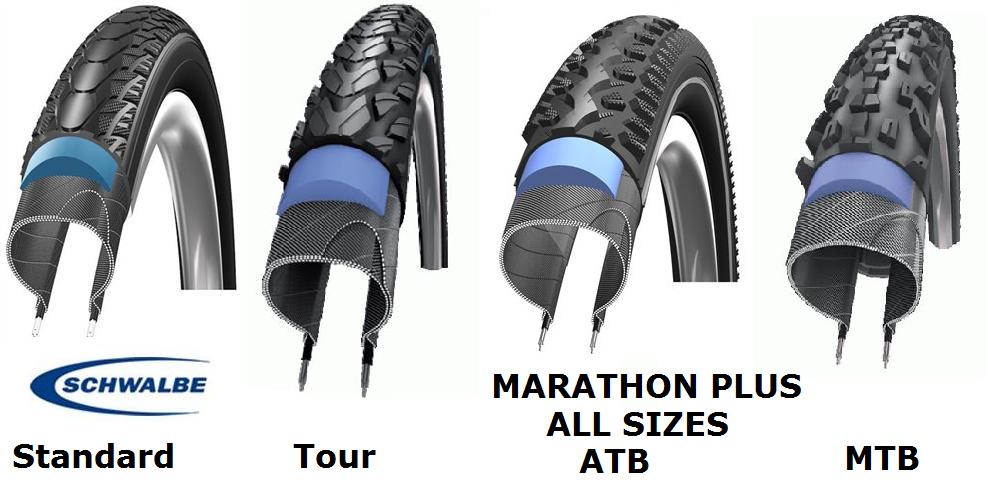
IMHO, any good quality, hand-built wheel strong enough for touring is going to be strong enough for an e-bike. And the same as for touring, the choice of tires is affected by what kind of riding you expect to do (off-road, on-road, heavily weighted or credit card touring). My current favorite for all around riding and commuting, the Schwalbe Marathon Plus.
Monika already has good tires on her bike however, I’ll replace the rear one since it is half-worn and will wear faster now with the motor driving it up that hill at XX km/h (Yes, I know I said 25 km/h before, but this thing gets faster the more I dream about it…..). Since her bike was designed as a tourer, the wheels are already strong with 36 spokes each. They aren’t handbuilt, but I have since trued them and re-tensioned all the spokes so I’m confident.
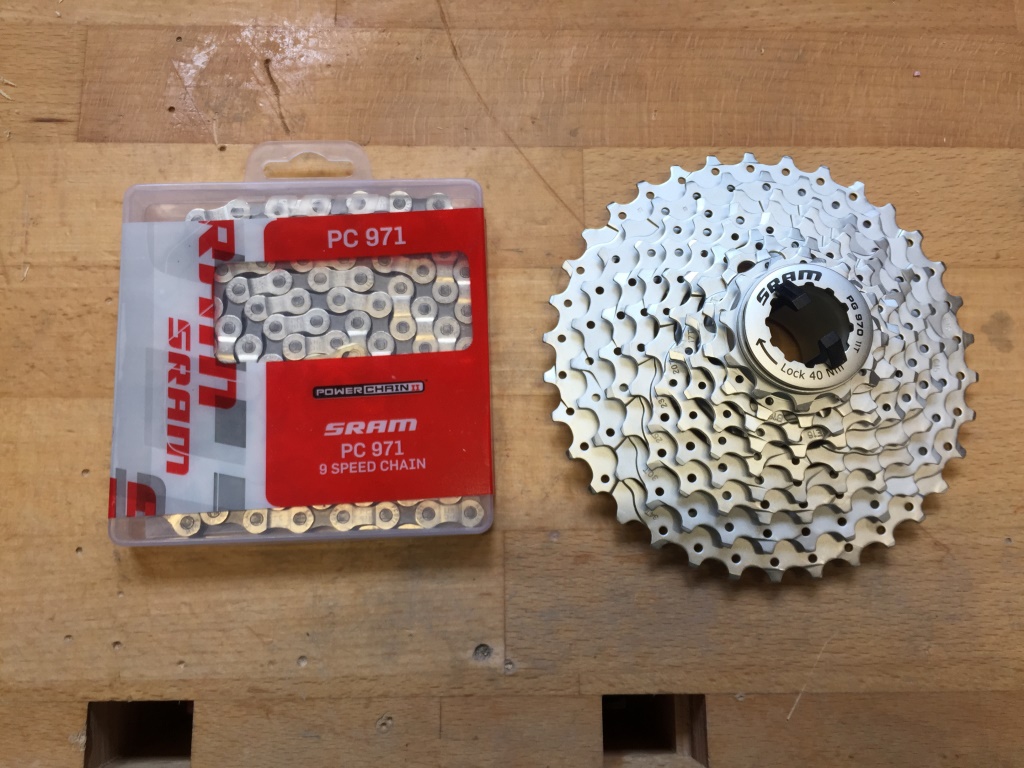
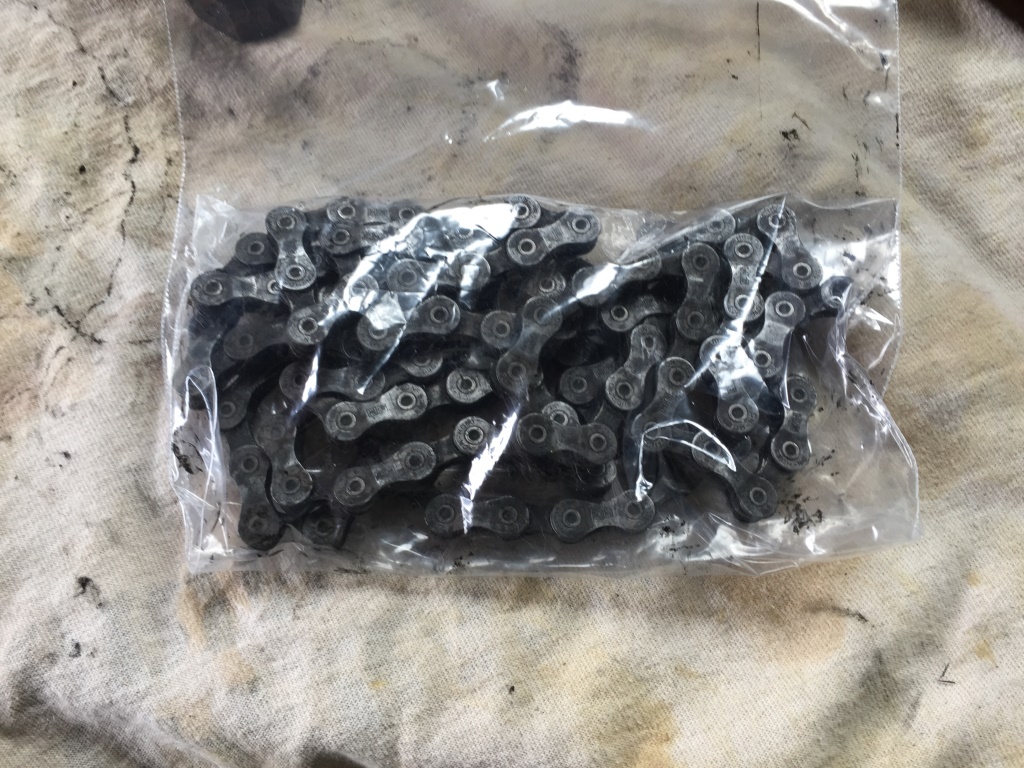
- Drive train: In order to handle the increased torque of the motor, I decided to replace the stock cassette (now old and worn) with an SRAM PG 970 which has steel cogs and also a large 34 tooth granny gear. Since it doesn’t make sense to replace the cassette and not replace the chain, I’ll change that too (SRAM PC 971). Total Cost: $38.
Steel components = stronger/cheaper.
- Brakes: Although I may upgrade her bike to disc brakes eventually, the kind of riding she does doesn’t warrant them and there are no problems with the existing V-brakes. I’ll just put new cables and pads on them and call it good.
- Having covered the safety critical items, everything else on the bike is fine as it is.
Replacing the cassette.

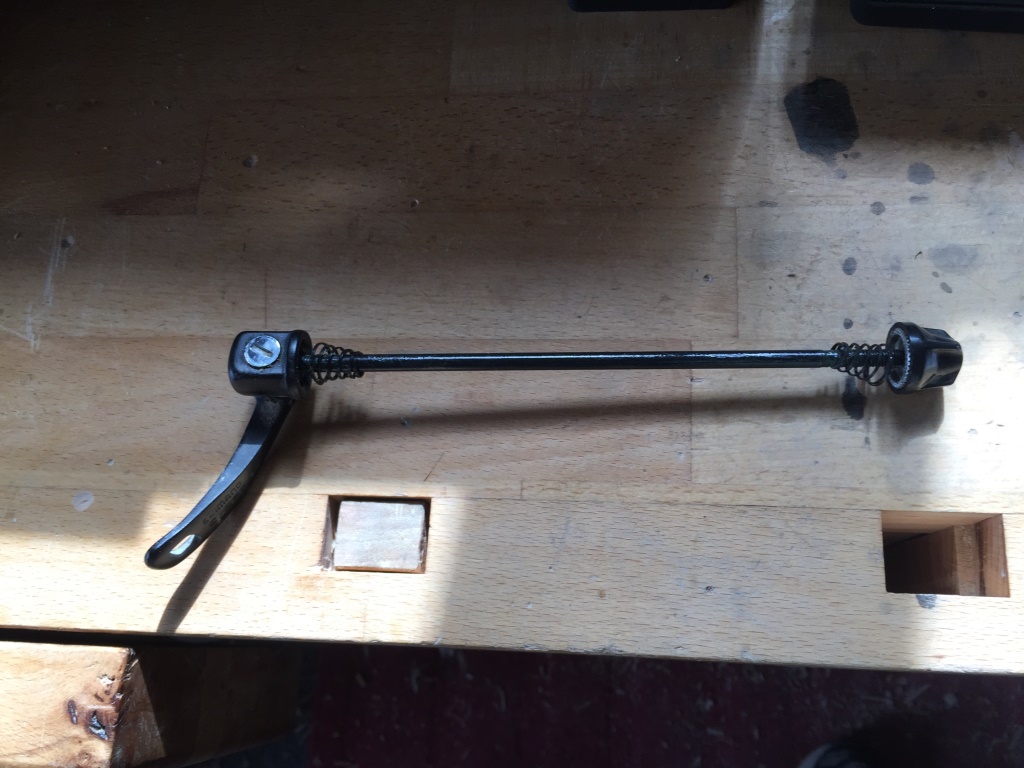
Here I’ve removed the wheel from the bike and the quick release from the hub. In order to (easily) remove the cassette from the hub, we’ll need some special tools. Since I’ve been building and working on bikes for over 45 years I’ve amassed quite a collection of special tools and handy doo-hickies such that I haven’t had to buy more than a couple items in many years.
The locking ring that holds the cassette secure requires a tool like this:

And since the cassette spins freely in the direction you have to turn to unscrew it, it helps to have something you can hold the cassette securely with:

Hence, this setup. ( 🙂 I said “hence”).
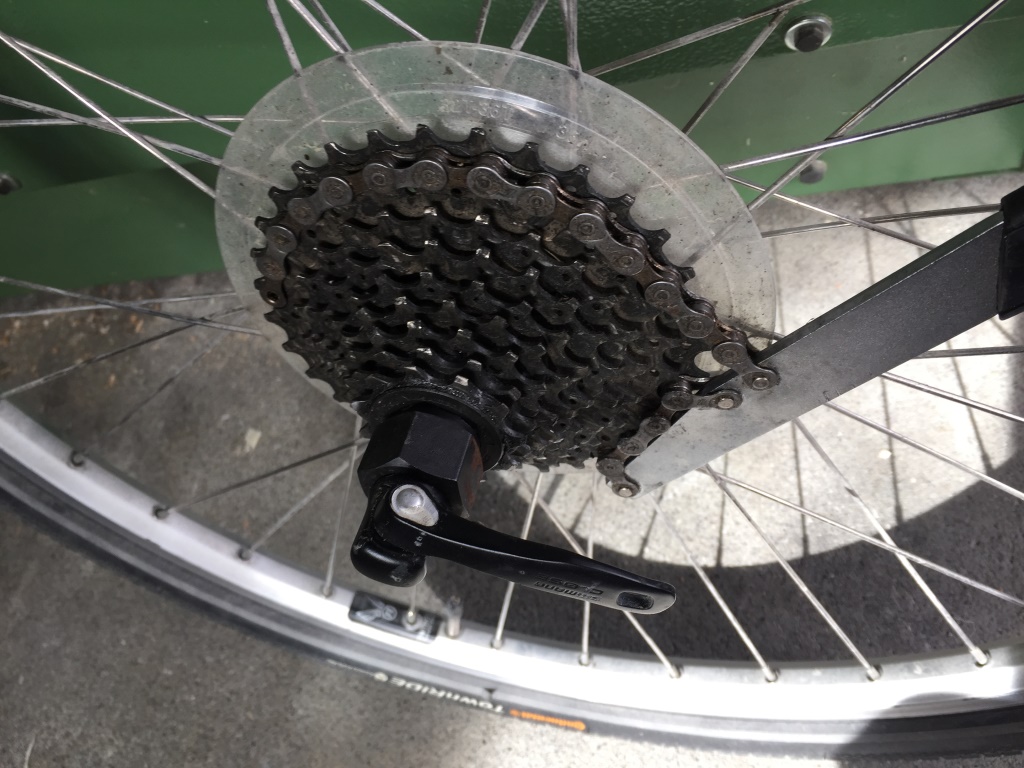
You’ll notice that I’ve taken the quick release lever and used it to secure the lockring tool so that it doesn’t slip off when I wale on it with my huge crescent wrench. This is one of those bicycle shop tricks they never tell you about after charging you $50 for a 2 minute job…..
Here is the hub with the old cassette removed, and then the new one installed. SRAM did a good thing when they decided to use the same type of lockring tool as Shimano.


By the way, since the old cassette and chain were worn, but not yet in need of replacement, I save them for future emergencies. This philosophy, while easy to get out of hand, has served me well my whole life. Every 10 years or so I go through my box o’ parts and get rid of stuff I really don’t think I’ll ever need.
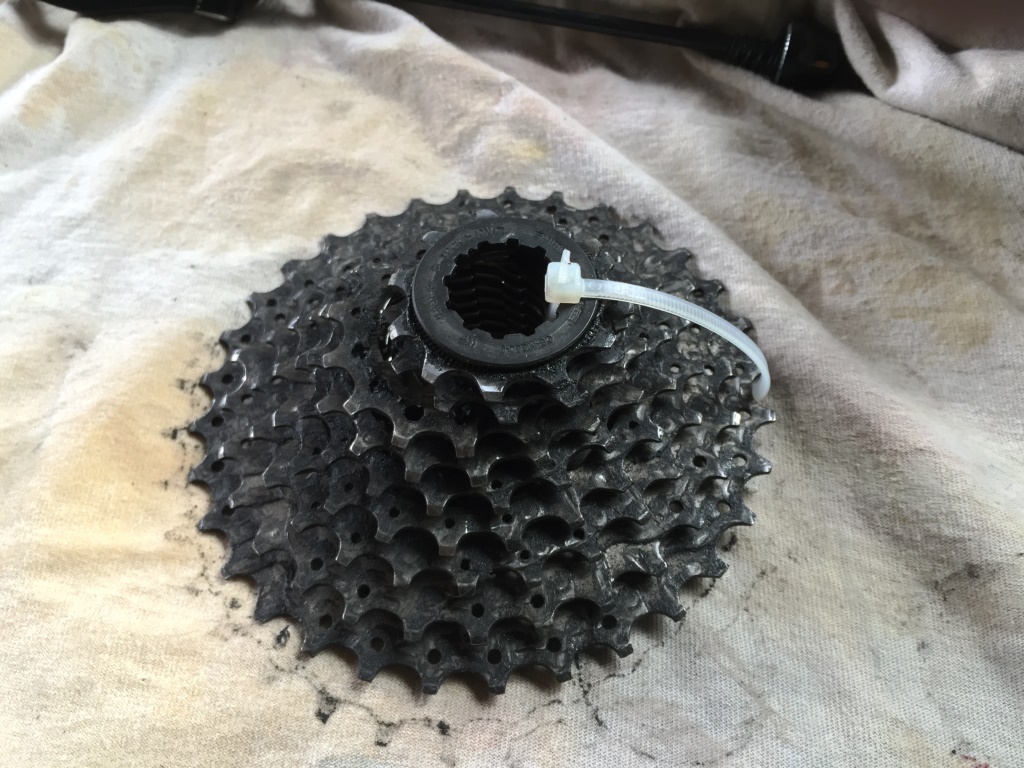
You’ll notice that I haven’t cleaned these old parts. I also learned many years ago that it doesn’t make sense to spend the time (and WD-40) it takes to clean parts you may end up tossing at some future date. If I ever need them again, I’ll clean them before installation.
Remove the existing crankset and bottom bracket.
Now we get to one of the most difficult areas of a bicycle, especially one that is more than a few years old, the bottom bracket (BB) and cranks.
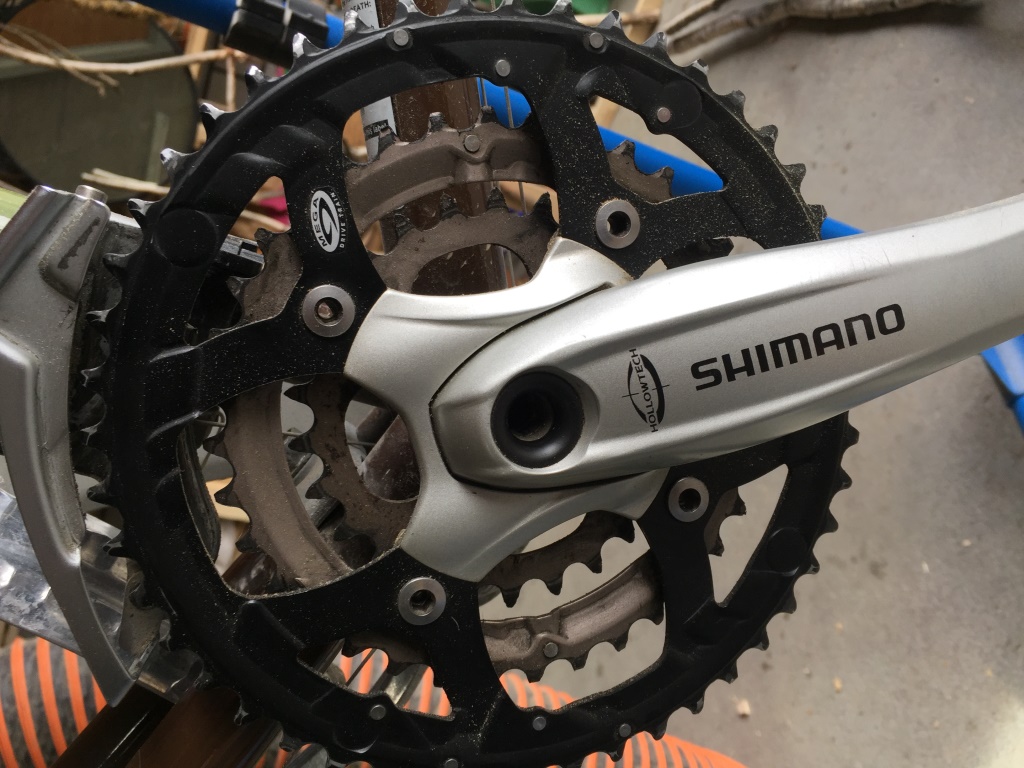
It seems like every company has to have their own special design with proprietary tools. For many decades, everyone was happy with 3 or 4 “standards” plus 3 or 4 thread types (English, French, Italian) but that didn’t generate enough profit because if you maintained your BB well and regularly, they lasted a long time. I still have a BB in my box o’ parts from my bike during High School that I keep for sentimental reasons, but it’s perfectly functional. Oh well.
In this case, we have the Shimano “Hollowtech” cranks with an “ISIS” BB (not to be confused with the terrorist organization; I bet Shimano didn’t see THAT one coming).

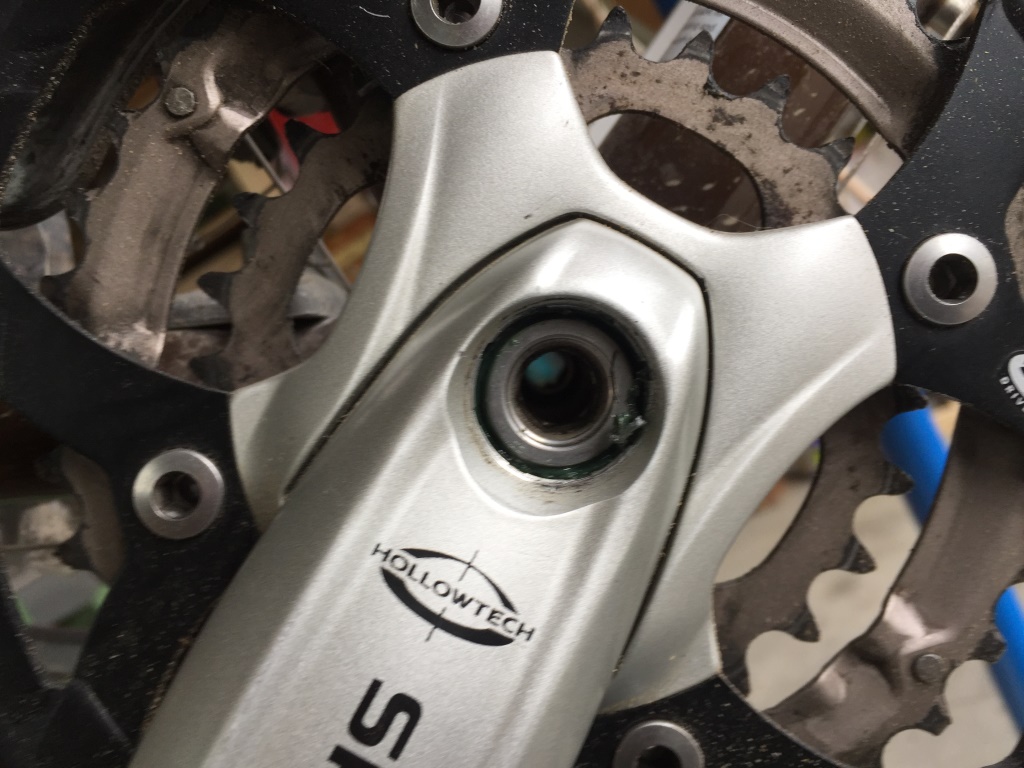
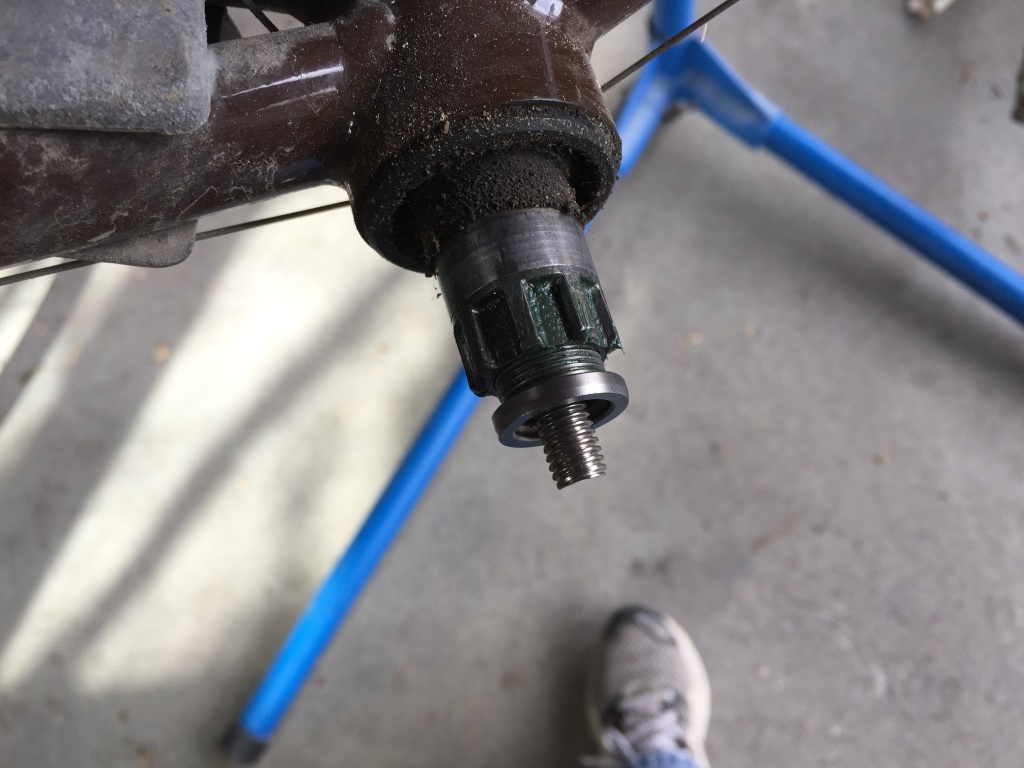
Normally, you unscrew the bolt holding the crank on and thread the crank-puller in. By tightening the outer half of the puller while holding the inner half steady, you were able to press against the BB spindle and remove the crank without damaging anything. Of course, “Hollowtech” means the BB spindle is hollow, nothing to press against. Oh darn, now we need to buy another special Shimano tool! Or do we?
By examining the crank, I discovered that I could use a 12mm drive to remove the cap screw holding the crank on. Luckily, I just happened to have a set of large metric hex drives I bought for working on the VWs that would hang around the house in Albuquerque.

So how to provide something for my normal crank-puller to push against (sounds counter-intuitive)? Lets insert a bolt facing inwards on the cap screw and re-install it into one side of the BB. Then, cut a length of 10mm threaded rod I had lying around and insert it into the hollow BB from the other end.

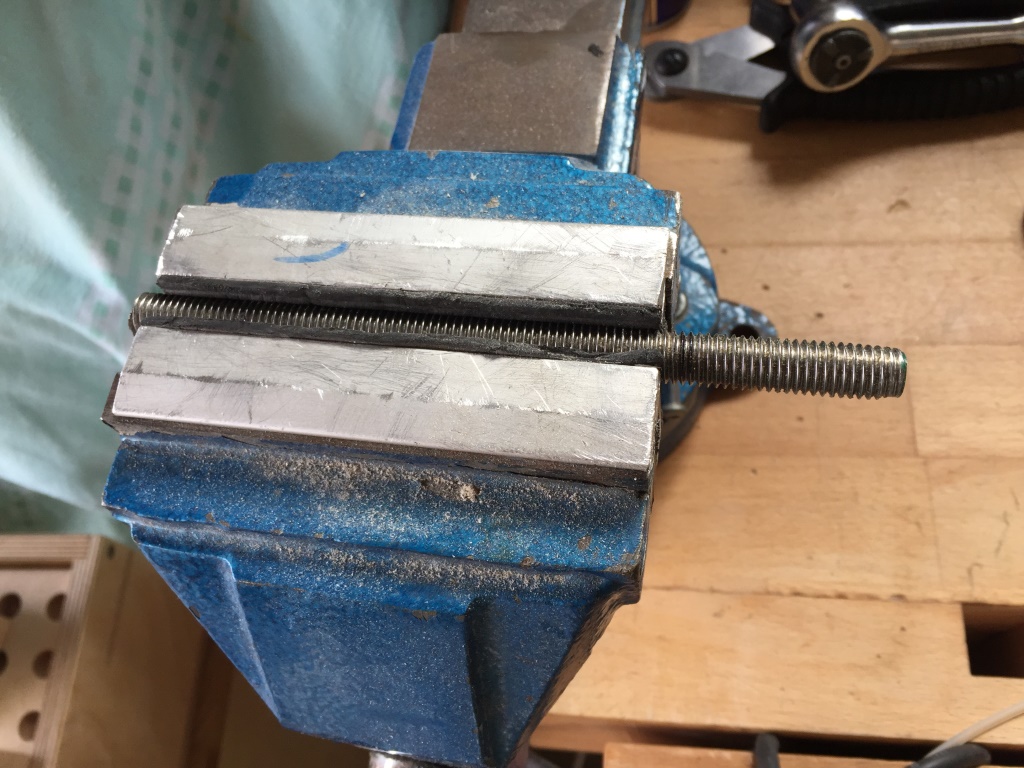
That way, I can now use my “standard” crank-puller.

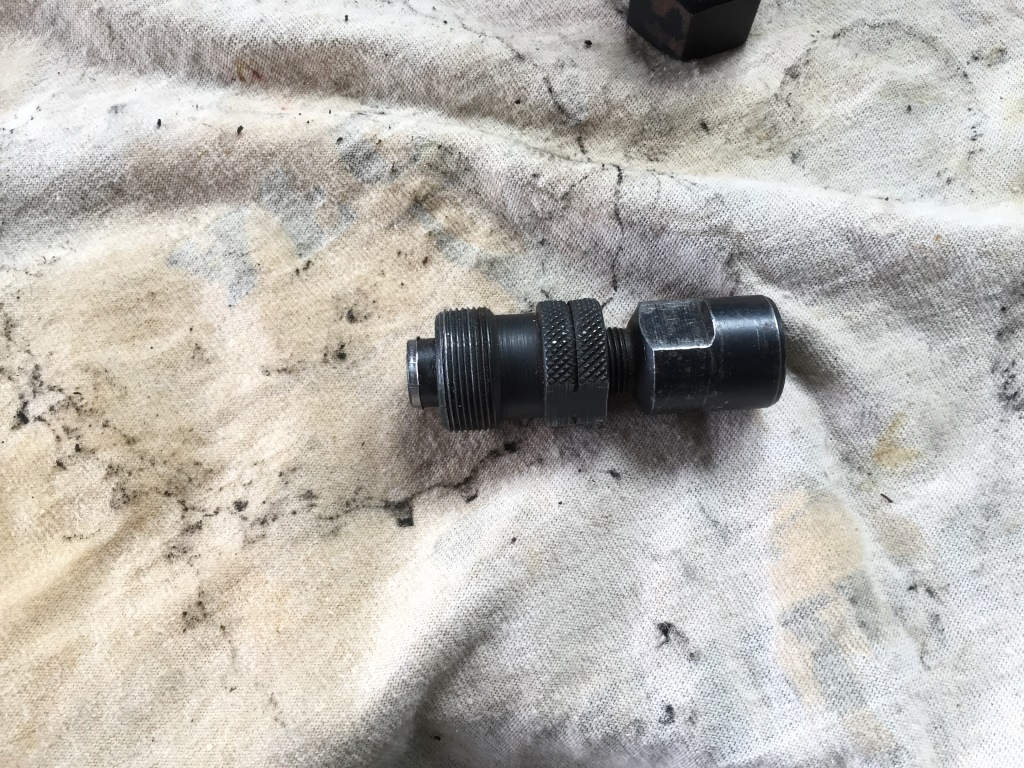
Once the first crank is off, I remove the capscrew/bolt and install it on the other side in order to remove the other crank. Easy-Peasy.
Next challenge: remove the BB itself. Again, we luckily have a removal tool that fits the ISIS BB cup. Just the same as the cassette lockring tool, we use the quick-release assembly to hold the tool in place and prevent slipping.


It is important to know that the right side cup (drive-side) is reverse-threaded on probably 99% of all bicycle frames that have a threaded BB. This means it is unscrewed in the clockwise direction vs. the norm (counter-clockwise).
Bagged and tagged:

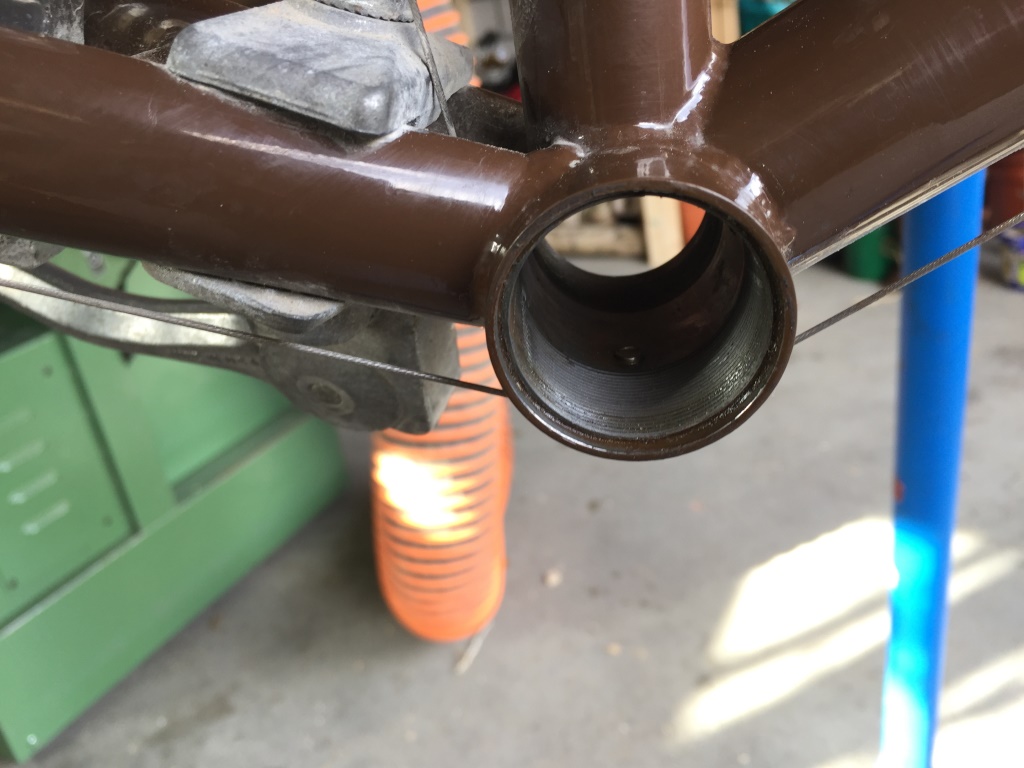
The crank and BB assembly removed:
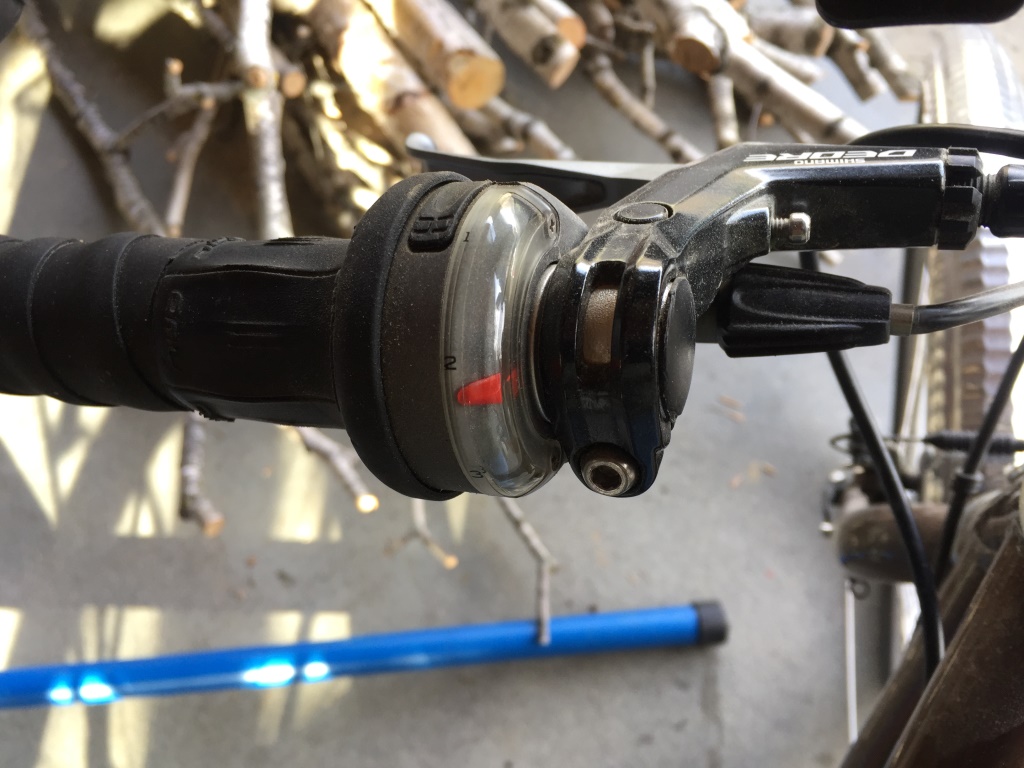
Remove the front derailleur and control.
The last thing to do before installation of the motor is to remove the front derailleur and its assiciated cable and control. The motor comes with a single front chainring and so the front derraileur is no longer needed.
Both the derailleur and the control on the handlebars use only a single bolt to attach so removal is simple.

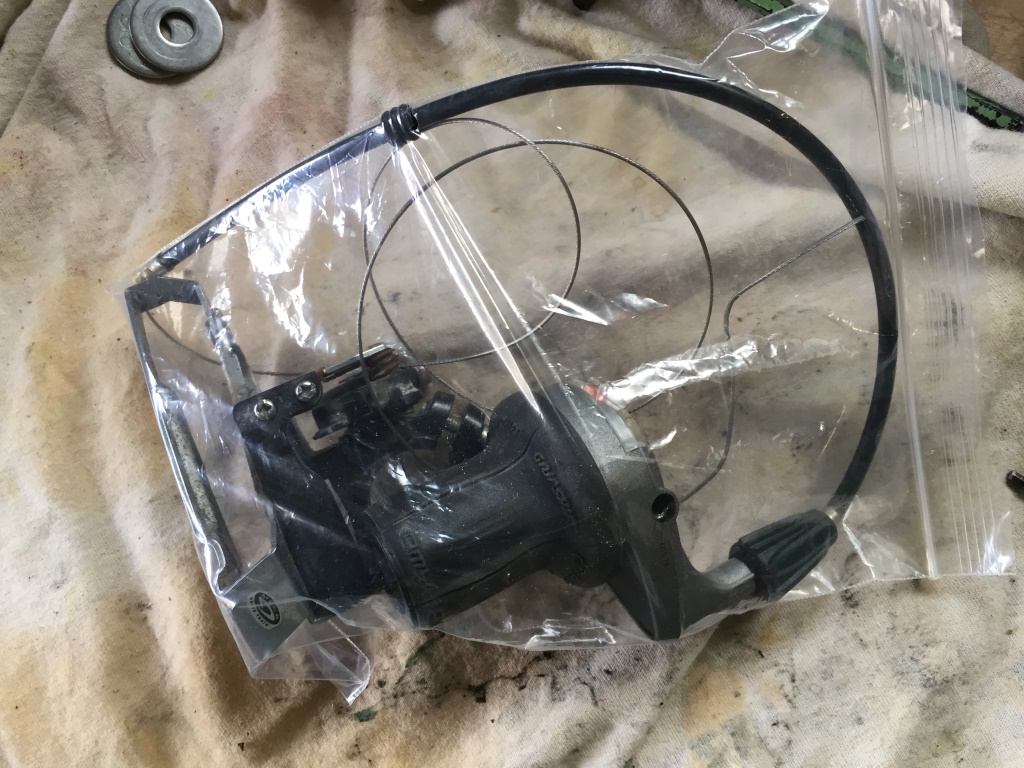
Derraileur bagged for future needs. Someday, I’ll build Monika a custom frame and then swap the motor over to it. When that happens, I’ll put all the original parts back on this bike and sell or give it away.

So now the bike is ready for installation of the motor kit and battery! Time for a well deserved beverage. Actually, I started drinking it quite a few steps ago, but beer + disassembly is less inherently dangerous than beer + installation of motor and electronics.
Coming Soon: Hardware Installation (sans beer)
Leave a Reply