
Oh gosh, it’s so small and full of electronics, I just can’t fix it!

A short post, however, after fixing my wife’s I-Phone 6, I thought that it deserved an honorable mention 🙂 .
Since the controversy began regarding how Apple programmed the I-phone 6 to perform slower when the battery neared its end of life, I had the intention of ordering a new battery for my wife’s phone. During my procrastination, she dropped her phone and cracked the screen.
At this point I decided to replace both the display and the battery at the same time and ordered a higher capacity battery and a screen display assembly. There is an important distinction here because the screen itself is much cheaper than the screen assembly. The assembly contains the home button, front facing camera, microphone, digitizer etc. You can order just a screen, but keep in mind that you’ll need to swap over all the little bits in the process. I decided for my first entry into the I-phone, I’d pay a little extra for the assembly and save myself some trouble.
For parts, there are literally hundreds of sites that will sell you batteries and displays and you should be careful in selecting a source. I did a bit of research and kept coming across a company called “I-Fixit” with lots of positive reviews of the site and service. They offer free repair guides for a lot of different equipment, not just I-phones and their parts prices seemed reasonable. I bought the display assembly complete with tool kit (some special tools handy for working on I-phones) from I-Fixit and the battery from another company called LitSped because I-Fixit didn’t have the large capacity battery I wanted.
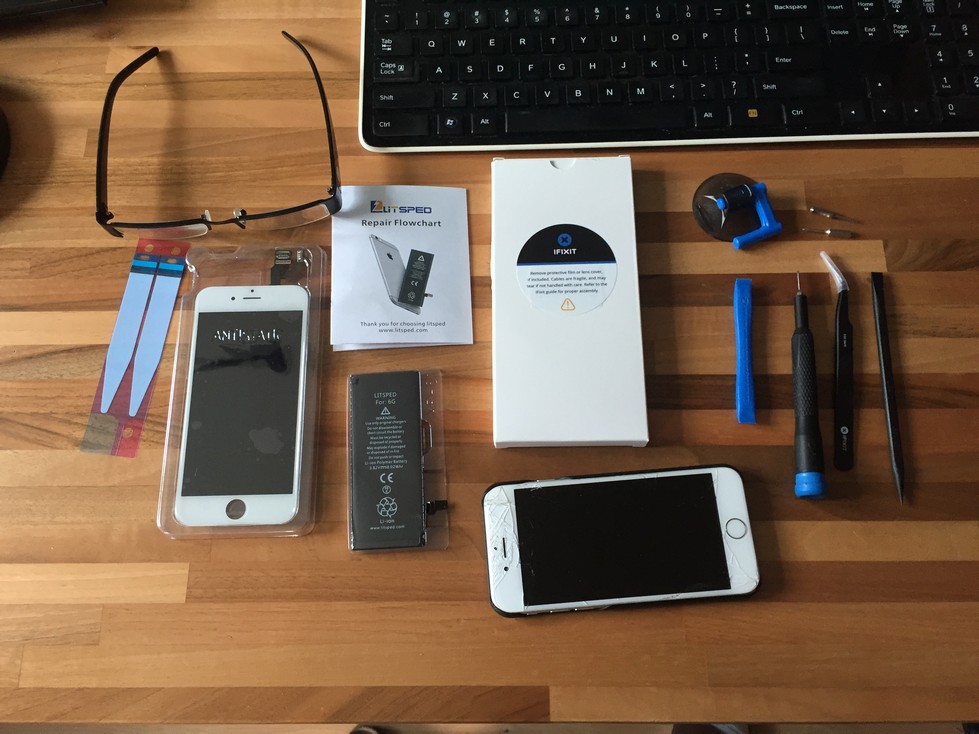
The “special” tools consisted of a jeweler’s screwdriver with 3 different tips appropriate for the tiny screws in the phone, some nice tweezers, a suction cup to help pull the display off of the phone, and a couple plastic tools for safely levering connectors loose. Granted, I could have gotten these things locally but the difference in price was minimal. In addition, I received replacement double sided adhesive strips for the new battery. You also see in the picture above, my glasses. These are not my normal reading glasses (1.5x) but a pair of 2.25x that I bought for just this kind of procedure. It’s very helpful to be able to actually see the 2mm screws. Even if you don’t wear reading glasses, I highly recommend some for this. If your eyes are still good, than a 1.5x should be sufficient.
I’m not going to go through the procedure in detail because the repair guide on the website does a really good job. I just want to give you an overview so you have an idea what’s involved. One thing I want to mention on the website is that at each step of the process there are user comments from other people fixing their phones. I found these comments to be very helpful so I encourage you to browse them when you get to the tricky bits like removing the old battery adhesive strips.
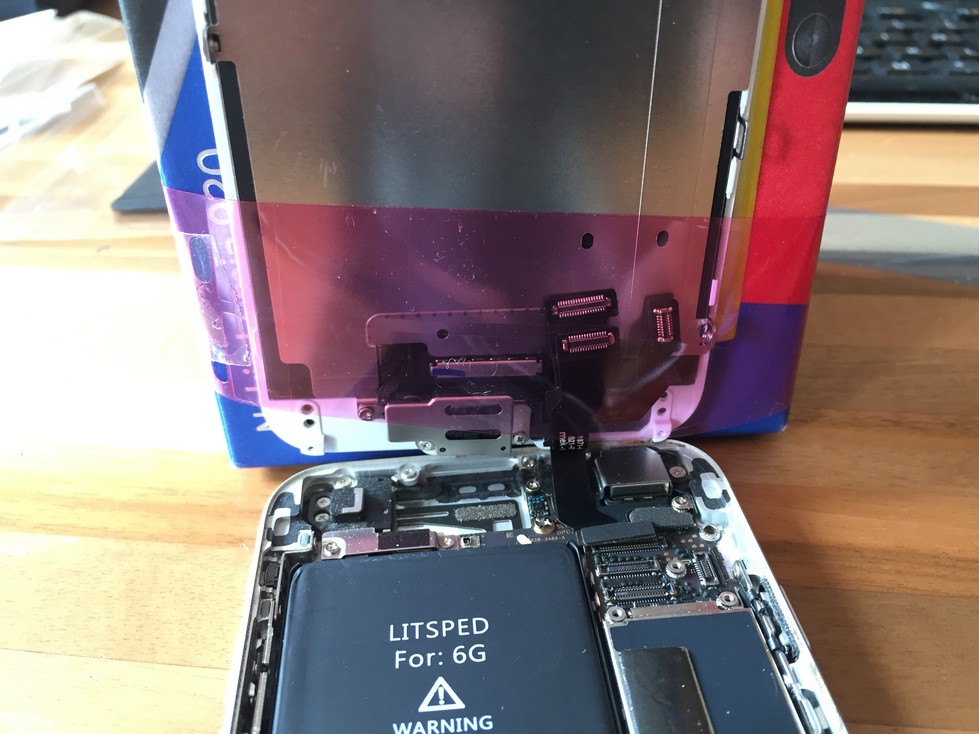
After removing two tiny screws by the “lightning” connector and very carefully using the suction cup to disengage the display assembly, it swings up and I used a rubber band around a small box to hold it up out of the way (the box from my former phone, a wonderful Nokia Lumia 920. The Nokia Lumia series is now owned by Microsoft and is in many ways, a lesser phone. Sad, very sad.).

After removing the battery connector, I temporarily slide the adhesive strips (still in their plastic film) under the connector to prevent any shorting.
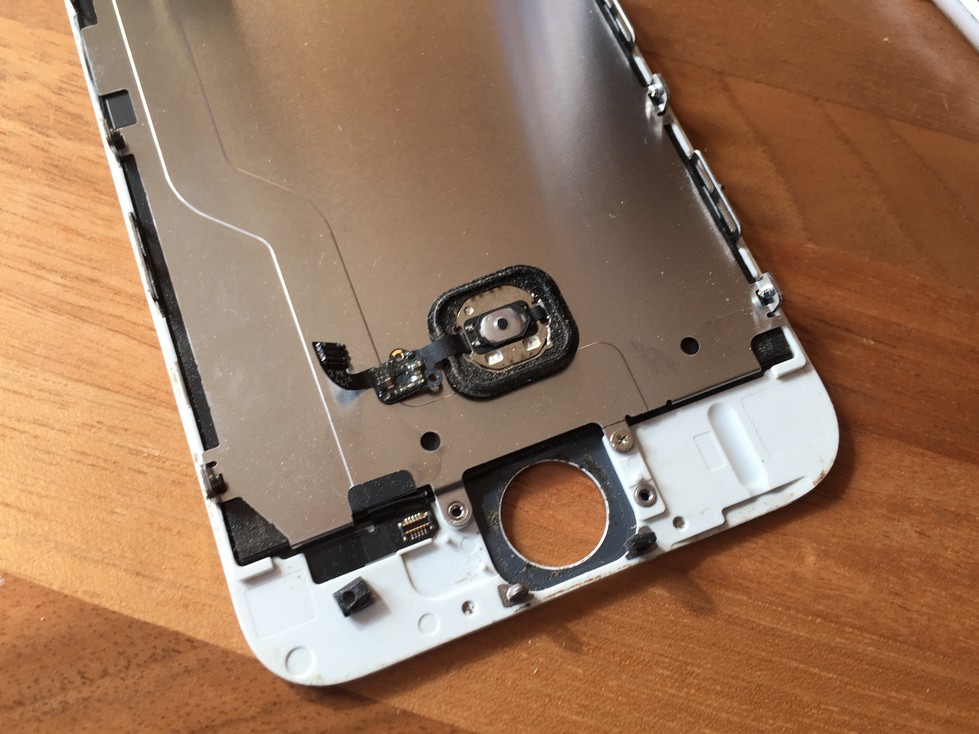
Four connectors near the top are removed and the assembly comes free. I can now easily swap over the home button to the new assembly (I wanted to keep the original home button).
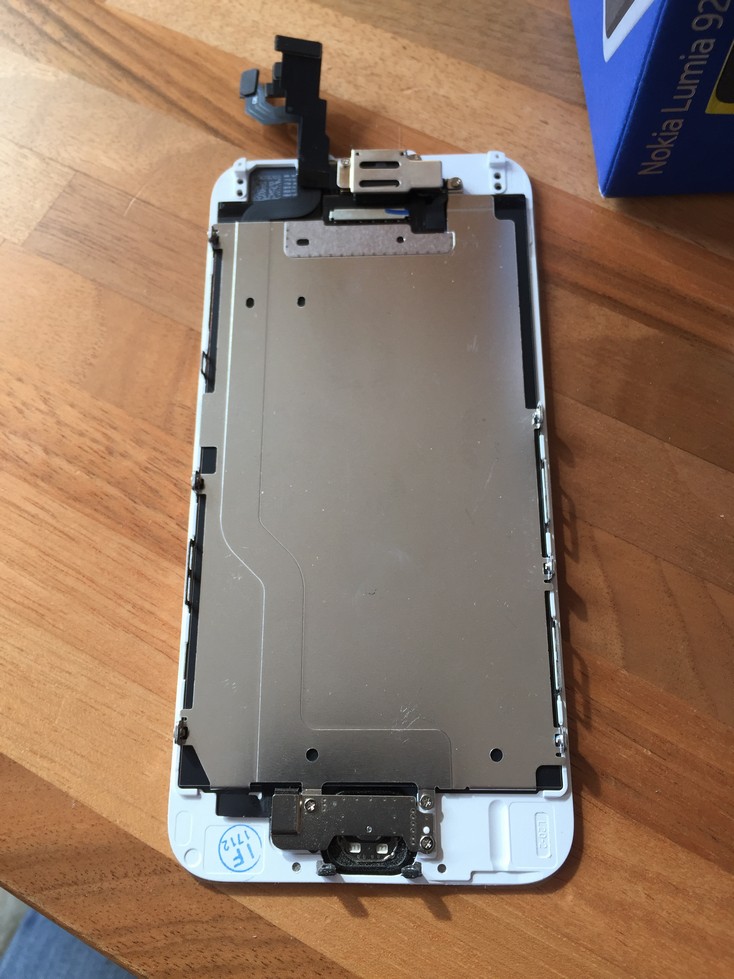
New assembly ready to install.
Before I install the new assembly, I’ll replace the battery. Read the comments. A valuable piece of advice is to first remove the vibrator unit (two 3mm screws) to make it easier to remove the old adhesive strips. I’m glad I did this.
Old battery removed.

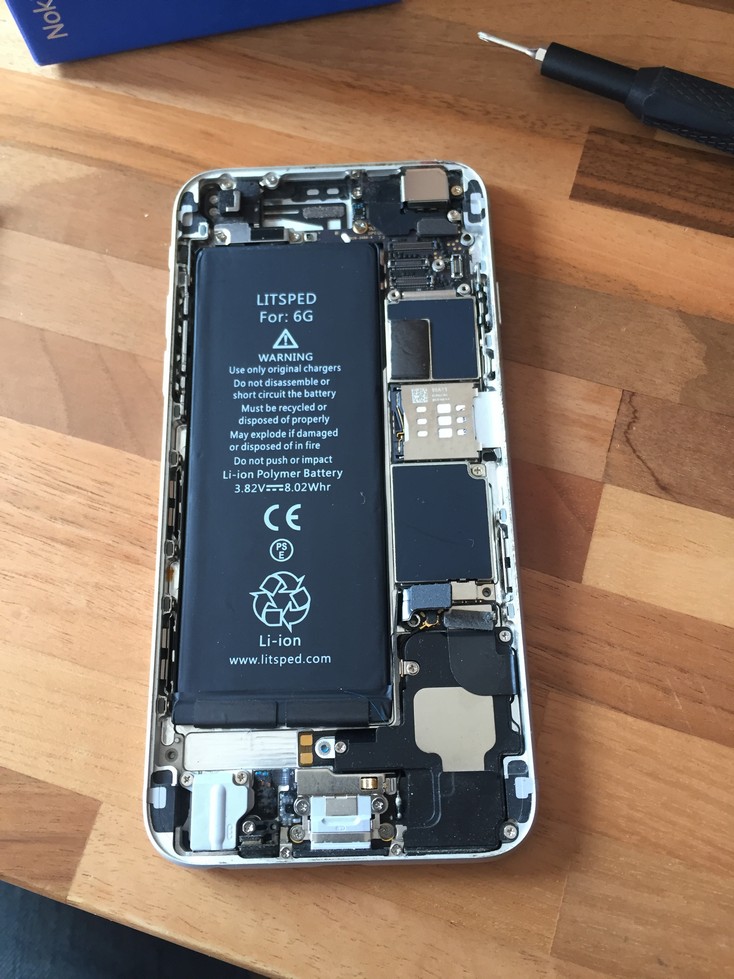
And new battery installed.
Back to the rubber band to hold the new assembly in place and now I also use the plastic film and some tape to hold 3 of the connectors up out of the way while I install the first. And so on. This wasn’t in the comments but helped me immensely.
Reconnect the battery connector, fold down the display while making sure the tabs at the top engage their slots properly, re-insert the two screws by the lightning connector and voila! Good as new. Actually, better than new because it has a long-life battery and a story to go with it.
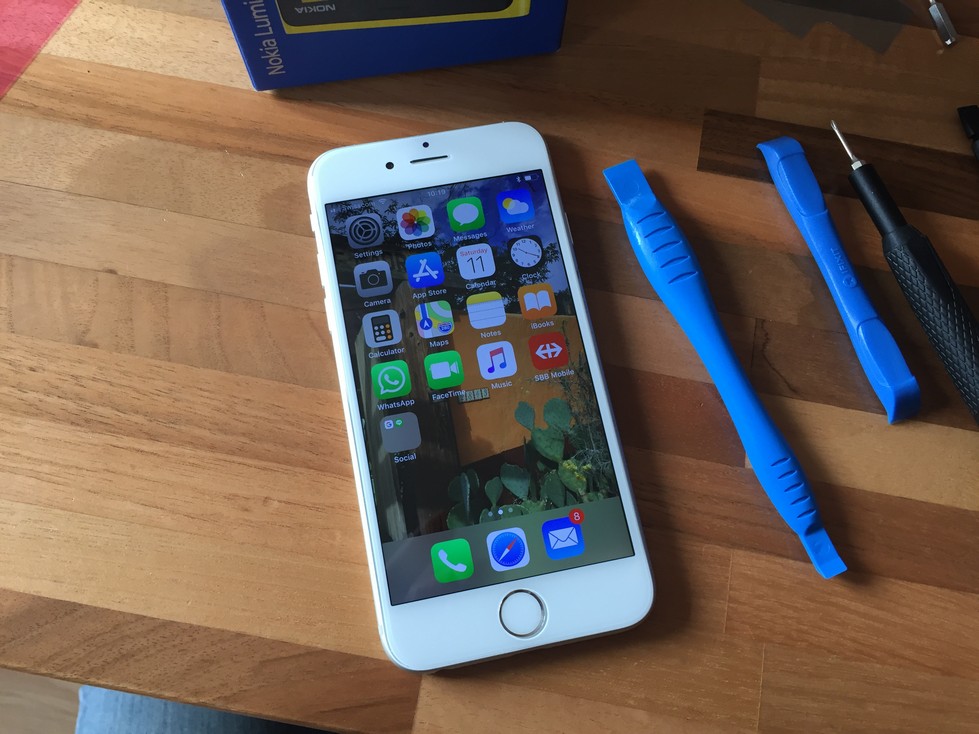
Fix On!
Time spent: 45 minutes. (I could do it again in half the time). Cost: $117 (Display Assembly $75; Battery $30; shipping $12). Cost to not do it myself: $280 (in Switzerland).
Collis Alan
Another great post!
Brian Witzig
I’ll be fixing my own phone next time this happens….and you know that’s just a matter of time until it does.
Thanks for posting!