

“Oh Boy, drawers, my favorite part!” (said nobody, ever….)
Okay, drawers are not so bad, it’s the dovetails that continue to trip me up and typically, a drawer is one of the components of furniture that almost always benefits from dovetails.
These are two examples of what I aspire to:


Nice, clean fitting, no gaps, tight corners. These above are half-blind dovetails because you can only see the joint from one side, appropriate for drawer fronts. Through dovetails are visible from both sides and are typically used at the back of a drawer:


And as usual, the first step to well made, good fitting drawers is……wait for it…..square, evenly dimensioned stock. Who knew?
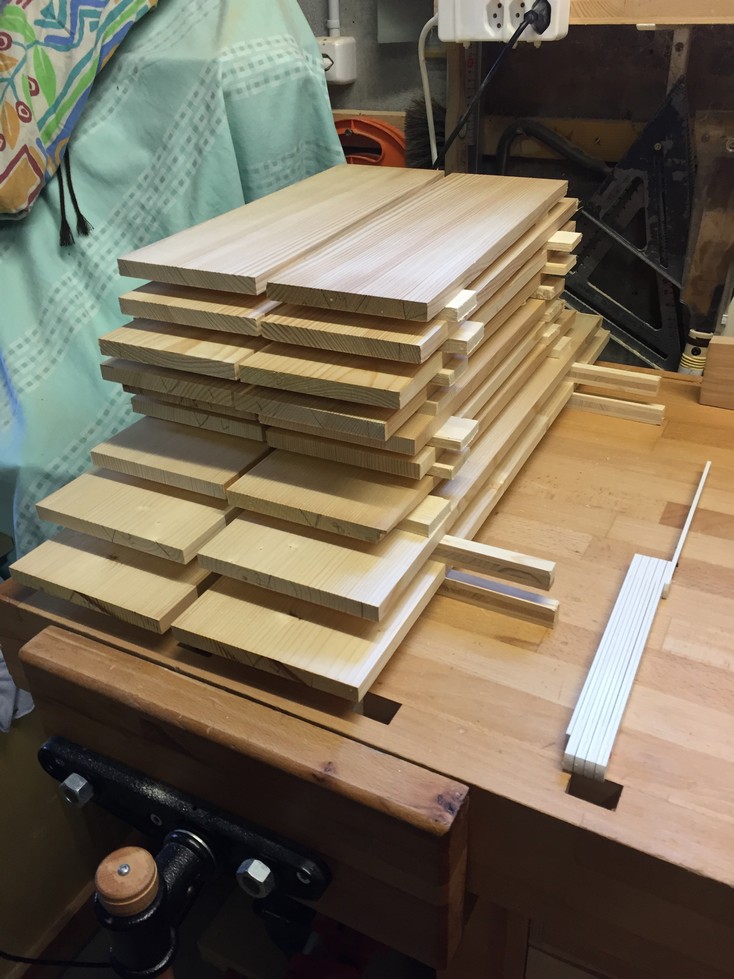
Similar to our exercise in frame and panel build-up, it pays huge dividends to plan ahead and mill all of the drawer stock at the same time. Typically, a drawer front will be thicker than the sides unless we need a heavy duty drawer so I decide that if my fronts will be 19mm thick, then 13mm sides and backs will do the trick. Two of the drawers are quite tall and I will have to glue-up some smaller pieces however, as long as I’ve picked out enough wood for all the drawers, I’ll thickness plane the wood for the sides and backs first (and at the same time). I’ll be using some thick pine so I first joint/plane the rough stock and give it a square edge, then to the bandsaw so I can re-saw the planks in half.
I sticker the pieces and after a couple days, take them down to finished thickness and square them up.
I prepare the stock for the fronts in the same way except it’s ash instead of pine. Both the left and right bottom drawers are approximately 250mm high so I attempt to match the grain as best as possible for the two glue-ups. Now I cut all the pieces to exact height (the sides and front will be the same height so I cut them all at once). I’ll hold off on cutting the backs until I’ve made the groove for the drawer bottom, that way, I can cut them accurately. Even though I’ve got 6 drawers, with only two pairs the same height, every one of them will be the same depth (the measurement from the front to the back of the drawer) so I’ll crosscut all the sides at once but only after I cut the dovetails. For that exercise, I leave all the side pieces about 20mm too long so I have some “screw-up buffer” if I’m not happy with the dovetails.
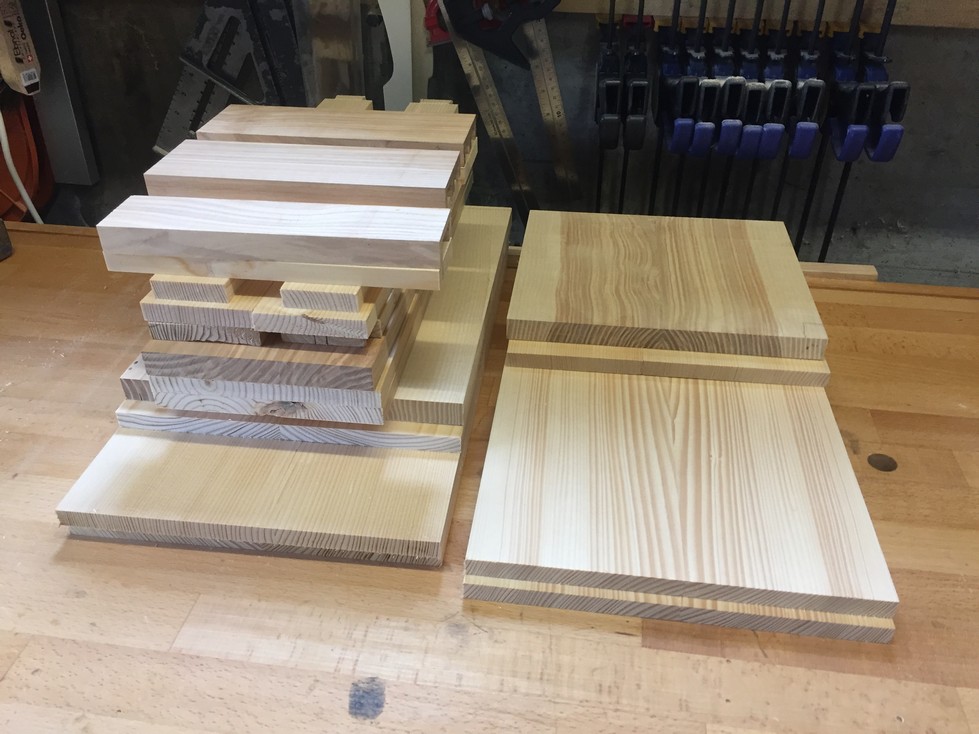
Actually, I wasn’t happy so I ended up cutting them all again which was good practice but I’ve decided that in the future, I’ll stay away from pine if I can. Pine is a softwood and though it might seem like it would be easier to chisel than a hardwood, it actually is too soft and tears out in the middle if you aren’t very careful. Here is all the finished stock, ready to be dovetailed:
Okay, so I can’t describe all the little tips and tricks to creating beautiful dovetails, especially since I’m not that good at them myself and would feel like a fraud J. What I can do, is take you through my current process with the intention that a total beginner might read this post and get some helpful information. Anyone above an intermediate level in woodworking will probably leave nasty comments for me.
There are a number of different ways to do any particular thing in woodworking and dovetails are no exception however, it does seem that when you read magazines and forums on dovetailing, people can get quite polarized and biased towards their chosen method. It’s almost like watching Democrats and Republicans after a couple six-packs of beer; or my family playing Brändi-Dog…….
An aside: if your stomach did a flip when you clicked the link above and saw a board game costing 80 bucks, be advised that the Brändi company in Luzern is a private, non-profit organization dedicated to people with mental and physical disabilities who both work for, and sometimes live in, the company facilities. The profits go back to improving the quality of life for disabled people.
A bit of terminology: as you can see in the graphic below, the part of the joint that actually looks like a dove’s tail is called the Tail. The opposing part of the joint is a Pin, or in the case of a pin at the end of the stock, a Half-Pin.

And now, back to the controversy. It is one of the great debates among woodworkers which part of the joint to cut first, the pins or the tails. There are a number of reasons why each may be more efficient than the other and I’m currently still trying to decide which I prefer. I think the biggest advantage to tails-first is that you can “gang-cut” the tails on multiple pieces of stock which saves time and in addition, makes it easier to cut square to the face of the board.

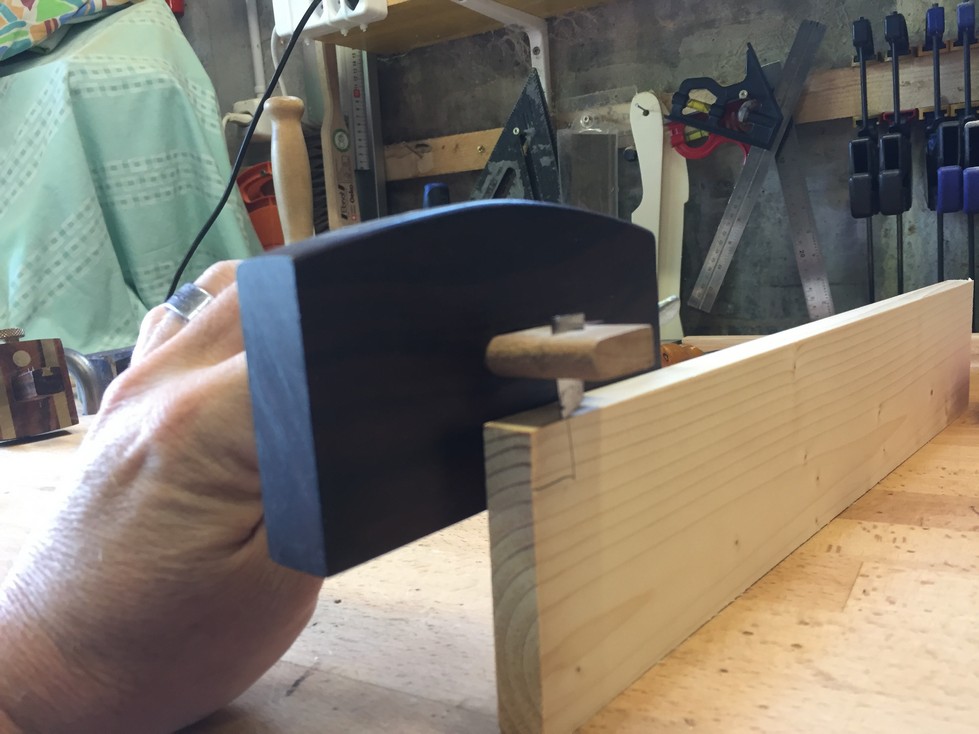
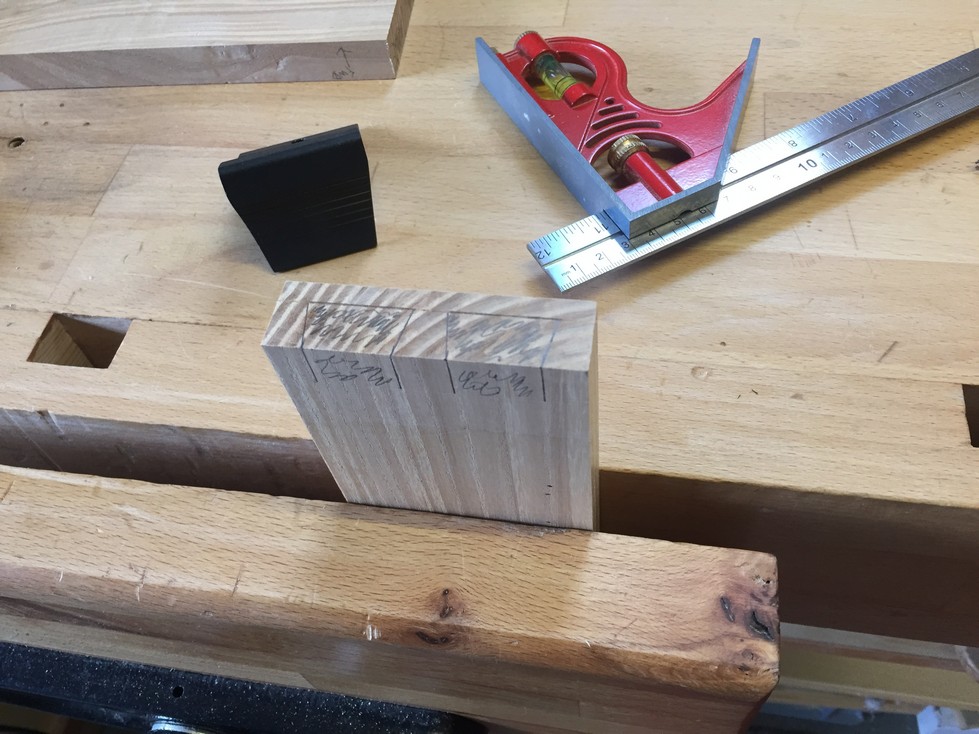
For this project, I’ll be a “pins-first” guy and the next project I’ll do the tails-first. Since I am doing half-blind dovetails at the fronts of the drawers, I start by setting my marking gauge (the one with the pins, or “scratch gauge”) to the dimension that I want my tails to engage. The rule of thumb is 2/3 the thickness of the front, in this case, that’s equates to about 12mm. I use the scratch gauge on this part because a scratched line on end grain is easier to see than a cut line.
The next step is to mark the depth of cut on the inside face of the drawer front. I set my knife gauge to the exact thickness of the side pieces and cut a mark across the face. Here, it is better to use a marking gauge with a knife edge to get a more accurate and cleaner mark across the grain.

Next I use a handy little dovetail marker to mark the pins in the end of the drawer front. This tool is made at a 1:6 angle, or 1 unit of width to 6 units length, or about 9.5 degrees. There is no hard and fast rule for dovetail slopes however, it is logical that a softwood would benefit from a larger angle than a hardwood. Some modern woodworkers that have studied historical works have found a large range of dovetail angles, enough so that it seems that woodworkers of the past era cut them by eye and weren’t so precise about the angle. Incidentally, this is still a prevailing method in many of the classically trained European cabinetmakers.

Here are the pins laid out and marked with pencil scribbles on the waste side so I don’t get confused when sawing. After the pin angle is marked, I transfer the line down the face to the baseline, square to the end.

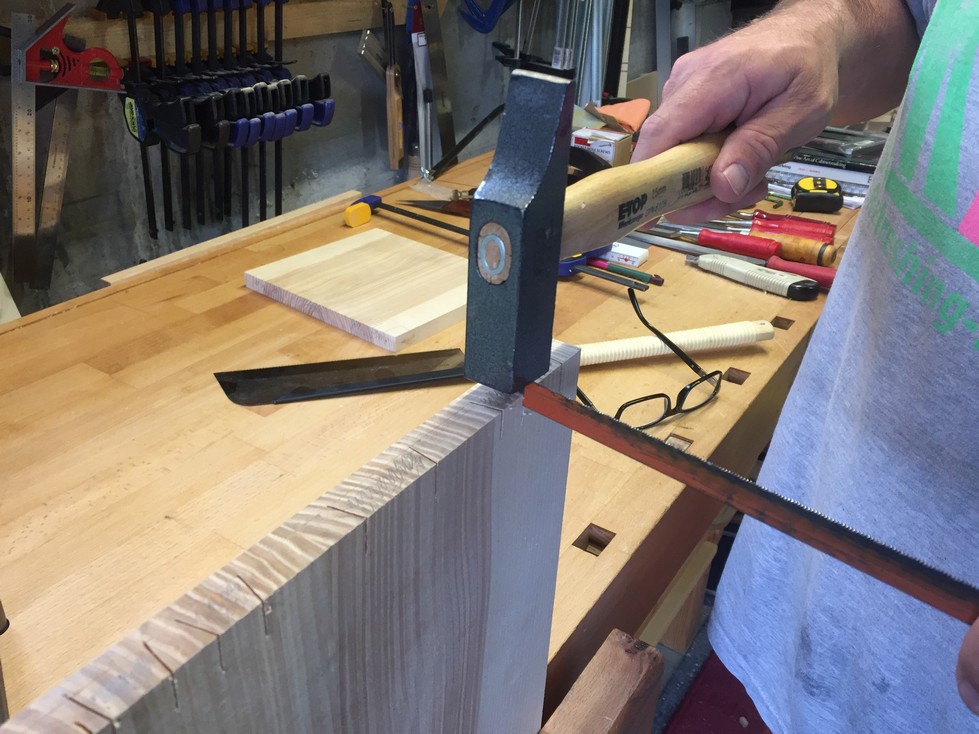
I then cut just on the line being careful not to overcut either at the top or at the bottom. Of course, this produces a sloped cut. One of the tricks described in Tage Frid’s book on joinery is to use an old scraper blade hammered down to complete the cut. Since my Japanese dovetail saw has a thinner blade than a western style saw, I use the end of an old hacksaw blade. It is still thicker than my saw blade but only a little. The second half of this trick is that the blade in question (to be hammered) is not sharpened as this could cause the wood to split. Leaving the edge square crushes the fibers of the wood without danger of splitting.

After cutting the lines of the pins, next step is to use chisels to chop out the waste. I lay two drawer fronts (in this case, the #2 and #3 drawers) with the inside face up and clamp them in place with a holdfast. Alternating between tapping down from the face and in from the end, I remove the waste and clean up the inside corners.

I don’t go all the way to the scratched line on the end grain but leave about 1mm of waste. For me, it is easier at this point to clamp the drawer front vertically in the vise and chisel down from the mark. I can look from above and see when I’ve reached the line and it continues straight down. You’ll also notice that when I spaced the pins, I did it so that a 20mm chisel would fit just between them. This makes it easier to chisel nice and straight to the line.

These pictures are from one of the tall drawer fronts but you can see the spaces are nice and clean, ready to be used to mark the tails from. You can also see that I over-sawed from the line a couple times; luckily, I can use a little sawdust mixed with glue to hide those discrepancies. 😉


After marking the depth of the tail on the side pieces, I stand the front on end and exactly on the mark. Then, using a marking knife or in this case, a 0.5mm mechanical pencil, I mark for the tails along the edges of the pins.

Like before, I transfer the from the tail marks square across the end grain and scribble in where the waste is.

Sawing the tails in the side pieces is more critical than when sawing the pins. Since the tail marks are made from the pins, I have to be able to cut exactly on the line and just a little bit on the waste side. This way, if I’m not accurate with the cut, I still have room to pare to the line. If you cut even a tiny bit opposite the waste, you’ll have gaps when the front and side are fit together.
Saw off the pieces where the half-pins will go and then, with a coping saw, saw out a good portion of the waste prior to applying the chisel.

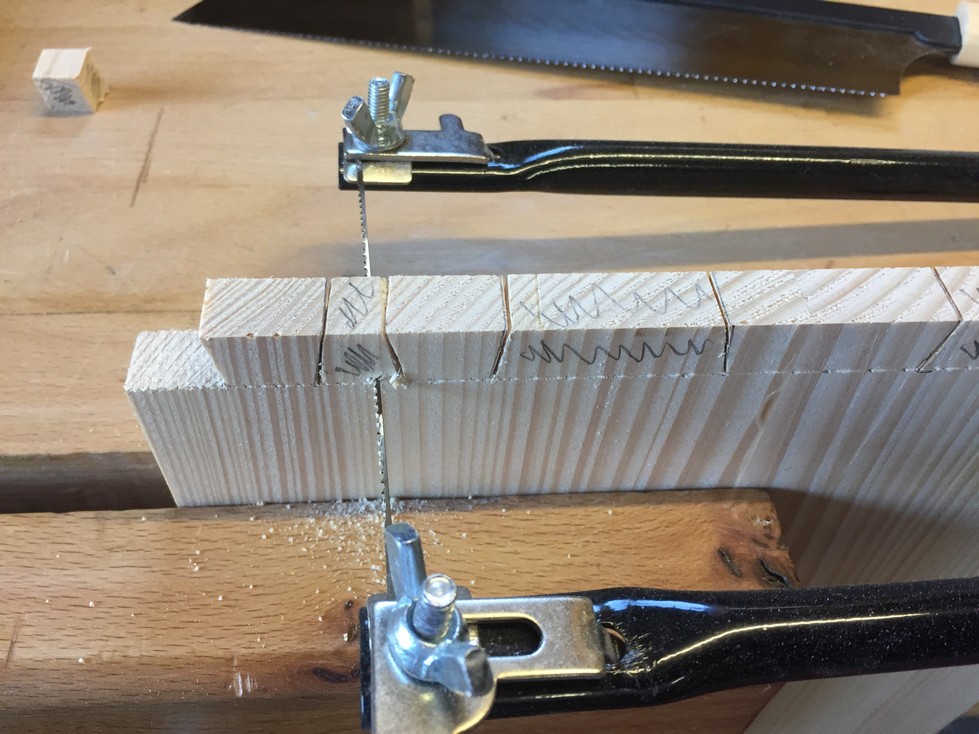
I must say in hindsight, for pine or other softwoods, I will not be using the coping saw again. Even with sharp chisels, the pine tore out way too much and I was unhappy with the work. That’s why I left an additional 20mm length in the side pieces!
Speaking of sharp chisels, it’s time for a tune-up.
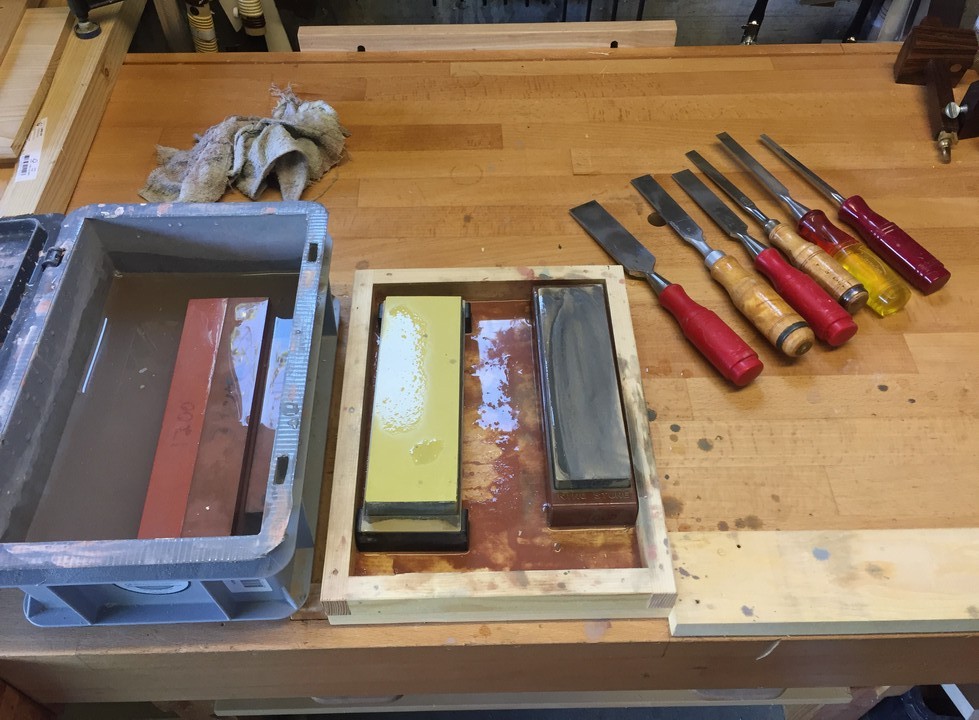
This is only the 2nd honing since grinding a bevel on these chisels. I should be able to hone them a few more times before I have to touch up the bevel on the grinding wheel. I’m forcing myself to learn to hone free-hand since it saves so much time over mounting the chisel in a honing guide every time. By virtue of this hand-honing, I’m discovering that a chisel that doesn’t have a perfect edge still cuts quite nicely. I’ve always a bit of a perfectionist but it’s hard to ignore ~15 minutes of time saved during sharpening.
Another FYI I’ll mention is that if you are thinking of purchasing good Japanese waterstones for sharpening, it is absolutely essential that you have a method of flattening your stones. As you sharpen, the blade wears away a minute bit of stone (this creates a “slurry” which is needed for waterstone sharpening) and after a while, starts to wear a depression down the middle of your stone. When that happens, you’re not going to get a good hone no matter what you do so you use a flattening stone to remove the depression and make the waterstone flat again. I’ve read that some people use the top of a simple concrete block for this but I wanted something a little more specialized so I ordered the “Double-Time” flattening stone which, after using it for about 6 months, I think was well worth the $50 I paid.
So after the failure from using the coping saw, I go back to the tried and true method. Patiently chopping and paring a little at a time but only going halfway down the thickness of the side. In addition, it is important not to pare all the way out but to leave a little bit that will help support the chop when you flip over the piece. Below circled in red.

After clean up between the tails, this is one of the results:

I’m not ecstatic about this, but it’s better than the previous 6 attempts 🙂
It’s tight and feels strong and I can fill the small gaps after glue-up. I’ve also read that dovetailing with pine is a lot more difficult than with hardwoods so that makes me feel a little better…..
Alan Collis
Awesome Steve!